 Stephen Walton
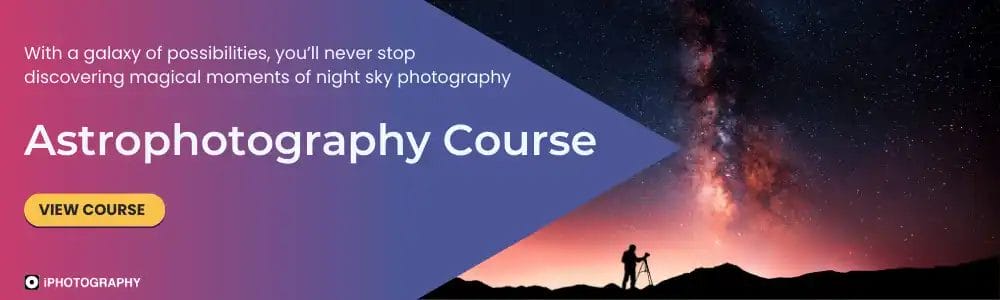
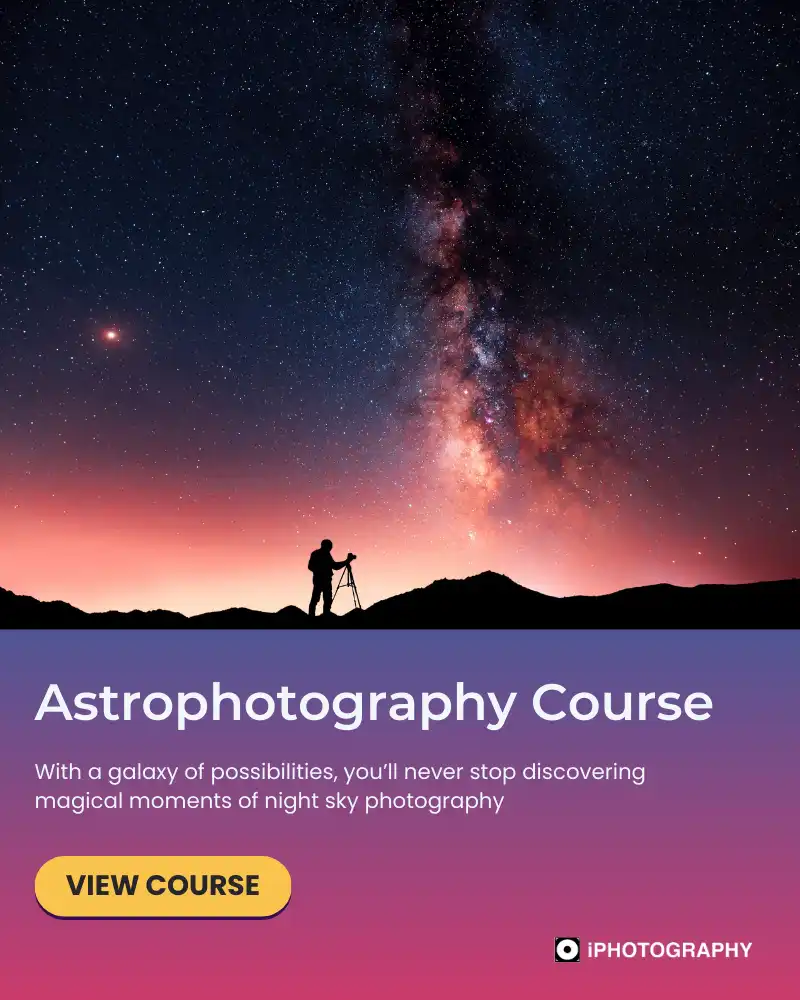
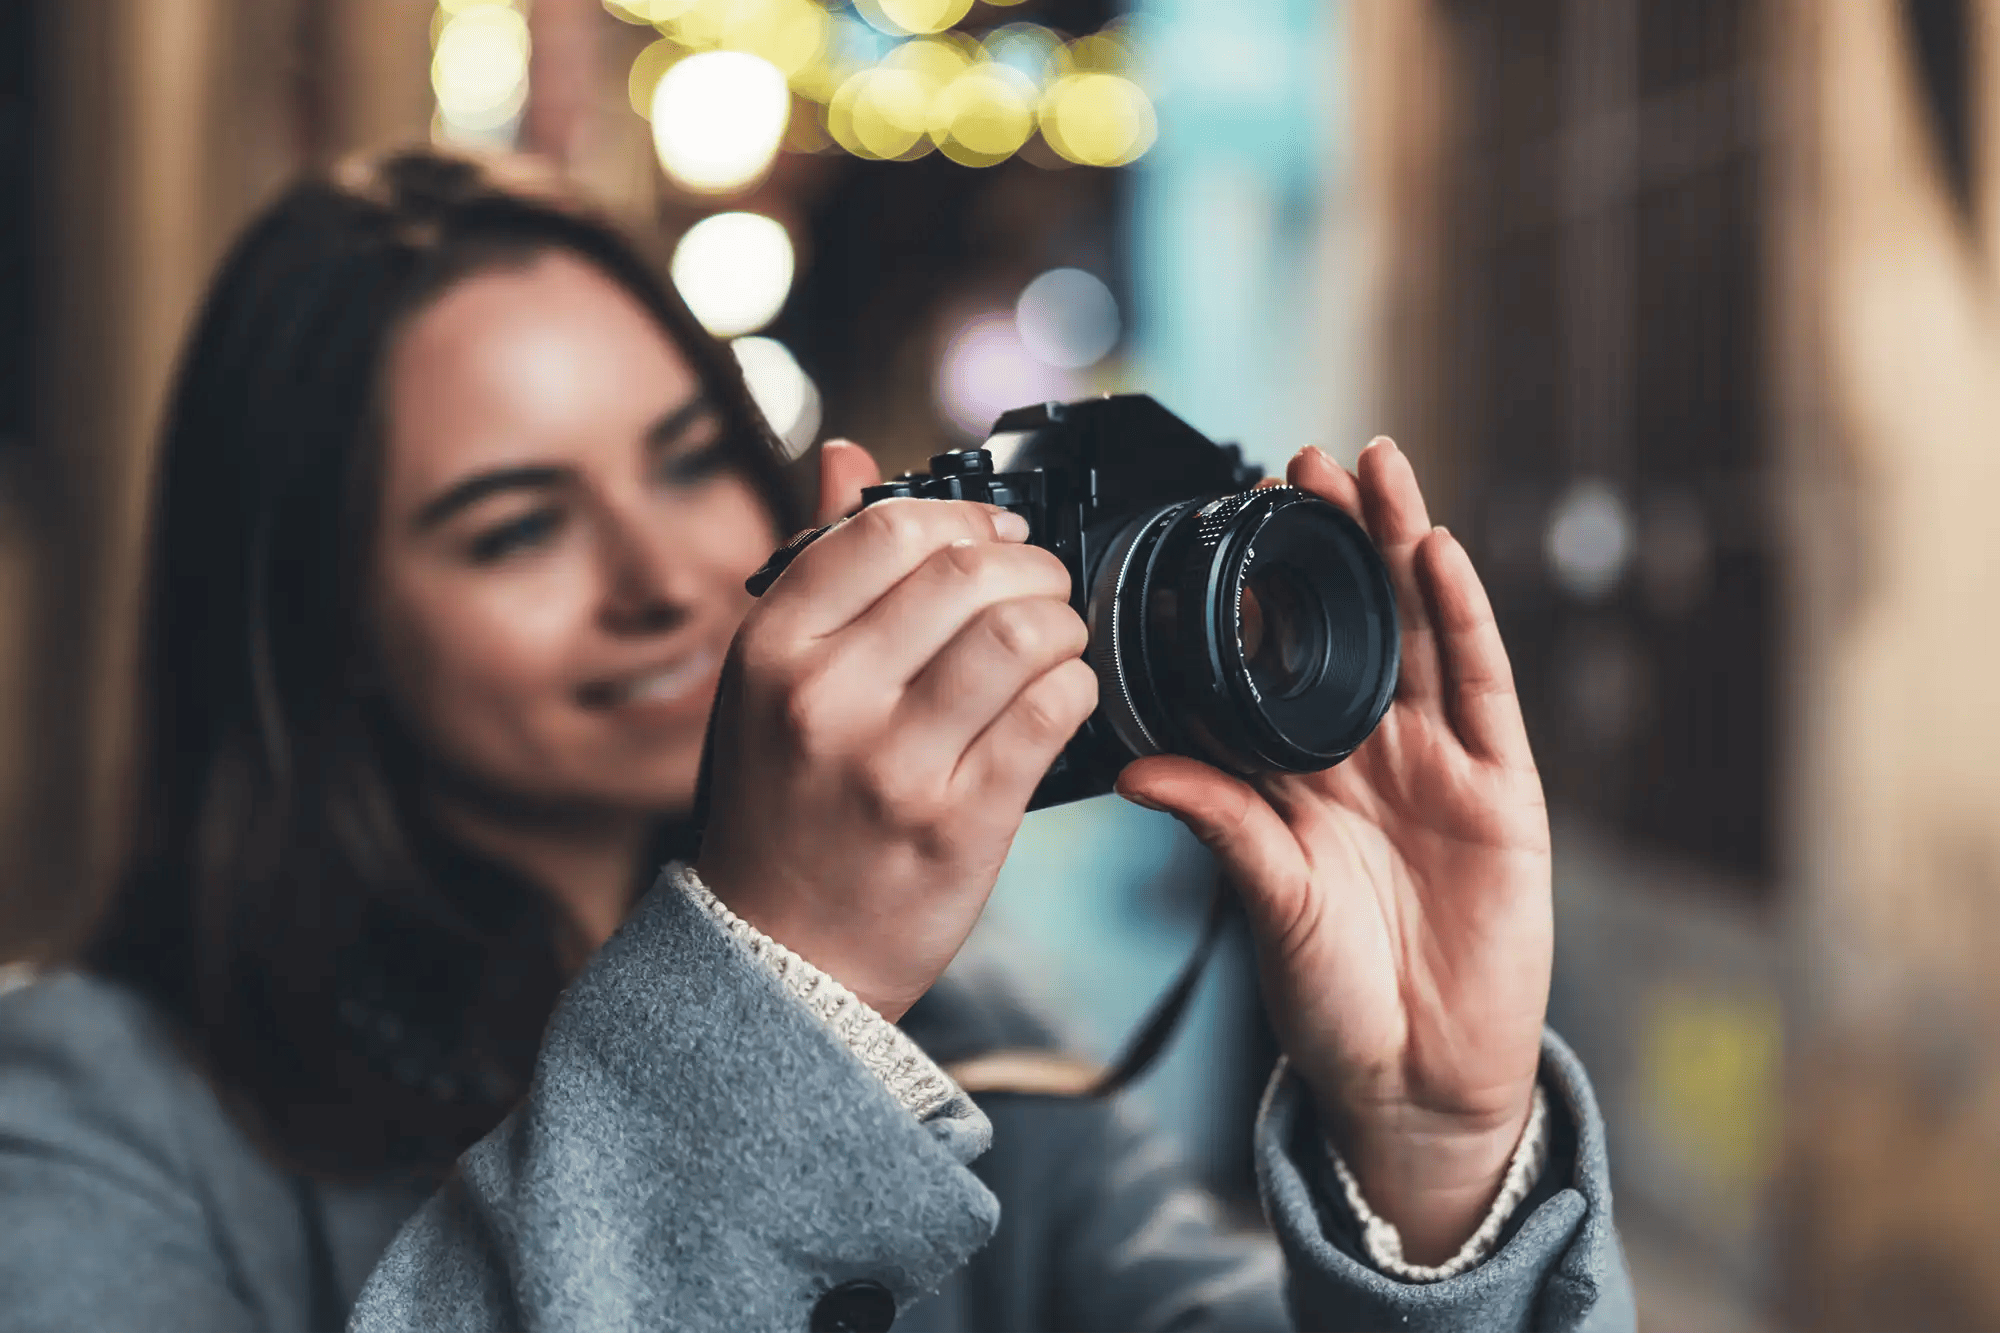
Night photography is a captivating and rewarding genre that allows you to capture the beauty and mystery of the world after dark. Whether you’re intrigued by cityscapes aglow with neon lights, starry night skies, or the tranquil serenity of moonlit landscapes, night photography offers a world of creative possibilities.
In this comprehensive guide, I’ll take you through the essential tips and techniques for beginners to start shooting nighttime photos. Whether you’re pointing your camera down on the streets, or up to the sky, we’ve got some great ideas for you.
I’ll also share with you the best camera tips to avoid noisy/grainy photos in the dark.

Night photography invites you to embrace the darkness as your canvas. Unlike daylight photography, where ample light is readily available, shooting at night requires a different approach. Understanding the interplay of light and shadow is crucial.
Familiarise yourself with your camera’s settings and functions, as well as concepts like exposure, shutter speed, aperture, and ISO, which play a pivotal role in night photography.
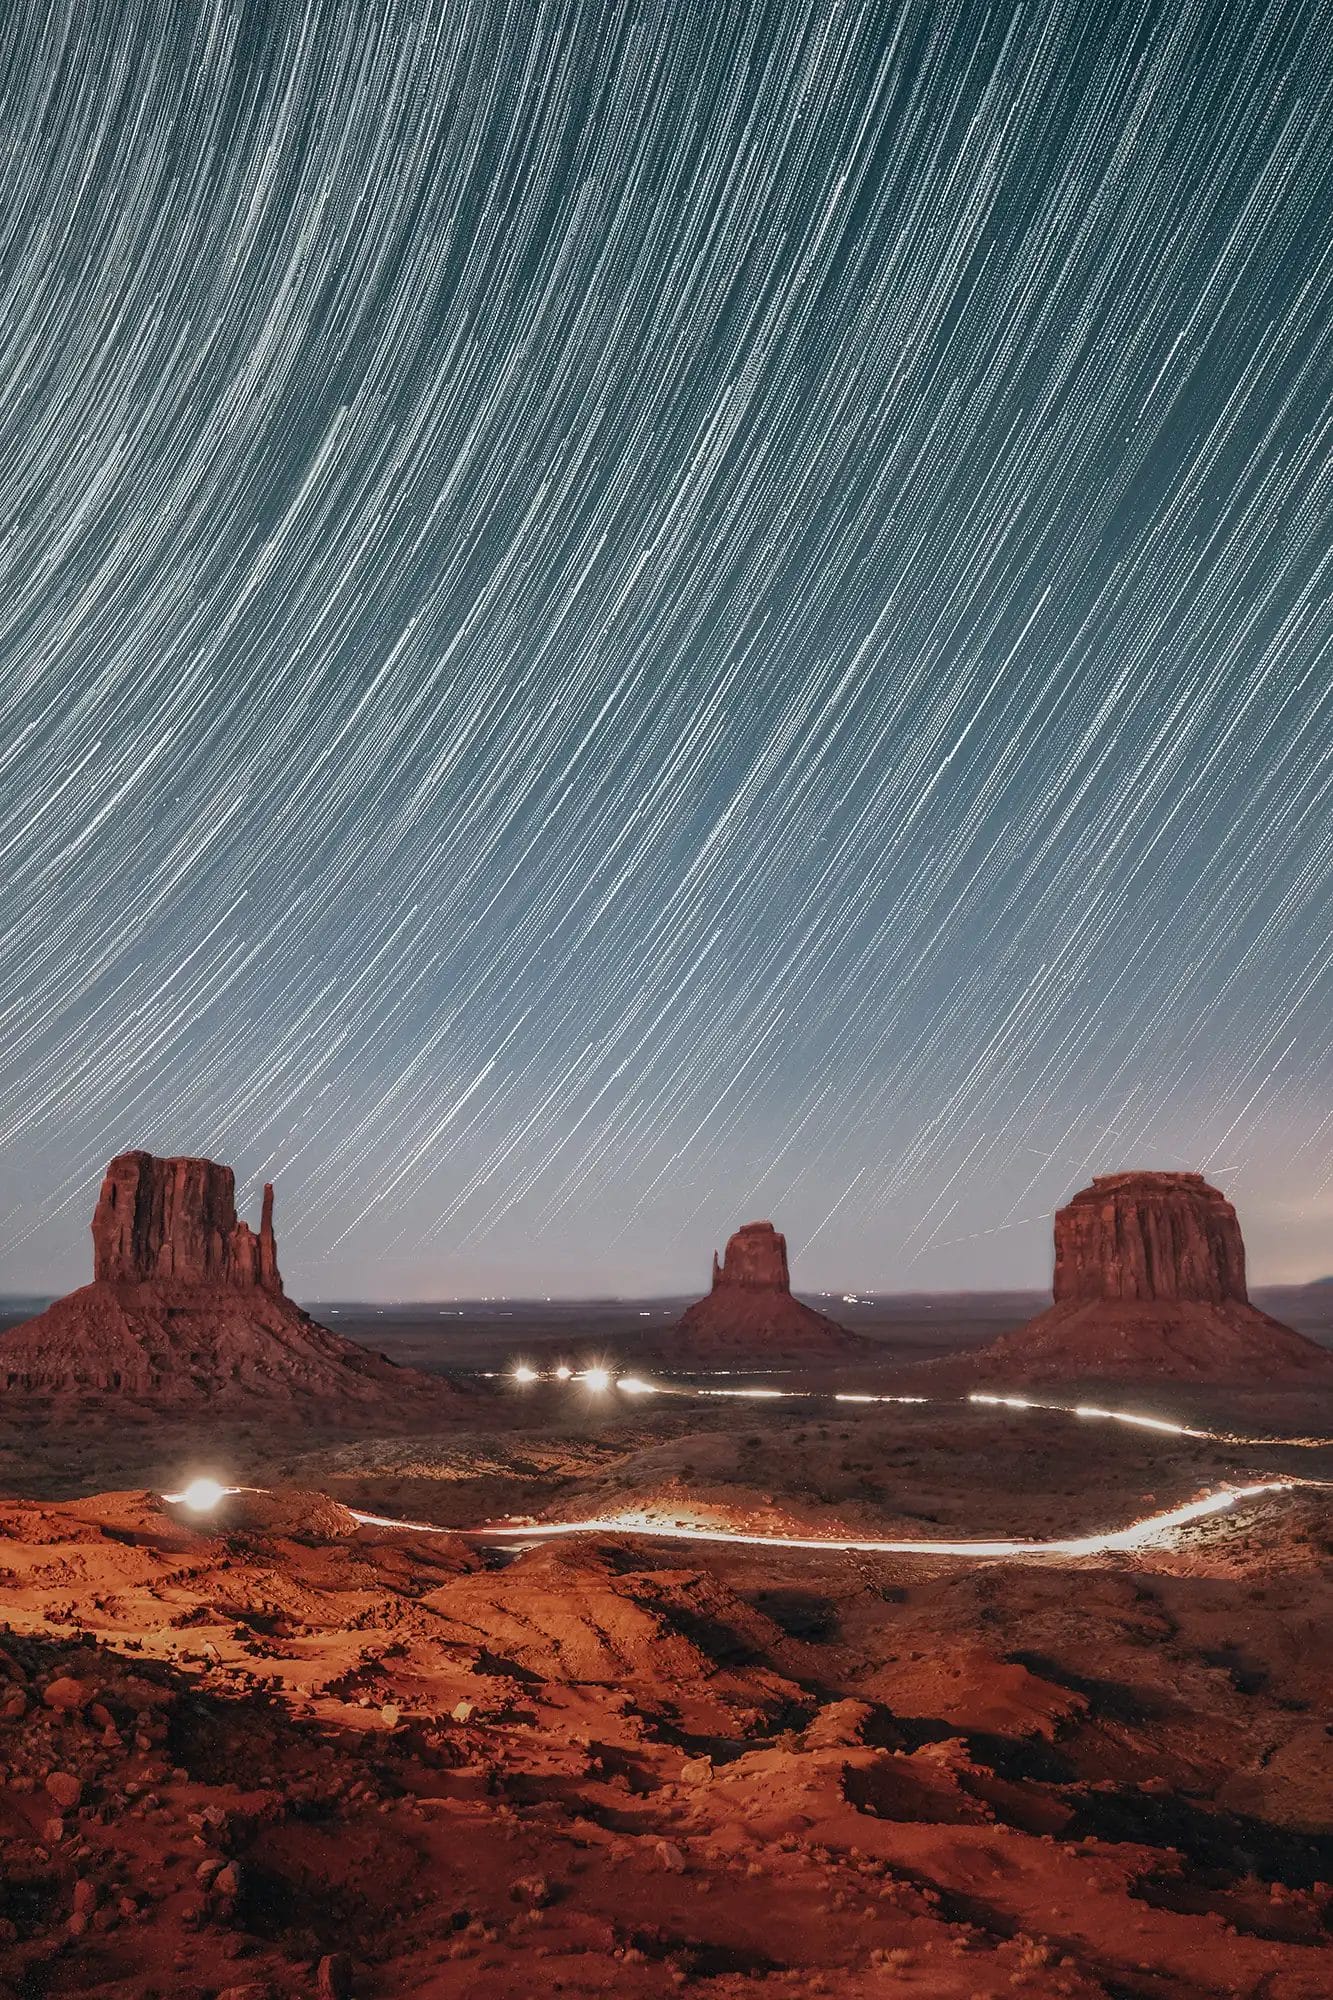
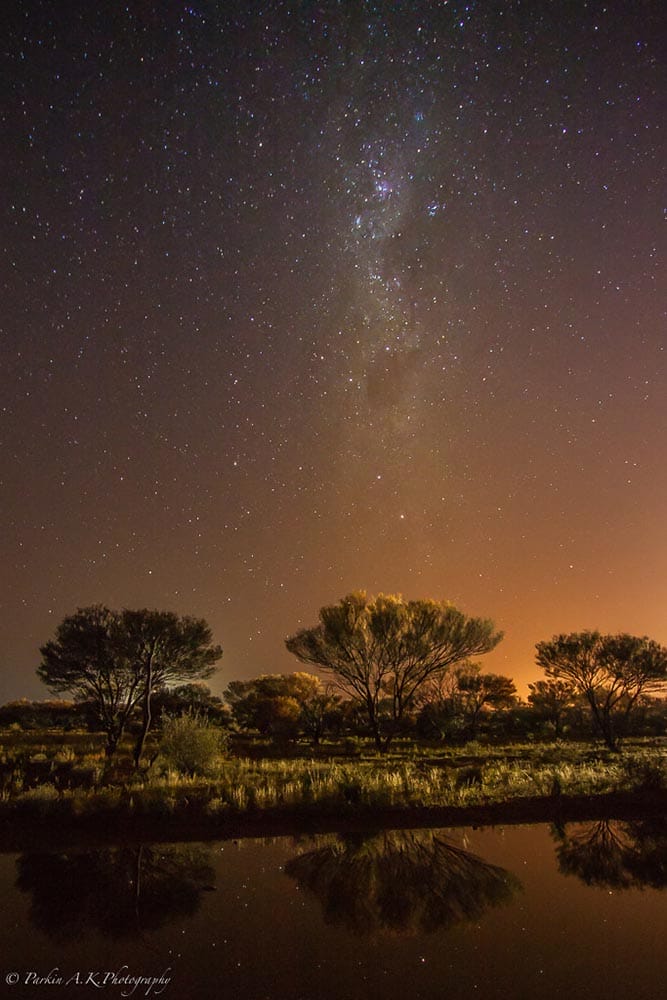
Starry night photography can yield breathtaking results, but planning is essential. Start by researching the best time and location for stargazing. Apps and websites like Stellarium and Dark Sky Finder can help you find dark, less light-polluted areas.
Check the moon phase, as a full moon can wash out fainter stars. Also, consider the weather forecast to avoid overcast skies.
To capture stunning star trails, set your camera on a tripod and use a wide-angle lens. Select a relatively low ISO, a small aperture (e.g., f/8 to f/16), and choose a long exposure time (e.g., 30 minutes to several hours).
Enable the “Bulb” mode or use a remote shutter release to control the exposure duration. Experiment with different compositions and framing to create captivating star trail patterns.
Read more Stair Trail Photography
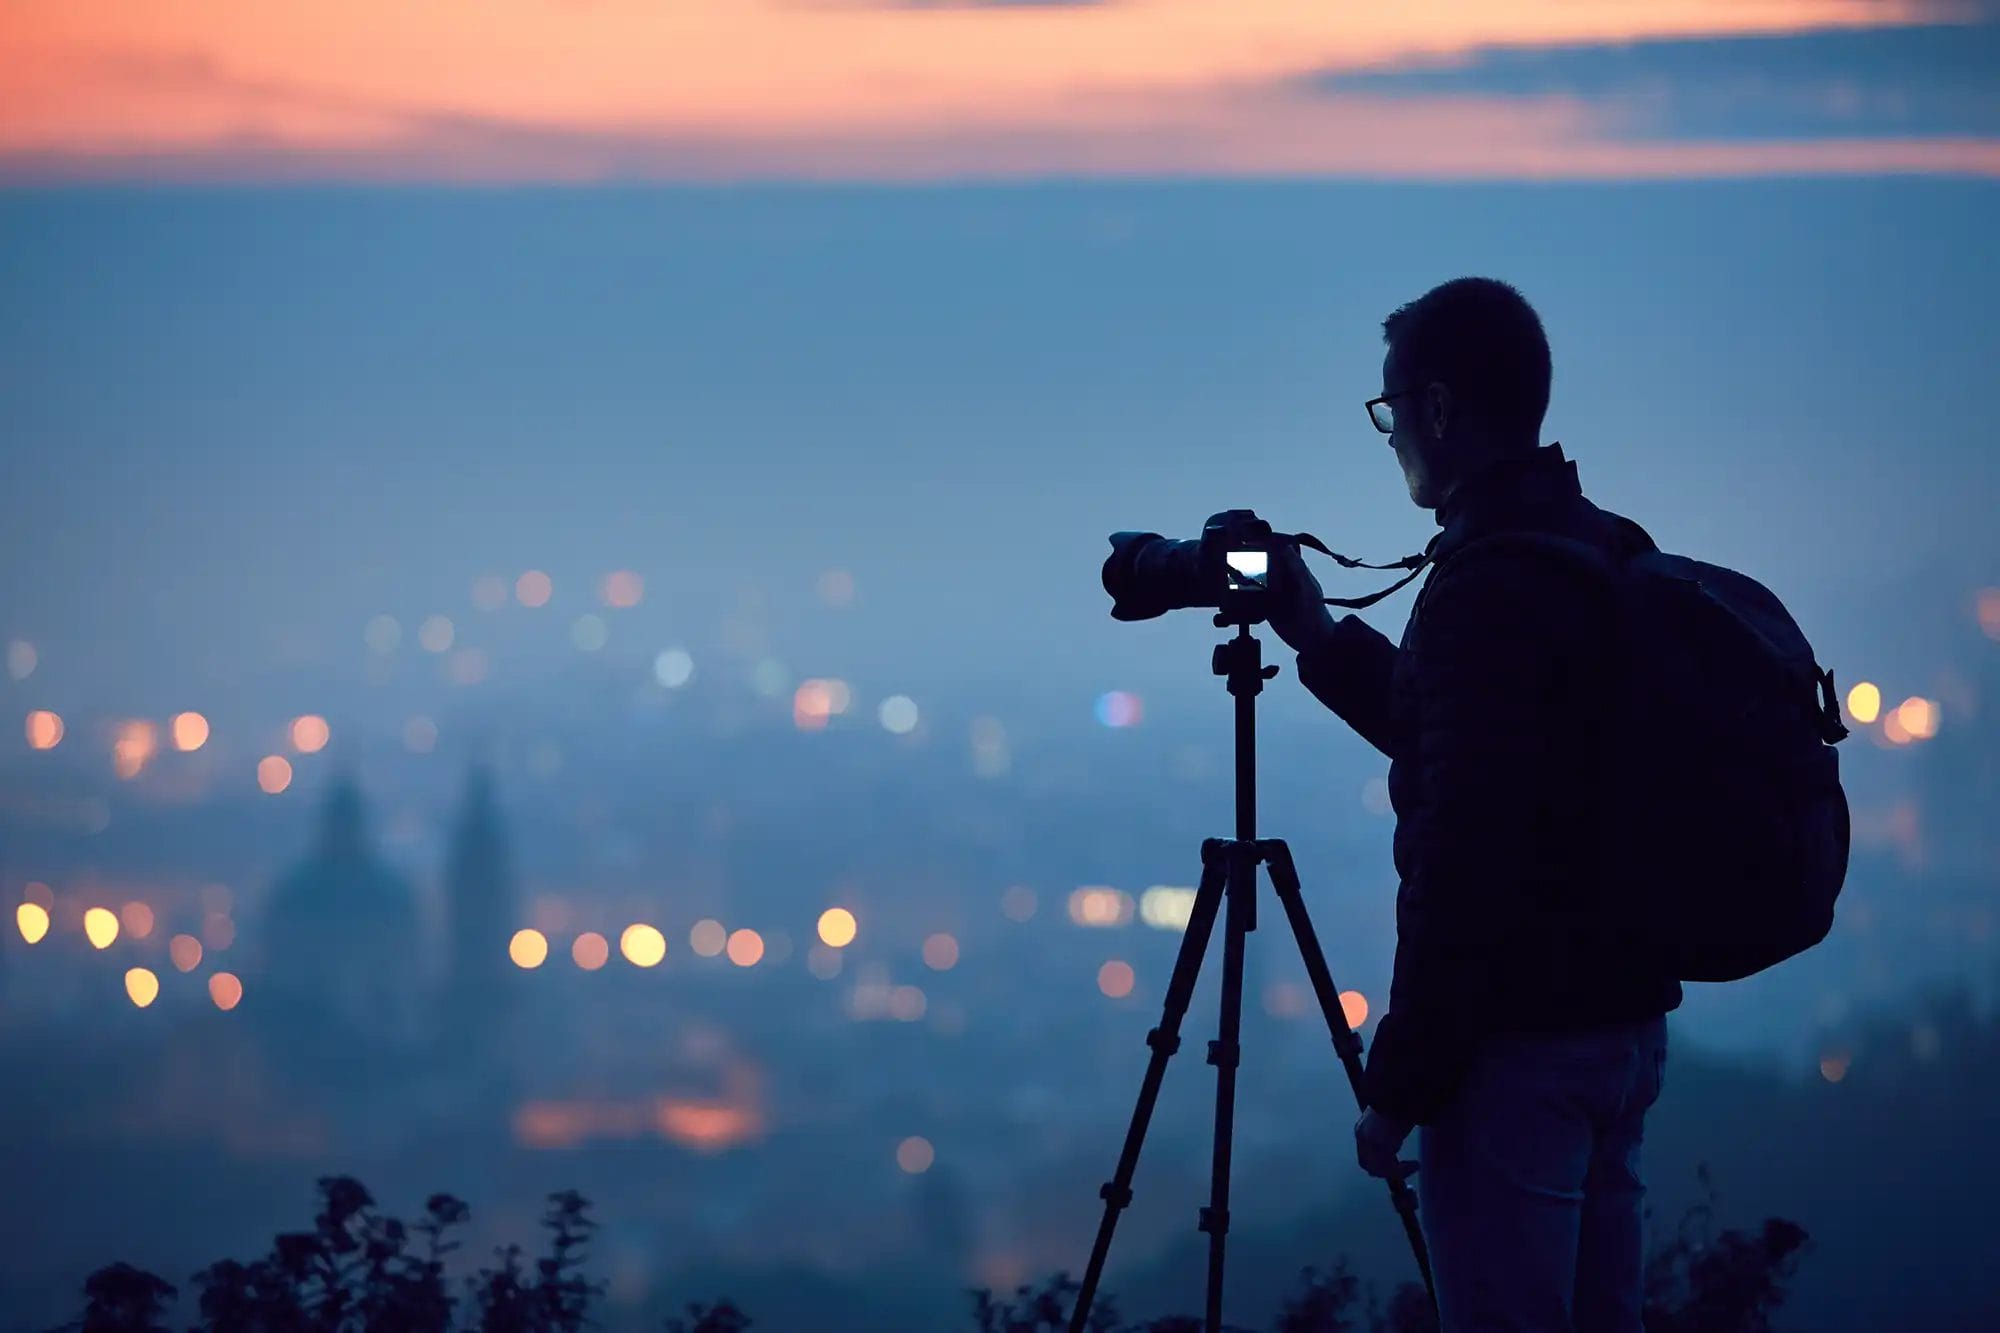
Cityscapes offer a wealth of opportunities for night photography. Choose a vantage point that showcases the city’s skyline and unique architectural features. Look for interesting foreground elements, such as bridges or water reflections, to add depth and character to your shots.
Consider safety when selecting your shooting location, especially if you plan to shoot in urban areas at night.
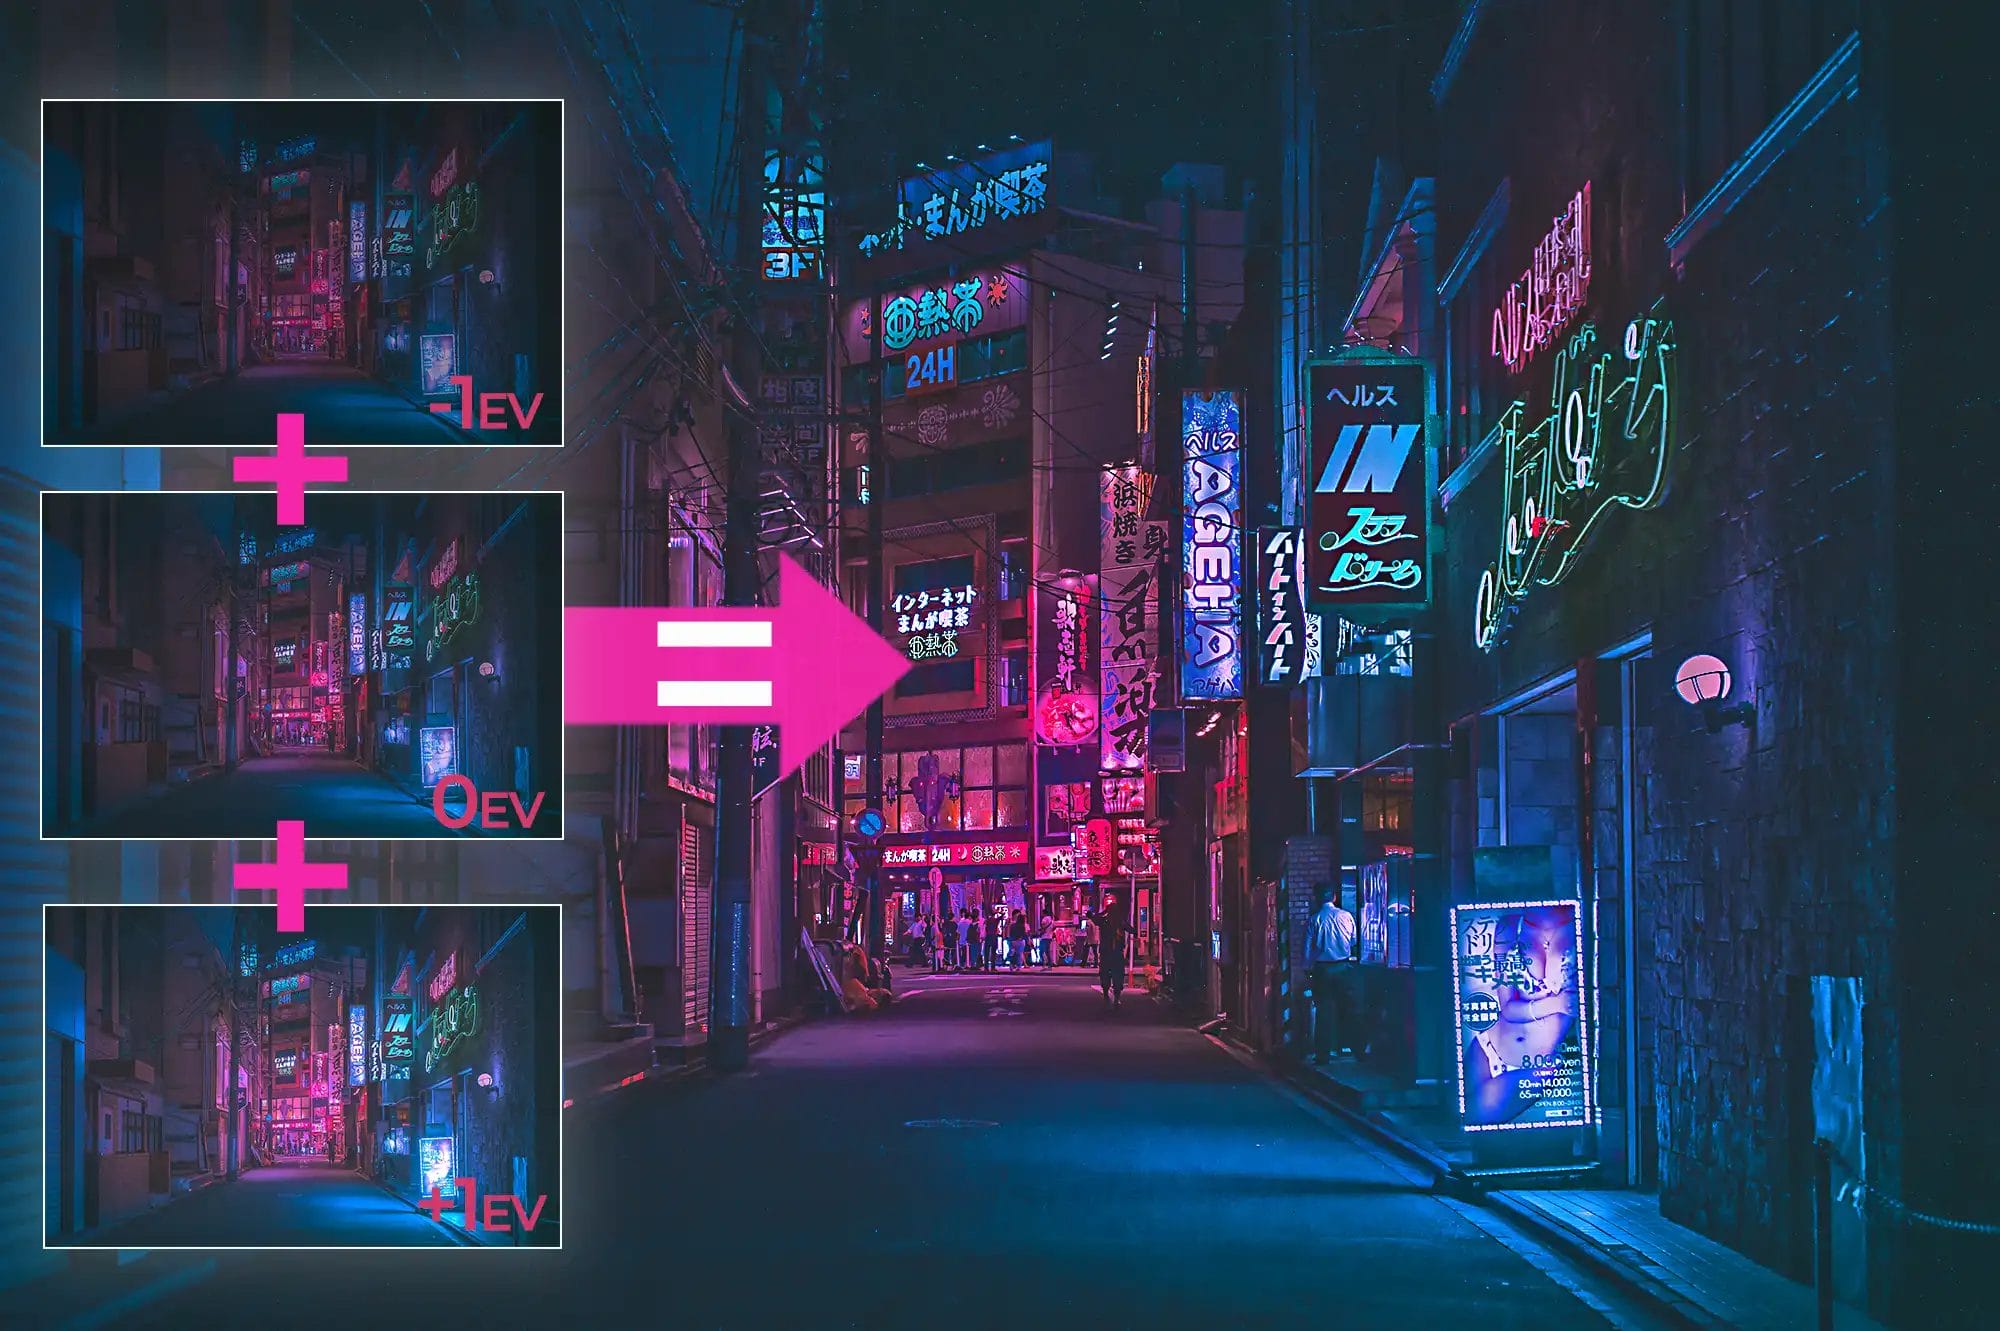
Cityscapes can present a challenge due to the contrast between brightly lit areas and dark shadows. To balance the exposure, use a technique called bracketing. Take multiple shots at different exposures, from underexposed to overexposed, and blend them in post-processing to create a perfectly exposed image. Alternatively, use graduated ND filters to control the light in specific areas of your frame.
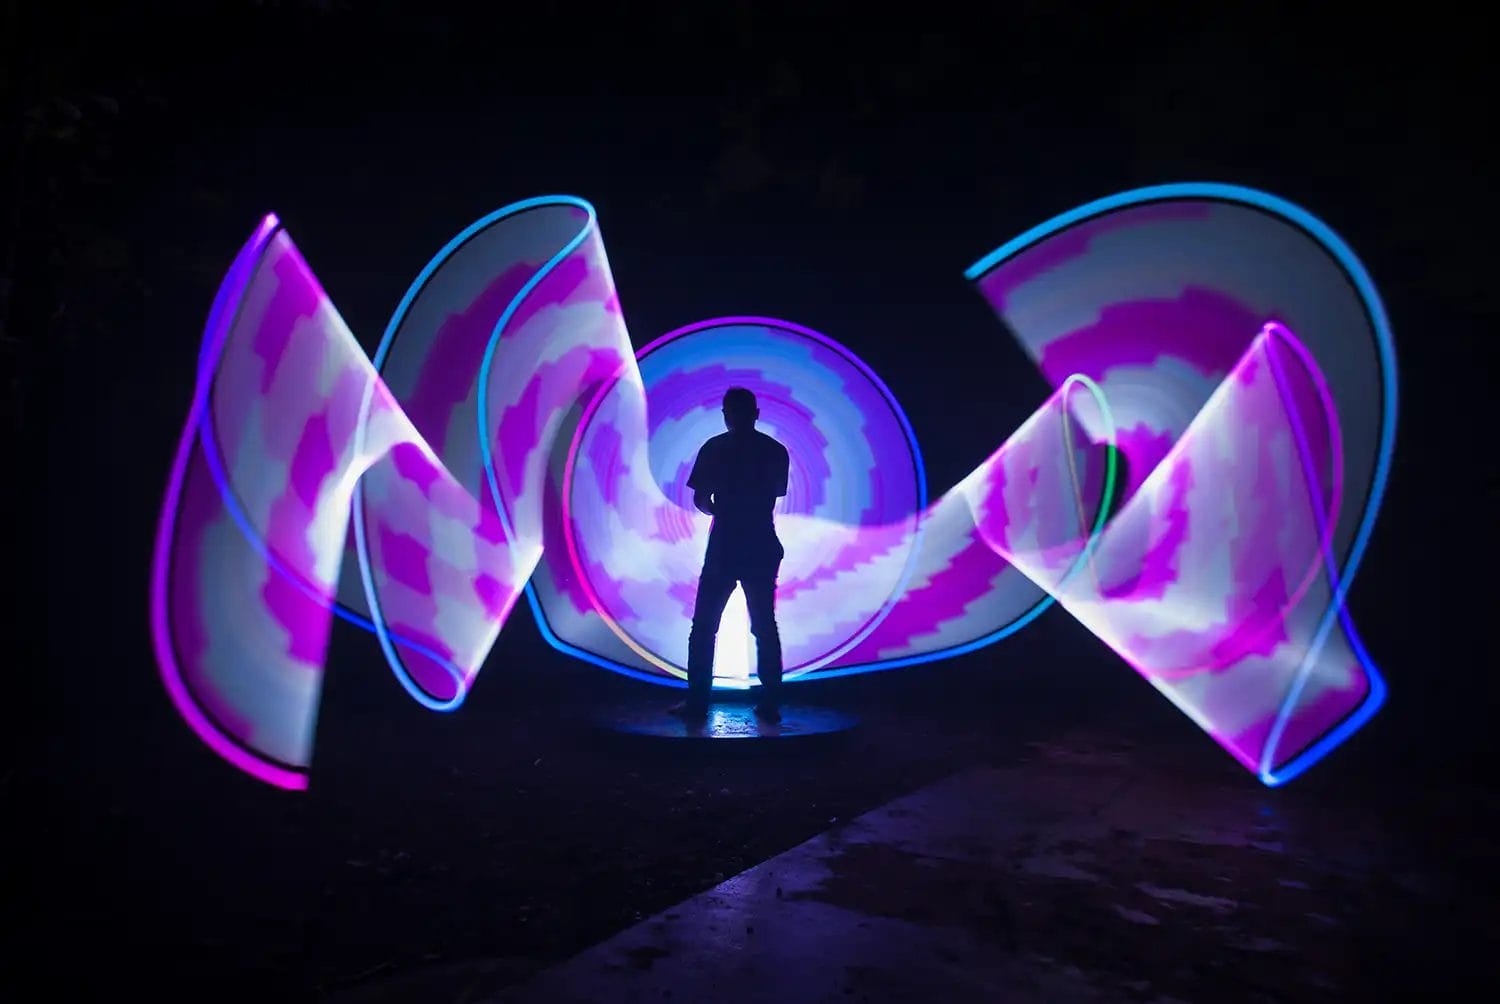
Light painting is a fascinating technique that allows you to become an artist with light as your brush.
It involves using various light sources, such as flashlights, LED wands, or even sparklers, to paint or draw patterns in the frame during a long exposure. The key is to work in a dark environment and experiment with different movements and colours to create unique and mesmerising effects.
To get started with light painting, set up your camera on a tripod in a dark location. Use manual focus to pre-focus on your subject or scene.
Begin the exposure with a remote shutter release, and while the shutter is open, use your light source to paint or draw in the frame. You’ll need to practise and experiment to achieve the desired results, but that’s where the fun and creativity of light painting come into play.
Post-processing is an integral part of night photography. Raw images often require adjustments to bring out their full potential. Use software like Adobe Lightroom or Photoshop to fine-tune exposure, contrast, and colour balance.
Pay attention to noise reduction, especially when shooting at higher ISO settings. Experiment with creative edits to enhance the mood and atmosphere of your night shots.
For astrophotography, consider using star stacking techniques. This involves taking multiple photos of the night sky and stacking them in post-processing to reduce noise and enhance star details.
Specialised software like DeepSkyStacker or Starry Landscape Stacker can simplify the process. Similarly, for cityscapes, use exposure blending to combine multiple shots at different exposures for a perfectly balanced image.
Night photography often takes you to remote or dimly lit locations, so prioritise safety. Inform someone about your shooting location and expected return time.
Carry essential safety gear, such as a flashlight, fully charged phone, and first aid kit. Be aware of your surroundings and avoid risky situations.
When shooting in natural settings, especially during astrophotography, be mindful of the environment. Follow the ‘Leave No Trace’ principles to minimise your impact on nature. Avoid disturbing wildlife and respect any park or location regulations regarding nighttime access.
Taking photos at night can be challenging, but with the right camera settings, you can capture stunning images while avoiding grainy pictures. Here are some camera setting tips for successful night photography:
1. Use a Tripod: To prevent camera shake during long exposures, always use a sturdy tripod. This ensures your camera remains stable, resulting in sharp images.
2. Shoot in Manual Mode: Switch your camera to Manual (M) mode to have full control over your settings. This allows you to adjust exposure settings precisely.
3. Low ISO Setting: Keep your ISO as low as possible (typically ISO 100 or 200) to reduce noise in your images. Low ISO settings produce cleaner, less grainy photos.
4. Wide Aperture: Use a wide aperture (small f-number) like f/2.8 or f/1.8 to allow more light to enter the lens. A wider aperture helps you maintain faster shutter speeds.
5. Long Shutter Speed: For night shots, use longer shutter speeds to capture enough light. Start with a shutter speed of 15-30 seconds and adjust as needed. Use a remote shutter release or the camera’s built-in timer to prevent shaking when pressing the shutter button.
6. Shoot in RAW: If your camera allows it, shoot in RAW format. RAW files contain more data and provide greater flexibility in post-processing, reducing the risk of noise.
7. Enable Noise Reduction: Most cameras offer in-camera noise reduction settings. Activate long exposure noise reduction to reduce grain caused by high ISO settings.
8. Manual Focus: Autofocus may struggle in low-light conditions. Switch to manual focus and use the Live View mode on your camera’s LCD screen to achieve precise focus.
9. Use Image Stabilisation (IS): If your lens or camera has image stabilisation, make sure it’s turned on. IS helps compensate for minor vibrations, especially when shooting handheld.
10. Bracketing: Consider using exposure bracketing to capture multiple shots at different exposures. You can blend these images in post-processing to create a well-exposed final photo.


11. Shoot in Bulb Mode: For very long exposures, use Bulb mode and a remote shutter release. This mode allows you to control the duration of the exposure manually.
12. Consider Light Sources: Pay attention to the available light sources, such as streetlights or the moon. Utilise them creatively in your compositions.
13. Experiment with White Balance: Experiment with different white balance settings to achieve the desired colour temperature in your night photos. You can adjust it further during post-processing.
14. Test Your Settings: Take test shots and review the results on your camera’s LCD screen. Adjust your settings as needed to achieve the desired exposure and minimise noise.
15. Post-Processing: Use software like Adobe Lightroom or Photoshop to fine-tune your night photos. You can apply noise reduction, adjust exposure, and enhance details during post-processing.
By applying these camera settings and techniques, you can improve your night photography and reduce the chances of getting grainy pictures. Remember that practice makes perfect, so don’t be afraid to experiment and refine your skills to capture breathtaking night shots.
(iPhotography may make small commissions from links in this article.)

Discover TOP features in the Lightroom CC mobile app with this guide for enhancing your photo editing skills. For desktop and tablet too.

Shooting sunsets using amazing 5-in-1 magnetic lens filters from Kentfaith, the 1st choice for photo & video products.

Popular memory cards for photography – what’s the best SD card for your digital camera? Choose the right capacity and class speed in our guide
Learn the basics of photography – fast – with our FREE 60-Second Photographer online course. Each class is short and sharp with simple, actionable steps that give you immediate results.
x 30 lessons

© iPhotography™
Become a confident and competent photographer in less than 30 minutes!
Before you leave, make sure you’ve secured your FREE online photography course (worth £29.99)
Each class is just 60-seconds or less making it the fastest and easiest way to learn photography!