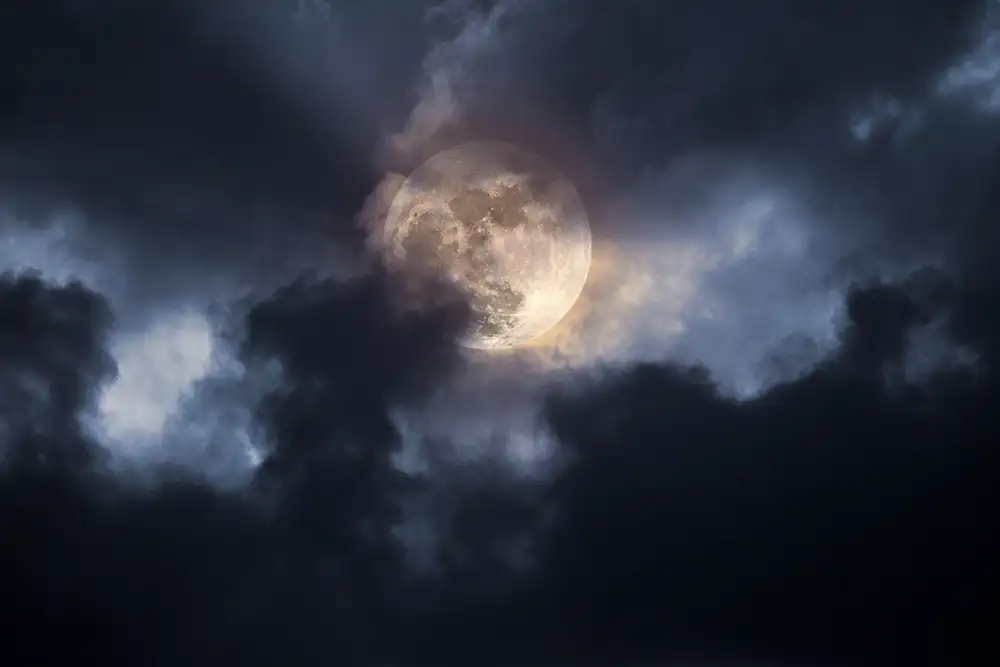
Capturing the moon in all its glory through the lens of your camera can be a mesmerising and rewarding experience. Whether you’re an aspiring astrophotographer or simply want to add stunning lunar shots to your photography repertoire, this technical guide on “How to Photograph the Moon” will equip you with the knowledge and skills to achieve captivating results.
From choosing the right gear to mastering exposure settings, we’ll walk you through the step-by-step process of capturing the moon’s beauty.
To embark on your lunar photography journey, you’ll need the right equipment. While you don’t necessarily need a top-of-the-line camera, certain gear is essential. First and foremost, invest in a sturdy tripod to ensure stability during long exposures.
A telephoto lens with a focal length of at least 200mm will allow you to capture the moon in detail. Additionally, a remote shutter release or cable release is handy to minimise camera shake when taking shots.
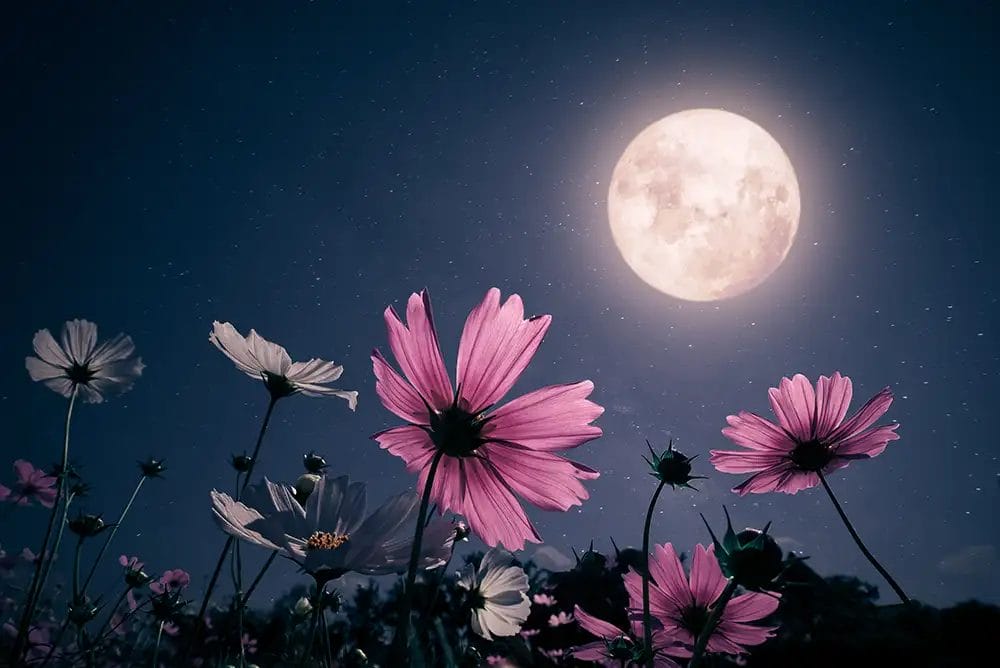
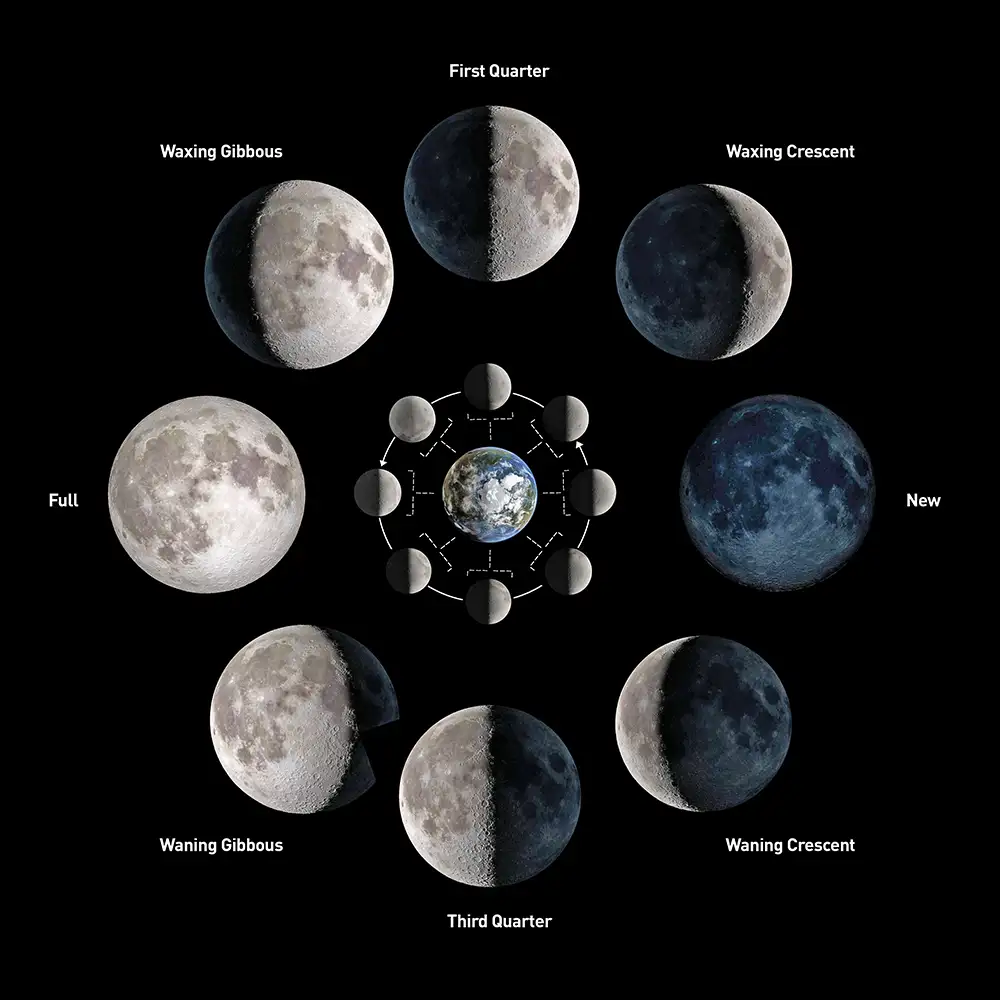
Before you start planning your moon photography, it’s crucial to understand the lunar phases. Different phases of the moon present varying lighting conditions and opportunities for capturing unique shots.
The most popular phases for moon photography are the full moon and the crescent moon. The full moon provides even illumination, while the crescent moon offers dramatic shadows along its terminator (the line separating day and night on the moon’s surface).
Timing is everything in moon photography. Plan your shoot around moonrise and moonset times, as these moments offer excellent opportunities for capturing the moon near the horizon. The moon appears larger when it’s closer to the Earth’s surface, creating a captivating visual effect.
Selecting the right location is equally important. Look for spots with minimal light pollution and a clear view of the eastern or western horizon, depending on whether you’re shooting the moonrise or moonset. Consider scouting locations in advance to ensure you have an unobstructed view of the moon’s path.
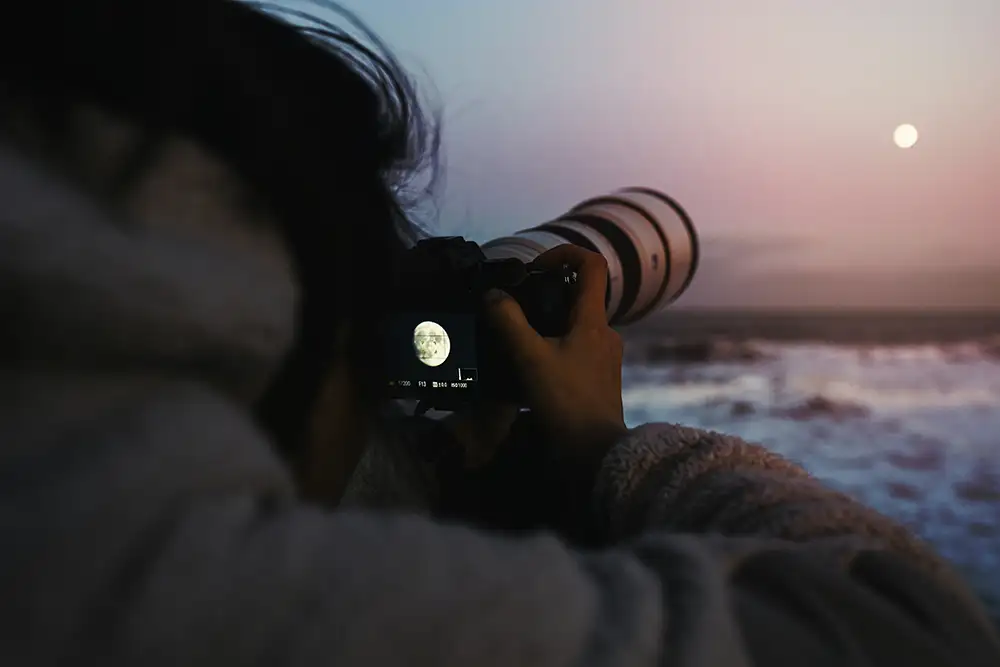
To have full control over your moon shots, switch your camera to manual mode (M). This allows you to adjust the settings precisely according to the lighting conditions and your desired outcome.
Set your aperture to a relatively small F/8 to F/11 for sharpness and depth of field. As for ISO, keep it as low as possible (typically ISO 100 or 200) to reduce noise and maintain image quality. Lower ISO values require longer exposure times, so a stable tripod is essential.
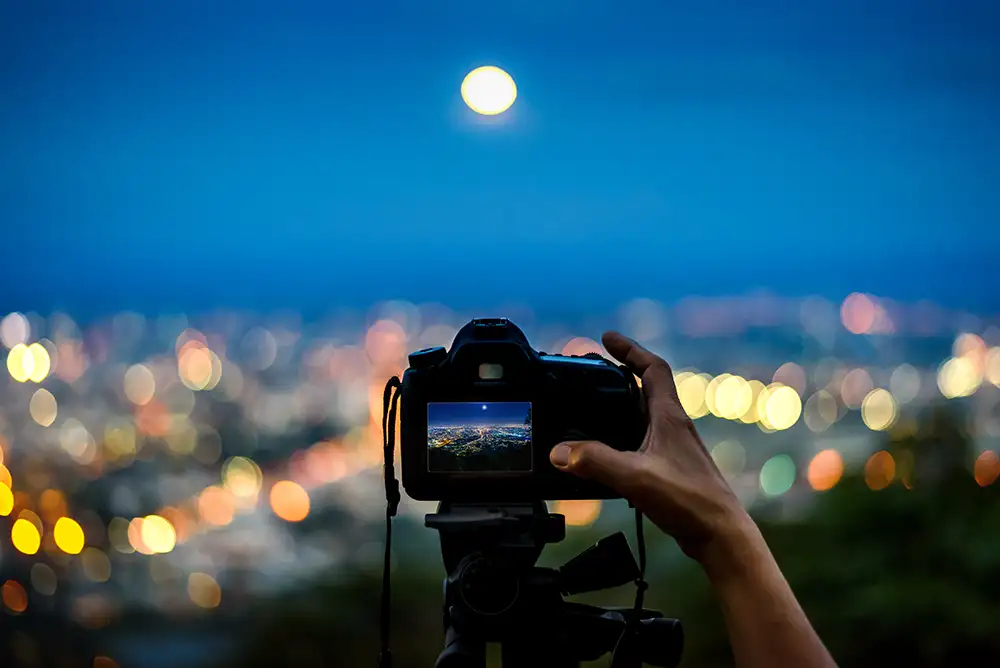
Achieving sharp focus on the moon can be challenging due to its distant and featureless surface. One effective method is to use manual focus. Set your lens to manual focus mode and zoom in on the moon in your camera’s live view mode. Fine-tune the focus until the moon’s surface details appear crisp.
Alternatively, you can use autofocus with a reference point. Aim your camera at a bright star or planet near the moon, focus on that point, and then switch back to shooting the moon. This technique can be especially useful when the moon is high in the sky.
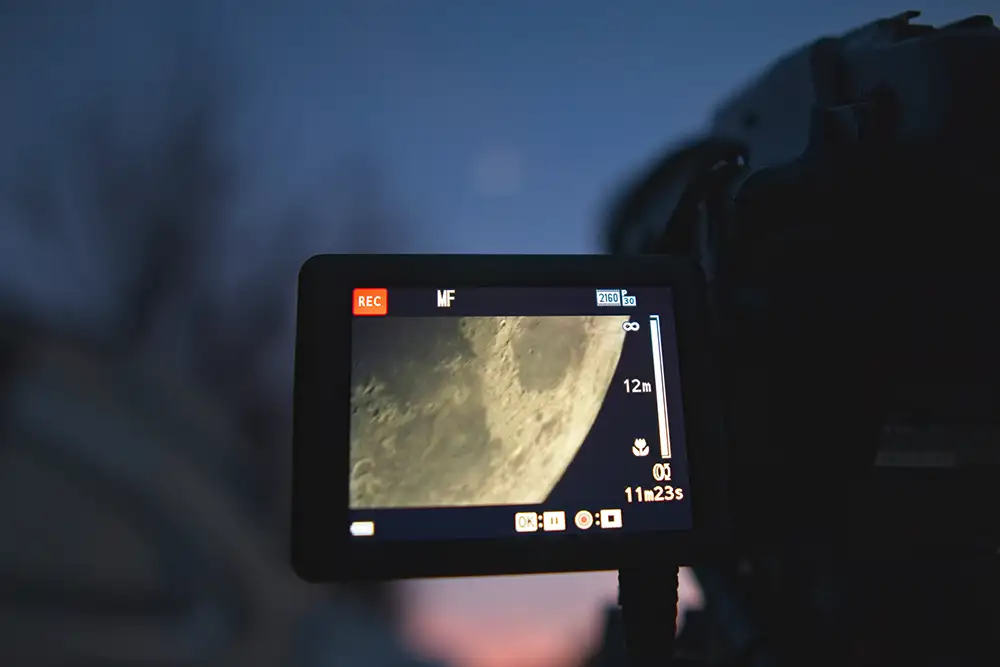
Determining the right shutter speed is crucial in moon photography. Since the moon is illuminated by direct sunlight, you can start with a relatively fast shutter speed, such as 1/125 or 1/250 seconds, at low ISO settings. Adjust your shutter speed as needed to achieve the desired exposure.
To ensure you capture a range of exposures, consider using exposure bracketing. This involves taking multiple shots at different exposures, including one at the recommended settings, one slightly underexposed, and one slightly overexposed. This technique gives you flexibility in post-processing to select the best-exposed image.
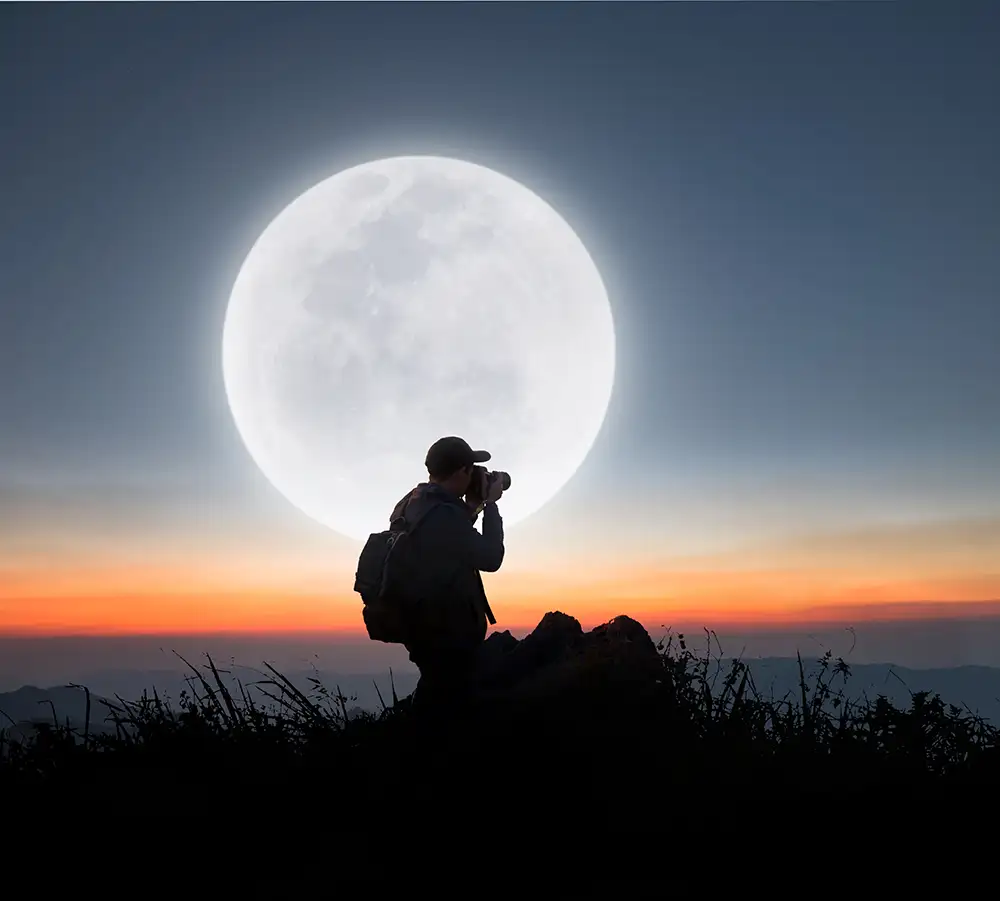
After capturing your moon photos, post-processing is the final step in bringing out their full potential. Use software like Adobe Lightroom or Photoshop to fine-tune your images. You can adjust exposure, contrast, sharpness, and colour balance to enhance the moon’s details.
For even sharper and more detailed moon shots, consider image stacking. This involves taking multiple shots of the moon and combining them using specialised software. Image stacking reduces noise and enhances clarity, resulting in stunning lunar photographs.
By following these steps and practising regularly, you can master the art of moon photography and capture the moon’s beauty in all its celestial glory. Remember that patience and persistence are key, as lunar photography can be both challenging and incredibly rewarding.
Whether you’re shooting the moon as a standalone subject or incorporating it into your landscape photography, the moon’s mystique and allure make it a captivating subject for photographers of all levels.
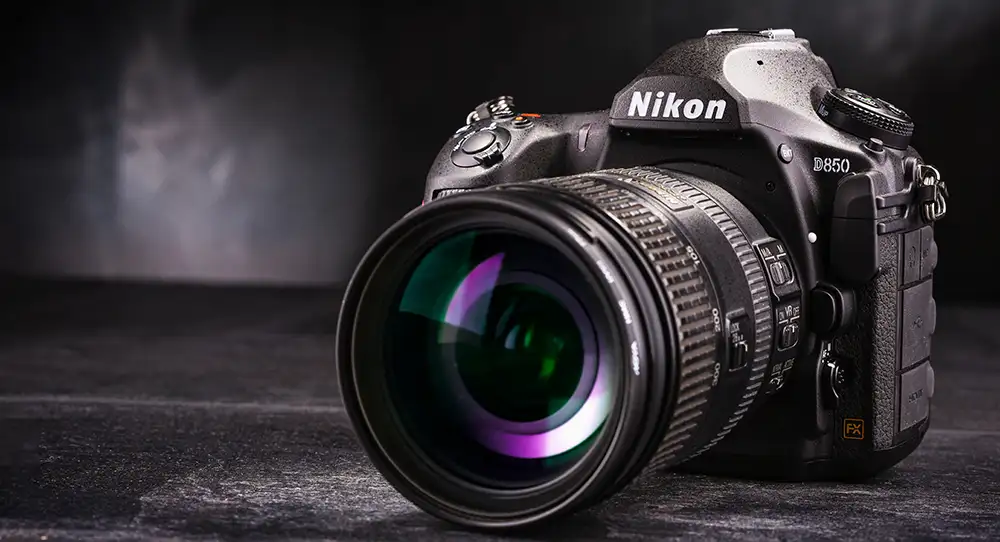
The Nikon D850 is a full-frame DSLR camera known for its exceptional image quality and high resolution. With a 45.7-megapixel sensor, it offers excellent detail and dynamic range, making it an excellent choice for lunar photography. Pair it with a telephoto lens, and you can capture the moon’s surface in incredible detail.
Recommended Lens: Nikon AF-S NIKKOR 200-500mm f/5.6E ED VR
This telephoto zoom lens provides the focal length needed to capture the moon effectively. The Vibration Reduction (VR) feature helps stabilise your shots, especially when using long focal lengths.
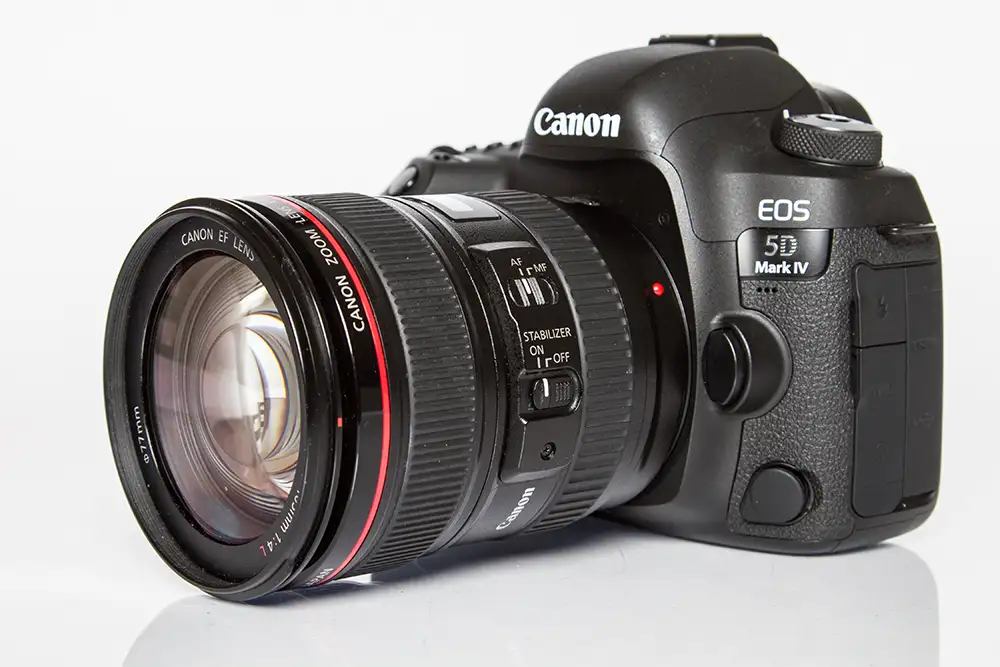
The Canon EOS 5D Mark IV is another full-frame DSLR camera with a 30.4-megapixel sensor. It delivers exceptional image quality and performs well in low-light conditions, making it an ideal choice for moon photography. The camera’s Live View mode is handy for precise focusing.
Recommended Lens: Canon EF 100-400mm f/4.5-5.6L IS II USM
This versatile zoom lens allows you to adjust your composition and focal length as needed. The Image Stabilisation (IS) feature helps reduce camera shake, ensuring sharp moon shots.
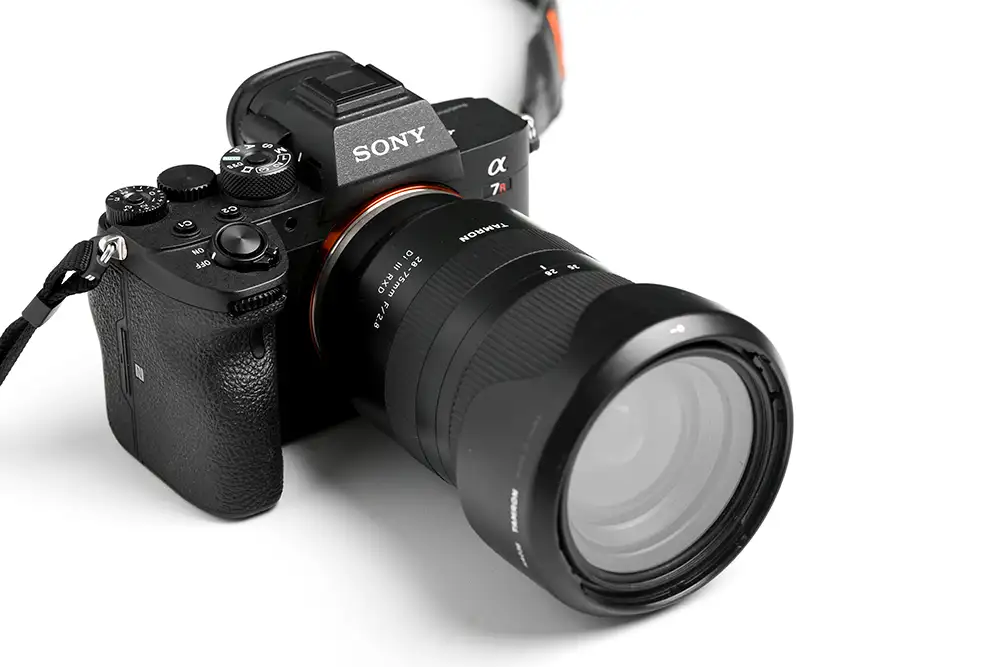
The Sony Alpha a7R IV is a full-frame mirrorless camera with a whopping 61-megapixel sensor. It offers impressive resolution and low-light performance, making it an excellent choice for capturing detailed lunar images. Its electronic viewfinder and in-body image stabilisation are advantageous for lunar photography.
Recommended Lens: Sony FE 200-600mm f/5.6-6.3 G OSS
This telephoto zoom lens provides the reach needed for lunar photography.
Optical SteadyShot (OSS) stabilisation helps minimise image blur caused by camera shake.
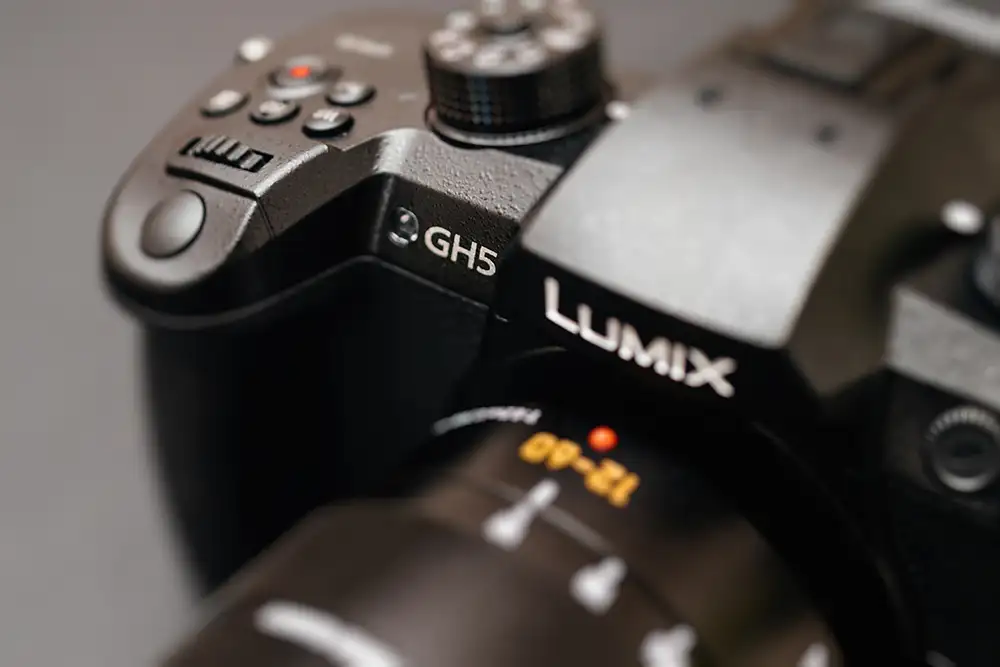
The Panasonic Lumix GH5 is a micro four-thirds mirrorless camera known for its 4K video capabilities and fast autofocus. While it has a smaller sensor than full-frame cameras, its 20.3-megapixel sensor is still capable of delivering impressive lunar images. Its compact size makes it suitable for astrophotographers on the go.
Recommended Lens: Panasonic Leica DG Vario-Elmar 100-400mm f/4-6.3 ASPH. POWER O.I.S.
This micro four-thirds telephoto zoom lens offers a focal length equivalent to 200-800mm in full-frame terms.
The Optical Image Stabilization (O.I.S.) feature helps maintain sharpness during handheld shots.
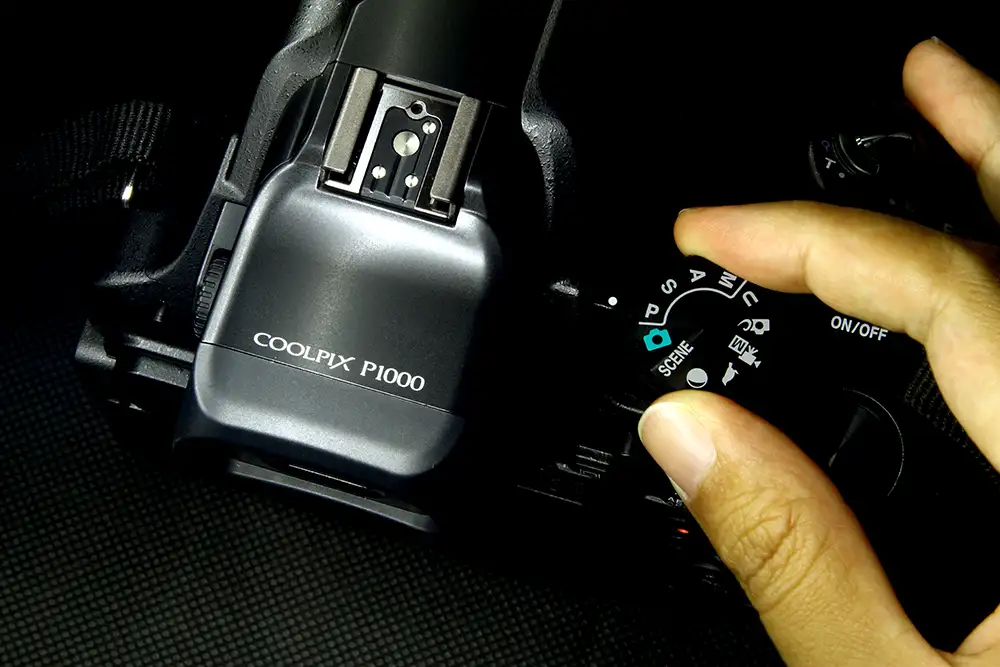
For those who prefer a compact camera with an impressive zoom range specifically designed for moon photography, the Nikon P1000 is an excellent choice.
It features an astonishing 125x optical zoom, equivalent to 24-3000mm, making it one of the most powerful zoom cameras available. It’s perfect for capturing lunar details and can be a more affordable option compared to a DSLR or mirrorless setup.
These cameras, paired with the recommended lenses, offer a range of options for capturing stunning moon photos. Remember that the choice of camera and lens should also consider your budget, preferences, and photography goals.
Additionally, investing in a sturdy tripod and a remote shutter release can further enhance your moon photography by minimising camera shake during long exposures.
(iPhotography may make small commissions from links in this article.)
Discover TOP features in the Lightroom CC mobile app with this guide for enhancing your photo editing skills. For desktop and tablet too.
Shooting sunsets using amazing 5-in-1 magnetic lens filters from Kentfaith, the 1st choice for photo & video products.
Popular memory cards for photography – what’s the best SD card for your digital camera? Choose the right capacity and class speed in our guide
Learn the basics of photography – fast – with our FREE 60-Second Photographer online course. Each class is short and sharp with simple, actionable steps that give you immediate results.
x 30 lessons

© iPhotography™
Become a confident and competent photographer in less than 30 minutes!
Before you leave, make sure you’ve secured your FREE online photography course (worth £29.99)
Each class is just 60-seconds or less making it the fastest and easiest way to learn photography!