 Stephen Walton
Lens filters do lots of different jobs for photographers, knowing which one to use, how many to use and when to use them can seem a little confusing when there are so many options.
I’m going to give you a simple breakdown of lens filters for photographers, so you’ll have a better idea of which ones you need to use and when.
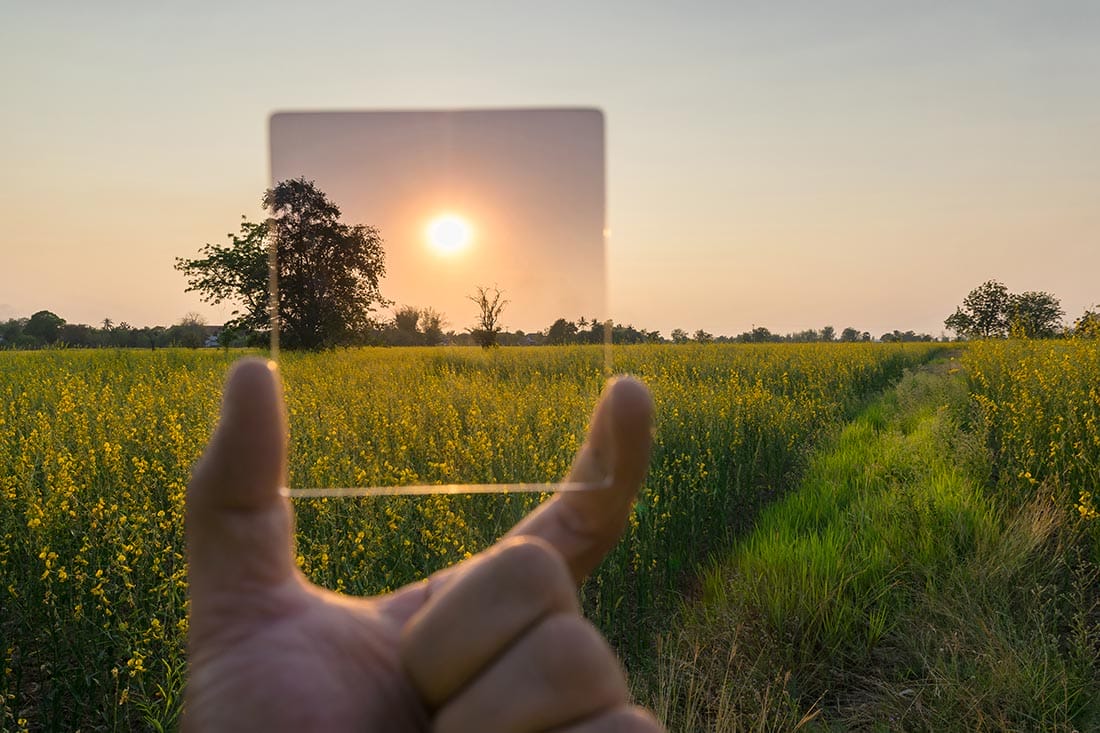
Lens filters are used, primarily by landscape photographers, to alter the brightness and contrast of light entering the lens. The use of filters helps photographers to stop bright skies from being overexposed as well as darkening scenes to capture long exposure photos during the daytime.
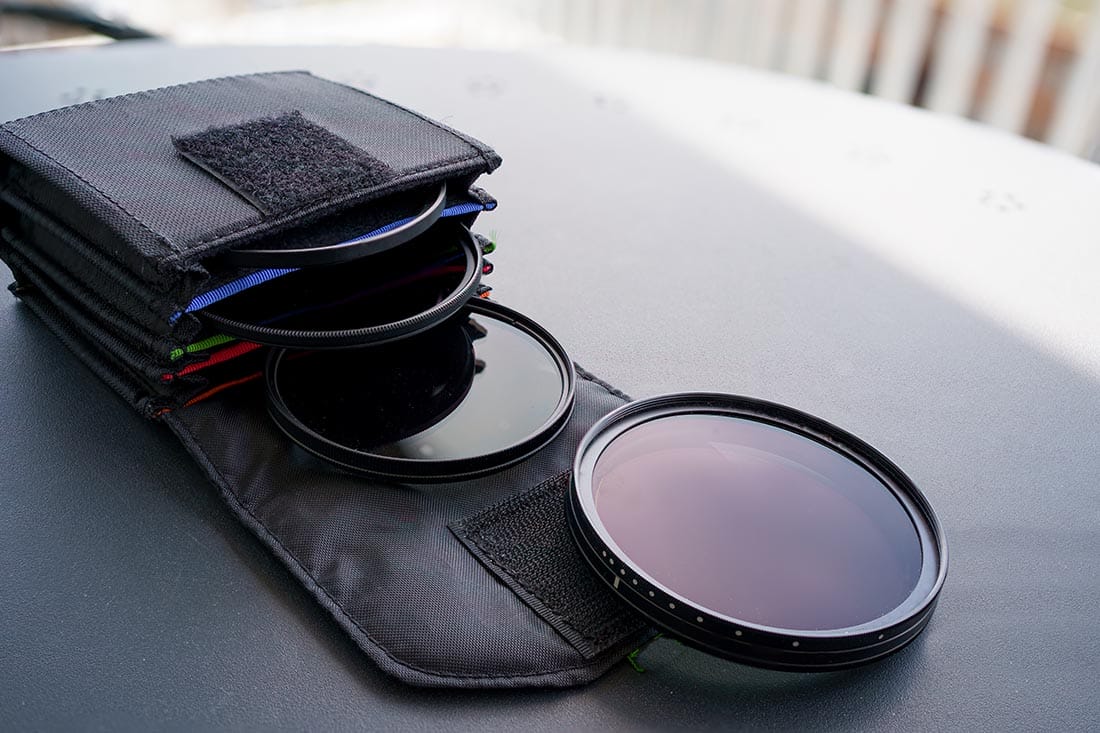
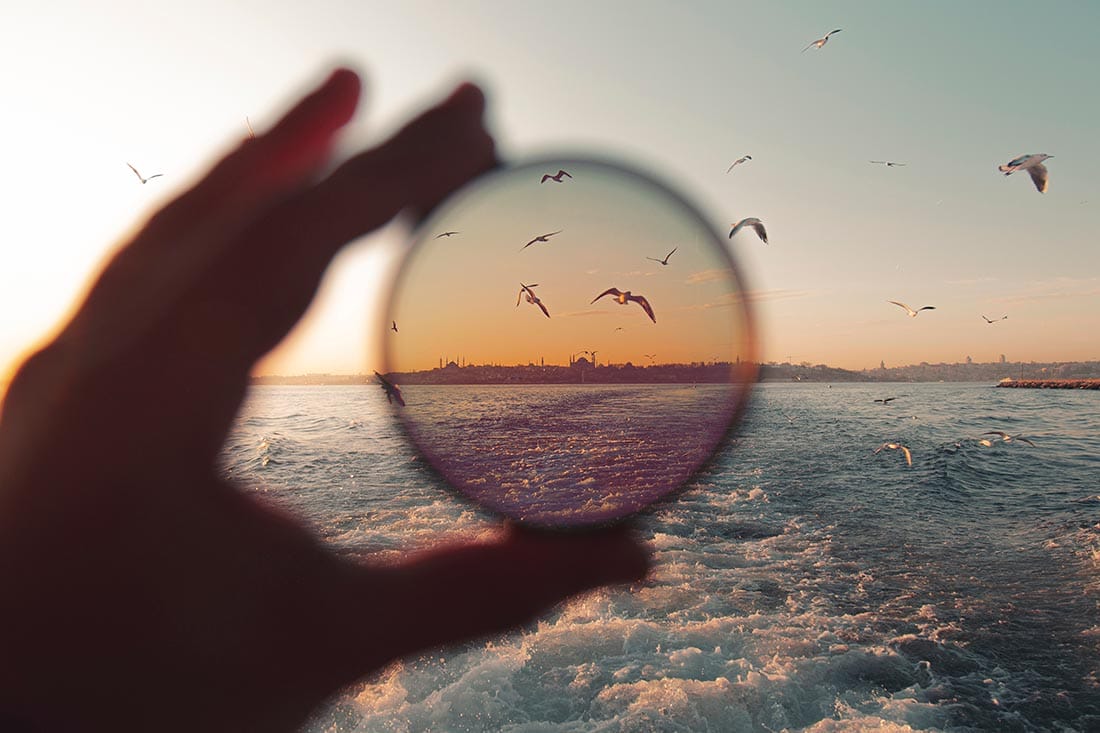
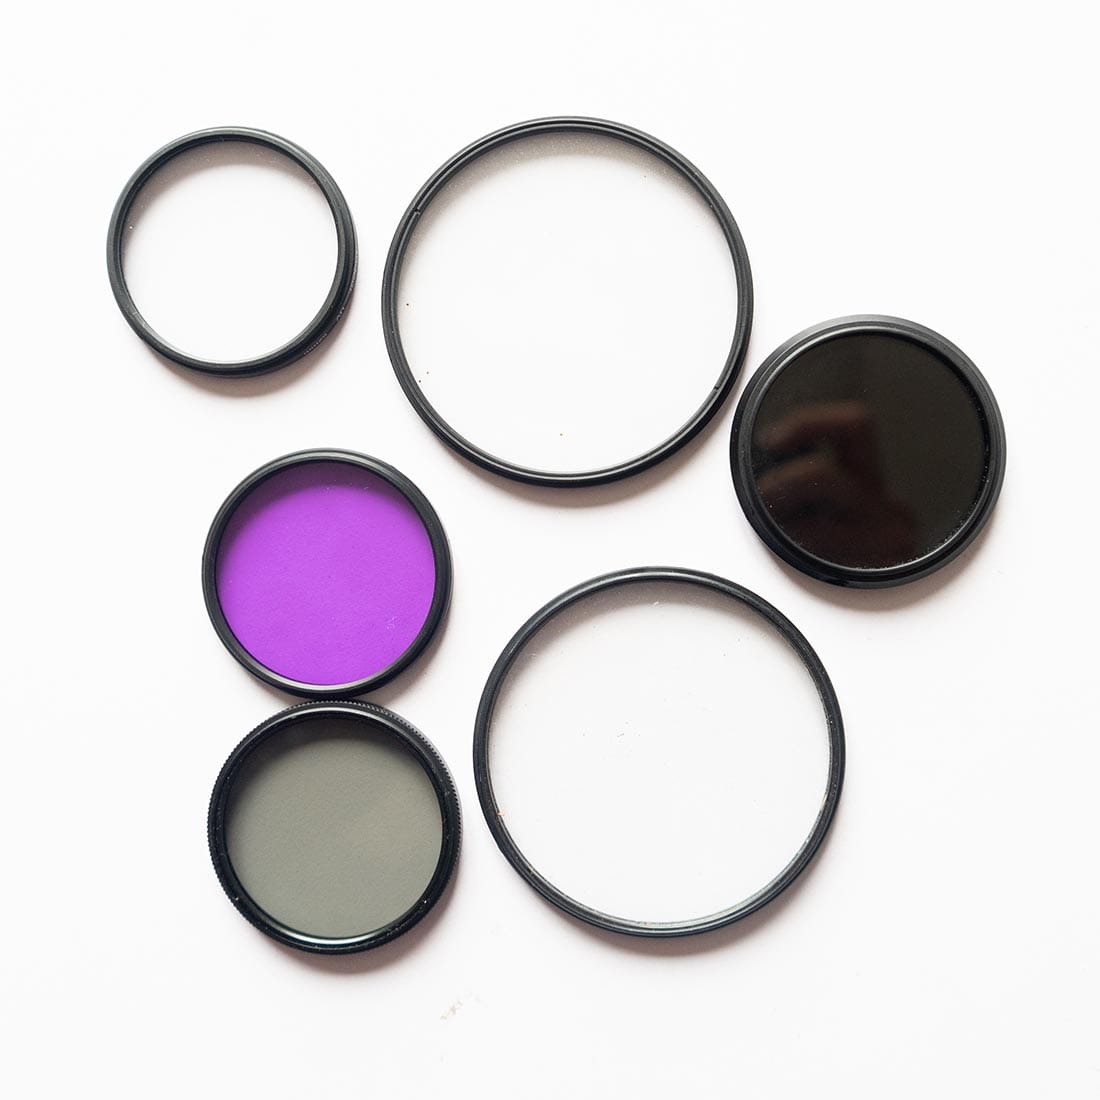
Lens filters come in 3 different shapes – circular, rectangular and square. The circular lens filters either screw on to the front of your lens, or they clip on through magnets.
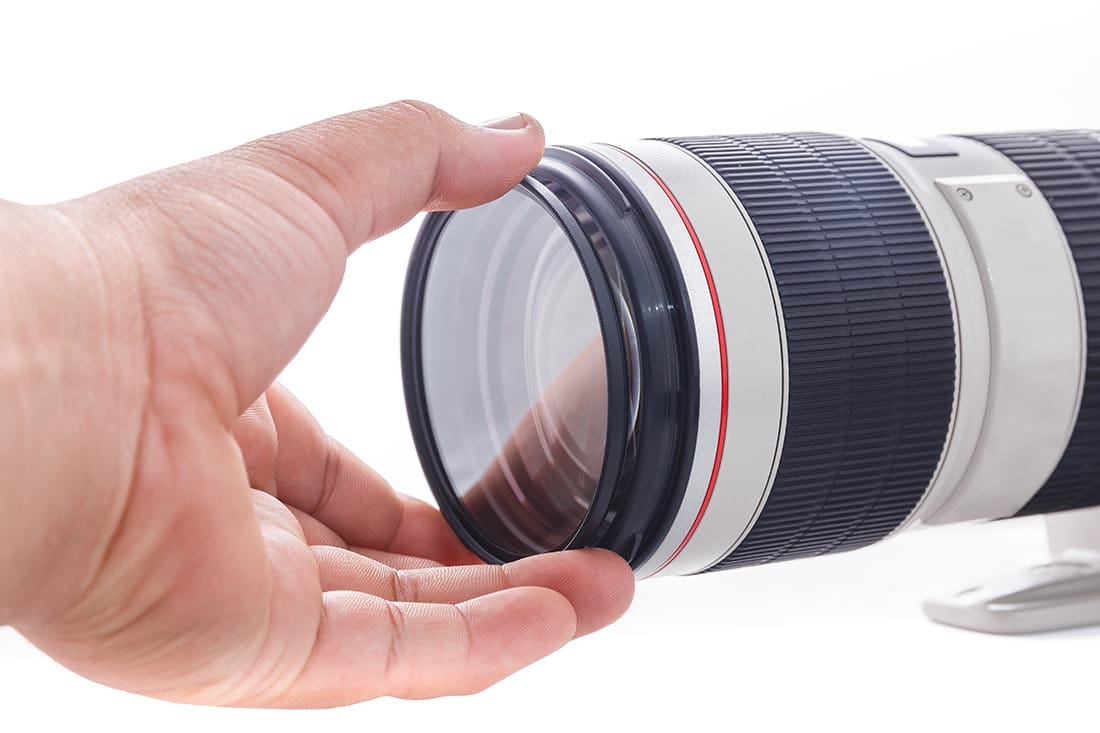
You’ll need to make sure the diameter of the filter matches your lens. You can otherwise purchase step up/down rings to as an adaptor so you can use the one filter on different lenses.
I find circular filters easier to set up than square ones. You can stack circular filters on top of each. They’re also smaller and easier to store away in your camera bag, and have a little barrier of protection if they’re dropped due to their metal rims.
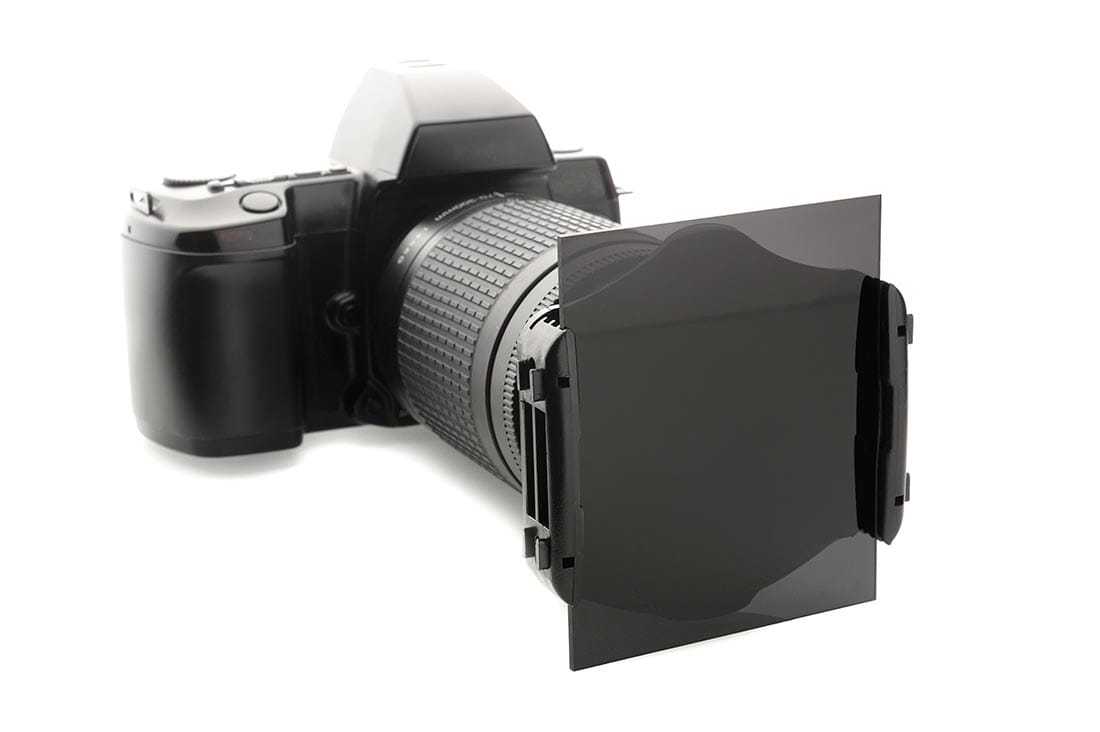
The rectangular and square filters require a filter holder which first attaches to your lens and then you can slot in the filter(s) in front. One of the advantages to using square filters is that you don’t need to change your filters as you swap your lenses. Instead, simply just need to adjust your filter holder to fit your lenses diameter. Again, you can stack multiple filters in front of each other using the holder.
Given that square and rectangular filters need a filter holder to be used it means they are fragile in comparison and susceptible to fingerprint marks when swapping them. It’s useful to have a lens cloth on hand to always clean them before and after use.
As I mentioned before, lens filters are designed to control the amount of light entering the lens. You may have reduced the size of your aperture but still, have a very bright scene – in this instance placing a lens filter on will reduce the brightness further.
Other filters do different jobs, such as cutting down on reflections and various atmospheric conditions. While there are many types of lens filters you’ll come across, there are 3 in particular most commonly used by photographers.
Imagine being on a beach on a bright sunny day and squinting your eyes because it’s too bright – putting on sunglasses reduces the brightness so you can see properly. That’s the exact purpose of neutral density (ND) filters.
But it’s not only used for sunny days, if you want to capture long exposure photographs of a waterfall and your 1 second shutter speed results in an overexposed photo, use a ND filter to bring the brightness down without affecting the action.
ND filters are available in a range of densities from 1 stop up to 100 stops of light. Each ‘stop’ represents a 50% reduction in the incoming light. You can even get singular ND circular filters, that when twisting, can change the density through different stops. This means you don’t need to buy lots of ND filters for different occasions.
For example, using a 2 stop ND filter means an exposure taken a F/8 will be the same as F/4 when using the filter, as there are two stops of light between those points.
If you’re using an ND filter for slow shutter photos download an app to help you calculate the new shutter speed needed based on the density of the ND filter. Doing the maths in your head can be hard!
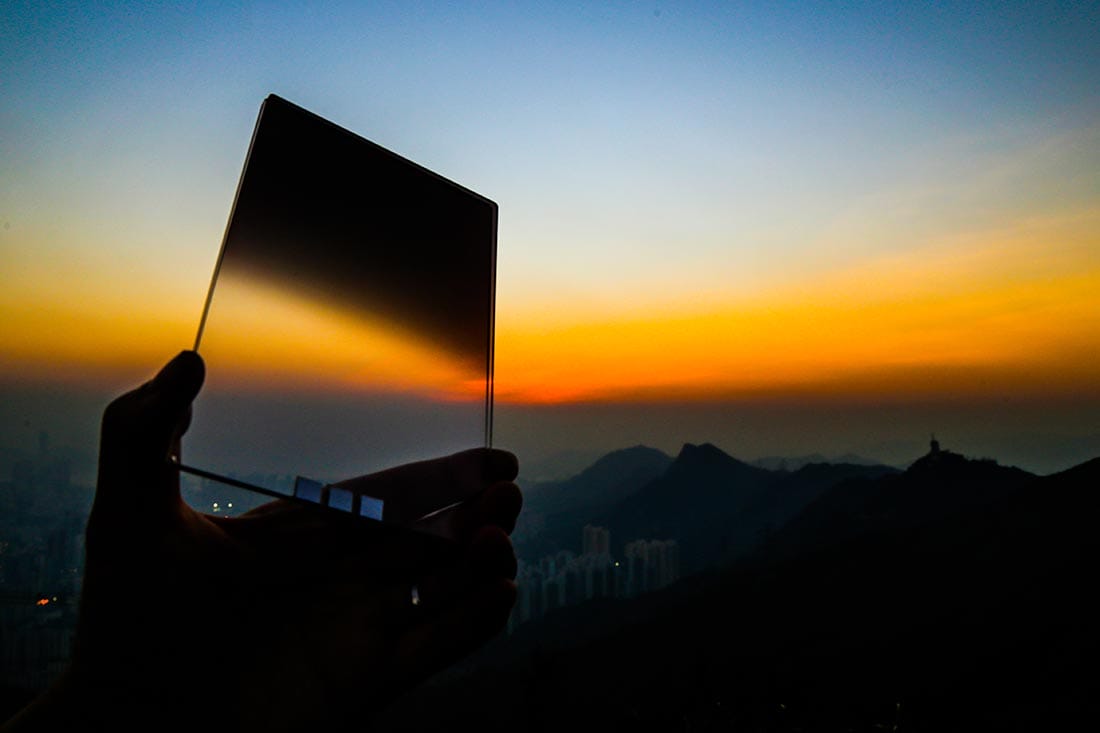
Gradual ND filters work exactly the same as standard ND filters, but they only cover half of the filter. This is because GND filters are designed to be used on skies.
If you are shooting long exposure images or you’re faced with a scene with high contrast, using a GND helps darken the sky without affecting the lower half of the shot.
They are available in soft or hard edged versions which gives different types of graduation between the top and bottom halves of the filter. Most photographers tend to prefer a soft edge so the transition isn’t as noticeable.
Just remember to make sure (if using a circular GND filter) that’s placed the correct way around when screwing on! While most GND filters reduce the skies brightness without affecting the colour, you can also purchase GND’s that are orange and blue if you want to add more colour to the scene – ideal for sunsets and sunrises.
One huge benefit to using square/rectangular filter systems with GND filters is that you can adjust the position of the filter in the holder, higher or lower, to match the amount of sky in your composition. This isn’t possible with circular filters, as the amount of graduation is fixed.
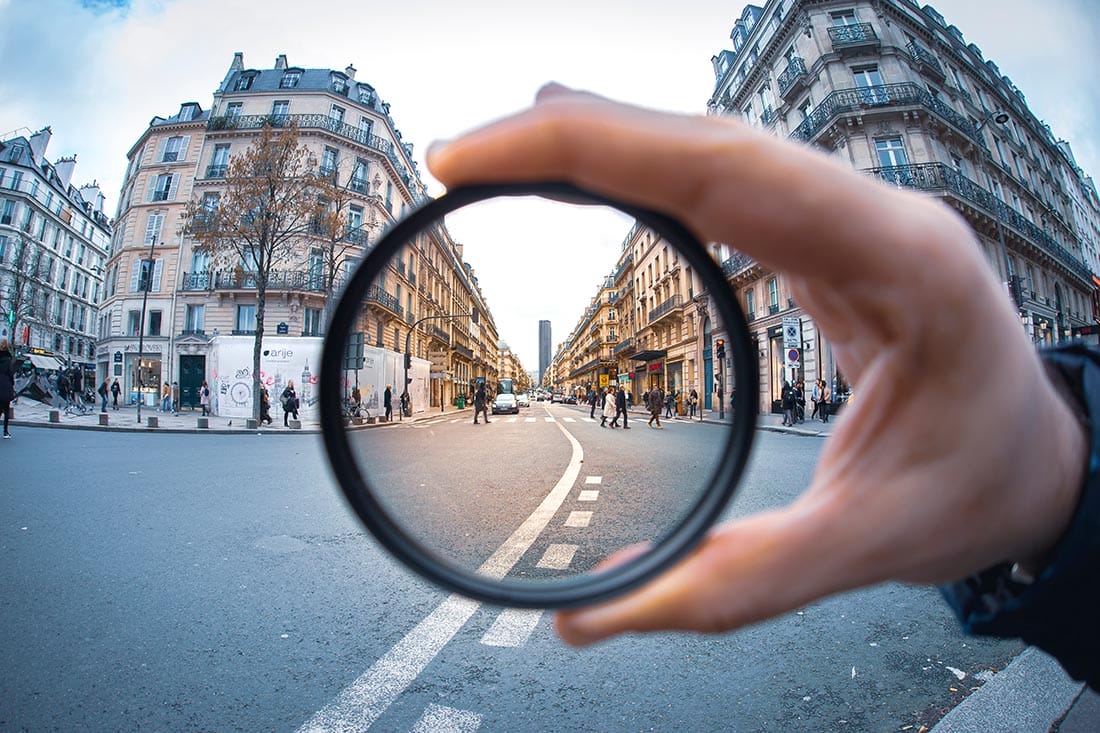
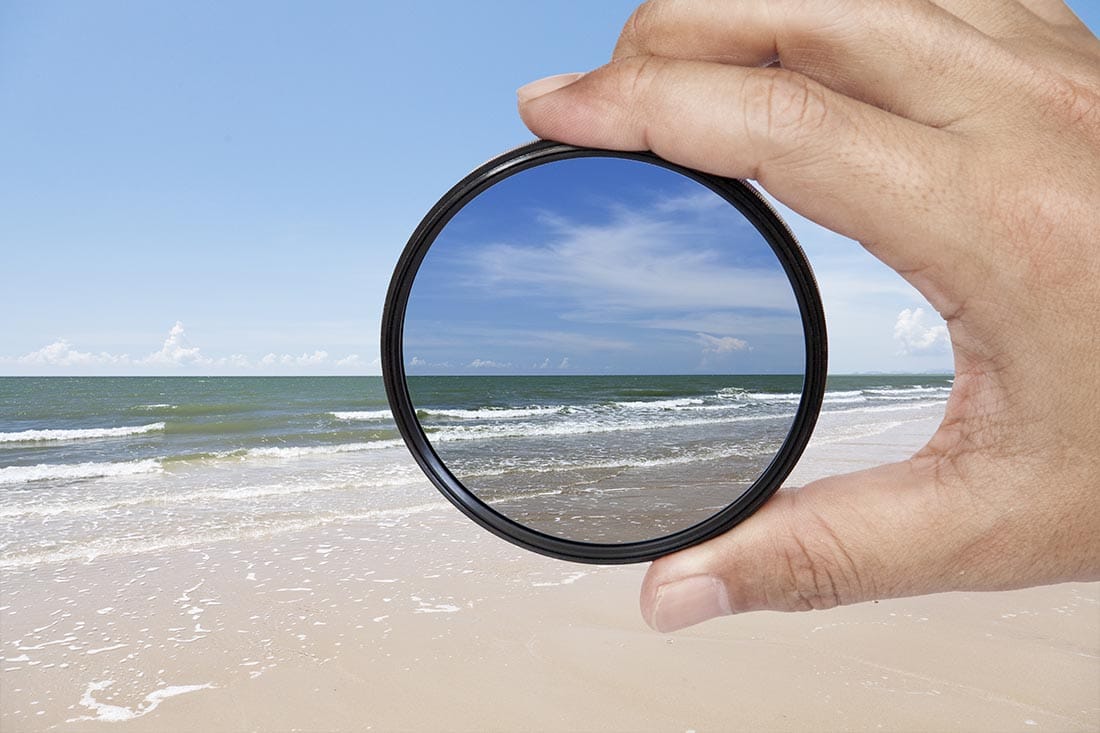
Polarising filters don’t affect the exposure as much as ND filters as they are designed for cutting down on reflections, hazy light and glares on bright days.
CPL filters, as the name suggests, are only available as circular filters – not square or rectangular, as they need to be rotated to change the polarisation of the light.
They can be used in conjunction with ND filters too. If you are going to use ND and CPL filters at the same time, it’s best to place the CPL on last. This is because you’ll need access to rotate the filter, when attached, to the desired reduction of glare/reflection.
Imagine being down at the coast shooting seascapes but under a bright sky. A CPL filter will reduce the amount of light reflecting off the surface. Water will appear darker and denser; you may even be able to see deeper into the water in shallow patches. The blue sky may even look darker and richer too.
CPLs are useful if you like to take photos through windows, as light streaks and glare can be eliminated. Shiny surfaces, such as metals, mirrors and polished plastics can benefit from using CPL filter.
Another benefit is that if you take photos of a rainbow with a CPL filter attached, you can enhance the rainbow’s colour and clarity.
But beware polariser filters can work against you. For example, when trying to capture shots with colour reflections in dramatic sunsets or wanting to retain wet-look texture on surfaces.
Sometimes called skylight filters, most photographers use a UV filter simply to protect their lens. UV filters prevent dust and dirt from touching the front element of the lens. This is a common-sense filter to purchase if you shoot outdoors regularly, leave it always attached to your lens.
A high-quality UV filter shouldn’t affect your image quality, colour, or exposure settings. But it will help improve clarity and sharpness while protecting your lens.


There are a number of other types of lens filters that you may require for more specific types of photography.
Infrared Filters – Infrared filters cut out all other wavelengths of light apart from those in the infrared range. They appear very dark and require a bright exposure for the infrared wavelengths to be visible in the shot. Read more about infrared photography here.
Colour Correcting Filters – Colour-correcting lens filters, are used to rebalance and/or enhance the hues in your scene. If you’re shooting indoors use warming and cooling filters to correct the temperature of the colour in any ambient lighting. While useful, it’s possible to make the same adjustments in editing, or with colour-correcting lighting filters too.
Macro Filters – These close-up filters are ideal for beginner photographers to practise macro photography without having to use a dedicated macro lens. They are available in different strengths of magnifications and can be stacked on top of each other. It’s best to start at +1 magnification and assess your shot before adding more.
Starburst Filters – If you like those shots of small twinkling streetlamps or car headlights then a starburst filter will help you emphasise that effect. When shooting at smaller apertures (F/8 and smaller) you can exaggerate the starburst effect to make your images look cinematic.
Lens filters for photography can be made from glass, plastic, resin, polyester and polycarbonate – but which is best?
● Glass filters are of high quality, but are very expensive and tend to easily break – especially of square or rectangular ones.
● Plastic and resin filters are cheaper than glass and have a little more stability. We’d recommend investing in a good resin GND filter.
● Polyester filters are thinner than glass and resin are probably the highest quality material for a filter. But they are prone to scratches so not very practical when shooting outdoors.
● Polycarbonate filters are very strong and generally scratch-resistant. They are a good alternative to plastic lens filters.
Now you know what the filters do and when to use them, let’s take a quick look at some of the best filters on the market. While such a small item may seem expensive for photography, they can, as discussed, have a massive affect on your image quality; so it’s better to buy quality filters.
Now you know what the filters do and when to use them, let’s take a quick look at some of the best filters on the market. While such a small item may seem expensive for photography, they can, as discussed, have a massive affect on your image quality; so it’s better to buy quality filters.

Popular memory cards for photography – what’s the best SD card for your digital camera? Choose the right capacity and class speed in our guide

Discover the BEST way on how to clean a camera sensor using swaps, rocket blowers and pencil brushes to give your shots a dust-free finish!

Capture the magic of the night with our beginner’s guide to night photography. Learn tips and techniques for stunning results.
Learn the basics of photography – fast – with our FREE 60-Second Photographer online course. Each class is short and sharp with simple, actionable steps that give you immediate results.
x 30 lessons

© iPhotography™
Become a confident and competent photographer in less than 30 minutes!
Before you leave, make sure you’ve secured your FREE online photography course (worth £29.99)
Each class is just 60-seconds or less making it the fastest and easiest way to learn photography!