 Rachel Sinclair
When I’m back home in England I really enjoy dog photography. Each dog has its own personality, character and charm and as Forest Gump said “You Never Know What You’re Gonna Get”.
Dog photography will open you up to a subject filled with unpredictability, energy, and joyfulness so you best be ready! I have 14 dog photography tips to help you get started.
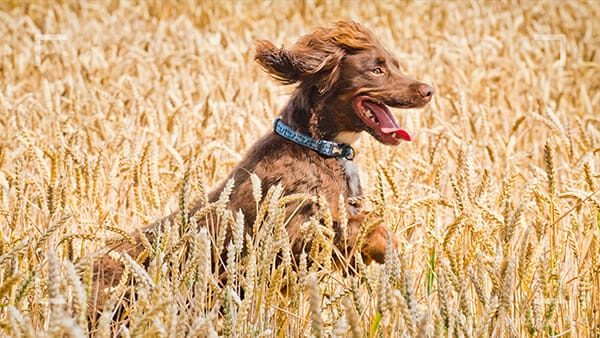
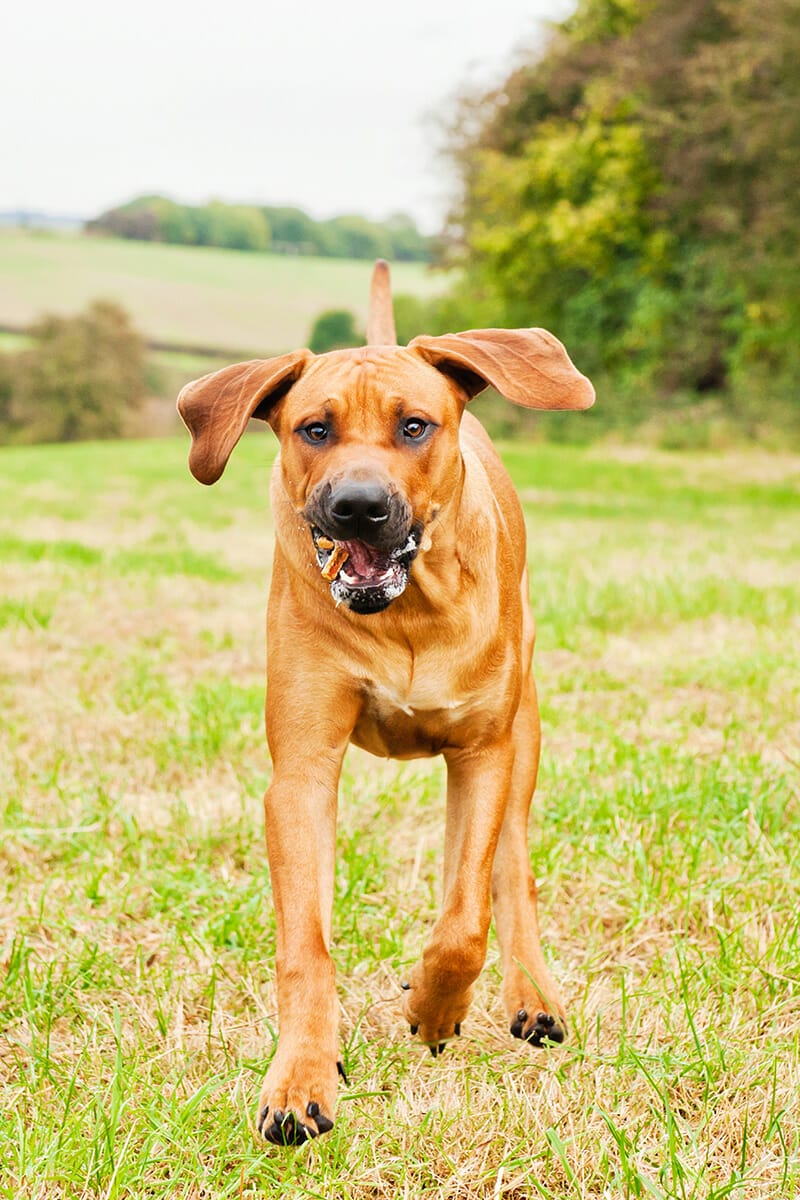
Dogs don’t stay still for long so think about your camera settings. Using a slightly faster shutter speed might make the world of difference!
Even when the dog is sat “still” they often twitch or look around so using a faster shutter speed will eliminate that motion blur.
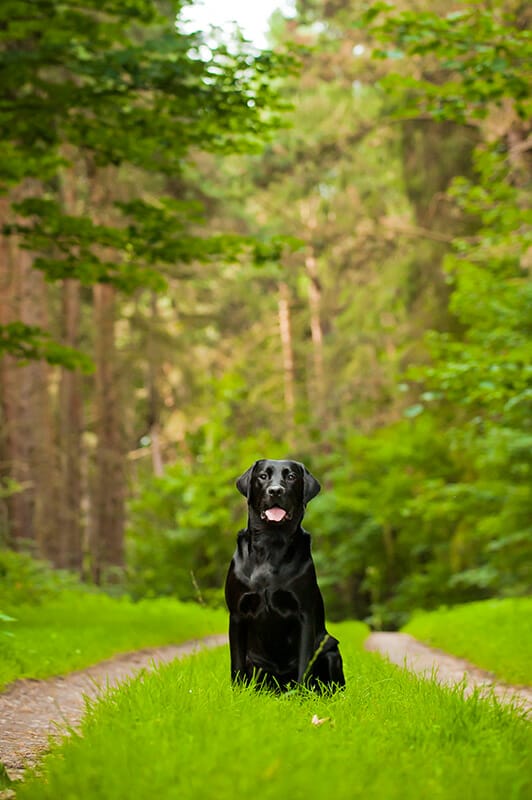
Don’t forget to use a wide aperture so the dog really stands out from the background making them the clear subject in a potentially busy scene.
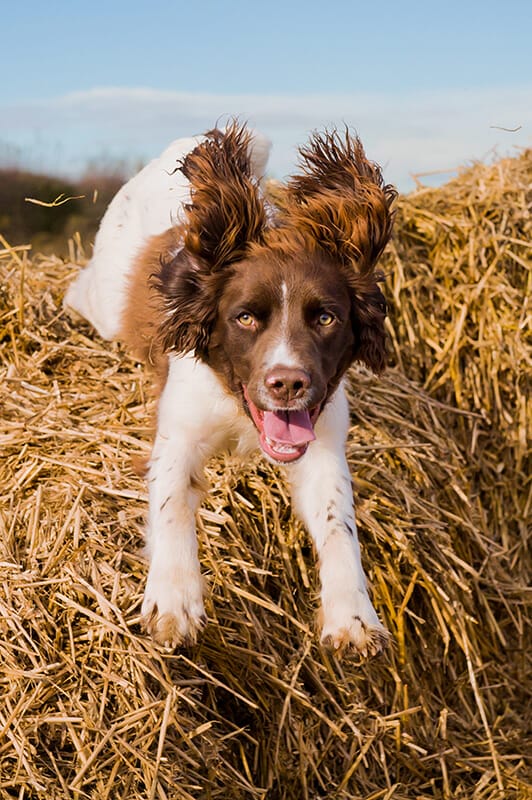
If your hound is running around, use a subject tracking mode and an even faster shutter speed. If you normally use a single focus area, try expanding it to a small area like 9-point or 21-point so you have more chance of catching the dog.
You may also find it advantageous to use back button focus. This will help to increase your hit rate and nail those action shots. Don’t forget to set your auto focus (AF) to Continuous C-AF) and your camera to burst or driver mode so you can take multiple shots per second.
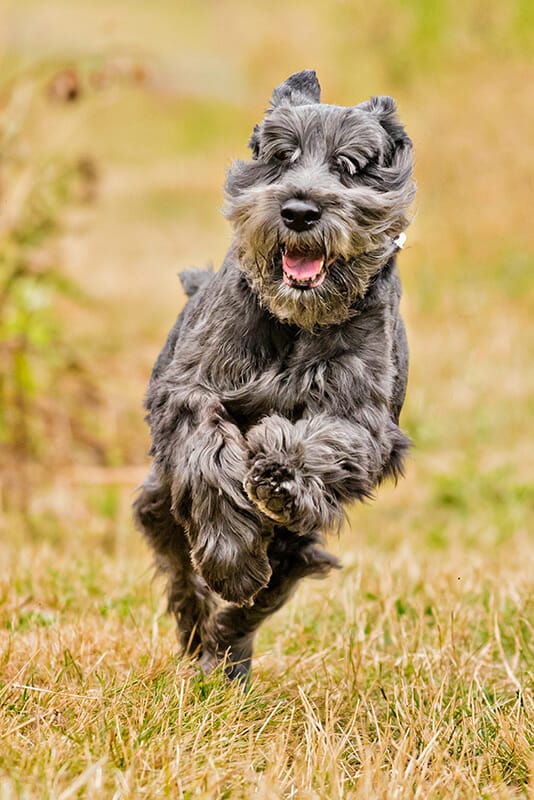
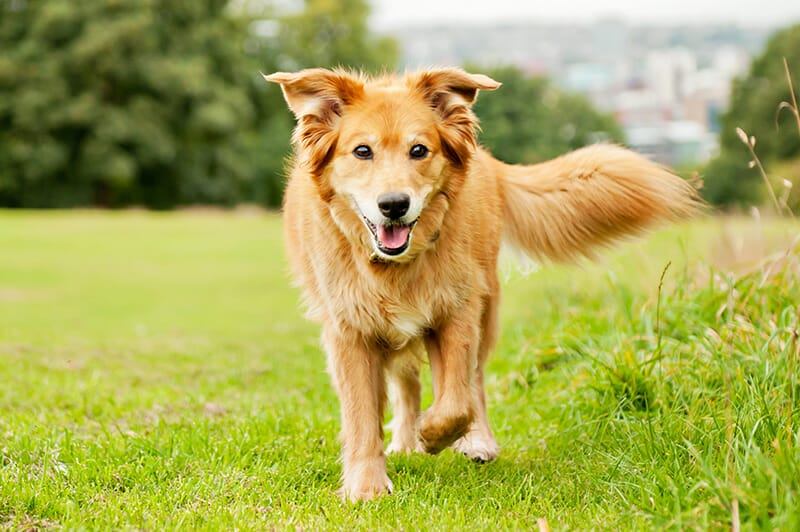
Continuous shooting (burst) mode is perfect for taking both epic and hilarious photos of dogs. Active dogs are unpredictable, which means you won’t be able to compose a shot during your session.
Instead of waiting for the perfect dog portrait, take spontaneous images. Burst mode is a handy feature that will help you take lots of pictures within seconds. This way, you’ll get to capture all kinds of angles and expressions while your dog is running.
Dogs, much like photographing children, do everything in a split second. You’ll need to be hovering over the shutter button constantly in anticipation. Therefore, it’s important to use a fast lens combined with a fast shutter speed.
The best lens for dog photography is telephoto zoom that covers around 70-200mm. You need something quick enough to freeze movement on those action shots. Plus, you can zoom in and out quickly should you need to.
Prime lenses are also good for dog photography. Somewhere between 50mm to 85mm work well. Even though the lure of prime lenses is the wider apertures you don’t need to go to F/1.8 all the time.
Opening up the aperture will give you that dreamy bokeh look. But it might also blur parts of the dog’s face – especially if you focus on the tip of their nose.
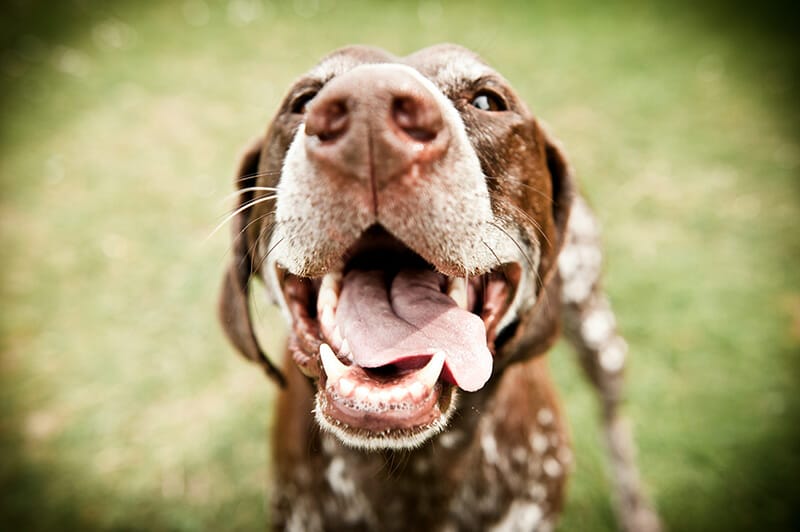
Photographing dogs with longer snouts such as Greyhounds, Daschunds and German Shepherds means their eyes may not appear sharp when using a shallow depth of field, if you focus on the nose.
Consider getting creative and adding in humour to your dog themed photography by using a wide angled lens, or even a fisheye.
Wide angle lenses have short focal lengths, which when used close up on a dog, creates a convex distortion to their face. This makes eyes appear bigger and snouts much longer.
You can use them to create hilarious and unique dog photography portraits.
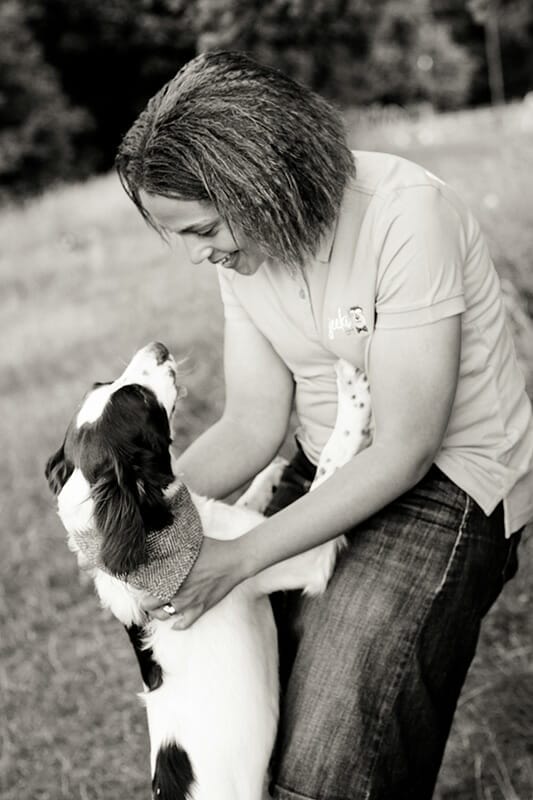
If the dog you are photographing isn’t yours then take some time to become friends before turning on the camera.
Let the dog sniff you and lick your hands. This will help the dog to feel comfortable around you and trust you. If it is safe, play with the dog for a few minutes and stroke it to calm it back down.
Talk to the dog in a soft tone so it gets used to your voice. Then watch the dog for a while and to see how it moves and interacts with its owner.
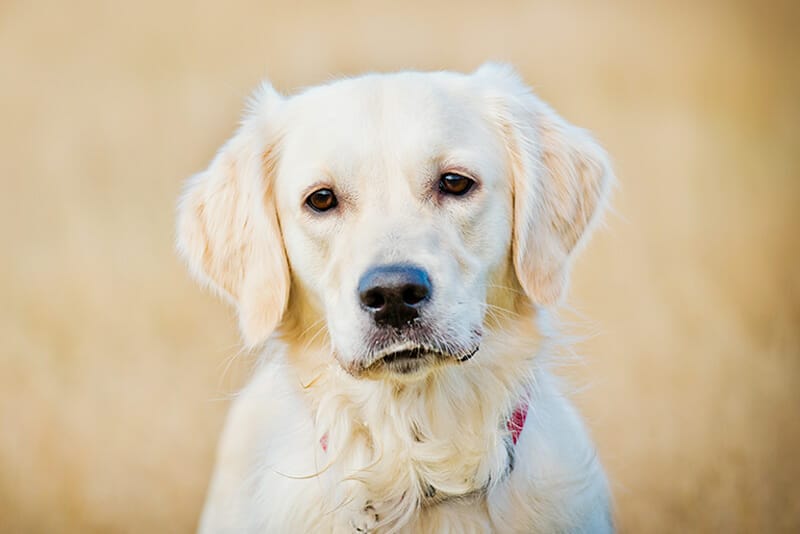
Educate yourself on the breed of dog you are dealing with–different breeds have different temperaments.
Some dogs are quiet and sweet-natured, such as Golden Retrievers. While others that are bred for work, such as Cocker Spaniels, are full of energy and don’t like sitting for long periods
Take a little bit of time to research the breed before the shoot, so that you know the best way to handle the dog during the session.
One brilliant tip for dog photography is to always get down low to the ground when you first meet any dog and talk quietly to it–establish trust with the animal.
Most dogs have short attention spans so make the photography session fun. Bring dog treats and squeaky toys. Always check with the owner first regarding health and behavioural problems.
Use the treats as rewards, so only give them when the dog has done something great, otherwise you’ll have a dog in your pocket for the rest of the session. Use toys to get the dog moving and engaged.
Use a high-pitched voice when praising the dog and make lots of fuss when you nail a good shot.
Who doesn’t love a treat and a pat on the back when you do good work? Dogs most definitely do!
This is why our fifth dog photography tip is to bring along a little packet of suitable dog treats.
You can use the treats either as a reward for staying still or returning to your position when called (great for forward facing action shots). While it may seem harsh, don’t reward them until you’ve got the shot you want.
If the dog is very active and likely to get really muddy, it’s a good idea to try and do the pretty dog portrait shots first when the dog is still looking its best.
If the dog is super high energy, a young Labrador puppy for example, you may need to ask the owner to take the dog for a walk before the photo session.
Try and do a few “sitting” “standing” and “laying” down images as soon the dog is calm enough. Then move on to the “running”, “jumping” and “playing” shots.
Even though dogs, such as Spaniels, can be unpredictable, you can still plan your photoshoot to make the most of your time. Once you’re familiar with your dog’s personality, you’ll know when and how to take specific photos.
For creative and beautiful dog photography shooting strategically will help you avoid a lot of unnecessary stress and make you a better planner.
If your dog is very active, you should focus on taking action shots and using the panning technique at the beginning of your session. Don’t forget to use Continuous focus mode to get sharp results.
Once it settles down, you can switch to manual focus and take classic dog portraits. During breaks, you can reward it with treats and take beautiful closeups.
When picking out the best surroundings for your great dog photography you need to quickly scout out the area for 5 mins before asking the dog to sit somewhere. If you’re outdoors, look out for litter, protruding branches, and tall grass.
Anything that can distract from the beautiful dog should be moved, if possible, to save you time when editing. It’s also a good idea to think about the horizon line, if it can’t be blurred out then it may look like it is cutting across the dog’s head, so you may need to get lower or higher.
Photographing dogs in snow may require you to adjust the exposure compensation depending upon the dog’s coat colour. Think of a white Samyang or Golden Labrador in a snowy landscape. All these light tones will trick the camera’s light meter reading and make everything appear dull.
Change the exposure compensation to +1 or +2 to keep the tones looking accurate.
But if you’ve got the luxury of studio dog photography you can control your backdrops more. Pick out backdrops that don’t clash with the fur colour. Photographing black dogs against a dark background or in low light isn’t easy. Make it easier for yourself by choosing an opposing-coloured background.
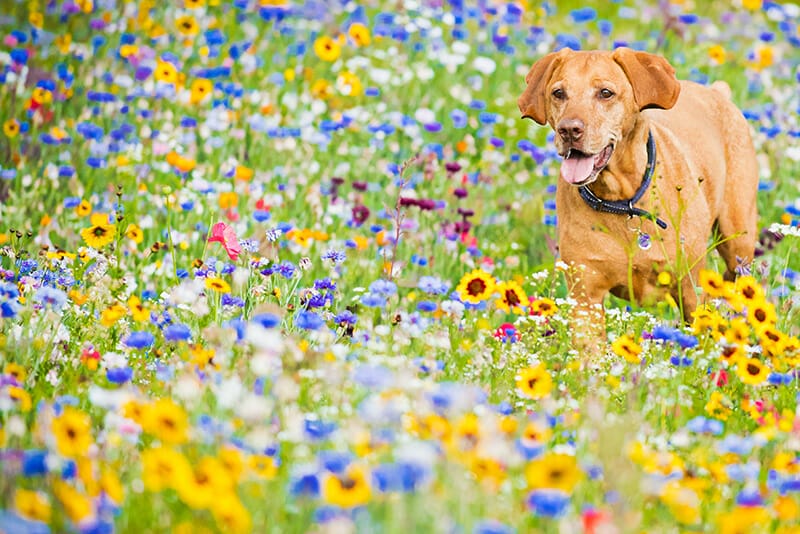
Depending on what country you live in you may have dramatic changes in the seasons, snow in the winter, flowers in the spring and summer and then autumn colours in the fall. This is a great dog photography idea if you love to travel with your pooch.
Why not pick out the same spot and shoot 4 dog portraits each in a different season to show the changing surroundings but with the same constant subject. It’s a nice collage to display in a dog photography book as a Christmas present.
If it’s been raining why not face the elements for some wet dog photography? Crank up your shutter speed to around 1/2000th and let the dog jump into some puddles. Focus on their face and shoot in burst mode when they inevitably shake their coat capturing all the water droplets. Just stand back when they do!
Use these changes in the weather to your advantage to add extra colour and interest to your beautiful dog photography.
Personally, I don’t like to fire flashes off in animal’s faces as this is not natural for them so I will always opt for natural light as my first choice. But keep an eye out for dark, shadowy areas like when in dense woods, this can really make your life hard.
To start with try locations with more open areas where the light floods in and then try darker areas when you feel more confident. If you see a nice bit of framing with some trees or branches position the dog to face the sun so it is lit up evenly.
Natural light is the most accessible and helpful tool you’ll ever have as a photographer. Thanks to its ever-changing nature, you can use it to take all kinds of striking pup portraits.
The best times to take dog photography is around the golden hour. The golden hour generally occurs just after sunrise and before sunset. The sun casts a warm glow which is great to add an inviting atmosphere for cute dog photographs.
But you can also shoot on a cloudy day too. While not having strong lighting may mean the atmosphere is a little flatter the benefit of soft diffused light is that there will be less shadows and more global light allowing you to shoot in more directions.
Try to avoid shooting under harsh, direct light as much as you can. Bright sunny, cloudless days cast light that will create unflattering shadows and make you, and the dog, squint.
If you’re shooting your dog photos at home and you’re finding it hard to light their face evenly, get a reflector. A white reflector held on the darker side of their face will bounce light back towards them and fill in the shadow areas.
What you’re trying to achieve when using a reflector on dog portraits is to bounce an even amount of light on your pooch and make their eyes sparkle with that all-important catchlight.
If you are working to a budget, use a large sheet of white paper or a sheet of foil instead of buying a reflector from a photography retailer.
It might sound obvious, but you really do need to get some shots at the dog’s eye level, these will often look the most engaging and emotional.
But that doesn’t mean all your shots have to be taken that way. How about trying a few from above or laying on the floor and using a wide-angle view.
There’s nothing wrong with taking photos of dogs from unusual angles. But it’s important to get on their level sometimes.
This will make them feel more comfortable. It will also encourage you to experiment with new angles. Shooting from a puppy’s eye level will get you the cute dog photos that we all love to see.
To take this dog photography tip to the next level, photograph your pooch as it plays, runs, and rests. You’ll end up with unique photos that you and your clients will love!
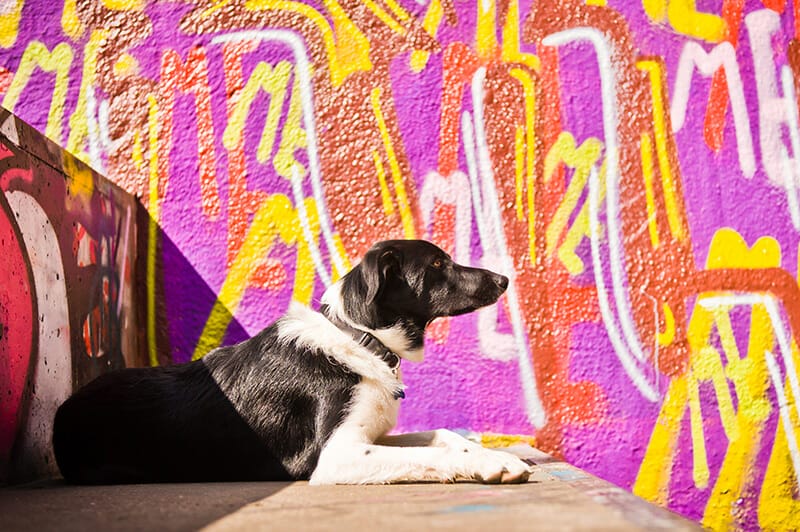
You do not have to always use natural settings in your dog photography. Why not think outside the box and look out for other interesting backgrounds, bright colours or graffiti can often work really well.
Try mixing all these bright colours in to some black and white dog photography and make yourself a colour splash portrait.
Cities often have great opportunities for unusual shots but just remember to consider each dog, some dogs do not do well with lots of noise, and some may not be calm enough to photograph in an urban area.
When it comes to editing your pet photos all your attention should be placed on the face. How clear and sharp is the pet looking?
If you’re editing action shots look at the legs and paws – are they sharp and clear as well? You may need to use clone stamp and healing brush tools to remove bits of mud on fur.
You can treat pet photography editing much like general portrait photography. Even though there’s no skin to retouch, don’t crop at the joints of limbs; brighten the eyes a little; make sure the background isn’t distracting and that everything in the frame is intended.
To make detail in the fur stand out further use the texture and sharpening tools in Lightroom.
Photographing dogs really is not the easiest thing so my last tip is to PRACTISE, PRACTISE, PRACTISE! After each dog photo shoot, go home and view the images on your computer.
Be critical and look for ways you can improve the next time. Don’t be afraid to change your approach and try new ideas, that really is the only way you will improve and enjoy photographing dogs for many years to come!

Discover TOP features in the Lightroom CC mobile app with this guide for enhancing your photo editing skills. For desktop and tablet too.

Shooting sunsets using amazing 5-in-1 magnetic lens filters from Kentfaith, the 1st choice for photo & video products.

Popular memory cards for photography – what’s the best SD card for your digital camera? Choose the right capacity and class speed in our guide
Learn the basics of photography – fast – with our FREE 60-Second Photographer online course. Each class is short and sharp with simple, actionable steps that give you immediate results.
x 30 lessons

© iPhotography™
Become a confident and competent photographer in less than 30 minutes!
Before you leave, make sure you’ve secured your FREE online photography course (worth £29.99)
Each class is just 60-seconds or less making it the fastest and easiest way to learn photography!