 Stephen Walton
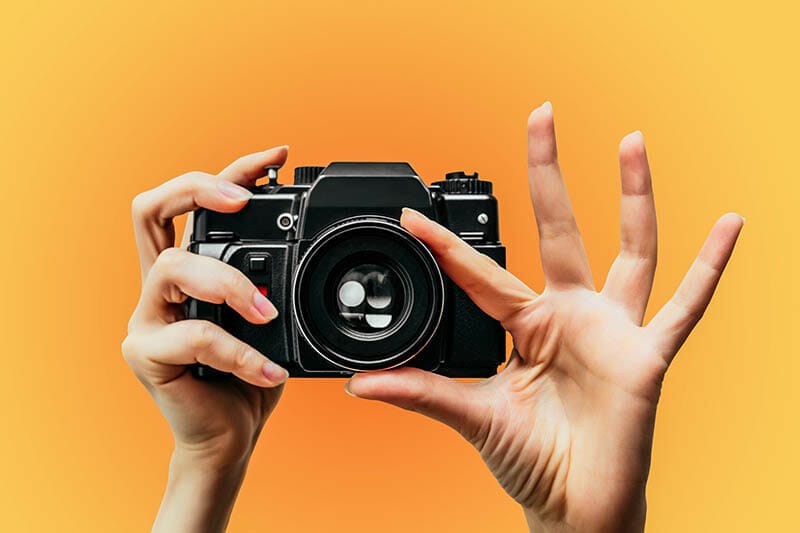
If you are forever typing into Google ‘how to focus my photos’ or ‘how to get sharper pictures’ then stop scrolling and start learning.
When a photo is in focus it is judged by our eyes based on the clarity of a subject’s outline. Basically, how defined that object is against another. Sure, in most photos you’ll be able to see the shape of a subject clearly enough but making it pin-sharp will increase the drama, aesthetics and connection with an audience.
Your camera’s way of knowing how to focus is based on colour values. Pitting two well-defined areas of different colours against each other makes it each for your camera to get the shot sharp. If you are working with lots of tints and shades of the same colour it can be a lot harder.
Give your camera an easy life and try to use opposing, or obviously different colours in your foreground and background.


There are 3 types of focus systems available in most digital cameras. The systems dictate how the camera focuses.
There are some generic names for each, but some manufacturers will create their own fancy names to make the marketing seem fancy!
Either way, we’ll have a look at each of these focus systems and by the end, you’ll know how to focus and get those sharp shots for every type of occasion.
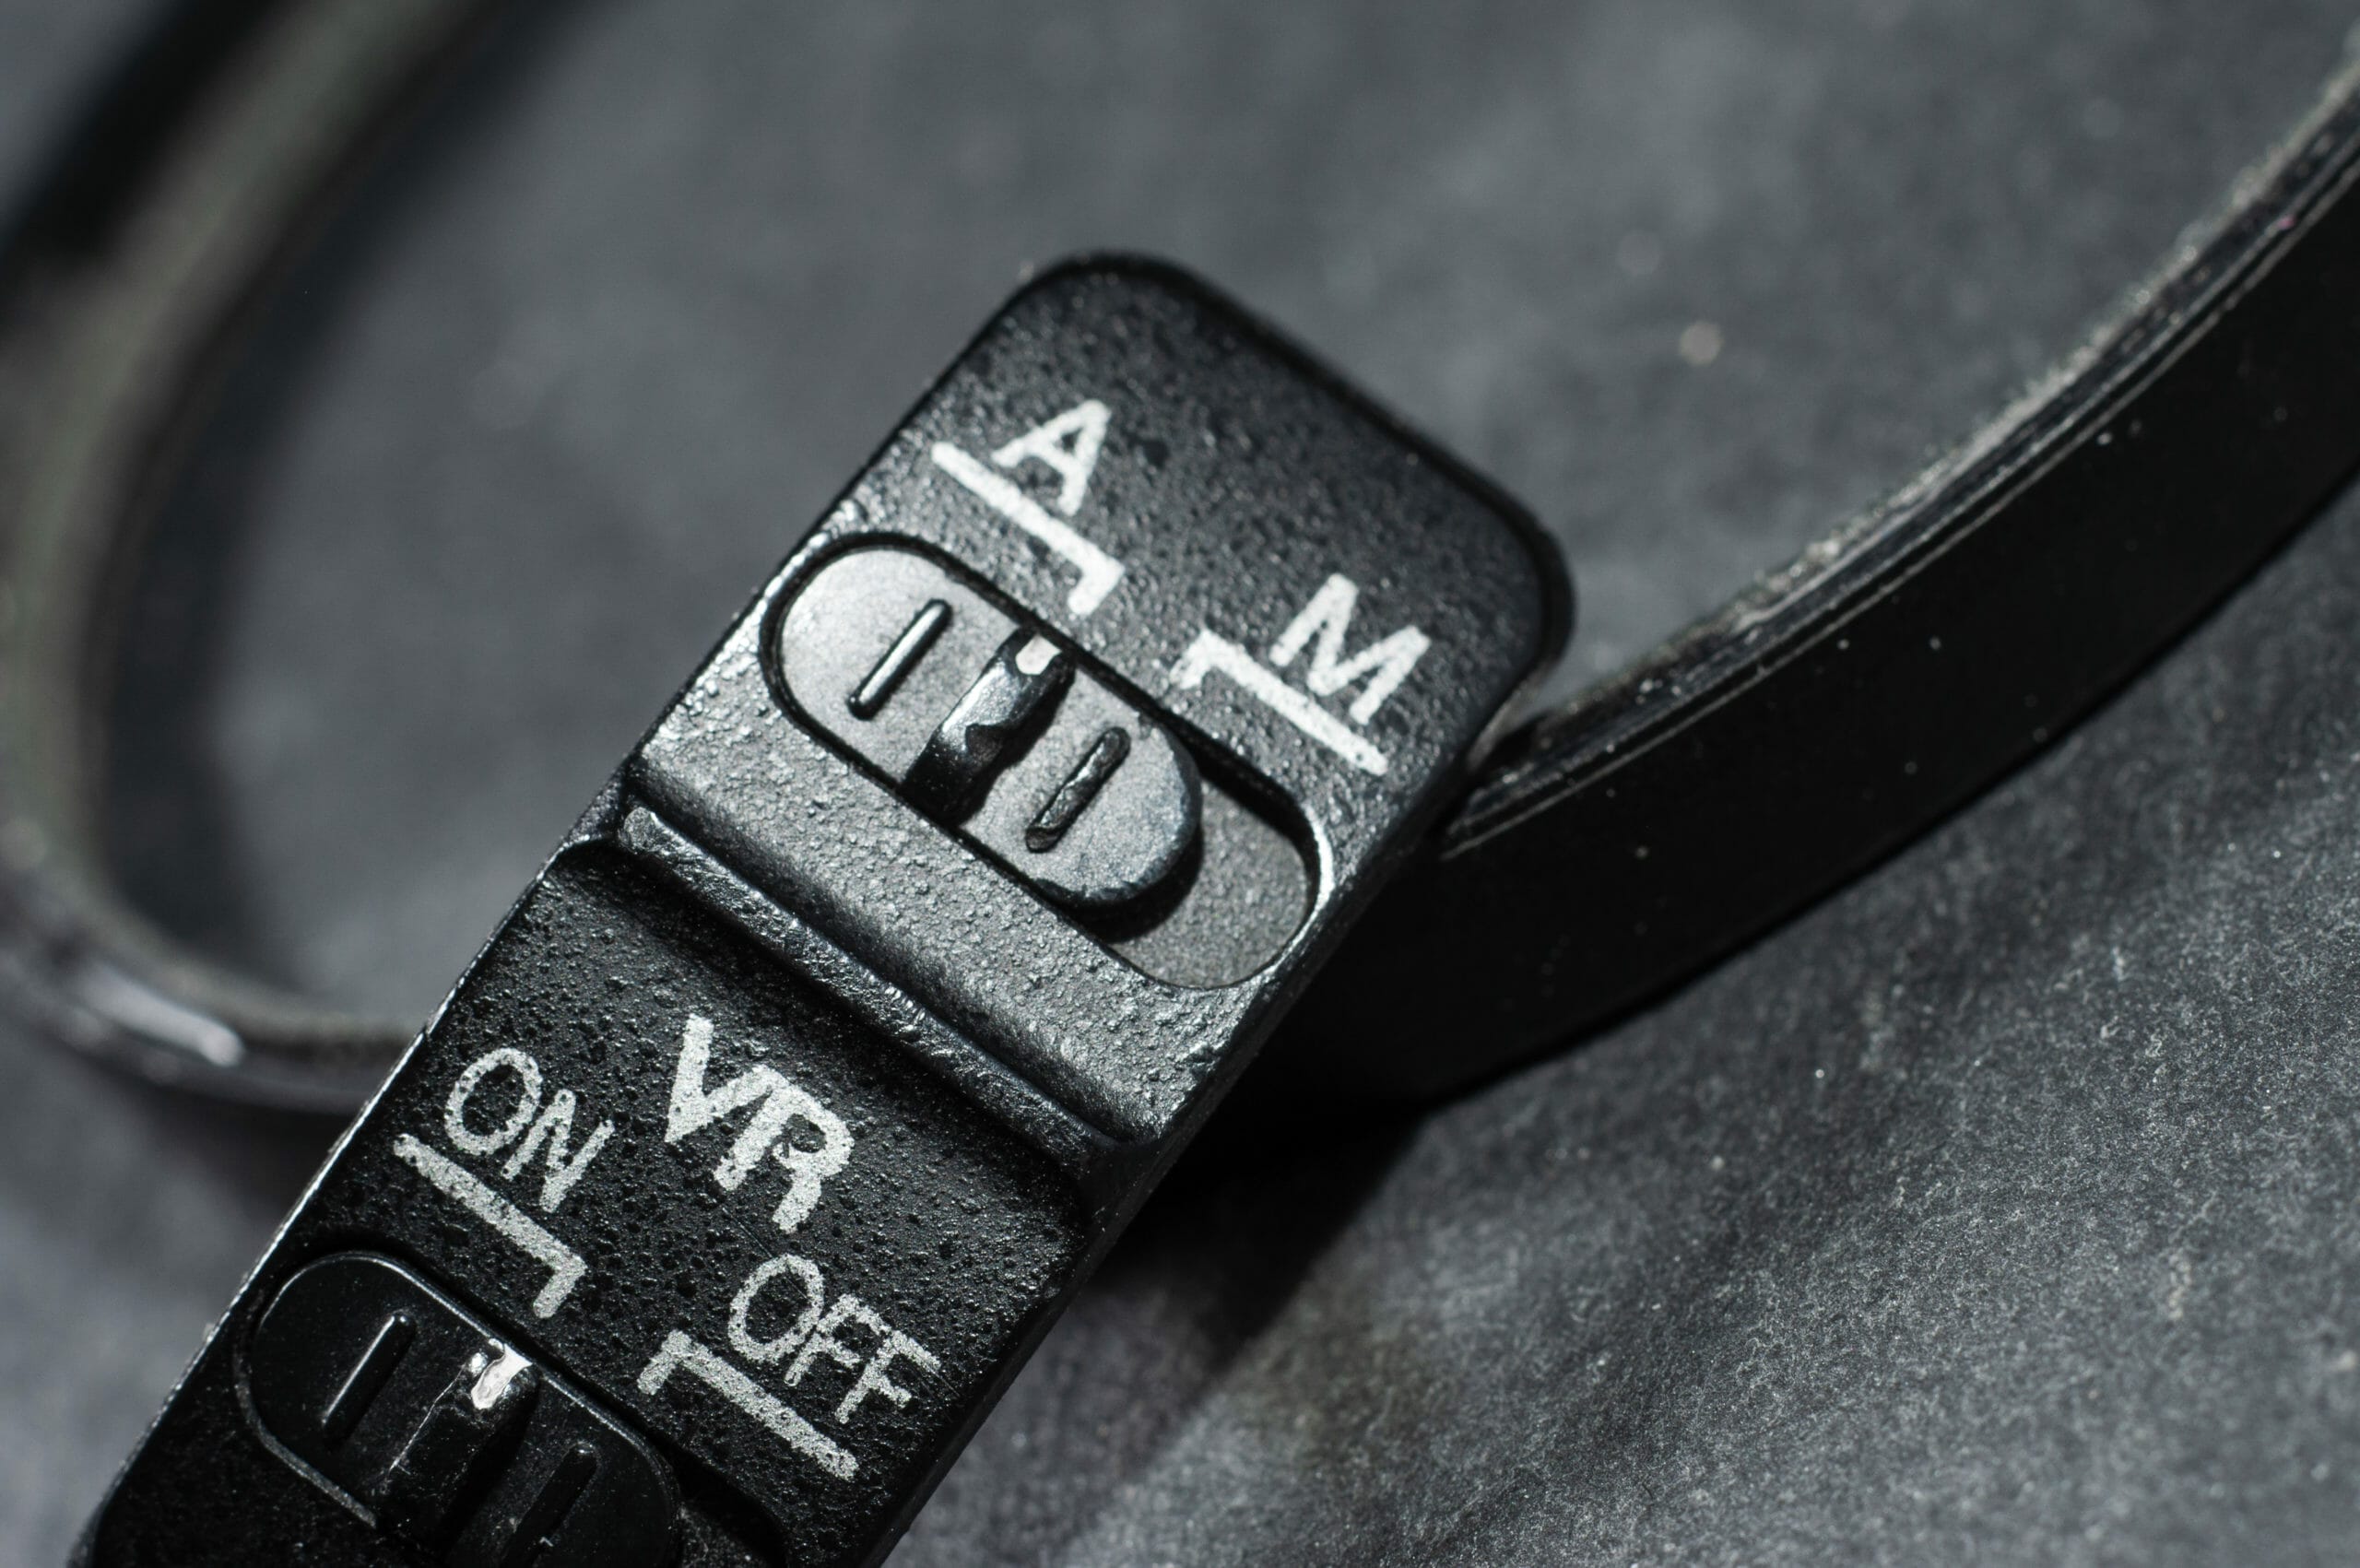
Firstly, autofocus locks focus based on the distance to your subject. As long as your subject stays at that distance, your photo will be sharp. In some instances, your camera may not take the photo if your subject is moving.
But the benefit is that autofocus allows you to recompose whilst retaining focus. Imagine that you focus in the middle of a frame, but your main subject looks better further to the left or right.
To know how to focus in AF mode, all you need to do is keep your shutter button half-pressed to firstly lock focus on your subject and then (whilst still half-pressing the shutter button) shift your composition to suit.
As long as you don’t change the distance between camera and subject then your shot should still be sharp.

Secondly is a continuous focus mode which places multiple autofocus ‘points’ on your subject and continues to adjust these points while your subject moves. You need to keep the shutter button half-pressed and your subject frame as they move for the focus to track correctly.
This is ideal for capturing movement in your shots. Athletes or just leisurely cyclists all benefit from AF-C. So on how to focus with movement, it’s best that once you’ve spotted your subject, track them by half-pressing on the shutter button and move the camera to keep them in the frame.
When you are ready to take the photo, fully press the shutter down, and the camera will focus on your subject for a sharp photograph.
But if you the camera to decide how to focus and when this method merges the functionality of the autofocus and continuous. Basically, it begins as autofocus but your camera needs to lock in focus on a stationary subject first. Only then can you can take the photo as you would in a traditional autofocus mode.
But – and here’s the magic – if your subject starts moving, the autofocus stops and the continuous method takes over to track your moving subject. It gives you the best of both worlds.
Be aware though, if you recompose a stationary object quickly in AF-C mode, the camera may think the subject is moving and release the focus too soon. Try to keep the camera still until you’ve got your subject in the frame.

It’s all good knowing how to focus and which options are available to you but it’s equally as important to know when to use each mode for the right situation. You may already have a good idea from what we’ve discussed already but here’s a quick overview.
Autofocus
• Still Life
• Posed Portraits
• Cityscapes
• Landscapes
Hybrid
• Street Photography
• Wildlife
• Pets
• Active Portraits (kids)
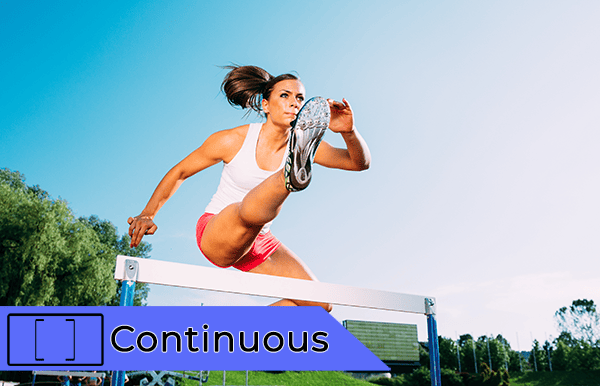
Continuous
• Sports
• High-Speed Action
• Birds
Manual Focus (with tripod)
• Low Light / Night-Time
• Macro
• Long Exposure
Once you’ve decided how you want to your camera to focus, next you need to tell it where you want it to focus in your photo.
There are 5 common auto focus modes you’ll see on a digital camera.
This is the most basic and easiest to use auto focus mode. The camera assesses the whole shot and picks automatically what should be in focus. It’s great for casual shooting but might not focus on what you actually want it to.
Zone AF divides the screen into nine sections (depending on the camera) and you can manually choose which zone is where the focus point lies.
As you might imagine the centre AF option only focuses on whatever is in the centre of the shot. Great for any type of photography as long as your subject will never move from the middle.
Similar to centre AF but with the flexible spot you can move the AF point around the frame for a more precise position. On some cameras, you can change the size of the spot from small to large – great for portraits.
If you are shooting a moving subject (wildlife, children, sports) then use a tracking AF mode alongside a AF-C system to make sure your camera if following the motion of your moving subject. Not all cameras have this mode though.
Despite learning about focus modes you need to be prepared that no matter what you try sometimes you just won’t be able to lock on. Why’s that?
There are a few scenarios as to why your camera won’t focus and what results in blurred photos:
If you are too near the subject, then your camera may not be able to focus. Every lens has a minimum focus distance that you need to maintain.
We said before your camera knows how to focus but if you don’t give it the right amount of contrast in a shot then it won’t be able to work properly. Imagine trying to photograph a white sheet of paper in the snow. Mix up those colours and look for tones that contrast, the heavier the contrast the easier you’ll lock on.
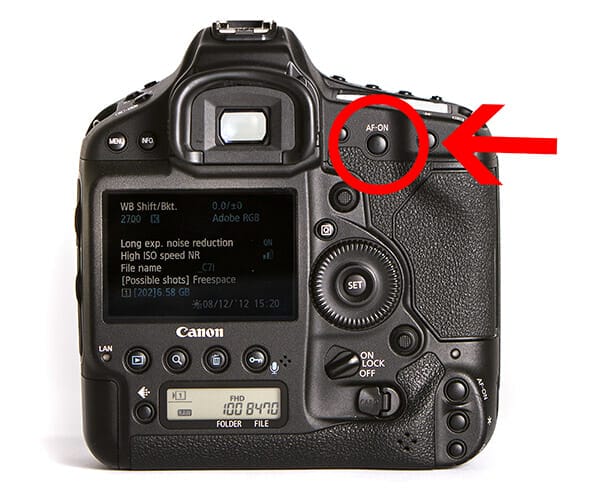
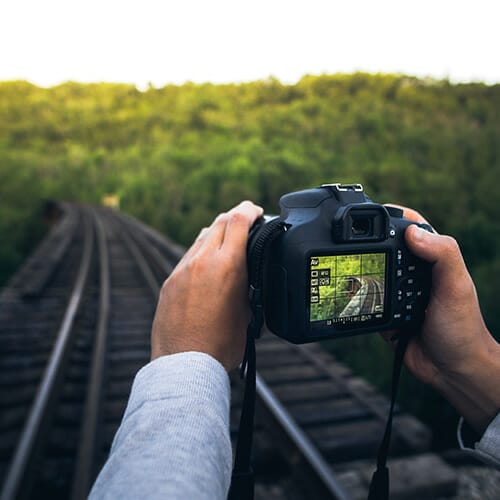
Image: Use back button focus (if your camera has it) to prevent accidentally taking the shot whilst focussing.
Camera shake can account for areas of blur that occur during your exposure, even if your subject isn’t moving. Make sure your shutter speed is faster than the equivalent of your focal length (the reciprocal rule – important for long focal length lenses). For instance, shooting at 100mm, your shutter speed should be 1/100th or faster to avoid camera shake.
Shooting handheld at 1/125th or slower is asking for blur to creep into your shot. Don’t chance it, get a tripod if you need to drop down slower or hike your ISO in worse case scenarios to keep the shutter speed suitable.
Most cameras have a self-timer so if you’re shooting on a tripod at a slow shutter speed you may want the blur of a long exposure but no camera shake on top. Simply set the self-timer to 2 seconds which will stop you from having to hold the camera during the exposure. Ideal if you’re only going to get one chance.
We’re all guilty of it – we think the camera is faster than us, but we can be wrong. Stopping to take a shot and instantly moving off as soon as we’ve hit the shutter button is a disaster movie.
Just slow down and make sure you’ve given your camera to complete the full exposure cycle. Older cameras can slow down over time and may not be as nippy as you thought.
Take a breath and pause before you take the shot. Get into a comfortable position so your arms, elbows and feet aren’t moving or shaking. The tiniest of movements can happen during a quick shot and spoil the entire moment.
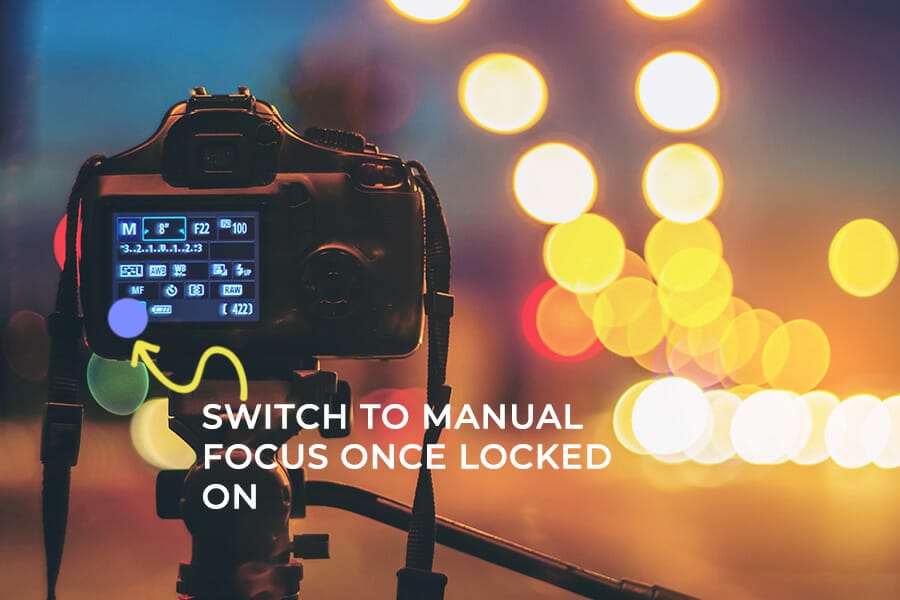
Image: When you are feeling confident try using MF (manual focus). Some photographers use AF to lock on and then switch to MF to refine the focus.
Fingers crossed we’ve helped you out of a sticky spot and now you know how to focus your subject and get those pin-sharp pictures you’ve been craving. I
If you’re ready to show off your wonderful creations, upload your pictures to the iPhotography feedback gallery. If you’re not a member already, get signed up!

Popular memory cards for photography – what’s the best SD card for your digital camera? Choose the right capacity and class speed in our guide

Discover the BEST way on how to clean a camera sensor using swaps, rocket blowers and pencil brushes to give your shots a dust-free finish!

Capture the magic of the night with our beginner’s guide to night photography. Learn tips and techniques for stunning results.
Learn the basics of photography – fast – with our FREE 60-Second Photographer online course. Each class is short and sharp with simple, actionable steps that give you immediate results.
x 30 lessons

© iPhotography™
Become a confident and competent photographer in less than 30 minutes!
Before you leave, make sure you’ve secured your FREE online photography course (worth £29.99)
Each class is just 60-seconds or less making it the fastest and easiest way to learn photography!