 Stephen Walton
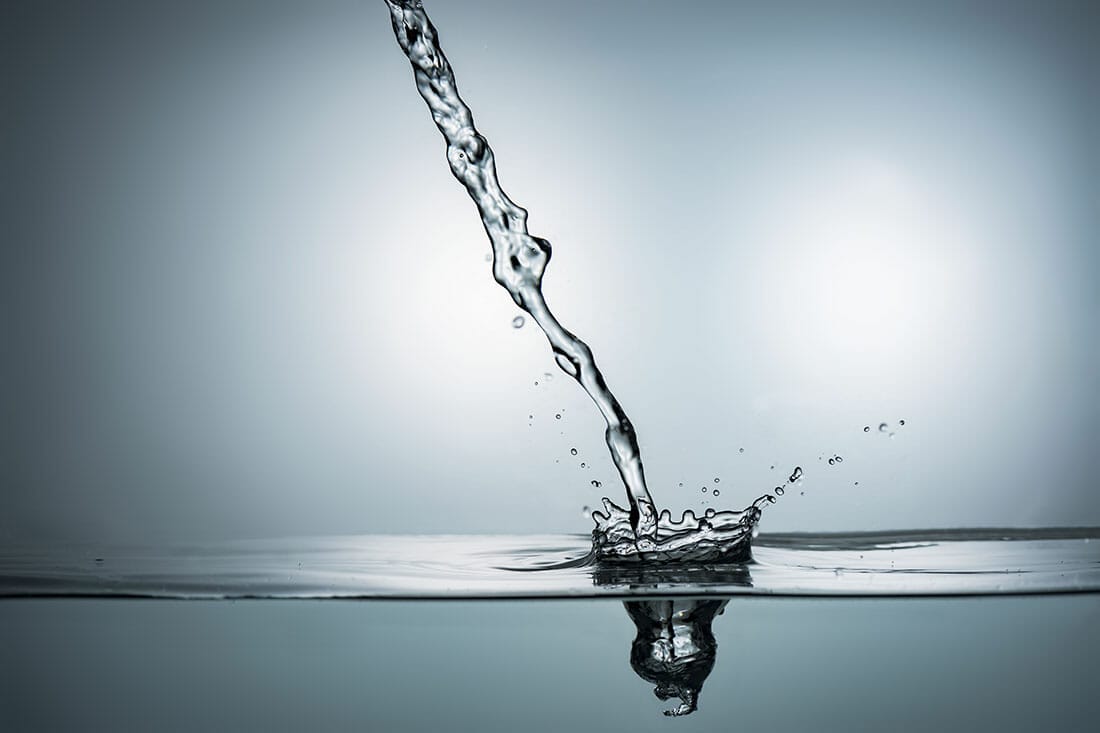
Water drop photography requires a level of patience and persistence that exceeds the levels needed as a wildlife photographer – and that’s saying a lot!
The intricacies and minute tweaks you’ll regularly make may seem frustrating but when it all comes together take a look at the results in our water drop photography tutorial.

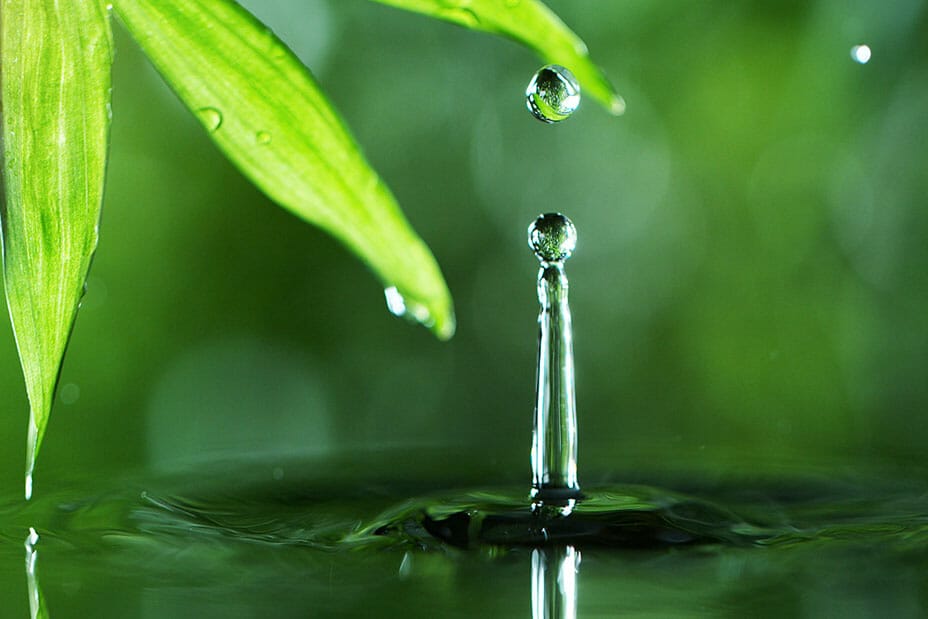
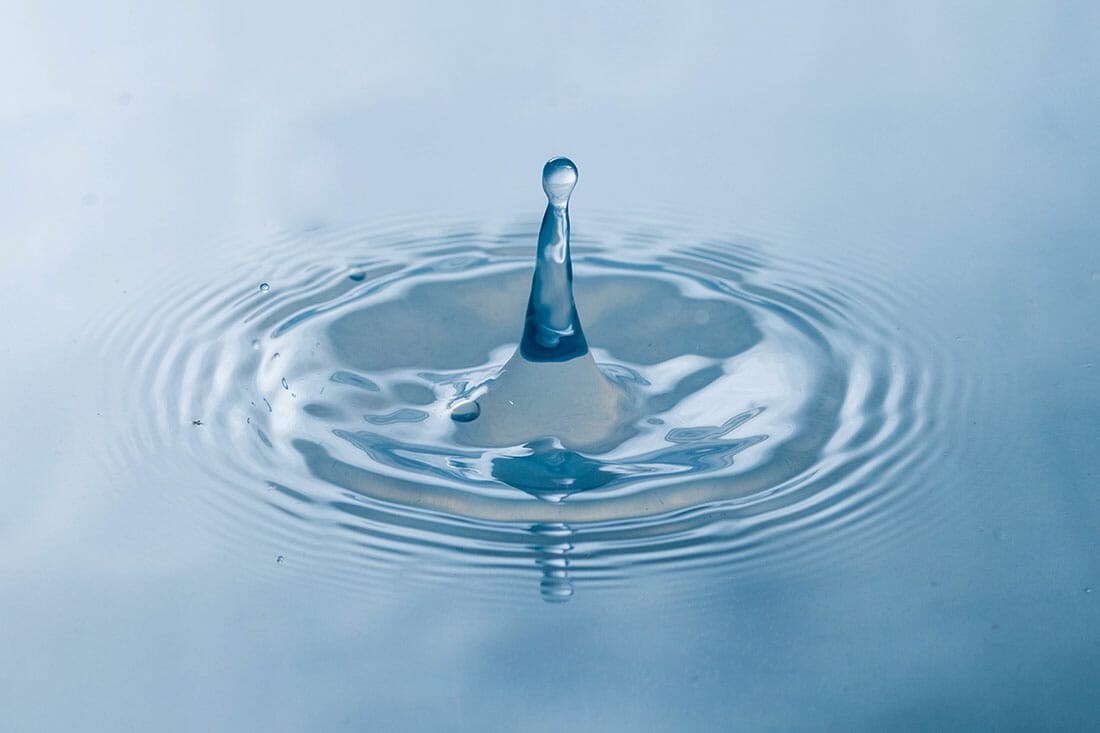
Here is a collection of some of our favourite water drop art photos online for your inspiration.


Firstly, you’ll need a container with water and a dropper – if you search for ‘water dropper or pipette’ you’ll find the right prop.
Secondly, in terms of what the water drop falls into/on varies. Some photographers use a bowl, tray, or polished surface. You can purchase small vinyl tiles from hardware stores. Black or white surfaces look the best when you’re just trying out your first few shots in our opinion. If the surface has a lipped edge then you can pre fill it with water for the splash to fall into. Alternatively, you could leave it dry for a contrast in textures.


Thirdly, you’ll need something to hold it all together. Get yourself a clamp to hold the dropper in place over the surface. This means you’ll have a fixed position so that the droplet will fall every time. If you’re closer enough you should be able to squeeze the dropper and take the shot at the same time too – but that may not be the easiest method.
If you enjoy this whole tutorial then it’s worth knowing that you can pick up dedicated ‘drip kits’ – proper water drop photography kits. Some contain intervalometers that control the size of the water droplet and the time between drops.
While water is the main component, don’t just plumb for tap water. Getting really cold water means that you get the clearest drop. And if you want to get a little more technical, consider adding drops of liquid soap or baby oil to the water to increase the viscosity of the droplet.

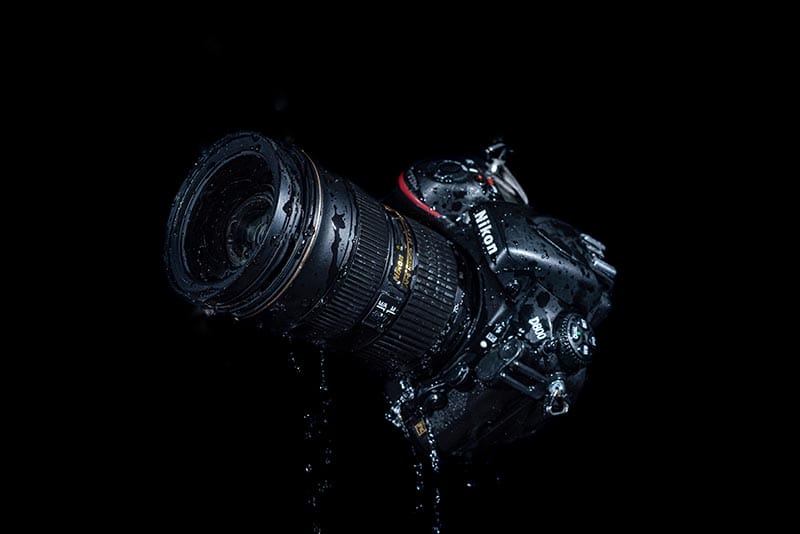
You will need a couple of specific items to master water drop photography. A camera with shutter speeds of up to 1/400th (which most DSLR and Mirrorless cameras should do). Camera phones may be too slow for this type of photography we’re afraid.
A tripod is going to be essential for stability, consistency and it gives you a free hand if you need to adjust your dropper set up too.
A macro lens is the third essential item. A macro mode or a long telephoto lens may not cut the mustard if you want crystal clear close-ups. But macro lenses aren’t always bank breakers. You can pick up second-hand macro lenses for a few hundred depending upon your camera brand.
You’ll find ways of using them over and over again – not just for this tutorial. Macro photography has a huge range of opportunities.
Fourthly, a shutter release cable or remote shutter release device will be useful but not essential. It just gives you a little space to stand away from the camera if you need to release the water drop at the same time.
And lastly, you’ll need an off camera flash – something with a fairly fast sync speed. If your flash unit has got a high-speed sync mode (normally indicated by a little lightning bolt symbol) then it should be fast enough to capture the motion – but it will tear through the battery fast, so have spares to hand.
If you can get yourself a cheap light stand with an attachment for your off-camera flash this will allow you to change angles without a big fuss. They’re pretty cheap to find on eBay.
To set up your water drop photography you need to find a location that you don’t mind getting a little wet – bathrooms and kitchen are ideal. Don’t worry it won’t be a deluge of water, just a few splashes may go rogue, and we don’t want to be responsible for getting anyone’s Persian rug ruined!
Start off by building your water drop set.
Attach your clamp to a light stand or some other upright post which means you can overhang the clamp above your surface. It won’t be in shot so don’t worry how DIY it looks. Wrapping 10 feet of duct tape to secure it all together is pretty normal!
Secondly, set up your surface. Aim to get the middle of the surface you’re using lined up with the clamp overhead. Clean the surface thoroughly – you don’t want fingerprints as the flash will show them up instantly on a shiny surface.
Now it’s time to position the flash and camera. Put the flash low down and consider your angle. If the flash is high up the shadow will likely appear on the surface with the water drop which you don’t want. Having the flash low down means any shadows will be in the background which the camera won’t see. Set the flash to work in high-speed sync mode.
The camera, mounted on a tripod, should also be down at splash level but not perpendicular. Raise the camera about 5 degrees above the action initially. You may want to change the angle once you’ve got a few shots in the bag. We’ve found it’s a little easier to predict the splash when you’re looking at the spot from a higher angle oddly.
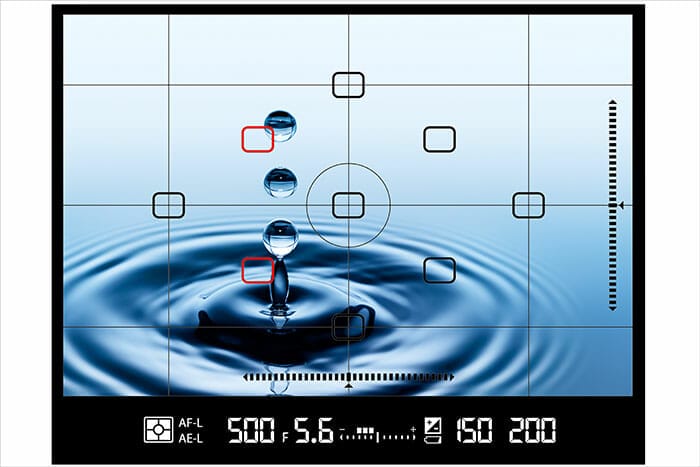
Here are the basic settings to help you get started with water drop photography.
● Put your camera in Manual (M) mode
● Keep the ISO low – around 50-200
● Increase the shutter speed to around 1/400th but adjust based on results
● To compensate for the fast shutter, open the aperture as wider
● Get in close with your macro lens and don’t have loads of empty space that’ll only make the water drop look small.
● Use a frame burst drive mode, but a flash may not fire on every frame if the recycling time is slow.
The most important part of a water drop photograph is the focal point. You need to focus exactly on the water droplet, and this can be tricky.
Take some time to calculate where the droplet will fall. Manually focus on the exact point where the droplet will be. Some people use different objects to help them find the focus point. It may take a while to synchronize everything, but after you finish setting up you can start being creative.
The best way to get sharp water drop shots is to use AF (autofocus) and then MF (manual focus) – or just MF all the way.
Firstly, put the dropper in the clamp and release a few droplets. Now you’ll know where the water will splash. Use AF or MF to focus on this point with a single AF spot. Autofocus probably won’t be quick enough to pick up on the motion and lock focus in the time the splash occurs so once you’ve locked focus on the test spot switch to MF.
This means your focus point won’t move now unless you change it. So you can take all the shots you want and the focus point will stay in the same place. If you are just going to use manual focus, turn on your manual focus peaking outlines so you know when the right area is sharp.
You won’t need any lighting modifiers to go over your off camera flash, it’s best to keep it bare and harsh. Remember to start the flash in manual mode. This is important, as we don’t want the flash to change exposure with every other shot, which it would do with TTL/ETTL mode.
Firstly, it’s important to block out all the ambient light in the room. Keep a torch to hand to help you do the focussing as flashes don’t have modelling bulbs.
Secondly, check your histogram to make sure your background is void of light and there is a clear spike to the left (blacks) of your histogram.
Since we’re using a flash and not relying on ambient light, it’s not the shutter speed that will capture the motion of the water drop – it’s the flash, and that works faster. The duration of a flash cycle is around 1/1000th giving us the frozen motion.
This means you can be a little more flexible with the shutter speed if it needs to be dropped to 1/200th as the flash is doing all the work to capture the motion. Don’t go too slow or the shutter doors may end up being visible in shot as they haven’t closed in time during the flash firing.
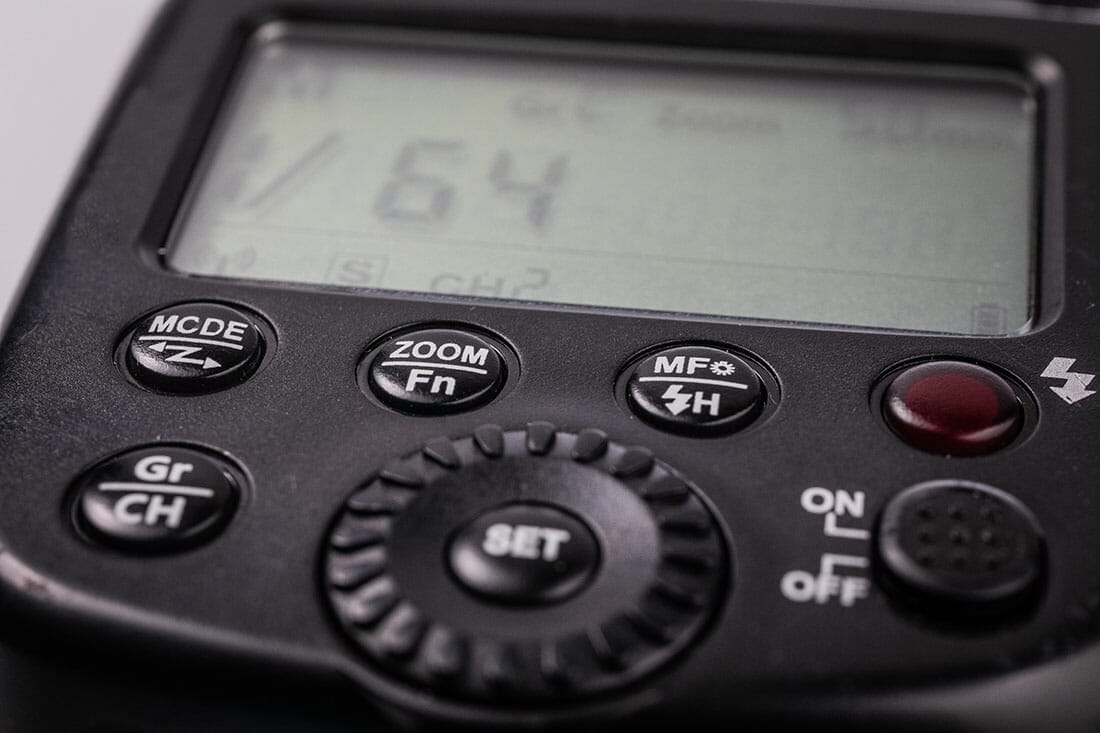
Thirdly, you can tell the flash how close you are shooting to the subject. Zoom in to around 100mm on the flash to get a nice tight spot of light pointed exactly where the splash will land. The power output of the flash needs to be around 1/64th but change that depending upon your shots.
One very important key to freezing the action is to have your flash exposure compensation (FEC) on a very low setting – ideally 0. If your setting is too high, you will end up with a blurred splash, it’s best not to touch the FEC at all.
While we’ve discussed the full set up of water drop photography in this tutorial there are more ways you can embellish your shots with simple changes when you feel ready.
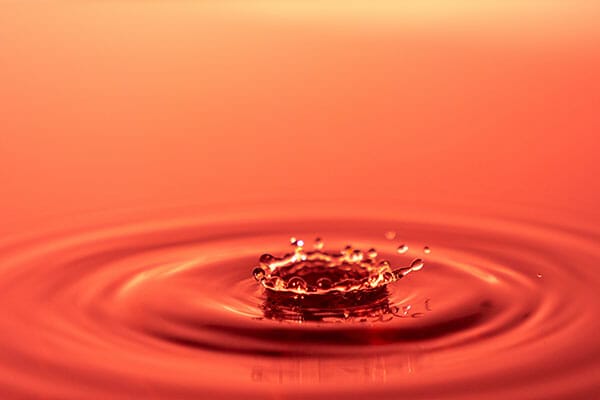
Why not add some colour to your splashes by using food dye? Mix some coloured food dye to the water to get red, blue or green water drops instead. Think about how this would look on a black surface though as it may not show up as clearly as it won’t splash on a white surface.
If you don’t want to colour the water, how about colouring the flashes for your water drop photography. You can find online small and inexpensive flash lighting gels that cover over the flash to give a burst of colour to the light.
Use a bit of clear tape to hold the gel to the flash and change them with each shot to see which colour you like the most.
If you’re using 2 flashes use complementary colours in your gel choices to make the shot look stylised and balanced.
If you want to try a different liquid entirely then Milk is a common alternative to water drop photography.
Milk is thicker than water, so it makes it easier to catch a well-formed umbrella splash formation.

As we wrap up our water drop photography tutorial, we’ll leave you with these valuable top 5 tips to make sure you get the best setup for your water drop photos.
1. Make your backdrop black or angle the camera to avoid it entirely.
2. Add a little sugar or baby oil to thicken the water droplet
3. Use a macro lens get the sharpest and closest results
4. Use a flash in manual mode to freeze the action
5. Take your time and use a remote shutter release to help you release the water and take the shot in a comfortable position.

Discover TOP features in the Lightroom CC mobile app with this guide for enhancing your photo editing skills. For desktop and tablet too.

Shooting sunsets using amazing 5-in-1 magnetic lens filters from Kentfaith, the 1st choice for photo & video products.

Popular memory cards for photography – what’s the best SD card for your digital camera? Choose the right capacity and class speed in our guide
Learn the basics of photography – fast – with our FREE 60-Second Photographer online course. Each class is short and sharp with simple, actionable steps that give you immediate results.
x 30 lessons

© iPhotography™
Become a confident and competent photographer in less than 30 minutes!
Before you leave, make sure you’ve secured your FREE online photography course (worth £29.99)
Each class is just 60-seconds or less making it the fastest and easiest way to learn photography!