One of the basic fundamentals of photography is shutter speed. Shutter speed, also known as exposure time, determines the length of time that the camera’s shutter is open for, and therefore how long light is able to reach the sensor.
If you are an iPhotography member you can find much more information on shutter speed in Module 5 of the iPhotography Course. You can even receive some feedback, from the course tutors, by completing the Module 5 optional assignment.
Becoming the master of your shutter will give you the ability to dramatically improve your photography. I’ve laid out a few tips to help you understand what shutter speed can do in your photography.

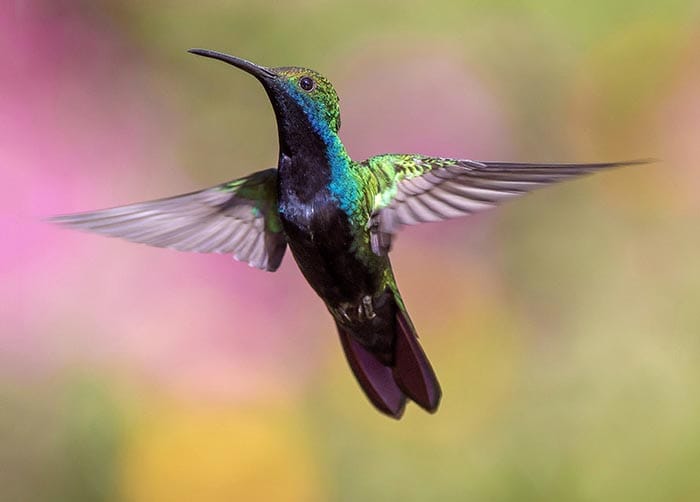
As a general rule of thumb, the faster your subject is moving, the faster your shutter speed should be in order to freeze the motion. A shutter speed of around 1/250th is a good starting point if you are capturing a slower moving subject, such as a cyclist passing the camera.
However, if you are wanting to capture a bird of prey in flight, or a water droplet splashing into a puddle, you may have to aim for much higher speeds. You may need to go as high as 1/400th.
The faster the shutter speed, the less time light has to enter the sensor. You can compensate by using a wider aperture, or higher ISO, but be cautious of losing focus or additional grain.
Always think about timing when freezing movement, it is vital that you capture the subject at the perfect moment. It may take a few test shots, but once you have that success, your images will be transformed!
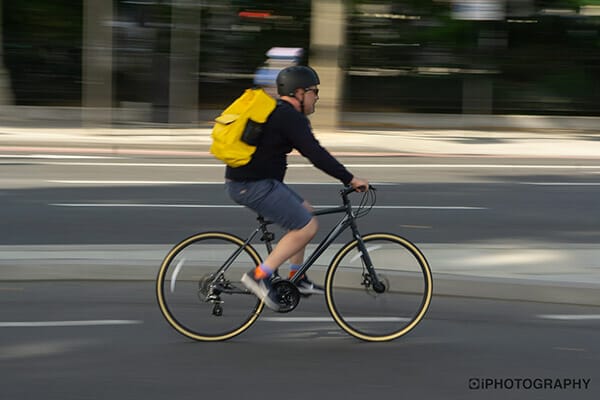
To best capture action, you don’t always need a fast shutter speed, sometimes slowing the shutter down slightly can introduce an interesting blurred background.
This technique is called Panning and can make your subjects appear as if they are going much faster than they actually might be.
Even professional photographers can struggle with Panning; it is not something we expect everyone to grasp straight away.
In order to create a panning photo, you simply select a slightly slower shutter speed and track a subject as it moves in front of the camera position by swivelling the camera (which needs to be mounted on a tripod ideally) – keeping the subject in focus at all times and pressing the shutter button as you pan.
You could try hand-held panning if you don’t have a tripod, but you’ll need a steady hand to avoid a camera shake. The trick is to keep in mind which part of the image you want to be sharpest and continue to focus on that point. Easier said than done though, right?!
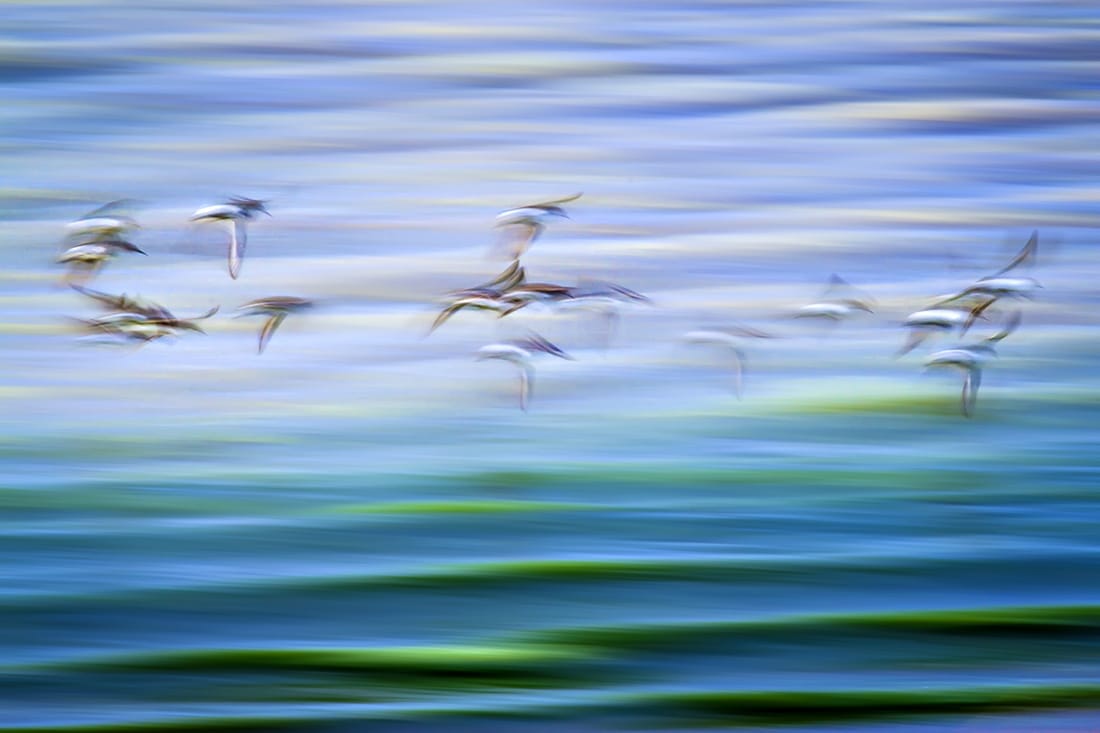
Now for the fun part. Once you have understood the general rules of shutter speed, you can transform your images by incorporating creative blur. By keeping the camera in a fixed position and slowing down your shutter speed a bit more, you open up the opportunity to capture moving water, blur from passing people and even short light trails.
Once you start slowing your shutter speed down to a second or two, a tripod or steady surface becomes a necessity – you may want to try using a remote trigger to avoid any camera shake.
You will need to decide how slow you want your shutter speed to be, and this will often depend on the subject. For example, if you want to capture a ghost-like movement of people through a busy town square, a shutter speed of around 1/30th would offer slight movement but with the ‘ghosts’ outline still visible.
On the other hand, if you wanted to capture the motion of a carousel spinning around, a slower speed may be required to complete the full circle.
You may have all seen images in the gallery of dreamy seascapes with milk-like water, and soft clouds floating by. These effects can be achieved with a long exposure, often up to 30 seconds.
Using such slow shutter speeds allows you the creative freedom to shoot at any time of day whether it’s a romantic sunrise across the shore front or a dramatic firework display late into the night.
It is a common pitfall in this area of photography to overexpose images as the shutter is open for such a long time. This can lead to too much white in the crashing of water, or burnt out areas from artificial light.
For the best results, shooting just after dark will give you detail in the sky as well as movement in the foreground without the fear of overexposing. Instead you will be left with breath-taking landscapes full of depth, colour and intrigue.
If you’ve passed Module 4 on the iPhotography Course, you may already have an understanding of photographing after dark – next, it’s time to get inventive. Light trails can be created by simply photographing moving traffic as it overtakes your camera, or you can re-invent the technique to make it your own.
Framing your image becomes more important if you are setting up for light painting, you want to ensure that your whole movement will be in frame. It may take a few attempts to get your head around this style of photography, but trust me, it is phenomenal.
Use short focal lengths to cover your scene, because once you press the shutter the mirror lock-up will block your viewfinder, so you won’t be able to see the live-action during the exposure.

You can create light trails with the simplest of objects; sparklers, LED lights, wire wool, even the torch on your phone.
Have a look around your house, see what you could use; this is fun for the whole family to get involved!
Discover the BEST way on how to clean a camera sensor using swaps, rocket blowers and pencil brushes to give your shots a dust-free finish!
Capture the magic of the night with our beginner’s guide to night photography. Learn tips and techniques for stunning results.
Master the art of solar eclipse photography with expert tips on equipment, settings, and precautions for stunning celestial images.
Learn the basics of photography – fast – with our FREE 60-Second Photographer online course. Each class is short and sharp with simple, actionable steps that give you immediate results.
x 30 lessons

© iPhotography™
Become a confident and competent photographer in less than 30 minutes!
Before you leave, make sure you’ve secured your FREE online photography course (worth £29.99)
Each class is just 60-seconds or less making it the fastest and easiest way to learn photography!