 Stephen Walton
The cameras on iPhones are getting better and better with each release and combined with the growing popularity of candid photography we want to share with you a whole iPhone photography tutorial designed for beginners or anyone looking to take amazing photos using their phone.
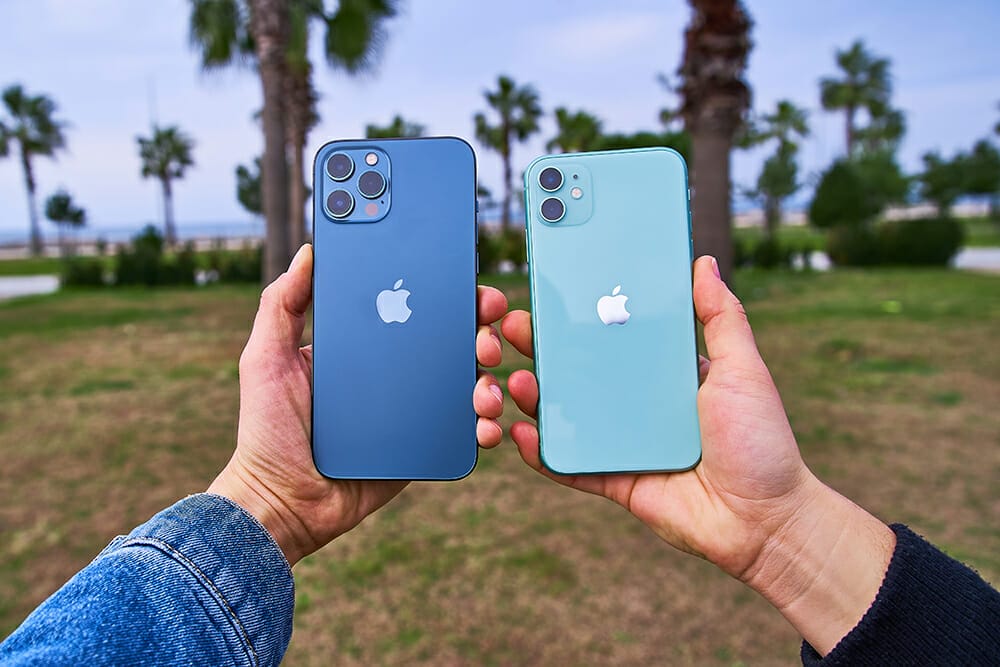
Whichever iPhone you have in your hand is the answer. Honestly, it’s stupid to say ‘go and buy the latest iPhone’ just to take better photos. Firstly it’s not cost effective and secondly it’s a fallacy. A better camera can still take poor photos if the person operating it isn’t skilled enough.
With that said, whichever iPhone you have right now in your hand is the best iPhone for photography.


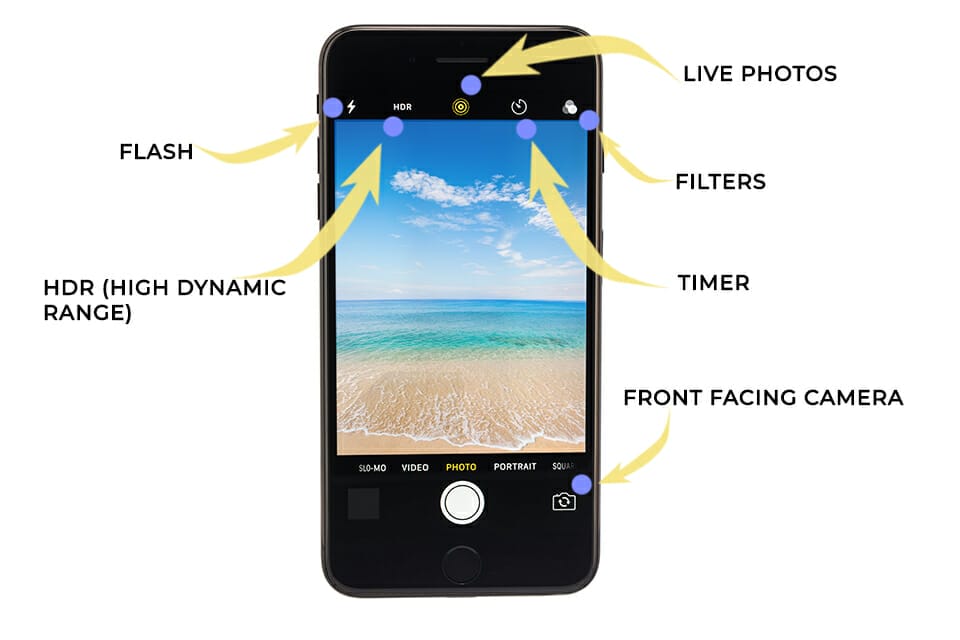
This is where you may get different options to what your iPhone has so please bear with us. Apple updates their phones and cameras with every version to improve functionality. You may find some of the features I look at that aren’t available on your iPhone, but I’ll aim to cover all the universal.
Flash – This is the camera flash. It can be left on AUTO (the camera decides when it fires based on how dark the shot is), ON (which means it fires with every shot regardless) or OFF.
Live Photos – A very cool feature of iPhone cameras is that the photo is not only recorded as a still image but also as a short video clip of the second before the photo is taken. This can be turned ON or OFF.
Filters – Much like Instagram and other photo editing apps, iPhones have their own array of image filters. You can swipe through different ones to give a live effect of each filter. Make your images look black and white, old-fashioned, low-fi and washed out depending upon the effect you want.
Timer – If you need a second or two to get yourself in the shot press the time and choose between 3 or 10 seconds countdown. Great for group photos.
Front Facing Camera – Press this to switch the camera around to look at yourself. Press it again to return it to the back camera. The back camera has a higher resolution than the front facing.
HDR – High Dynamic Range. This is a great feature for capturing more detail in your photo by letting the iPhone take 3 photos and merging it all cleverly in one well exposed photo. This is a great function for landscape photography. Again you can leave it ON all the time, AUTO or OFF.
Now you know what your iPhone’s camera can do, now it’s time to put it to the test and do some really cool iPhone photography.
It all depends on what you’re shooting but if you’re using the normal ‘photo’ mode then let’s look at some of the basic things you’ll want to do. The most common things are setting the focus point and changing the exposure.
Setting the focus on an iPhone couldn’t be easier – just tap where you want it! That’s it. The important thing is to make sure it’s where it should be photographically speaking.
Consider what is the most interesting/important/dominant object in your photo and that should be your focal point. The iPhone will do its best to guess where focus should be otherwise based on the scene but that may not be where you want it exactly so don’t leave it to the camera all the time.
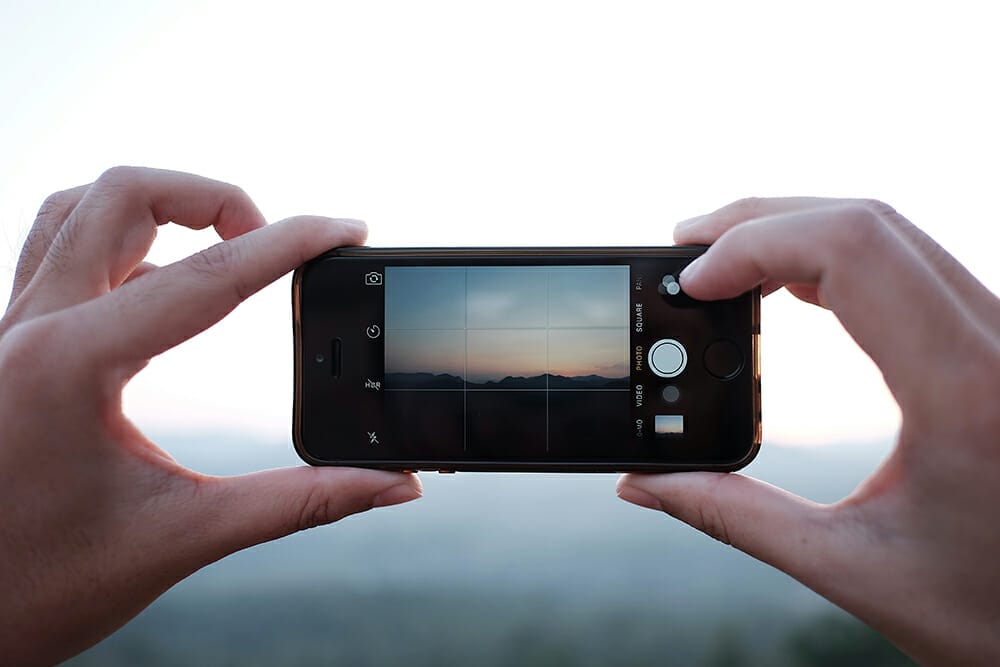
Now we need to set the exposure, which you can do straight after you’ve focused. When you tap on the screen to focus, hold the tap and slide your finger up or down to adjust the brightness of the shot.
Swiping up brightens the photo and going down makes it darker. If you’re taking a few photos and moving around you may need to readjust the brightness each time depending on the weather.
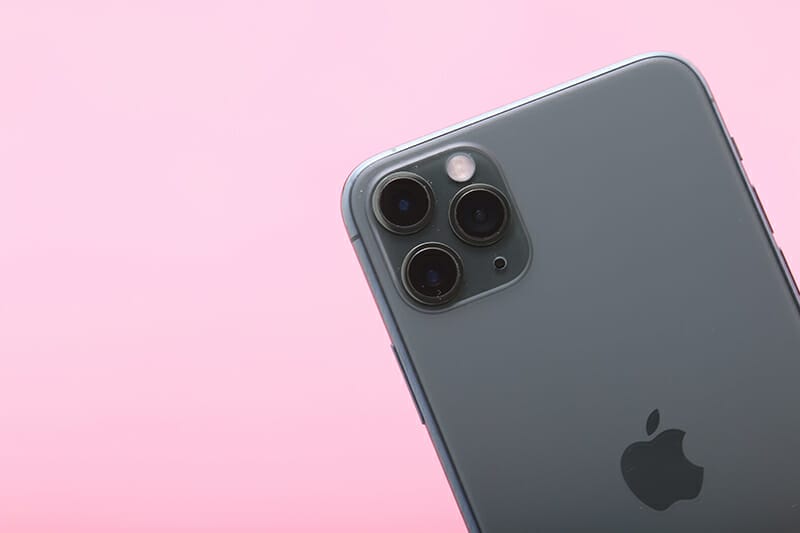
You’ve probably seen new iPhones have multiple lenses on the back of the phone these days – some have 2 or even 3. This options up your options as to how far you can zoom in to your scene – but it’s not without consequences.
● The iPhone 11 Pro and 11 Pro Max have 3 lenses: Ultra Wide, Wide, and Telephoto.
● The iPhone 11 has 2: Ultra Wide and Wide.
● Other models such as the XS, XS Max, X, 8 Plus, and 7 Plus have 2 lenses: Wide and Telephoto.
● If you’ve only got 1 lens on the back then it will be the standard wide lens.
Changing the zoom on an iPhone is easy. In the app you’ll see some numbers at the bottom of the screen. These are the zoom options that let you switch between the lenses available. You’ll have options such as;
• 0.5x –Ultra wide (great for landscapes)
• 1x –Wide (the everyday mode)
• 2x -Telephoto (for when you need to get a little closer)
While the option to zoom in to your shot sounds great if you’re far away just be cautious. Using a digital zoom means you’re using less pixels on the sensor to take the shot. This can result in poorer image quality when you look at the photo on a larger screen or print it out.
It’s not available on all models but the iPhone 11, 11 Pro and 11 Pro Max all come with a Night Mode. It’ll be automatically turned on whenever the camera detects you’re in a low light situation.
This may not just be night time. It could be that you’re in a dimly lit room like a theatre or cinema.
You’ll know if Night mode is activated by the little moon icon turning yellow at the top of the screen. If it’s white then it means it’s ready to be used but it’s not active.
The numbers that appear on screen when Night mode is turned on refers to the length of the exposure time. This is like shutter speed on a DSLR or Mirrorless camera. You’ll get the option of 1, 3 or 7 seconds, though there is an AUTO option if you want to let the camera decide best.

These are 4 key elements that are true to remember when you take a photo with ANY camera – iPhone or not.
Just because you’re using an iPhone and not a DSLR or Mirrorless camera doesn’t mean the rules of photography should be forgotten. You can still take great shots on an iPhone as we said at the start but you NEED to keep these 4 things in mind.
Ask yourself, where is the light falling? Is it on my subject or somewhere else? Finding a subject that is in the right light at the right time sometimes just comes down to pure luck. But if you’re looking for the light you’ll find the right opportunities more often than not – photographers make their own luck!
If you don’t already know what composition is and how to use it then read this guide. Where the subject is in the frame and how the background looks in connection to it AND how the viewer is drawn into the frame is vital to set up.
Composition isn’t hard to learn and you repeat the same techniques over and over. Just as long as you think about it then you’ll rarely go wrong.
This is the biggest element that is overlooked in photography with beginners. ‘What is the point of this photo?’ – ask yourself this every time you point your iPhone at something. Make the narrative/story of the photo obvious. Pick out something interesting and try to crop out anything that looks distracting or isn’t part of the story you’re telling. Read more about storytelling in a photo here.
Find something interesting to photograph. The image doesn’t always have to mean something to everyone else, as long as it provokes an emotional response in you then that’s the joy of photography.
Choose a clear subject (person, flower, train, building etc) and don’t let other things get in the way. The most boring photos happen when the photographer hasn’t really made the main subject clear enough or there are too many interesting things in the shot.

To edit photos on an iPhone, much like taking the photo is pretty simple. When you’re reviewing your shots in your Photos app press ‘edit’ in the top corner.
You’ll be given a range of different options on how to tweak your shot from brightness, contrast, colour, highlights etc. Underneath each option will be a slider to adjust each function, swiping to the right decreases the effect and going left increases it.
You’ll need to pay attention and judge each edit accordingly. Keep away from over-brightening the shot. If you’re having to do this then it’s better to take the shot again but make the original exposure brighter rather than pushing the pixels too much in editing.
To review the edit, tap the effect button to see the shot before and after. When you’ve finished press ‘Done’ to save the changes. If you change your mind, tap Cancel, then Discard Changes.

You’re not limited to using Apple’s built-in editing tools – and to some degree 3rd party apps are way better for editing photos on an iPhone. Here are some highlights to look out for in the App Store.
Probably one of the most popular editing apps for photographers is totally free and easy to use. Snapseed is available for Apple and Android and gives you a wealth of tools to use to change the contrast, colour, texture, drama, HDR and so much more. It’s simple and intuitive. We’ve got a whole module dedicated to learning Snapseed if you love editing on your iPad – check it out.
A cut down version of Adobe’s desktop version of Lightroom Classic, the CC (creative cloud) alternative is made for tablets and phones. It has a lot of the same tools within a simplified interface. If you love using Lightroom on a desktop/laptop then get yourself Lightroom CC for familiarity.
Presets ahoy! VSCO was founded years ago when the trend of adding filters over photos was the done thing – and in fairness it’s still going strong. There are free and premium options to use. They also have a monthly membership where you can unlock hundreds of more presets if you can’t settle on a favourite!
An app that seemingly does everything you need to edit photos on your iPhone. Picsart has better integration for social media platforms to allow you to create content if you want your photos to be more than just a photo. Use the templates to import your photos for Instagram stories or build your own.
One of our favourite apps for the past few years has been Prisma. It’s unique algorithm can convert any photo to mimic the look of a painting style – Monet, Lichenstein, Gothic, Mononoke, Mosaics and more. Subscribe and unlock over 500+ more!

If splashing out on a larger DSLR or Mirrorless camera isn’t in your stars or you’re not ready to make that jump then do the best with the iPhone you’re using. To help you out there are a number of great accessories you can buy to make your iPhone photography look more professional.
Here are 5 of our favourite accessories for iPhone photography.
These simple clip-on lenses can convert your view to super wide, fisheye, macro and even super telephoto. They’ll give you reach or width that the native iPhone camera can’t currently match. The more expensive the filters the better the quality, so try not to skimp for the sake of your iPhone photography.
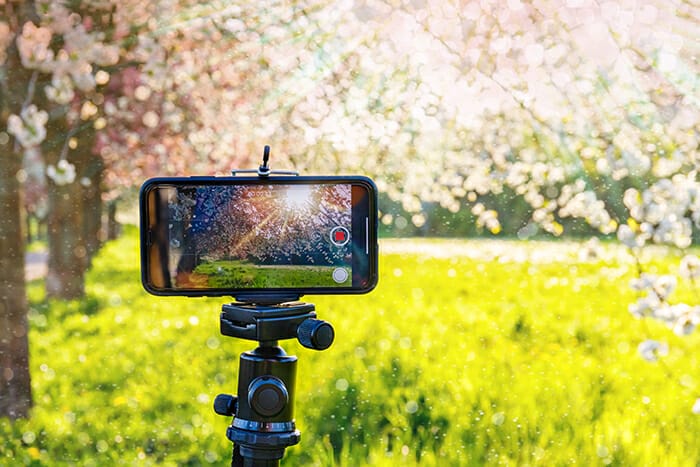
A tripod is so useful for a number of different photography tricks. From trying out long exposure night time shots (which require a still camera) to selfies and group shots. You can find small, compact and lightweight tripods for specific iPhone models. Throw it in your backpack on a day out and it’ll come in handy.
We’ve talked about the benefits of using a small light instead of a flash before in our iPhotography articles – you can read more here. Lumecube 2.0 produces small portable LED lights and panels to slide in your pocket. They are excellent for softening shadows in dark locations, acting as a fill light on backlighting and lots of other uses.
Like with a DSLR or Mirrorless camera it’s always advisable to get a spare battery. So doing photography on an iPhone is no different. Because the batteries on iPhones are non-removable then pick up a power bank with iPhone port attachment so you can get a full day’s charge and not have to worry about running out of juice while shooting!
For a completely unique view of the world then stop thinking about what’s in front of you and consider everything else around you with the Insta360 Nano. It’s a 360 degree camera you can mount to your iPhone to give a fully immersive experience of what’s going on where you are. It creates a little world feel whether its for a photo or a video.
When you’re trying out iPhone photography then keep these top tips in mind;
1. Remember to place the focus point on the most important aspect of the shot.
2. Adjust the exposure by sliding up or down after setting focus.
3. Remember the rules of composition to make your shot more than a snap.
4. Take as many shots as you want – it won’t cost you more.
5. Don’t go crazy with editing – just enhance what’s there, but not too much.
6. Get some accessories to get more creative.
7. Don’t think of it as ‘just an iPhone’ ; it’s a camera with a world of possibilities.

Discover TOP features in the Lightroom CC mobile app with this guide for enhancing your photo editing skills. For desktop and tablet too.

Shooting sunsets using amazing 5-in-1 magnetic lens filters from Kentfaith, the 1st choice for photo & video products.

Popular memory cards for photography – what’s the best SD card for your digital camera? Choose the right capacity and class speed in our guide
Learn the basics of photography – fast – with our FREE 60-Second Photographer online course. Each class is short and sharp with simple, actionable steps that give you immediate results.
x 30 lessons

© iPhotography™
Become a confident and competent photographer in less than 30 minutes!
Before you leave, make sure you’ve secured your FREE online photography course (worth £29.99)
Each class is just 60-seconds or less making it the fastest and easiest way to learn photography!