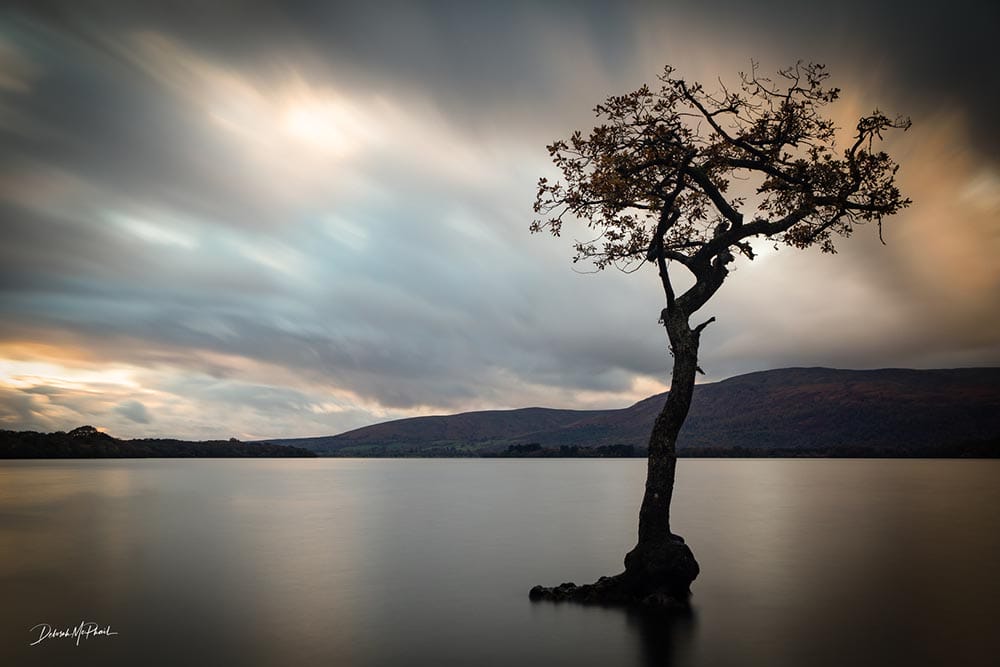
There might feel like a thousand different things to learn when you start photography as a hobby. And while, over time, you will learn lots, there are 10 essential camera settings every beginner photographer should know to start with.
Think about these settings whether you’re snapping pics with your smartphone, or you’ve just gotten your hands on your very first DSLR camera. Being able to alter these essential camera settings will improve the quality and creativity of your photography.
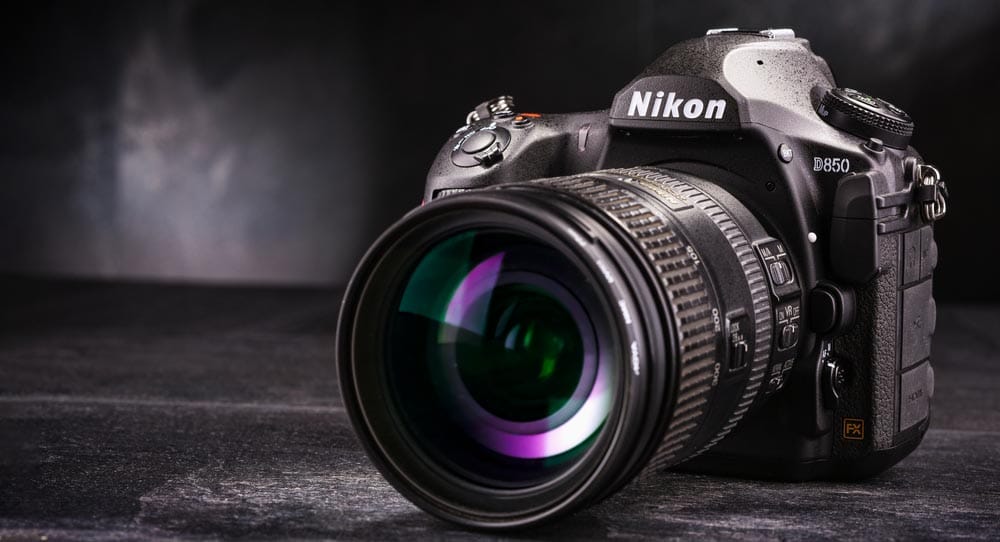
Before I dive into the nitty-gritty settings, it’s essential to familiarise yourself with your camera.
Each camera model might have slightly different buttons, dials, and menus. So, grab your camera’s manual (yes, that thick booklet that we all usually ignore) and take some time to explore. Understanding the physical layout of your camera is the first step in becoming a photography pro.
Once you’re comfortable with the basics, it’s time to venture into the settings. Most cameras have a mode dial on top, which includes settings like “Auto,” “P,” “S,” “A,” and “M.” These modes offer varying degrees of control over your camera settings.
Start with “Auto” mode if you’re feeling overwhelmed, but gradually work your way towards the more manual modes like “M” (Manual) to have full control over your shots.
ISO is like your camera’s night vision goggles. It controls the sensitivity of your camera’s sensor to light. A lower ISO (e.g., 100) is ideal for bright, sunny days, while a higher ISO (e.g., 1600 or above) is handy in low-light conditions. However, be cautious with high ISO settings, as they can introduce unwanted noise (graininess) into your photos.
In practice, here’s how ISO works: on a sunny beach day, set your ISO to 100 for crisp, clear shots. When you’re capturing the vibrant nightlife of a city, bump it up to 800 or 1600 to gather more light. Just remember, finding the right balance is key; too much sensitivity can lead to grainy photos, so don’t go overboard.
Ever wondered how photographers capture a speeding car without it looking like a blur? The answer lies in the shutter speed. Shutter speed determines how long your camera’s sensor is exposed to light. A fast shutter speed (e.g., 1/1000) freezes fast-moving subjects, while a slower shutter speed (e.g., 1/30) can create a sense of motion or blur in your photos.
For action shots, sports, or anything with rapid movement, opt for a fast shutter speed. On the other hand, if you want to capture the flow of a waterfall or the streaking lights of traffic at night, slow down your shutter speed. Keep in mind that using slower shutter speeds may require a tripod to avoid camera shake.
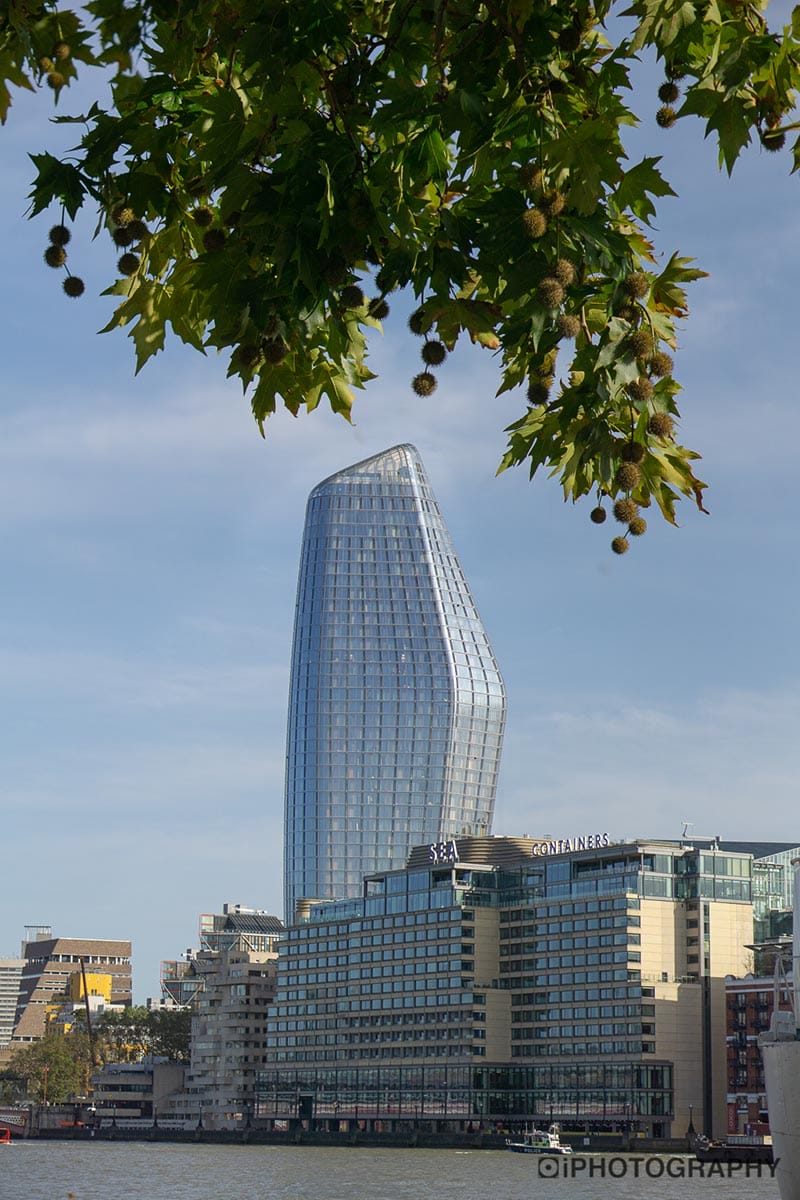
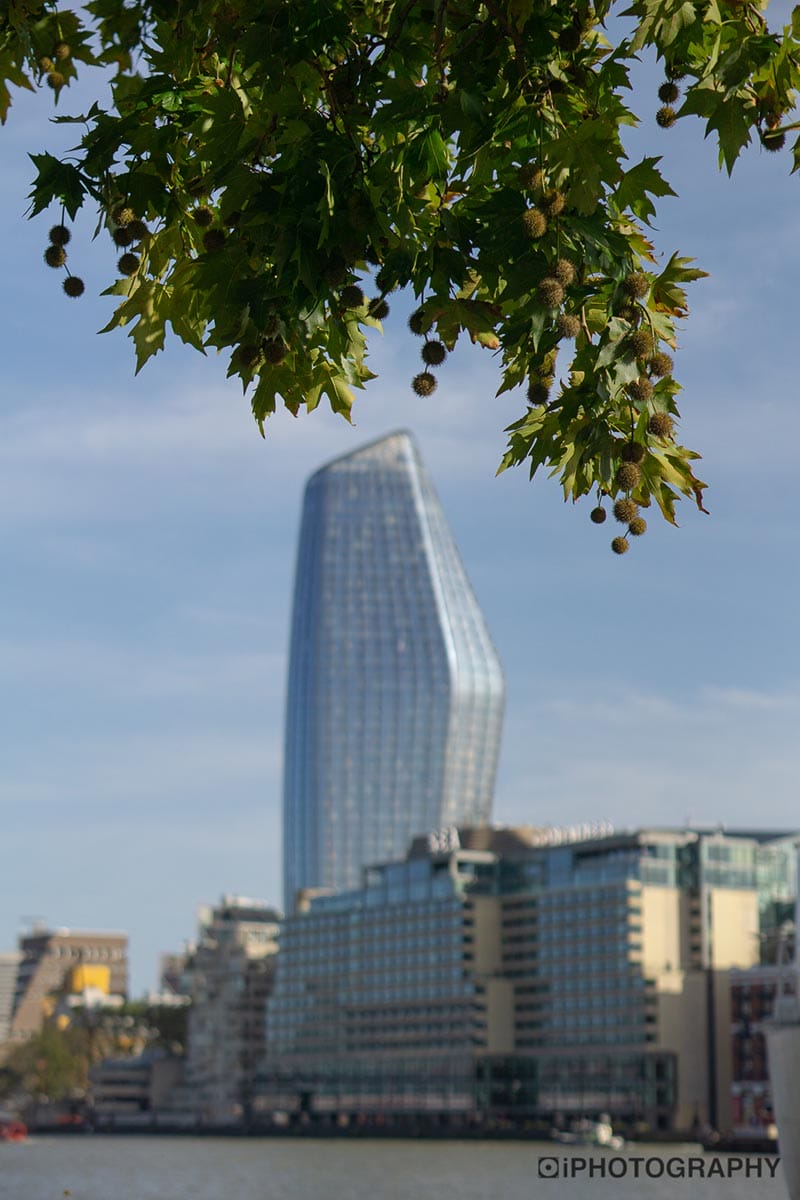
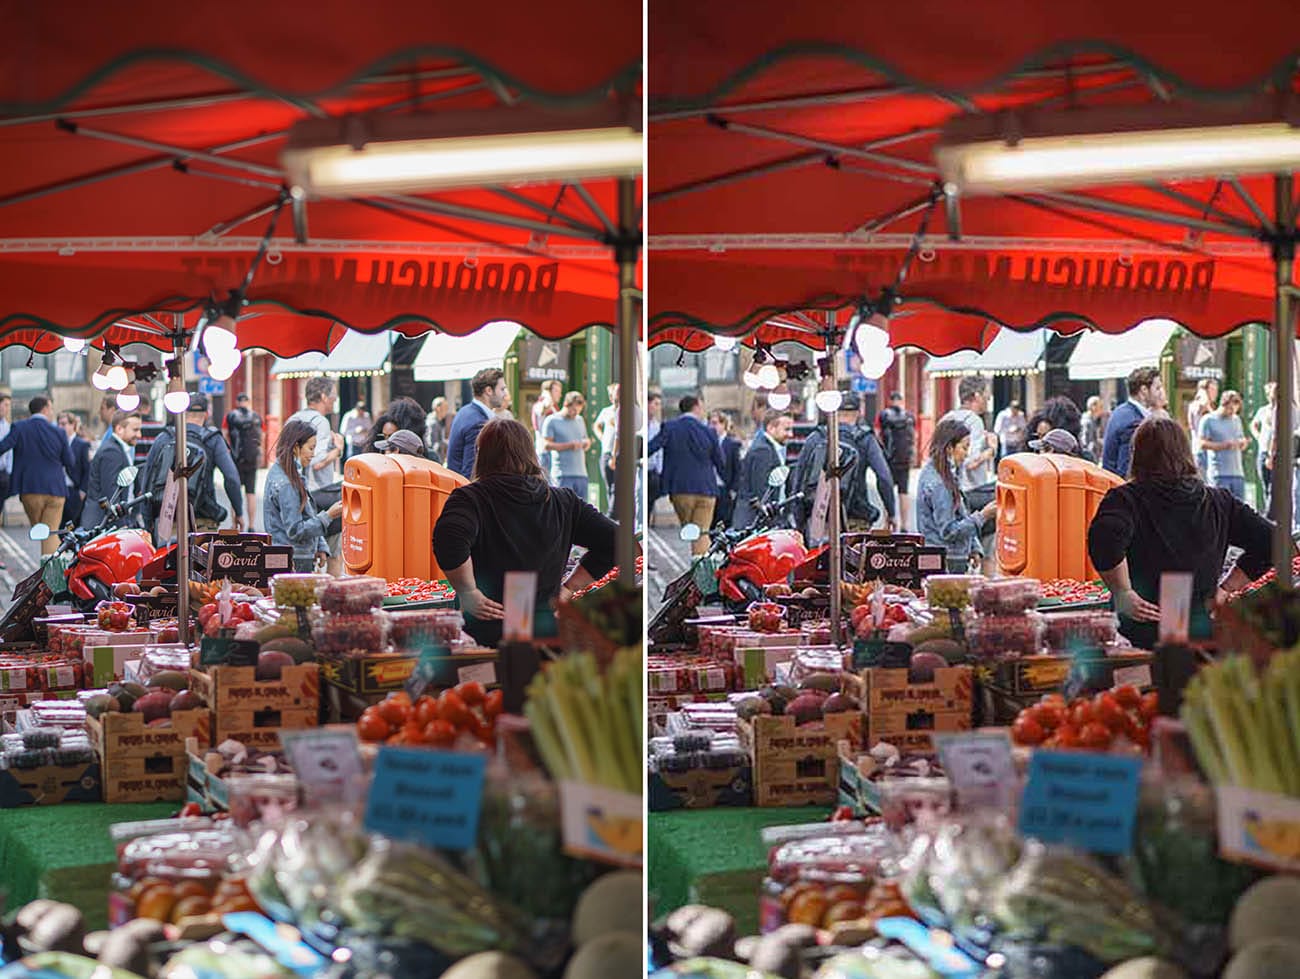
Aperture is like the magician’s wand of photography. It controls the depth of field, or in simpler terms, how much of your photo is in focus. It’s represented by an F/number, such as F/1.8, F/5.6, or F/16.
A small F/number (e.g., F/1.8) creates a small (or shallow) depth of field, making the subject stand out while blurring the background beautifully.
Conversely, a large F/number (e.g., F/16) creates a large (or deep) depth of field, ideal for landscapes where you want everything from the foreground to the horizon in sharp focus.
Experiment with different apertures to give your photos a creative edge. Portraits often benefit from a wide aperture (small F/number), while landscapes shine with a narrow aperture (larger F/number).
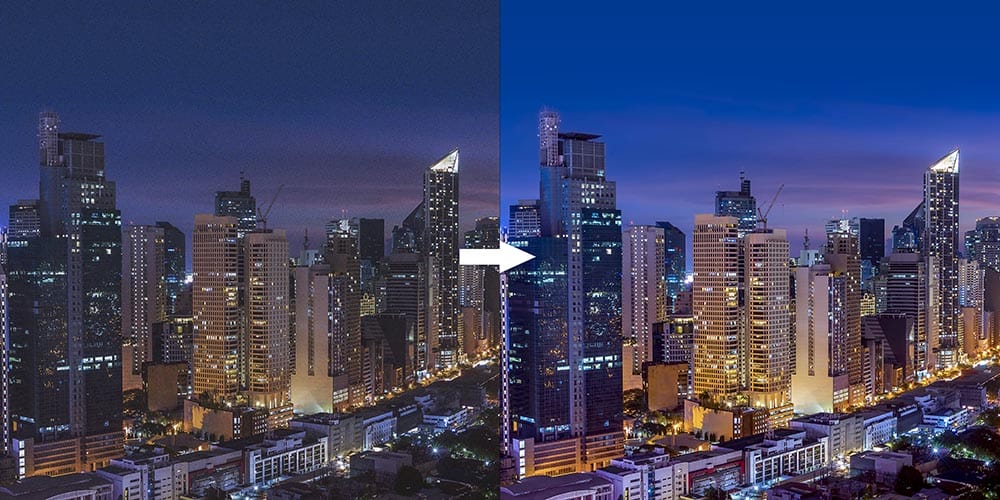
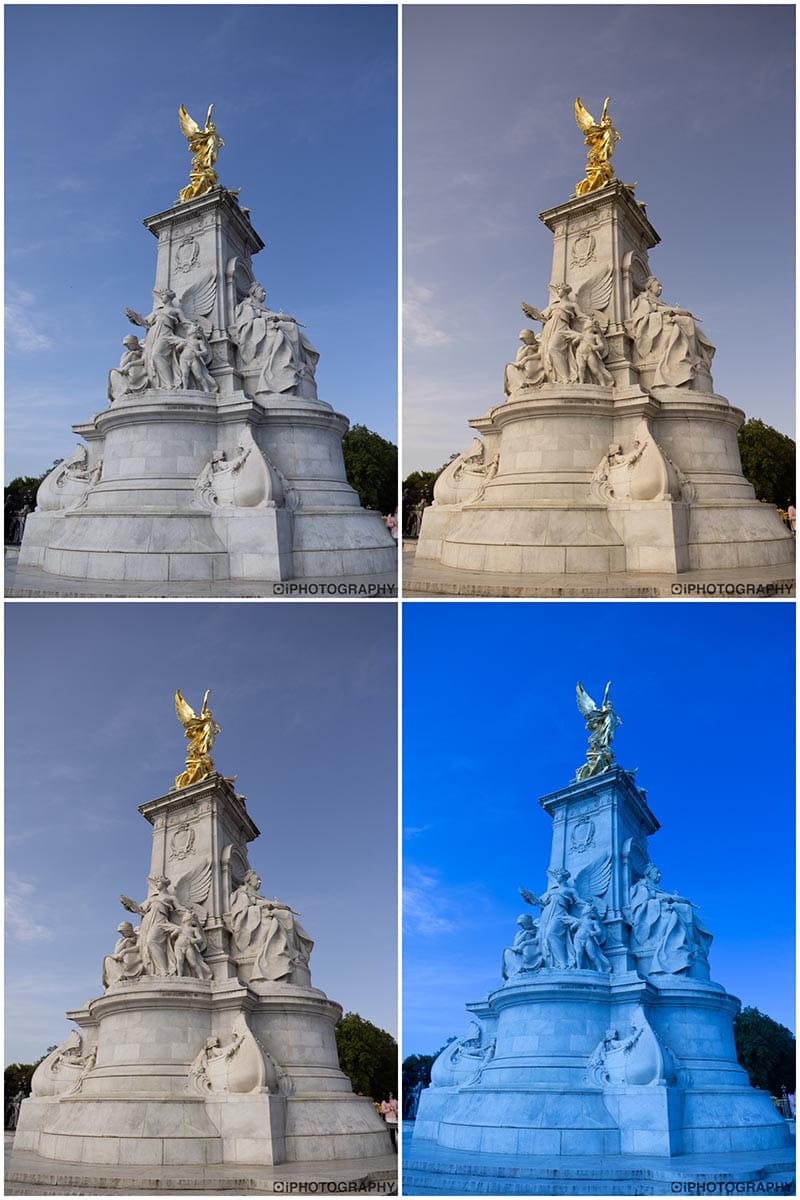
Ever taken a photo that looks a little too blue or too orange? That’s where white balance comes into play.
It ensures that the colours in your photos appear as they do in real life, regardless of the lighting conditions. Most cameras offer preset white balance settings like “Daylight,” “Cloudy,” “Tungsten,” and “Fluorescent.”
For most situations, the auto white balance setting works perfectly fine, but it’s essential to understand how to adjust it manually when needed. If you’re shooting in a dimly lit room with warm, yellowish lighting, try selecting the “Tungsten” setting to counteract the colour cast and achieve natural-looking colours. Understanding and adjusting white balance can significantly improve the overall quality of your photos.
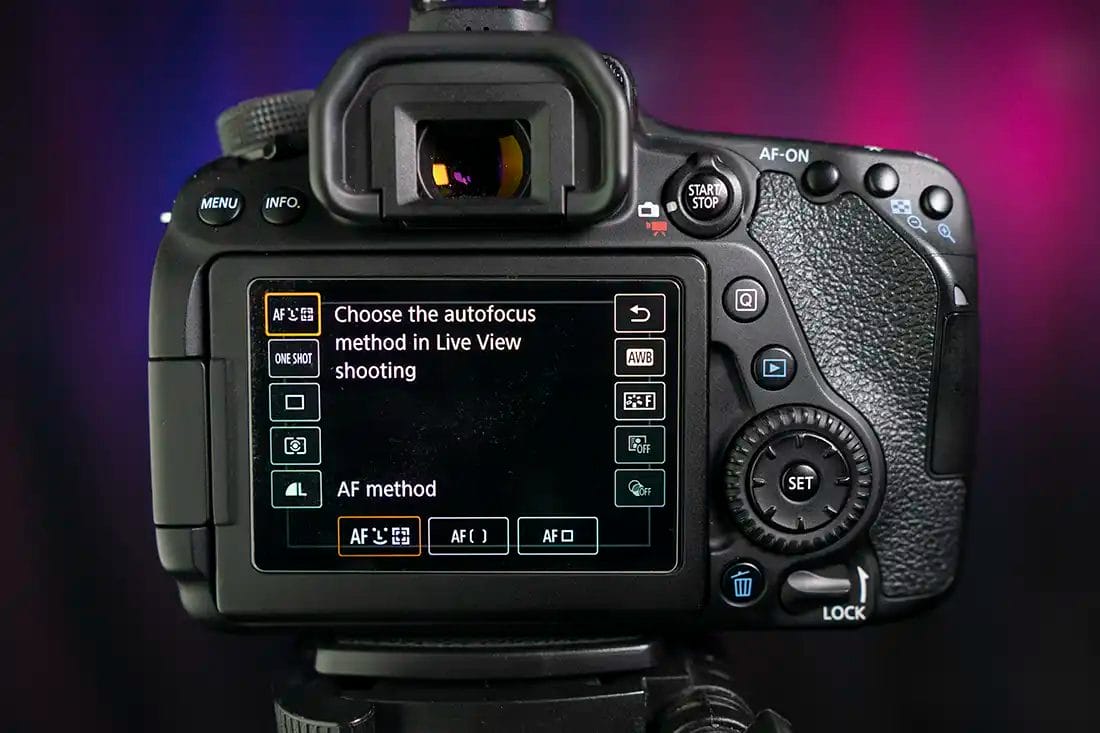
Achieving sharp focus can make or break a photo, and that’s where focus modes come into play. Your camera likely has a few different options, including;
In most cases, the Single-Servo AF mode is your go-to setting for still subjects. It locks focus on your subject when you half-press the shutter button.
However, when photographing a moving subject, like a friend dancing or a pet playing, switch to Continuous-Servo AF. This mode continuously adjusts focus to keep your subject sharp. Don’t forget to practise manual focus too, especially for situations where you want complete control over what’s in focus.
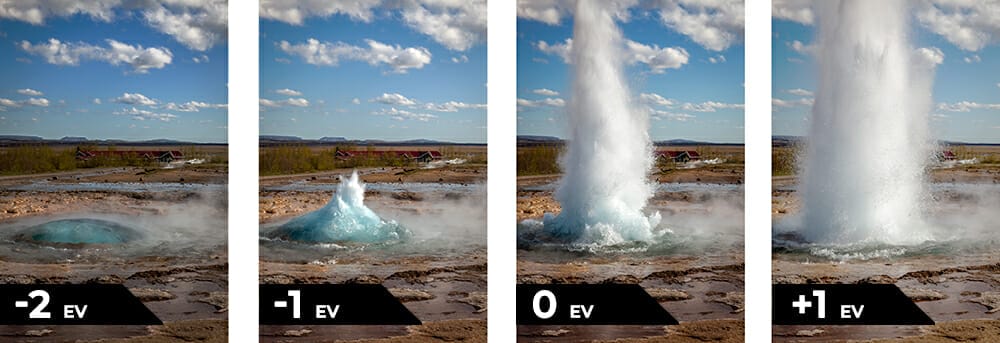
Exposure compensation is like a secret weapon for getting the exposure just right. Even in semi-automatic modes like Aperture Priority or Shutter Priority, your camera’s metering system might not always nail the exposure you want. That’s where exposure compensation comes in handy.
You can use it to make your photos brighter (+) or darker (-) than what your camera’s automatic settings suggest. For instance, when shooting a snowy landscape, your camera might underexpose the image because it tries to make the snow appear grey. In such cases, dial in some positive exposure compensation to brighten things up and capture the beauty of that glistening snow.
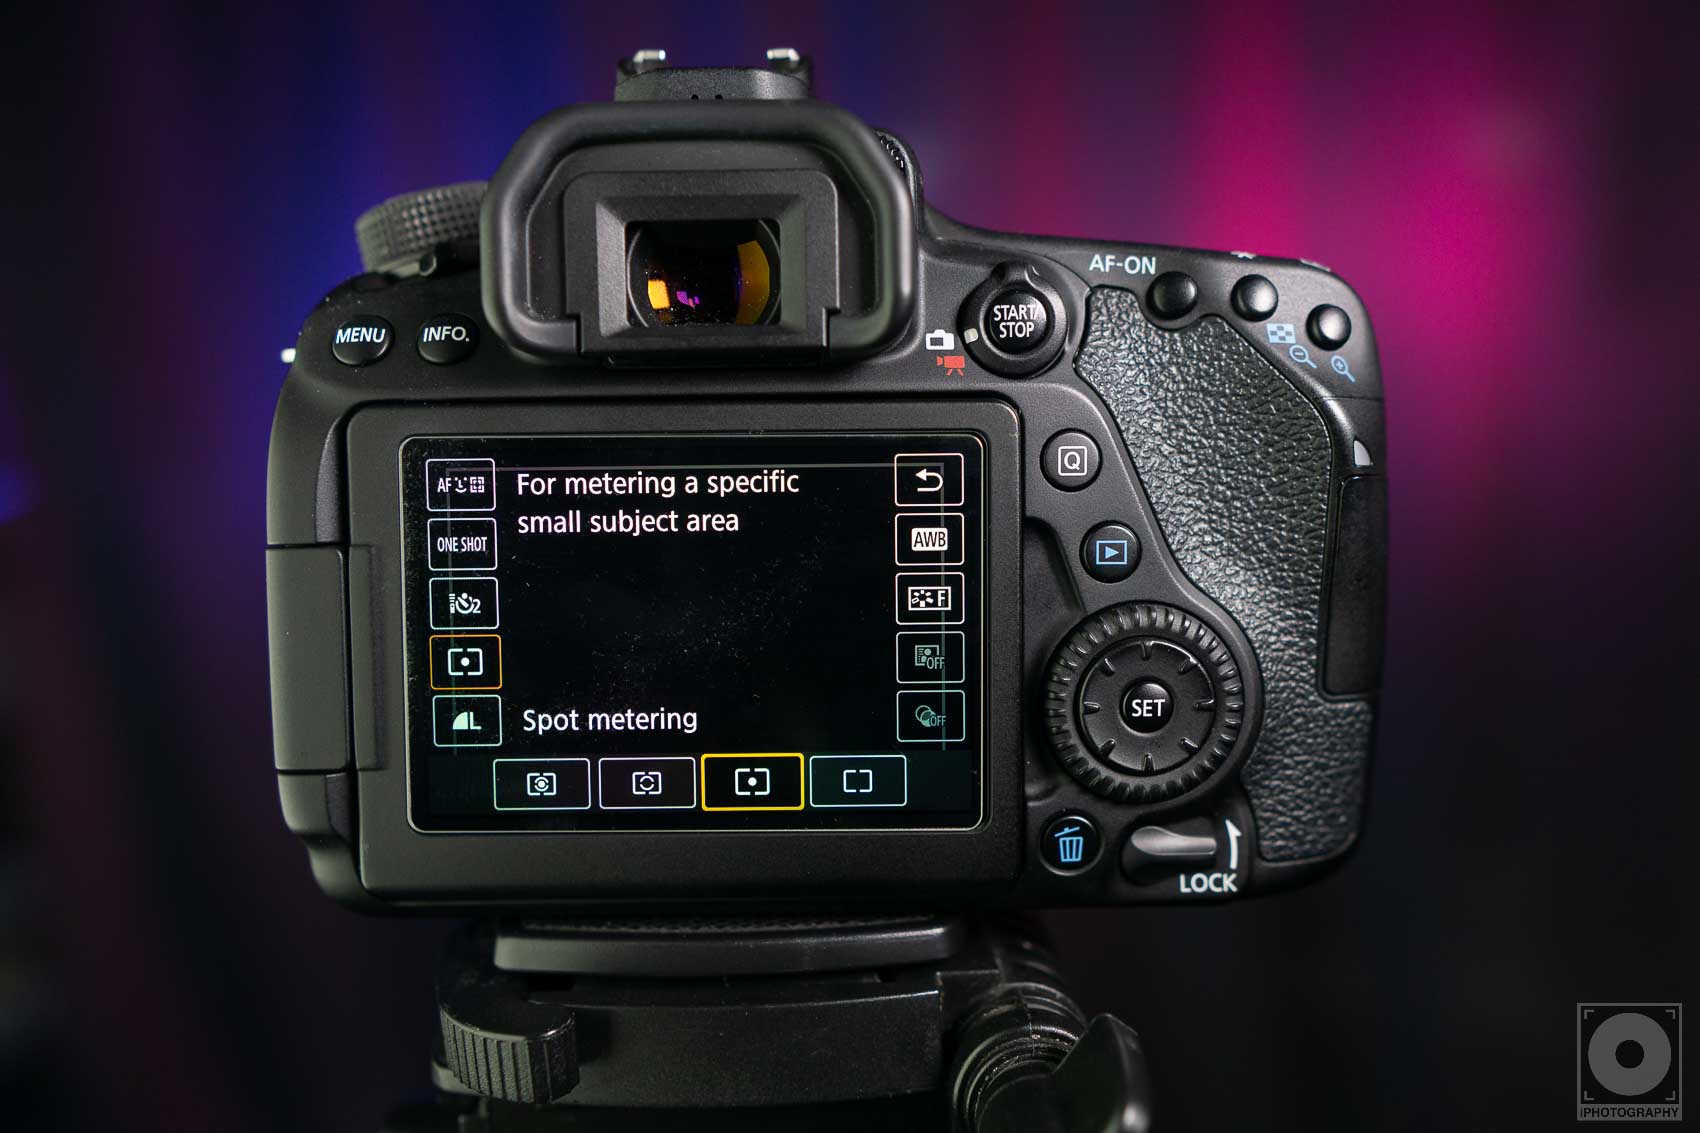
Metering modes determine how your camera evaluates the brightness of a scene to set the exposure. There are typically three common metering modes: Matrix (Evaluative), Centre-Weighted, and Spot Metering.
Understanding these metering modes empowers you to have better control over your camera’s exposure settings, ensuring your photos turn out just the way you want them.
When you take a photo, your camera saves it in a file format – the most common being JPEG and RAW. Understanding the difference between these formats can significantly impact your post-processing capabilities.
JPEG: This format is compressed and processed by the camera itself, resulting in smaller file sizes and ready-to-share images. It’s great for casual photography where you want to quickly share your photos on social media or print them without much editing.
RAW: RAW files are like digital negatives. They contain all the data captured by your camera’s sensor, offering the most flexibility for editing. While they require more storage space and post-processing work, they allow you to rescue poorly exposed shots and make more significant adjustments to your photos in software like Adobe Lightroom.
As a beginner, you might start with JPEG to keep things simple, but don’t shy away from experimenting with RAW as you become more comfortable with photo editing.
Bracketing is a technique that involves taking multiple shots of the same scene at different exposures. This can be a real game-changer when you’re dealing with tricky lighting conditions, like a bright sky and a dark foreground. By bracketing, you ensure you capture the perfect exposure for both the highlights and shadows.
Most cameras have a bracketing feature that allows you to specify the exposure range and the number of shots to take. For example, you can set your camera to take three shots with exposure compensation of -1, 0, and +1. This way, you’re covered in terms of capturing details in the highlights, mid-tones, and shadows.


In conclusion, mastering these 10 essential camera settings is the key to taking your photography skills to the next level. So, grab your camera, experiment with these settings, and remember that practice makes perfect.
Don’t be afraid to make mistakes; it’s all part of the learning process.

Discover TOP features in the Lightroom CC mobile app with this guide for enhancing your photo editing skills. For desktop and tablet too.

Shooting sunsets using amazing 5-in-1 magnetic lens filters from Kentfaith, the 1st choice for photo & video products.

Popular memory cards for photography – what’s the best SD card for your digital camera? Choose the right capacity and class speed in our guide
Learn the basics of photography – fast – with our FREE 60-Second Photographer online course. Each class is short and sharp with simple, actionable steps that give you immediate results.
x 30 lessons

© iPhotography™
Become a confident and competent photographer in less than 30 minutes!
Before you leave, make sure you’ve secured your FREE online photography course (worth £29.99)
Each class is just 60-seconds or less making it the fastest and easiest way to learn photography!
