 Stephen Walton
As the sun starts to fade (or rise) from the sky it gives us one last flash of its brilliant wavelengths like a rainbow of dying light. Sunset photography is a great opportunity to capture dynamic, rich and vivid photographs are rare to repeat.
Here are some practical tips and hints for beginners on how to make the most of sunset and sunrise photography.

The golden hour is a period of time just before the sun sets and after the sun rises where you get beautiful warm light. But this isn’t to say it’s the only time you can photograph a sunset. It’s not an expectation that the sun needs to be visible in sunrise or sunset photography.
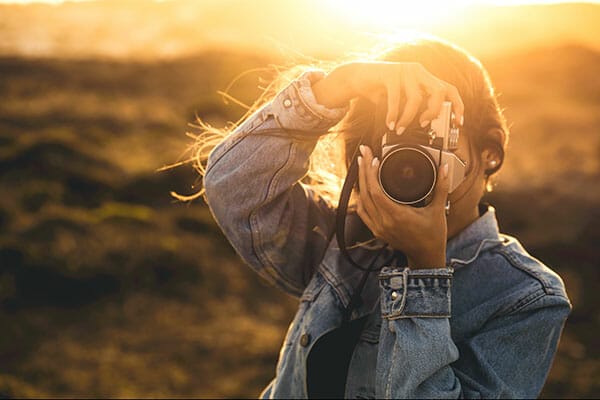
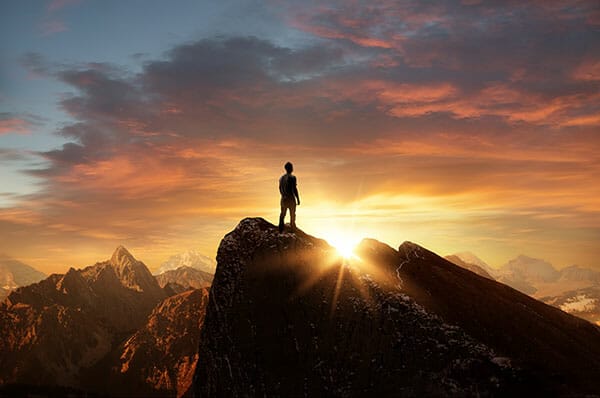
Once the sun disappears you may only have a 10-15-minute window in which the light is at its best. If you want to shoot while the sun is still visible, try to position it behind an object in the foreground – maybe a person, a building, or a tree.
This will not only help to avoid a hot spot in the centre of the sun, but it also makes for an interesting, silhouetted composition.


To make sure your lens is as clean as possible simply point it towards the sun and even the tiniest specks of dust will be visible when shooting sunsets.
It’s important to give both the front and back glass element a good wipe with a microfibre cloth to remove as much dust as possible. Otherwise you’ll be spending ages in the editing suite! You can also use a small rocket blower or a lens pen to remove blemishes on the glass.
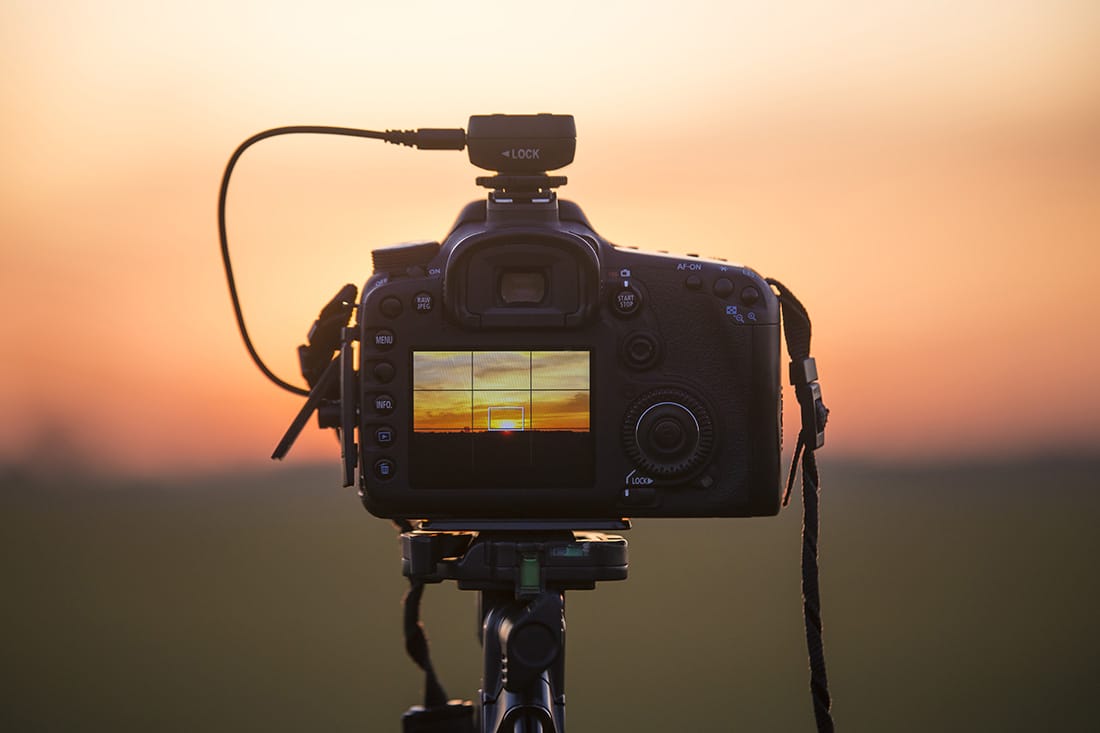
Looking directly at the sun for a prolonged period of time can, in extreme cases, damage your camera’s sensor. The safest way is to use the LCD on your camera to compose your shot.

Though it’s possible to shoot without a tripod, they do offer a good by-product. Using a tripod, while it tends to slow you down normally, for sunrise photography helps.
Use it to place your attention on achieving a good composition and the best possible exposure rather than just shooting on the go.
Shooting in Aperture Priority (A/Av) mode is a good place to start for beginners to sunset/sunrise photography.
While you can also shoot in Manual mode if you feel more confident, either way you’re simply finding a setting to give you control over the exposure.
For sunrises and sunsets photography use a small aperture – a large f/stop number (i.e., F/16-F/22). Remember you are looking directly at the sun so light is going to be as bright as possible. To stop overexposure, close the aperture size and regulate the amount of light entering the lens.
The foreground area may appear unexposed, it’s always best to expose the sky when shooting into the sun. You can recover shadow detail easier than blown-out highlights.
Though I have got some suggestions for improving dynamic range coming up, so you won’t need to battle with underexposure. This small aperture will also help capture that strong starburst effect and make rays of light appears more defined and clearer.
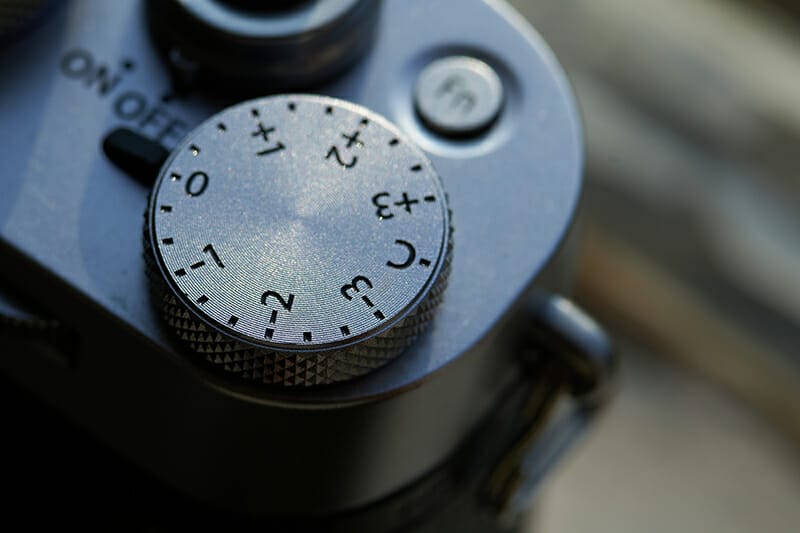
If your sunset exposure is not what you want, apply exposure compensation to improve it. Depending upon your shot then add in some positive exposure comp (+) to make the scene brighter. Conversely, if it’s a little too bright then darken it using negative exposure comp (-).
If you’re shooting in Manual (M) mode, then exposure comp may not work on some cameras. Instead, you’ll have to change the shutter speed or ISO instead to alter the exposure.
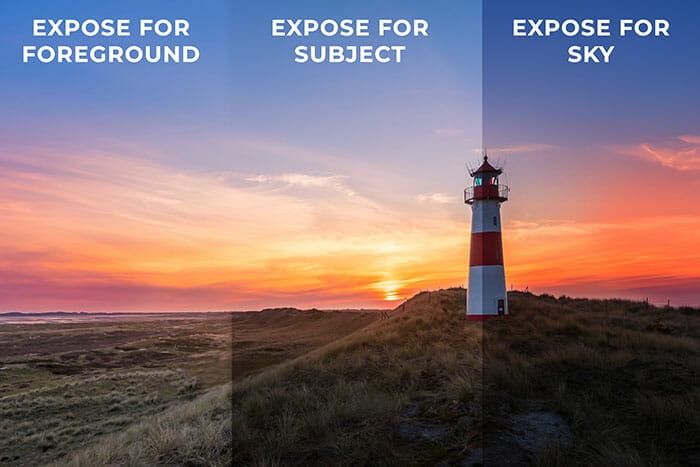
When shooting into the sunset there is a huge difference in tonal values between the brightest and darkest parts in the image – this is called dynamic range. With pointing the camera directly at the sun, you may not be able to capture the true details within the scene.
If you expose for the sky, then the foreground may be too dark, and if you expose for the foreground then the sky can turn out too bright.
So, what can we do about that?
Well shooting bracketed exposures is usually pretty easy to do and some cameras have automated options for you. AEB typically shoots 3 exposures. One will be the correct, one a little darker, and one a bit brighter.
Take the individual exposures and merge them into a single image using Lightroom’s Photo Merge option.
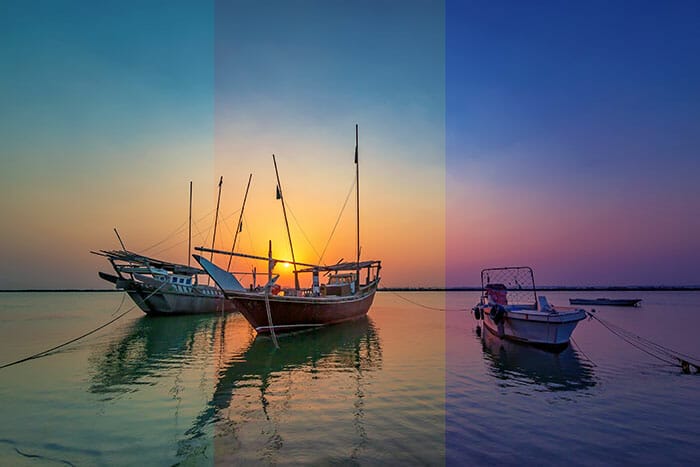
Leaving the white balance on auto runs the risk of losing the warm golden sunset tones. Instead, use ‘cloudy’ or ‘shade’ settings as they are generally used with cooler lights and therefore add a little warmth automatically. Even if it doesn’t come out perfectly, you can always enhance it further in editing.
Don’t focus on the sun! It’s so bright it will be hard to see an edge clear enough for focus to be detected. If you are using graduated filters though, then it may be more visible.
Instead, look for an interesting subject to centre your sunset or sunrise around like we mentioned at the start. Maybe a person, tree or building that could be positioned in front of the sunset. This type of backlighting will turn the subject in to a shapely silhouette.
Depending upon where it is positioned in the frame use a moveable focus point to select and one that is similar to the size of the object you want to focus on.
Shooting sunsets and sunrises are a favoured pastime for many of our iPhotography members.
We see lots of great examples in the gallery and hopefully these tips will help you improve your sunsets. Remember to share your photos with us in the gallery or tag us on social.

Discover TOP features in the Lightroom CC mobile app with this guide for enhancing your photo editing skills. For desktop and tablet too.

Shooting sunsets using amazing 5-in-1 magnetic lens filters from Kentfaith, the 1st choice for photo & video products.

Popular memory cards for photography – what’s the best SD card for your digital camera? Choose the right capacity and class speed in our guide
Learn the basics of photography – fast – with our FREE 60-Second Photographer online course. Each class is short and sharp with simple, actionable steps that give you immediate results.
x 30 lessons

© iPhotography™
Become a confident and competent photographer in less than 30 minutes!
Before you leave, make sure you’ve secured your FREE online photography course (worth £29.99)
Each class is just 60-seconds or less making it the fastest and easiest way to learn photography!