Whether you’re a beginner photographer or a hobbyist, I’ll guide you through the steps, tips, and tricks to create stunning bubble photography. Join me as we explore the fascinating realm of bubble photography and unlock the secrets to capturing these ephemeral wonders in all their glory. Let’s get started!
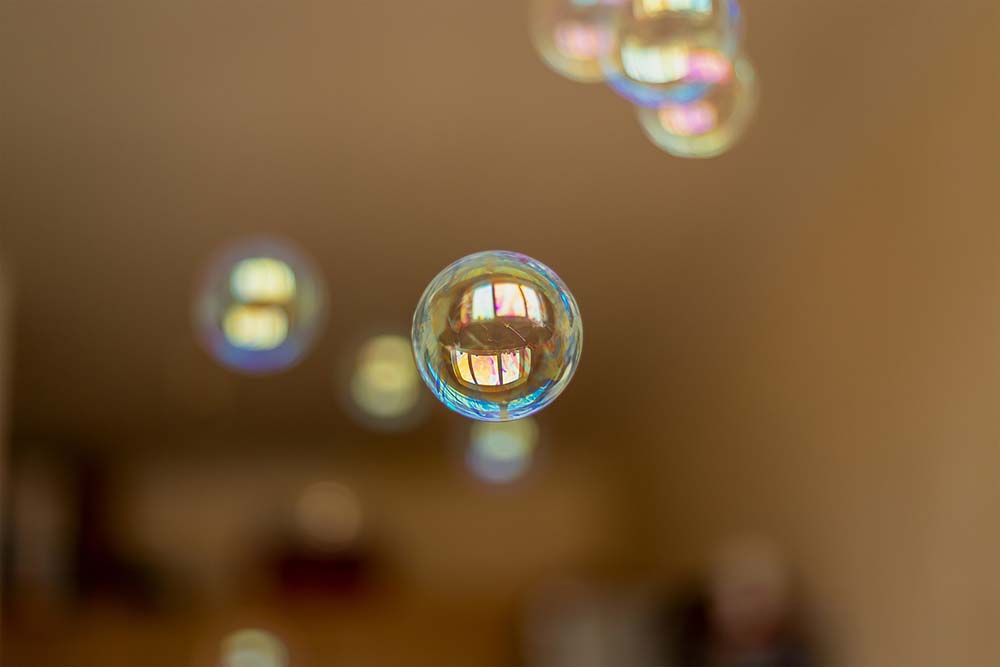
It’s best to know first what mixture to use to create the best-looking bubbles. Soap bubbles are great subjects to photograph due to their vibrant colours and iridescence.
You can create your own soap bubble solution or purchase bubble mixtures specifically designed for photography.
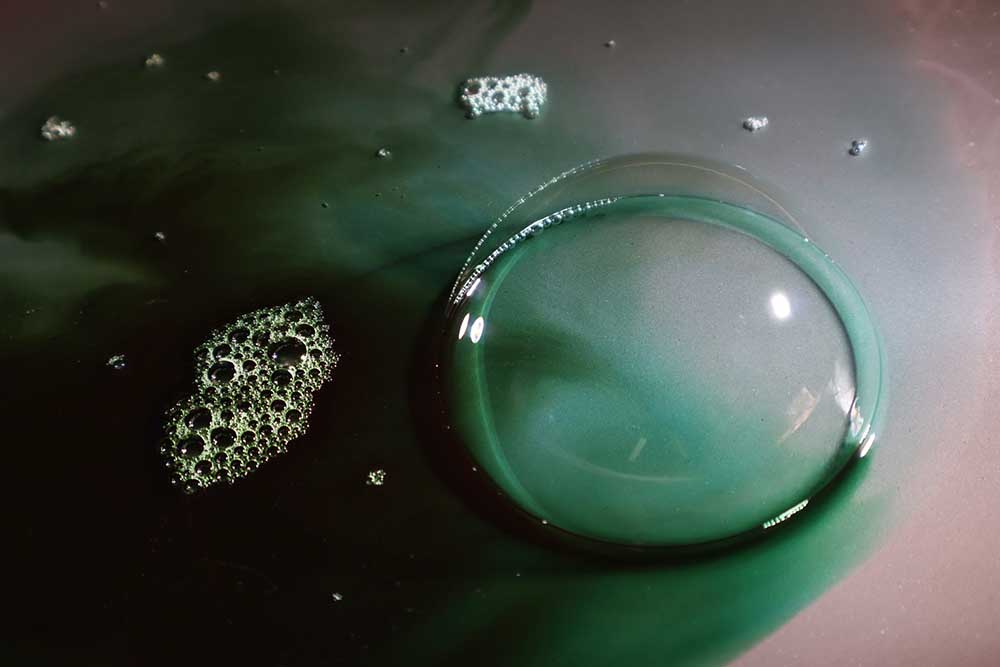
Choose Aperture Priority mode (A or Av mode on your camera dial) to have control over the depth of field. Use a low ISO setting (around 100-200) to minimise noise in the image.
Start with a fast shutter speed (around 1/500th of a second or faster) to freeze the motion of the bubbles. Experiment with different aperture settings to control the amount of background blur and sharpness of the bubbles.
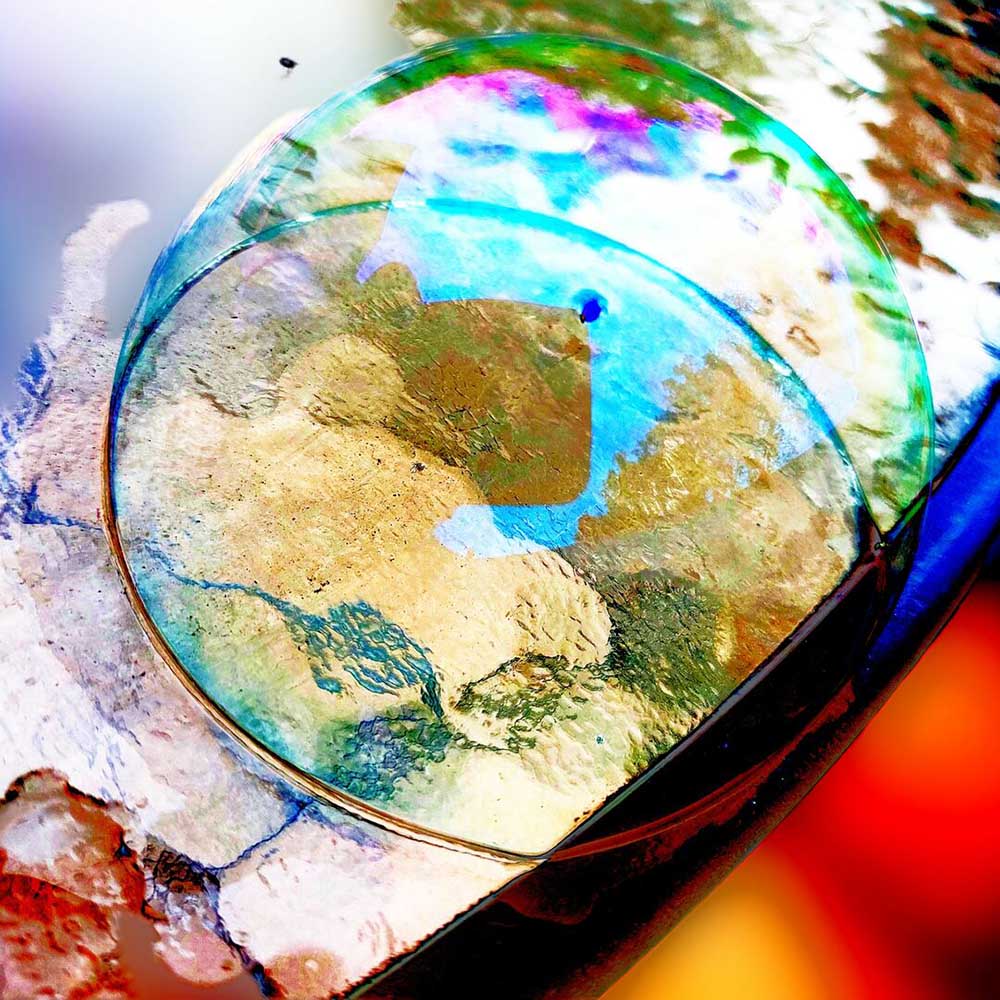
Soft, diffused lighting works best for bubble photography. Avoid harsh direct sunlight, as it can cause overexposure and harsh shadows. Shoot during the golden hours (early morning or late afternoon) when the sunlight is softer and more flattering.
Consider using a diffuser or shooting in a shaded area to soften the light further. Experiment with backlighting to capture the translucent qualities of the bubbles.
Get close to the bubbles to capture their intricate details and patterns. Try shooting from different angles, such as from below or at eye level, to add interest to your shots. Look for interesting reflections and colours within the bubbles.
Consider using a macro lens or macro extension tubes to capture close-up shots with more detail.
As for examples of stunning bubble photographs taken by professional photographers, I’m unable to supply specific web URLs as my browsing capabilities are disabled.
However, I encourage you to search for “bubble photography” on popular photography websites or image search engines. You’ll find a wide range of inspiring images that can give your ideas and inspiration for your own bubble photography endeavours.

Top-Down View: Position yourself directly above the bubbles and shoot downwards. This angle can highlight the circular shape of the bubbles and reveal interesting patterns and reflections on their surfaces.
Eye-Level View: Capture bubbles at the same level as your eyes. This perspective supplies a more intimate and immersive feel, allowing you to capture the details and colours within the bubbles.
Below View: Lie down or get low to the ground to shoot bubbles from below. This angle can create a unique and dramatic effect, especially when bubbles are backlit by the sky or other light sources.
Side View: Experiment with shooting bubbles from various side angles. This perspective allows you to capture the way light interacts with the bubbles, resulting in beautiful gradients and reflections.
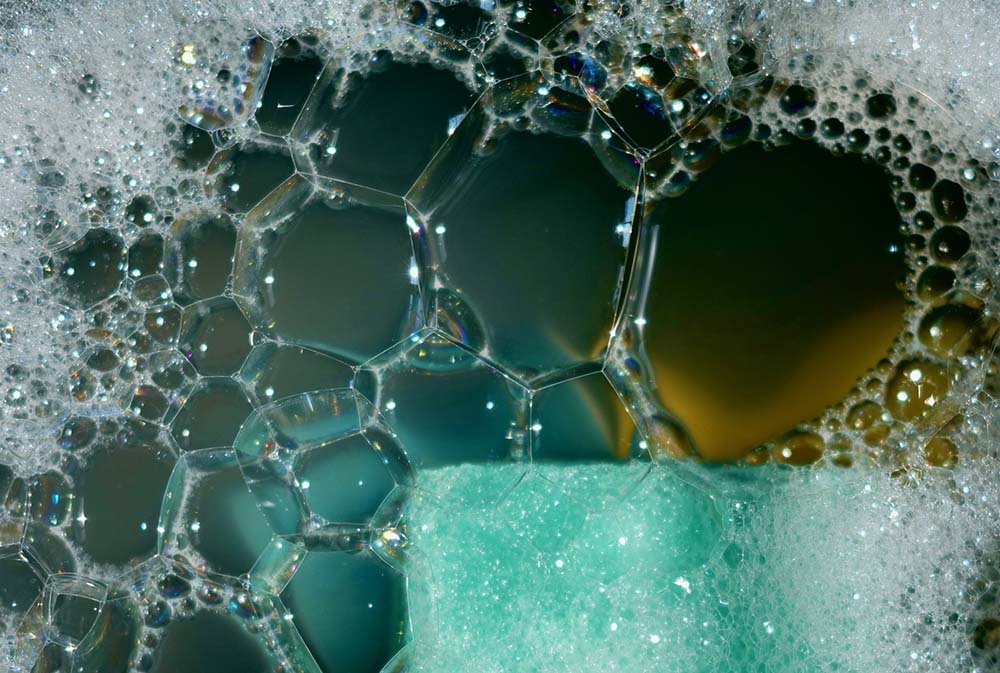
Outdoor Settings: Bubbles tend to look mesmerising against natural backdrops like blue skies, green landscapes, or blooming flowers. Look for opportunities to photograph bubbles in parks, gardens, or near bodies of water.
Indoor Settings: Bubbles can also be captured indoors with controlled lighting conditions. Consider shooting bubbles against a plain background or near a window to take advantage of natural light.
Special Events: Bubbles are often used as a form of entertainment or decoration during events like weddings, parties, or festivals. These occasions can supply a perfect opportunity to capture bubbles in different settings and lighting conditions.
Experimentation: Don’t limit yourself to conventional bubble photography. Try incorporating other elements like coloured lights, reflections, or even freezing bubbles in ice or capturing them in motion with a fan or wind machine for more creative and unique shots.
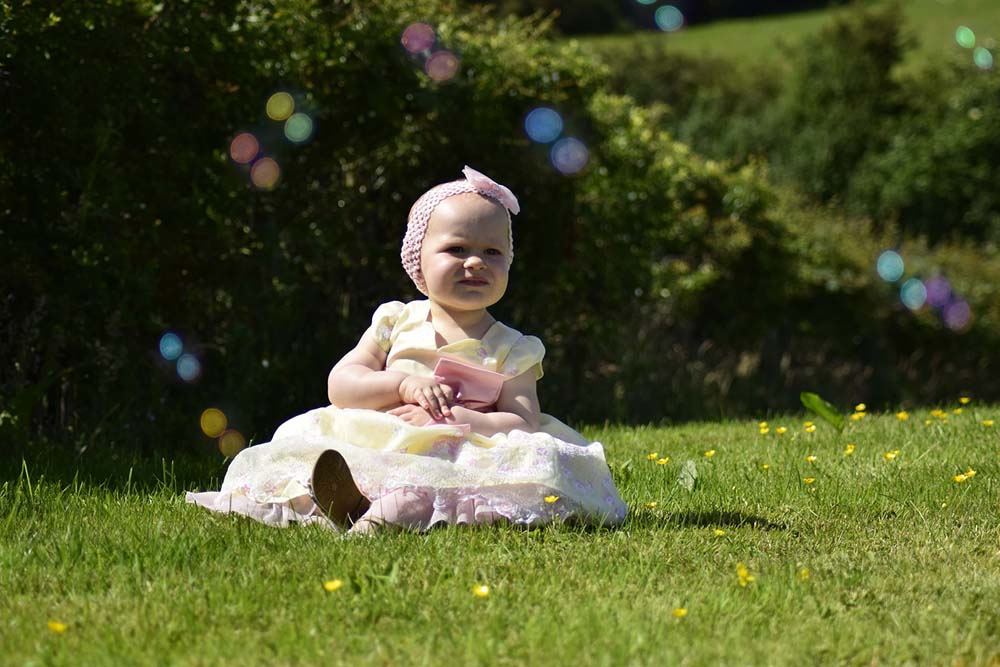
Remember, photography is an art form, so feel free to experiment, be creative, and develop your own style as you explore the fascinating world of bubble photography.
Find everything you need to know in this guide to polarizer lens filters for photography. How do they work and which is the best to buy?
Discover TOP features in the Lightroom CC mobile app with this guide for enhancing your photo editing skills. For desktop and tablet too.
Shooting sunsets using amazing 5-in-1 magnetic lens filters from Kentfaith, the 1st choice for photo & video products.
Learn the basics of photography – fast – with our FREE 60-Second Photographer online course. Each class is short and sharp with simple, actionable steps that give you immediate results.
x 30 lessons

© iPhotography™
Become a confident and competent photographer in less than 30 minutes!
Before you leave, make sure you’ve secured your FREE online photography course (worth £29.99)
Each class is just 60-seconds or less making it the fastest and easiest way to learn photography!