


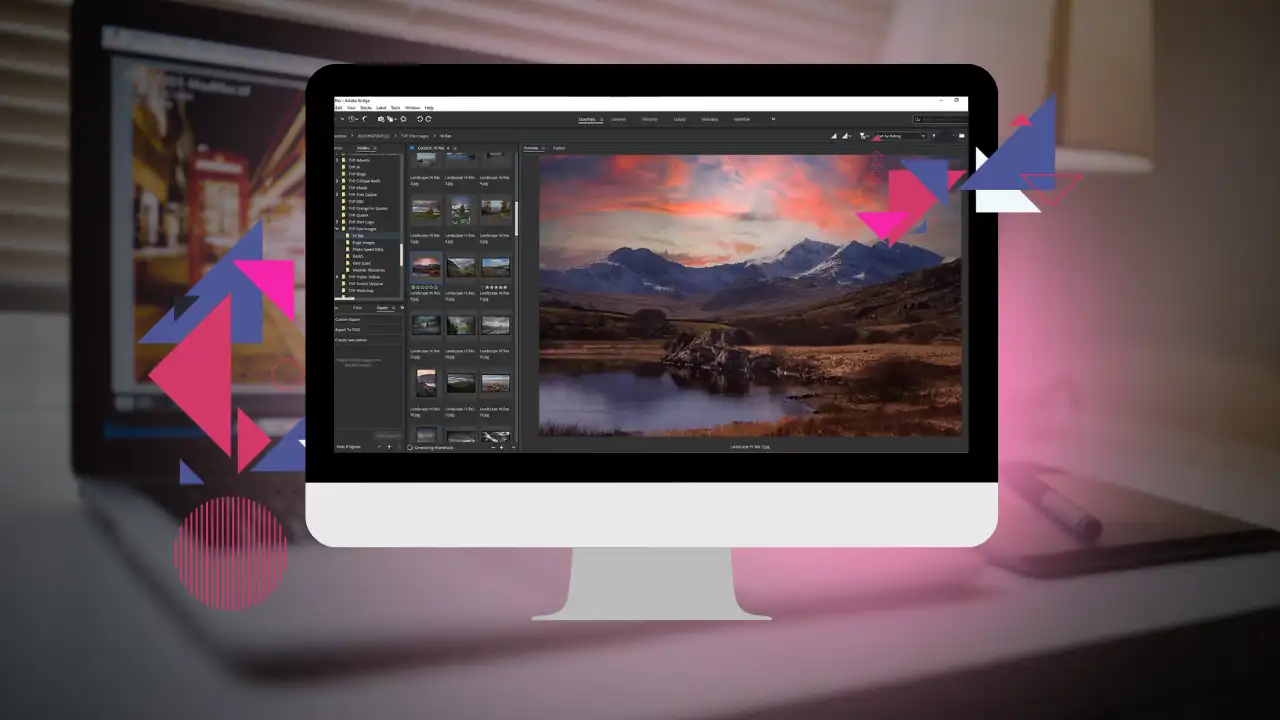
Photographers, are you using the full potential of Adobe Bridge to streamline your photo management and editing workflow?
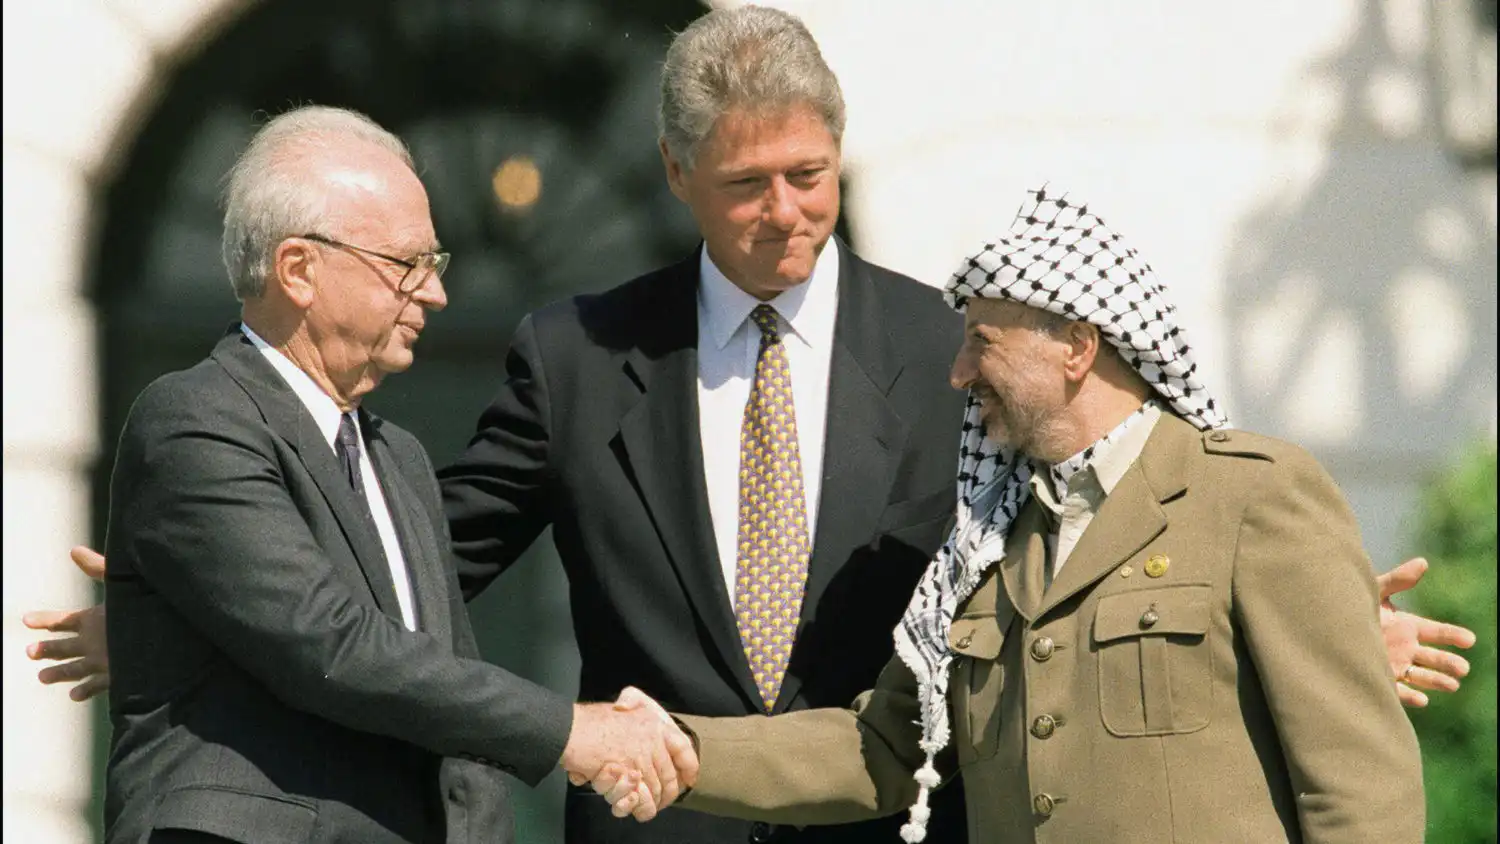
Explore 11 famous photos in politics and society that became symbols of change. From elections and protests to tragedy and truth.

Photographers elevate your photo editing with Adobe Photoshop Express, a beginner’s guide for spectacular results.
