If you’re setting up for Christmas or just looking for what to do with those twinkly lights throughout the year, I’ve got some tips for you.
In this fairy lights photography guide I will help you capture portraits and room scenes with beautiful bokeh and twinkling lights.
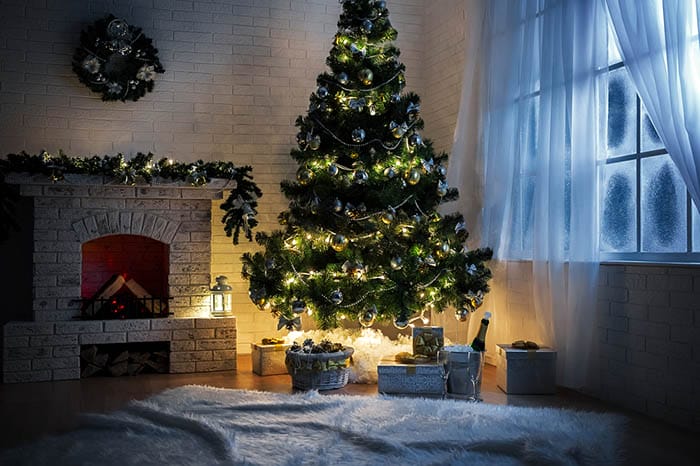
Fir trees have been decorated at Christmas time for hundreds of years and nowadays they can be spotted all around towns, local parks and in neighbourhood windows.
Putting up the tree is a great family activity, from unravelling tangled wires thrown away last January, to the inevitable debate over whose turn it is to place the star at the top!
Transforming your house into a temporary winter wonderland is an event to be cherished by the whole family each and every time. After all, Christmas comes but once a year.
Christmas trees are an enchanted addition to your family living room, when dressed with their glowing fairy lights, twinkling tinsel and jingling bells. There’s nothing worse than photographing such a sensation with your pop-up flash!
I am going to help you throw away all the bad habits when photographing these magical moments and instead, create memories with a real WOW factor.
To capture the perfect Christmas tree, you will need a tripod. If you don’t have one you could try using a steady surface, such as a table or arm of a chair, to rest your camera on.
If it’s not too late, perhaps you could add it to your Christmas list. (Providing you’ve been a good girl/boy this year!)
Using a tripod with a slow shutter speed, will help you achieve sharper shots in low light conditions, allowing the camera to pick up the sparkle and shine of the fairy lights.
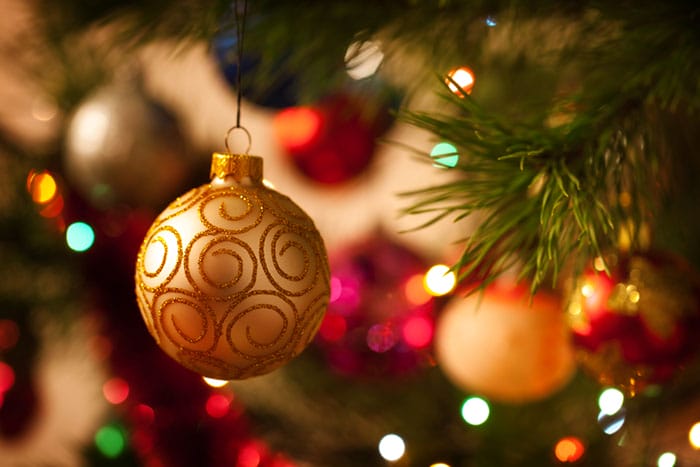
1. Firstly, with your camera set up, choose a low ISO in order to keep noise or grain to a minimum, let’s say 100 or 200. When shooting with a slow shutter speed, ISO becomes almost irrelevant because the shutter is open long enough to absorb the right amount of light.
2. Secondly, depending on the positioning of your tree, you may want to blur out the background. Using a tripod and a slow shutter speed, will give you the option to use a wide aperture such as f4, to make sure any distractions in the background are hidden……now get shooting!
If you wanted to do a close-up of a particular ornament, you could try using an even wider aperture, say F/1.8 for example. Use your camera’s macro function to get the best setting or ideally, a macro lens.
Continuing on, if you wanted to add some unique qualities to your Christmas lights, you may want to close your aperture down to F/16 or smaller. The background will be in focus, but you will also start to notice small starbursts around the individual twinkles of the fairy lights.
Another sparkling suggestion on how to make your fairy light shots more unusual is to use manual focus. Most photographers are terrified of manual focus as they are worried that their pictures will come out blurry.
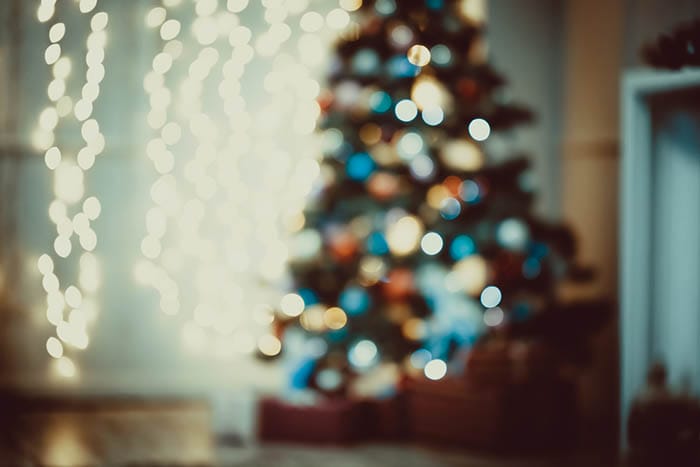
But have a look at what blur can do to fairy lights. Switch your lens to manual focus, there is usually a slider on the lens itself, and twist the focus ring until the view becomes blurry. This will bring out the magical bokeh from the lights, making your tree glow with colour!
Bokeh transforms the fairy lights into soft glowing orbs, which creates the background for a wholesome memory.

Children are what make Christmas time extra special; from the pitter-patter of footsteps down the stairs bright and early on Christmas morning, to the realisation that Santa has been and left presents around the tree. You can create heart-warming and enchanting memories from this special day.
Unless your child can really hold their excitement, a slow shutter speed won’t work as well for Christmas-themed shots involving people.
Once the children are awake, a shutter of around 1/60th or above would remove any worries of motion blur. To best capture the lights from the tree in these circumstances, you would need to shoot with a wide aperture and a higher ISO.
Every camera and household will be different, but try to avoid shooting over ISO 1600 due to noise – perhaps put on a lamp or two in the background, or open the curtains to let in the morning winter sun.
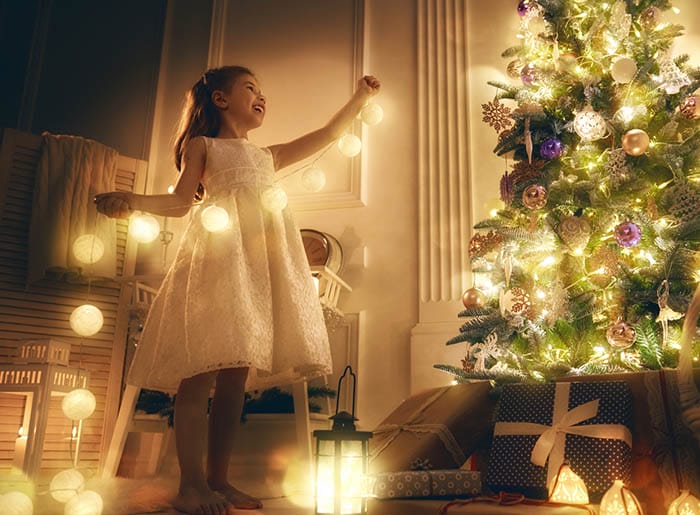
If this is all new to you, and seems a little daunting at present, use Christmas Eve as a test shoot. Practice getting your settings ready, to ensure those precious moments on Christmas morning don’t pass you by.
Try to use as much ambient light as possible, avoid using flash if you can, as it tends to flatten your images and you’ll lose the magical glow of the fairy lights.
We hope you have enjoyed this article on photographing fairy lights. Share your shots with tutors and members in the iPhotography feedback gallery.
Discover TOP features in the Lightroom CC mobile app with this guide for enhancing your photo editing skills. For desktop and tablet too.
Shooting sunsets using amazing 5-in-1 magnetic lens filters from Kentfaith, the 1st choice for photo & video products.
Popular memory cards for photography – what’s the best SD card for your digital camera? Choose the right capacity and class speed in our guide
Learn the basics of photography – fast – with our FREE 60-Second Photographer online course. Each class is short and sharp with simple, actionable steps that give you immediate results.
x 30 lessons

© iPhotography™
Become a confident and competent photographer in less than 30 minutes!
Before you leave, make sure you’ve secured your FREE online photography course (worth £29.99)
Each class is just 60-seconds or less making it the fastest and easiest way to learn photography!