 Stephen Walton
Depth of field or DoF is a term you’ll hear all the time in photography. It’s an integral part to controlling how your photo looks. It’s not only a technical element of a photo, but it also has impact on the story too.
Getting depth of field correct makes all the difference as to where your audience look and what they engage with.
This guide about depth of field for beginner photographers will tell you everything you need to know about how to use DoF, how to change it and what’s the best type of DoF for different types of photography.
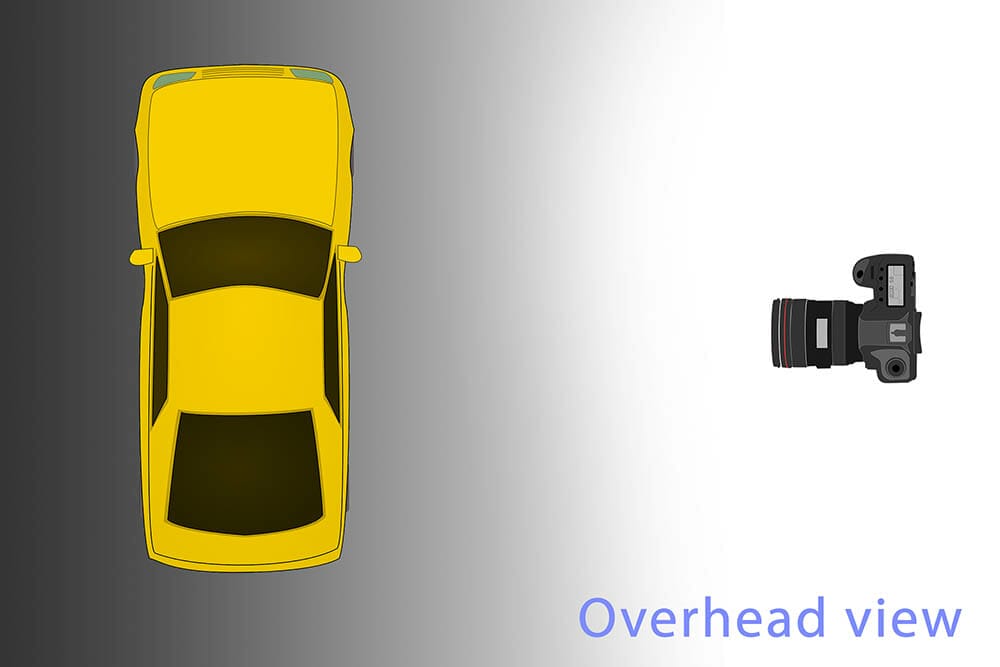
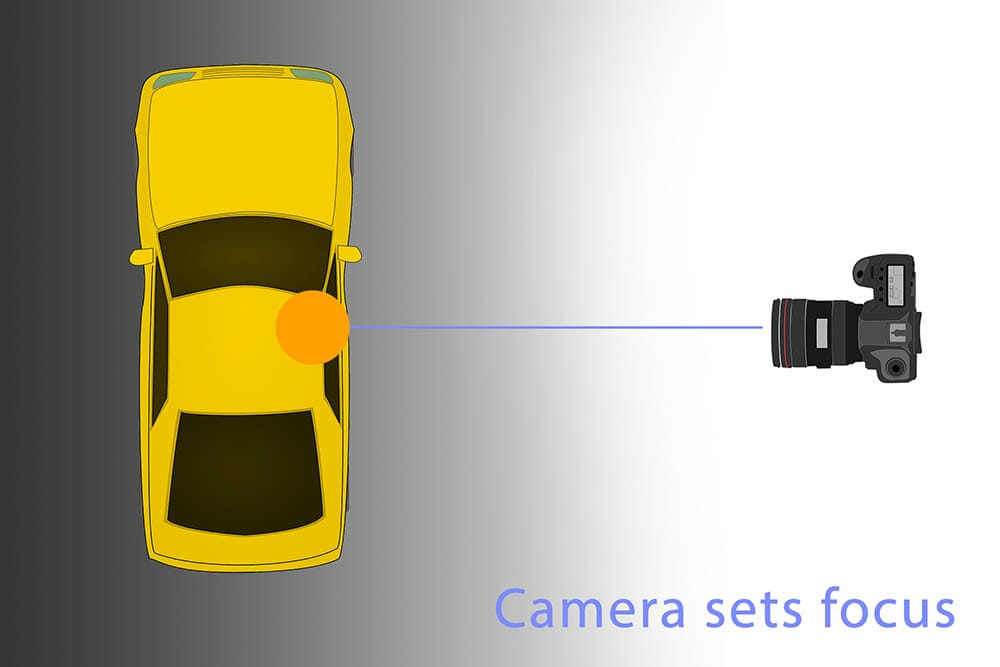
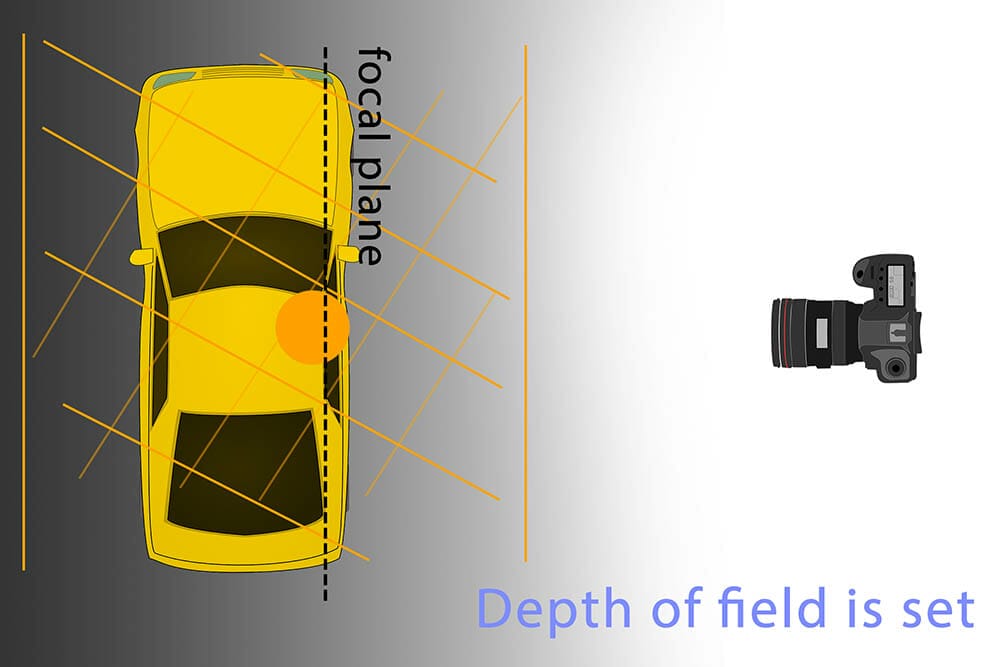
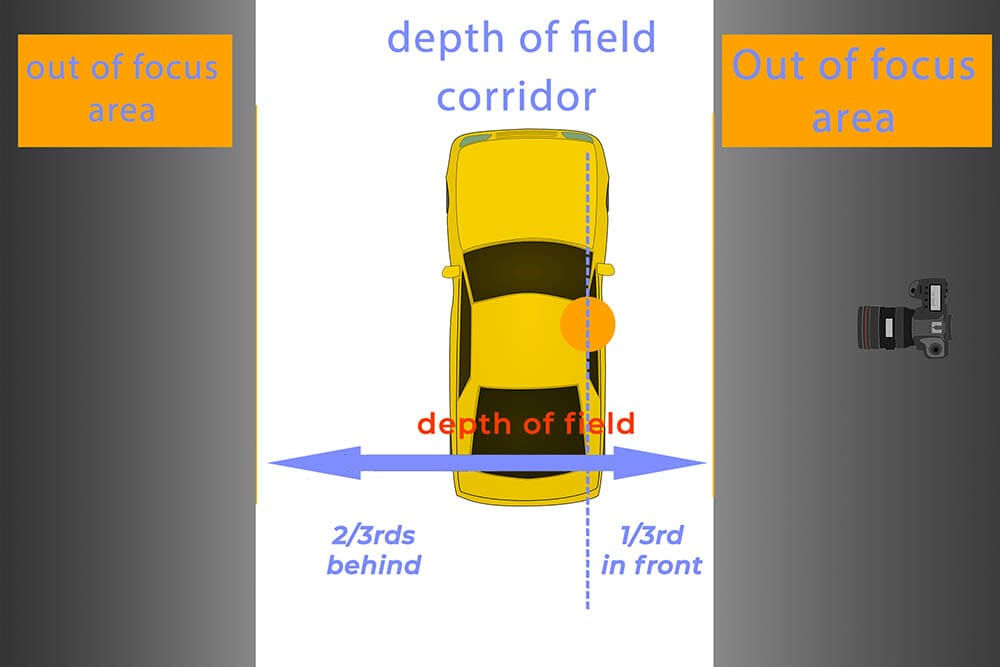
Image: Position the camera to face the subject (step 1); Focus on the subject (step 2); The depth of field is set by the aperture size (step 3); a ‘corridor’ of focus is created by the DoF (step 4). Everything inside that ‘corridor’ will be in focus. Anything outside of the DoF will be blurred. The further it is from the corridor the more blurred it will be.
Depth of field is a technically sounding term for basically saying what is (and isn’t) in focus in a photograph.
Given that a photograph aims to be a 3D representation of a scene, a sense of depth is important to help engagement. The term is mostly used by landscape photographers, hence the term ‘field’, but the term will be used by all photographers (outside of landscapes) at some point.
DoF controls what looks sharp and what doesn’t. When someone looks at your photo, they’ll be naturally drawn to the elements that are sharp to help them understand the scene. Making sure the depth of field is appropriate for the scene is the photographer’s job. If it’s wrong, it can include or blur out things that are important.
Once you focus on a subject the depth is appropriated as ⅓ in front of that focal point and ⅔ behind it. This means the background needs to be further away from the subject for it to look blurred.


You can control the depth of field using your camera a couple of different ways but the most common way is to change the aperture. The aperture of the camera lens opens and closes depending on the F/stop setting you choose.
When the aperture of the lens is wide open, which happens when selecting a small F/stop number i.e. F/4 or lower, the depth of field shrinks meaning less of the shot is in focus.
When the aperture of the lens is reduced to be a small hole, which happens when selecting a big F/stop number i.e. F/11 or higher, the depth of field increases meaning a lot more of your scene will be in focus.
Try it out for yourself. Place the camera on a tripod and put it in Aperture Priority (A/Av) mode. Start off at F/16 and slowly lower the F/stop number. Watch how more and more of the photo becomes blurred. The background will lose detail and the area that you’ve focused on starts to shrink a little.
")
")
Image: Notice how the background blurs more behind the model (left) and appears more detailed as the aperture size gets smaller (right).
The changes in the depth of field are placed into two categories (shallow and wide) depending on which F/stop number you are shooting with. These categories are no exact when it comes to mid-sized apertures, but most noticeable at the extreme ends of the scale.
A shallow depth of field may also be called narrow by some photographers. A shallow DoF is created by using wide apertures (small F/stop numbers i.e. F/2.8). The effect of a shallow DoF is that the area in focus is very small. Macro and portrait photographers use shallow depth of field to isolate their subjects in scene.
The backgrounds will look heavily blurred making it hard to distinguish detail – but that’s the purpose of a shallow DoF – it’s all about drawing your eye to a single subject and not much else.
You need to be very careful when shooting with a shallow DoF as small movements in your subject or camera can cause them to fall outside of the focus area meaning they’ll look soft in your final shot. It’s always best to re-focus if you think the movement has occurred.
A deep depth of field may also be called wide by some photographers. A deep DoF is created by using small aperture sizes (big F/stop numbers i.e. F/16). The effect of a deep DoF is that the area in focus is large in comparison.
The whole photo will look like it’s all in focus, making any sense of depth hard to appreciate – but that’s the purpose of a deep DoF – it’s all about showcasing the full view.
Landscape photographers use a deep depth of field to capture more detail and texture at the front, middle and background of their photographs.
Another way you can change the depth of field is by altering the focal length of your lens. Wide angle lenses such as 18mm show a deeper depth of field in comparison to a longer lens (ie. 100mm) with the exact same camera settings. This is due to what photographers call lens compression.
When you zoom in on a subject (or move closer) the background appears compressed (closer to the subject) and further blurred.
Knowing this means that shooting at F/1.8 on an 18mm lens for example won’t necessarily show a shallow depth of field as you are using two approaches that counteract each other.
It’s best to use a wide aperture combined with a telephoto lens for the shallowest depth and a small aperture with a wide-angle lens for a deep DoF.


Angles are another way to change the perceived depth of field.
Take football photography for example. Standing high in the stands watch a game and taking shots of players means the background (the pitch at a high angle) won’t be far away from the player. And because DoF falls 2/3rds behind the point of focus, the grass will look fairly sharp.
To change this, you will need to alter the angle and get lower down. This means the background to the same shot isn’t the pitch anymore and therefore it’s further away. The further away the background is from your subject the more blurred it will be.
You won’t need to change the aperture size or focal length in this instance, just by changing the angle (from high to low) of the camera can alter the perceived depth of field.

Image: Shooting from higher angles reduces the distance to the background and therefore the chance for a shallow DoF.


Image: Notice the difference in the blurriness of the background when shooting lower down (left) than compared to being higher (right).
Depth of field is an important consideration for photographers. Once you’ve set your exposure and placed your focus where it needs to be check over the depth of field. Look at what’s in focus and whether it needs to be or not.
Bookmark and save this article about depth of field so you can find it again in the future. If you’ve got any other questions about photography chances are you’ll find the answers in our other articles and tutorials below.

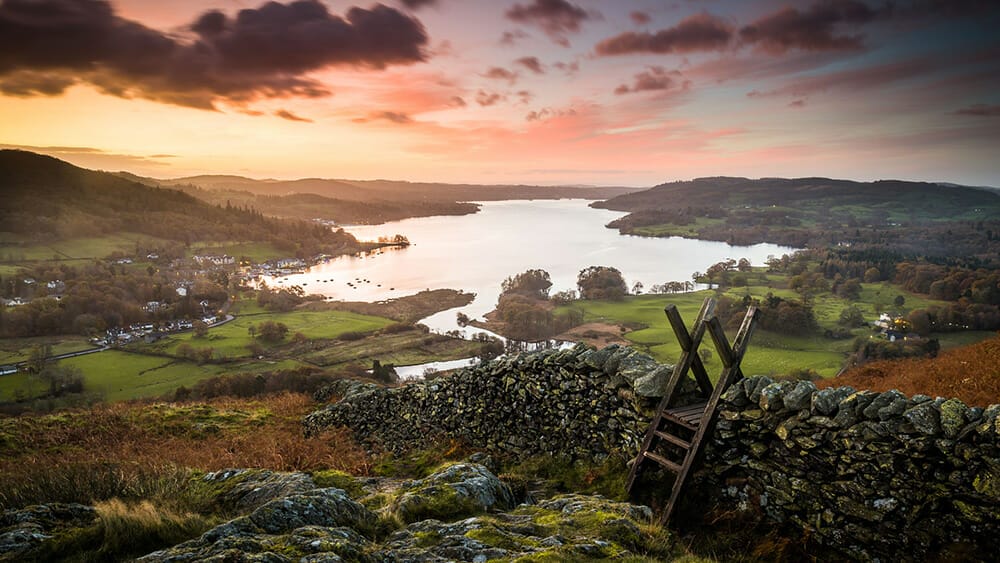
Shooting sunsets using amazing 5-in-1 magnetic lens filters from Kentfaith, the 1st choice for photo & video products.

Popular memory cards for photography – what’s the best SD card for your digital camera? Choose the right capacity and class speed in our guide

Discover the BEST way on how to clean a camera sensor using swaps, rocket blowers and pencil brushes to give your shots a dust-free finish!
Learn the basics of photography – fast – with our FREE 60-Second Photographer online course. Each class is short and sharp with simple, actionable steps that give you immediate results.
x 30 lessons

© iPhotography™
Become a confident and competent photographer in less than 30 minutes!
Before you leave, make sure you’ve secured your FREE online photography course (worth £29.99)
Each class is just 60-seconds or less making it the fastest and easiest way to learn photography!