 Stephen Walton
If you’re not a fan of heights, like me, then I warn you now this guide, though amazingly helpful may not help those worries! Either way, it’s good to know what opportunities to try out if you ever find yourself up high and taking photos from a skyscraper.
While in London, I took the chance to go up the iconic Walkie Talkie building – a business centre on Fenchurch Street. The building is in a cluster of remarkable modern architecture and features a public ‘sky garden’ for tourists to visit (for free may I add). Here are my 5 tips for photographing from a skyscraper.
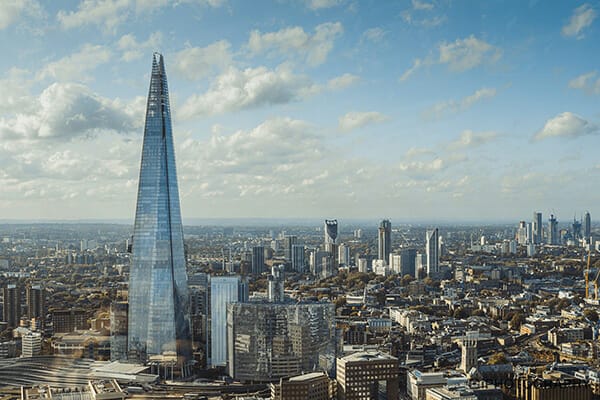
The first issue you’ll encounter when shooting from inside to out is that there’ll be reflections and glare at every turn. The trick to shooting from skyscrapers and avoiding these anomalies is to get the lens as close a possible to the windows.
For relatively cheap you can pick up a rubber collar to affix to your lens that acts like a giant flower/petal hood to cut down on the reflections and press up against the glass without damage – highly recommended in this situation.
The other challenge when shooting through glass is the tinting. Unfortunately, architects and designers didn’t think about us photographers when creating these skyscrapers and their windows are invariably tinted in someway to help with heating.
This means that some of your photos may have a green/grey tint to them. It’s not the biggest issue as you can rebalance this tint in editing with the ‘tint’ slider for example.
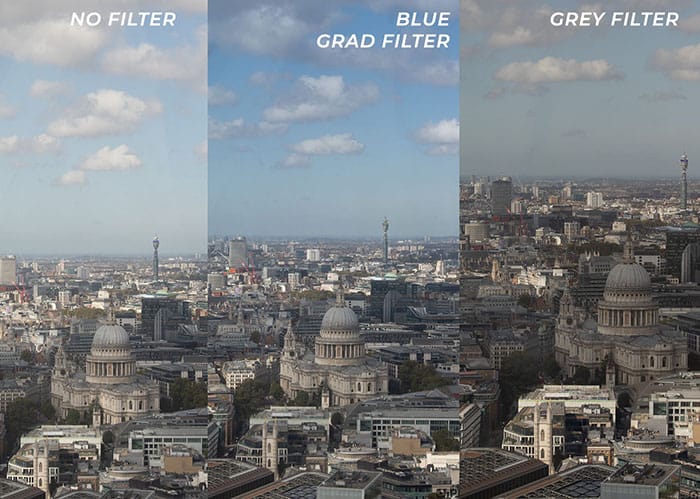
When you’re up in the skyscraper your horizontal view will be more sky than ground so remember to compensate for this peak in exposure by using the right filter.
Graduated ND (Grad ND/GND) filters are best to use to lower the exposure in the top part of your shot without affecting the lower (but remember to twist your filter correctly if you turn your camera to portrait orientation! Oh the errors I’ve made forgetting this!)
Grey and Blue GND filters give different results and show be used appropriately depending upon the weather. Standard grey GND filters give more detail around clouds, whereas blue ones enhance the colours of an already blue sky.
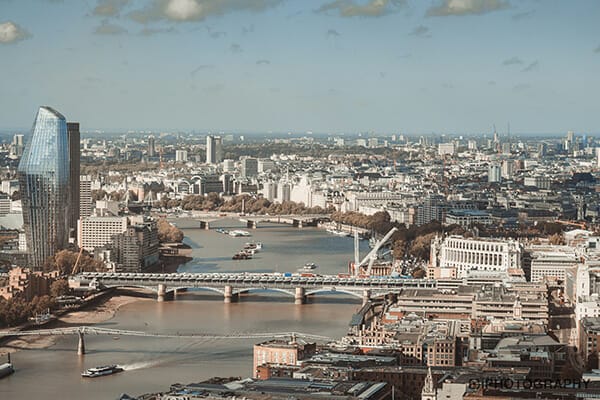
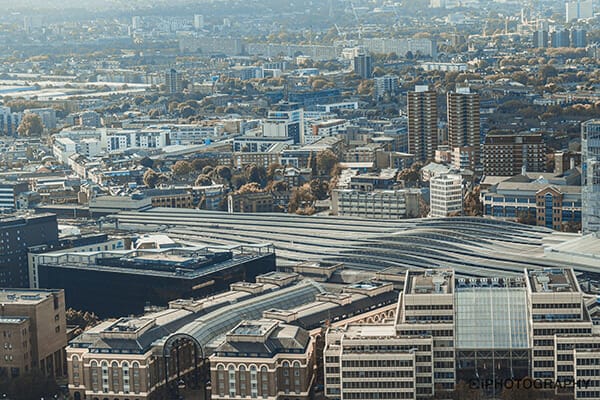
Don’t just stand and take all your shots at eye level – embrace the fact you’re hundreds of feet above the world and look back down at street level. In busy cities such as London the perspective of street life was totally different. I saw buildings and roads as simpler structures, just like a map.
Blocks of buildings made interesting urban compositions and the roads around them created great leading lines. This type of elevation offers a unique view of the world so take advantage of it – you’ll feel like you’re the Google Earth satellite!
The beauty and scale of some locations can’t be captured in just one frame so try out a panorama cityscape when shooting from a skyscraper. Many digital cameras, and phones, have this function built in, but you can also do it manually for a higher resolution image.
Pick a point in your city scape and take the shot. Pan yourself across to take the next, BUT make sure your next image overlaps parts of your first to make sure there’s no gaps in between. Do this as many times as you want to capture the full scene.
When it comes to compositing Photoshop and Lightroom both have automated ways to stitch all the shots together. In Lightroom, select all your images, preferably in order of how they should be arranged.
Right-click and select PHOTOMERGE > PANORAMA. In Photoshop the option is under FILE > AUTOMATE > PHOTOMERGE.

While we don’t all find ourselves travelling up skyscrapers every day some of these tips and tricks to shooting from at high elevations are transferrable to photographers who love to hike up to the hills and shoot from aircraft.
If you’ve put any of these tips into action, then show us. I’d love to see your shots from high elevation in the gallery if you’re an iPhotography members.

Discover TOP features in the Lightroom CC mobile app with this guide for enhancing your photo editing skills. For desktop and tablet too.

Shooting sunsets using amazing 5-in-1 magnetic lens filters from Kentfaith, the 1st choice for photo & video products.

Popular memory cards for photography – what’s the best SD card for your digital camera? Choose the right capacity and class speed in our guide
Learn the basics of photography – fast – with our FREE 60-Second Photographer online course. Each class is short and sharp with simple, actionable steps that give you immediate results.
x 30 lessons

© iPhotography™
Become a confident and competent photographer in less than 30 minutes!
Before you leave, make sure you’ve secured your FREE online photography course (worth £29.99)
Each class is just 60-seconds or less making it the fastest and easiest way to learn photography!