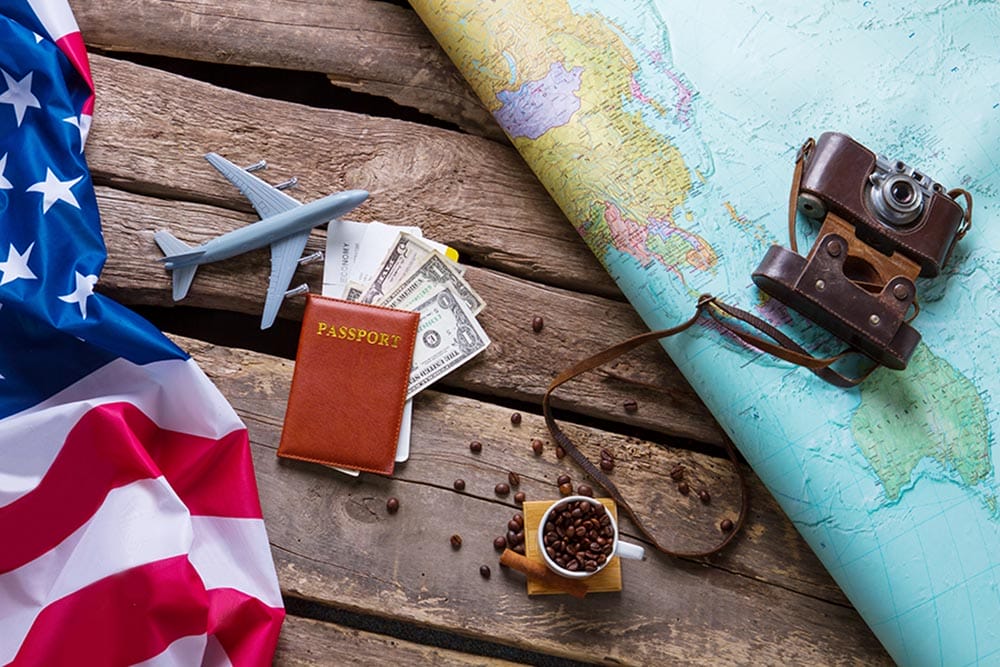
When photographers travel overseas it’s important to know the best way to pack, prepare and handle your camera gear to make sure it survives the trip.
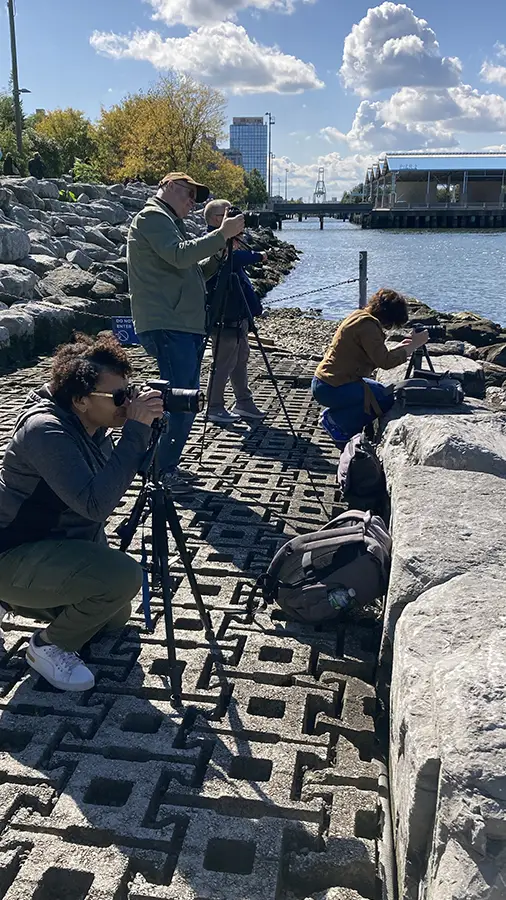
Based on my previous travels around the world over the years I wanted to share with you my travel photography tips, and advice inspired by our New York workshop.
Firstly, it depends on how much camera equipment you need to take – need, not want, I would recommend splitting your kit between your carry-on and suitcase. Think about losing one bag during the trip, do you still have enough kit to take photos with what is in the other bag?
I would personally put your primary camera and the lenses you think you’ll use the most in your carry-on bag as this will be with you during your travels. Pack any backup camera body and spare lenses in your suitcase. If you’ve got a small camera travel bag you can keep your spare kit inside your suitcase, it’ll reduce any chance of damage during transit.
Most airlines recommend putting any batteries in your carry-on bag and not your suitcase. Remember to pack your charger and cable by the way. Keep any lens filters in a pouch and attach a UV or clear filter to your lens just to give them extra protection when you travel.

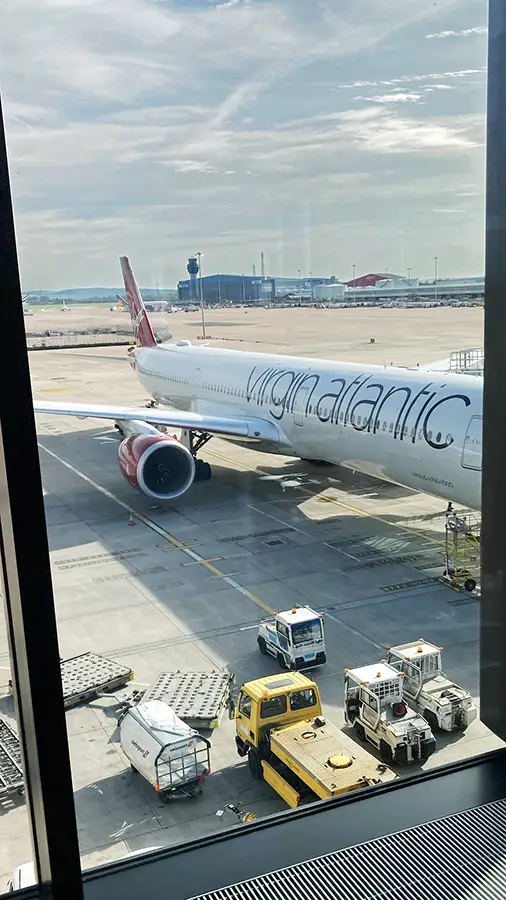
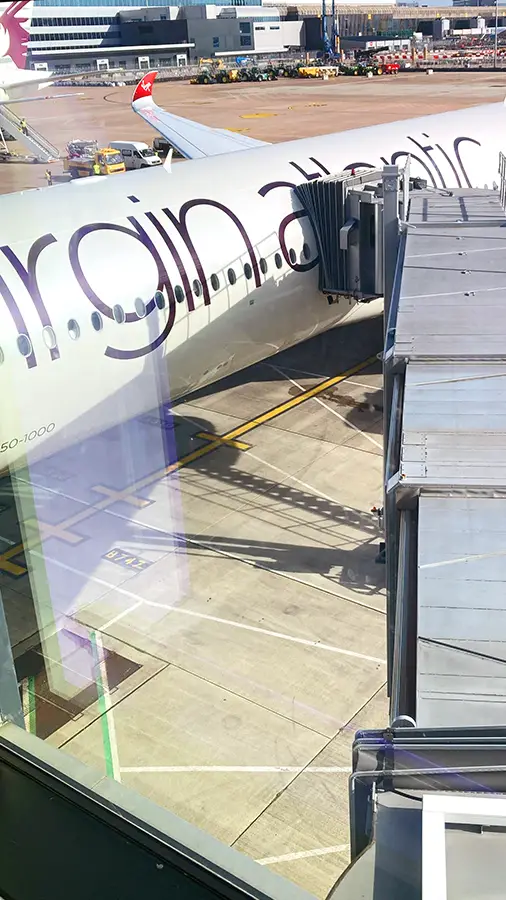
Camera equipment is perfectly safe to go through the security x-ray machines at airports. What you may have read over the years about memory cards being wiped isn’t true, at least it isn’t these days.
I’ve travelled to New York, across Europe and to the Far East over the years and never had a problem with putting camera kit, SD cards and even 35mm film rolls through an x-ray machine.
You might need to remove your camera(s) from your carry-on when they go through a scanner just so the security staff can separate it from other bits inside, but you won’t need to remove other accessories.
The street system in Manhattan is composed of a rectangular street grid. Streets (abbreviated as “St”) travel east and west, while avenues (abbreviated “Ave”) go north and south.
Going from one street to the next is classed as a ‘block’. It takes about 1 minute to walk a short block or 3-4 minutes to walk a long block. Generally speaking, Manhattan can be divided into three areas:
● Uptown (anything north of 59th St.)
● Midtown (between 59th St. and 14th St.)
● Downtown (anything south of 14th St.)
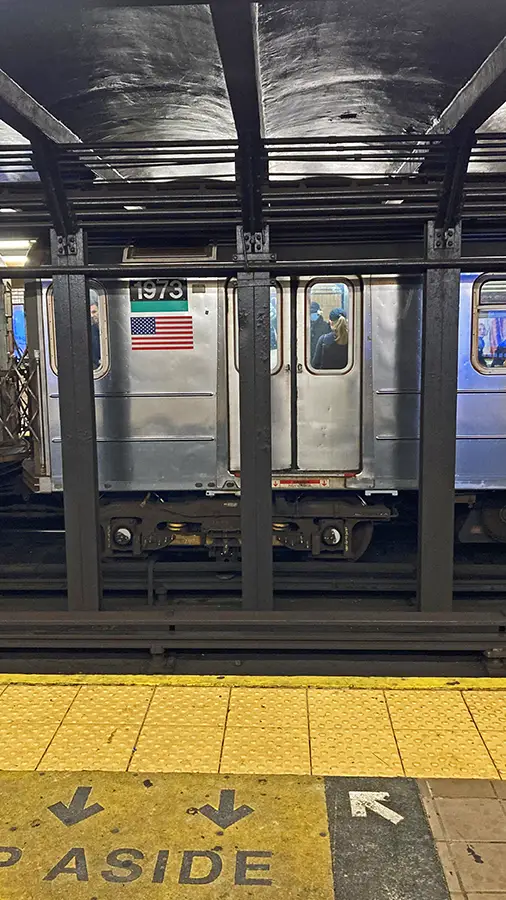
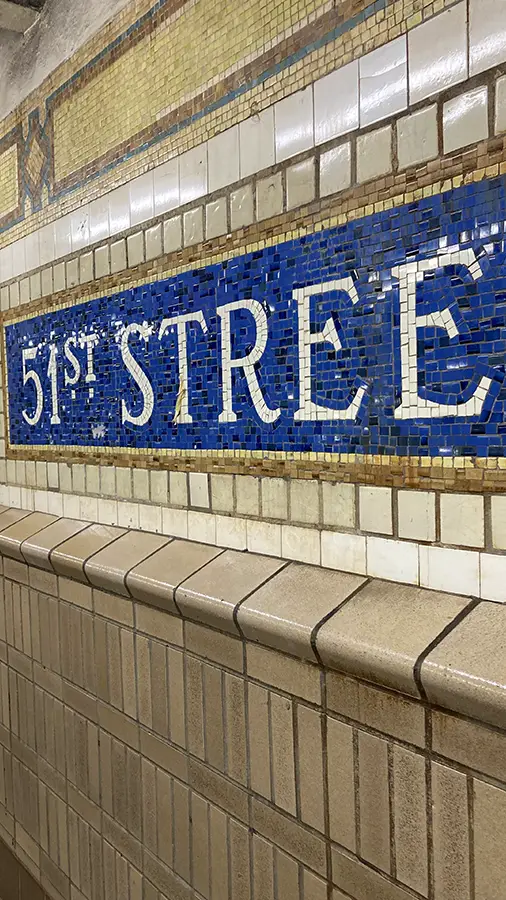
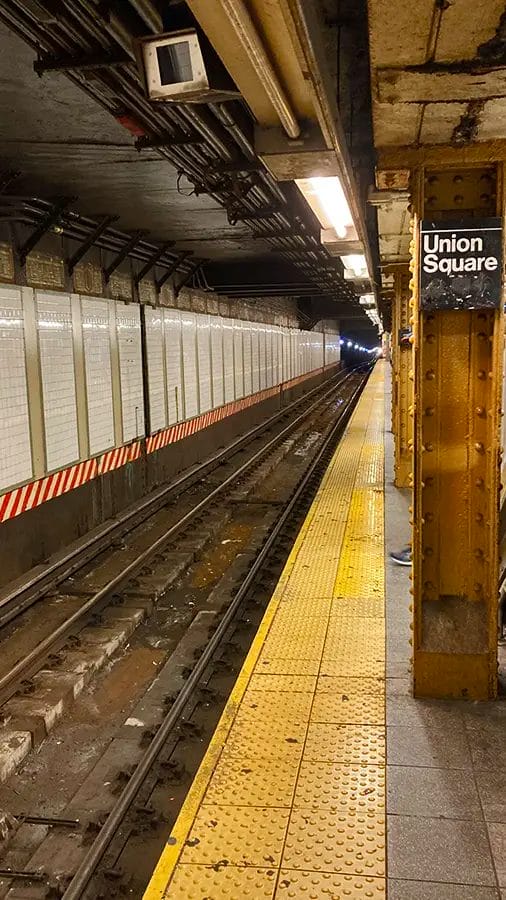
There are numerous subway lines that run through Manhattan and these are colour coded and referred to by a single letter or number. You can access multiple lines at some stations, such as Grand Central, and others just host one line. There will be multiple exits from each subway station depending on which side of the surface street you want to be at.
Download a good metro app in advance and make sure to set up contactless payments on your phone for the OMNY system or get a MetroCard at a subway station when arriving in the city.
Three of my favourite places to take photos in New York are spread across Manhattan. Choose a quiet time of day to visit if you want to limit how many people are in your photos.
The highline is a former overground subway line that has since been abandoned and redesigned as an elevated pedestrianised walkway running for 1.5 miles through the Chelsea District. For photographers, it offers a unique view on the city below without disruption from traffic and onlookers. Start the highline walk at the Whitney Museum and finish at the Vessel in Hudson Yards.
Yes, there is a marina in New York city! And it’s beautiful, the small marina is the host to a number of beautiful pleasure cruisers and larger yachts. You can get a sense of the millionaire, or billionaire, lifestyle of Manhattan’s rich and elite by spending a little time in the marina. Don’t visit in the morning when the sun rises on the east side of the city. Instead wait until after 2pm when the sun is further around the island to brighten the boats and capture great reflections off the buildings nearby.
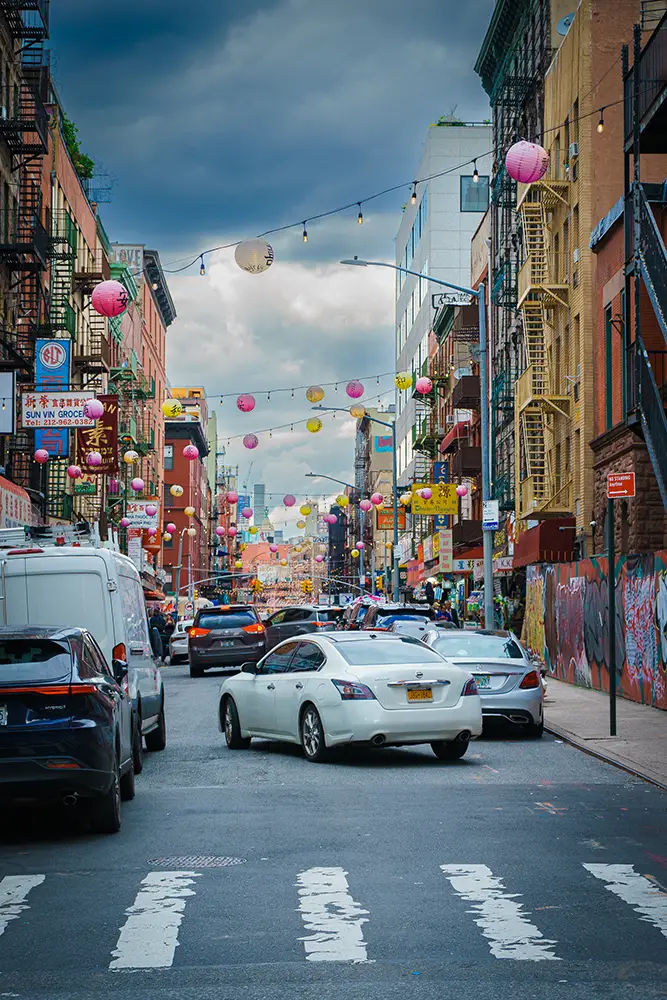
I love Chinatown – I thought it was chaotic, energetic and to the point. For street photographers Chinatown offered lots of potential shots in only a few short blocks. The locals don’t seem to acknowledge photographers which means you can take photos without the odd looks from strangers. Mott and Mulberry street are the best places to hang out.
One of the best tips I ever read about being a street photographer was to not look like a street photographer, or a tourist. Going out onto the streets of New York with lots of camera equipment not only will draw attention from strangers you might want to photograph at times, but you’re also making yourself a potential target for thieves.
Here are 5 ways to look like a ‘New Yorker’ (or at least not a tourist).
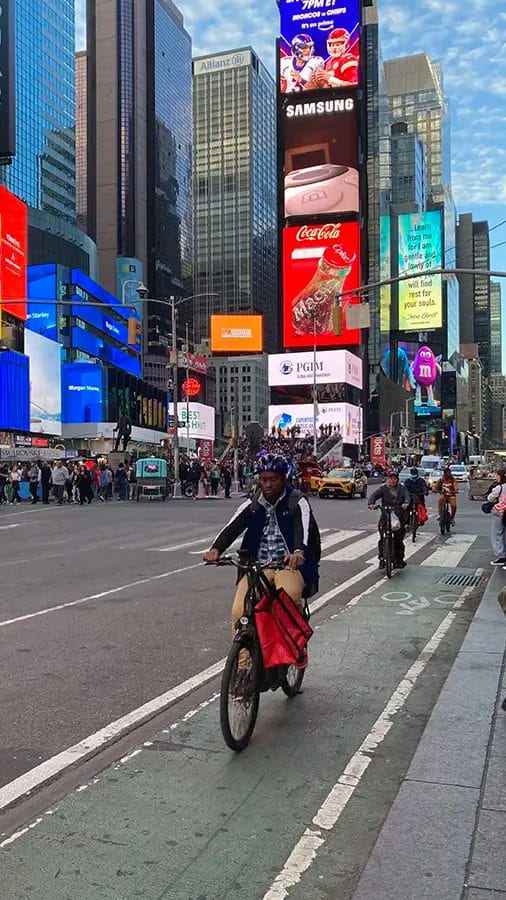
Take out only what you need when you are doing New York travel photography. Even if you bring lots of equipment with you, repack your camera bag each day so it’s light and contains the essentials for the places you’ll visit.
The last thing you want to do is change lenses constantly, keep it light, easily accessible and prepped for bad weather. If your camera body and lenses aren’t weather-sealed, invest in a waterproof DSLR camera cover to protect your kit while shooting.
Each evening make sure you backup your daily shots, ideally twice (local and online storage). If you’ve got enough spare SD cards try not to format your cards until you get home.
Fully charge your batteries so they are good to go the next day and give the front element of your lens a clean. Lots of dust, smoke, steam and city pollution can get on a lens during a full day’s shoot.
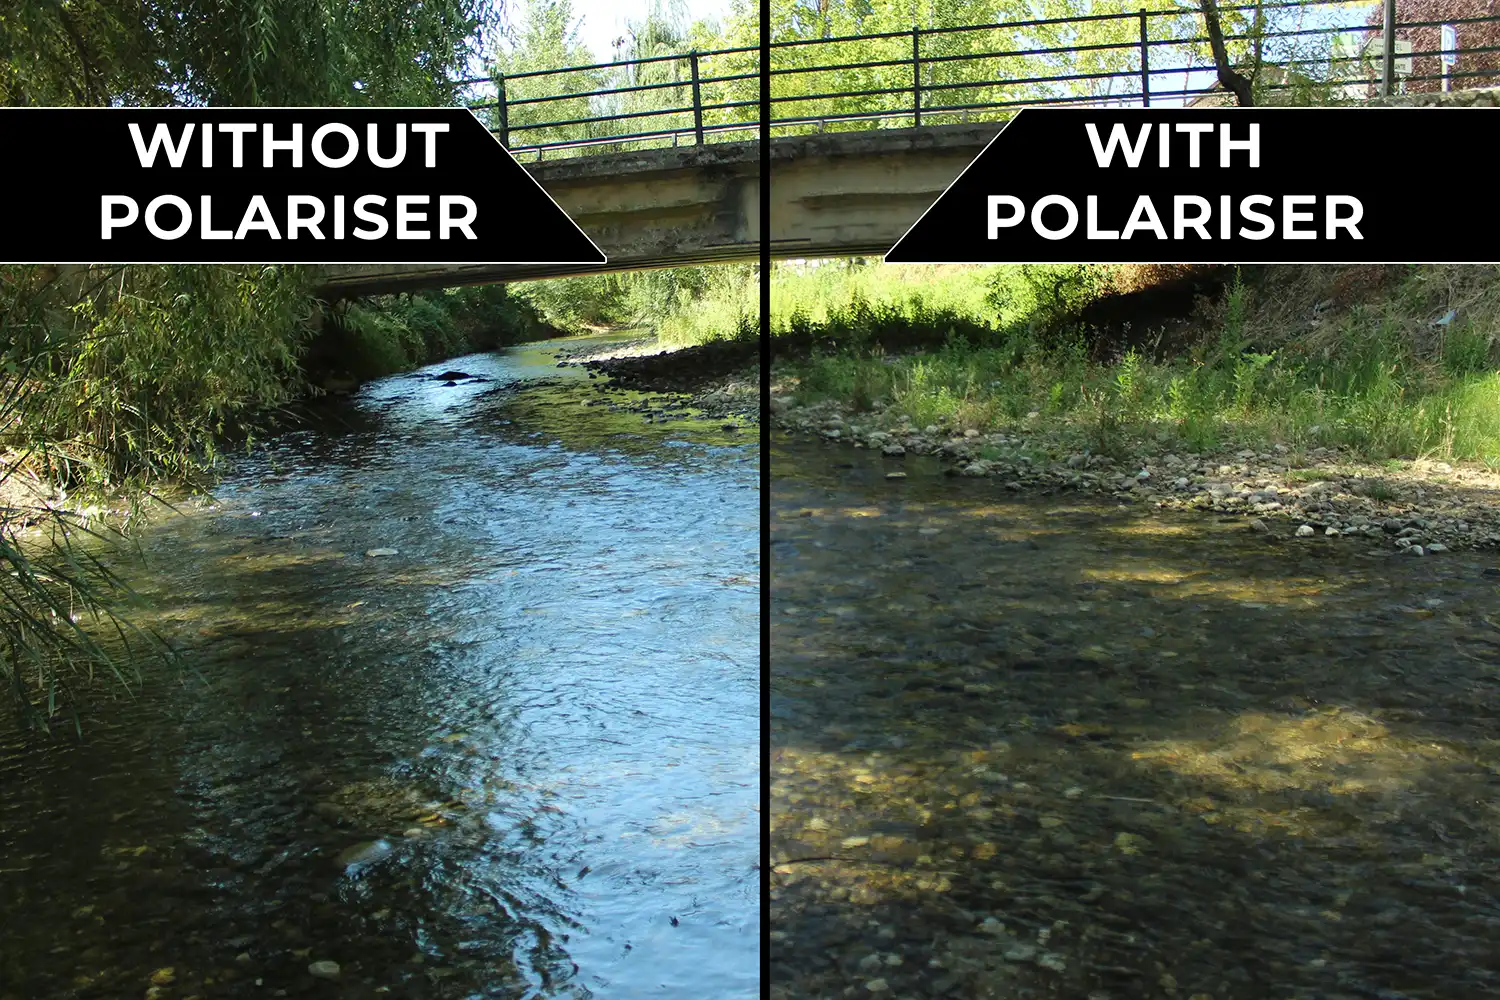
Find everything you need to know in this guide to polarizer lens filters for photography. How do they work and which is the best to buy?

Discover TOP features in the Lightroom CC mobile app with this guide for enhancing your photo editing skills. For desktop and tablet too.

Shooting sunsets using amazing 5-in-1 magnetic lens filters from Kentfaith, the 1st choice for photo & video products.
Learn the basics of photography – fast – with our FREE 60-Second Photographer online course. Each class is short and sharp with simple, actionable steps that give you immediate results.
x 30 lessons

© iPhotography™
Become a confident and competent photographer in less than 30 minutes!
Before you leave, make sure you’ve secured your FREE online photography course (worth £29.99)
Each class is just 60-seconds or less making it the fastest and easiest way to learn photography!
