Have you ever looked at professional photographs and wondered how they achieved that stunning look? The secret often lies in shooting in manual mode. Don’t let the word “manual” intimidate you – it’s actually a powerful tool that allows you to take complete control of your camera settings.
In this guide, I’ll break down the basics of shooting in manual mode in a way that’s easy to understand. So, grab your camera, and let’s dive into the exciting world of manual photography!

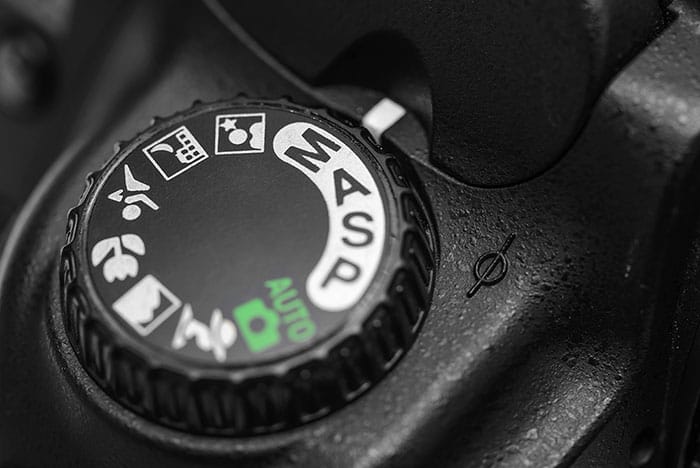
Shooting in manual mode means you have full control over your camera’s settings, including aperture, shutter speed, and ISO. This may sound overwhelming at first, but once you grasp the basics, you’ll realise how much creative freedom it offers.
Before we dive into the specifics, let’s get familiar with the key camera settings you’ll be working with:
Now that you’re acquainted with the basics, let’s explore the advantages of shooting in manual mode.
Manual mode gives you complete creative control over your photographs. You can experiment with different combinations of aperture, shutter speed, and ISO to achieve the exact look you want. Whether you’re aiming for a dreamy, blurred background or crisp action shots, manual mode empowers you to make it happen.
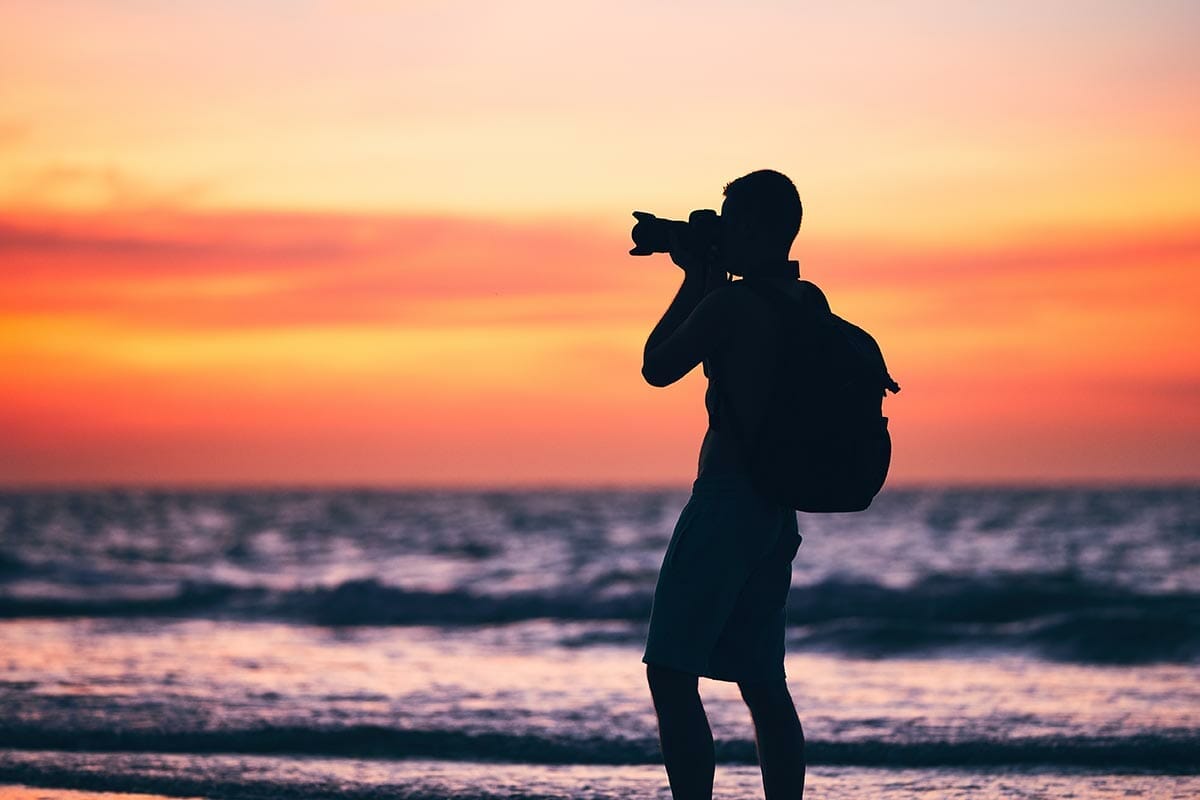
In tricky lighting situations, like shooting against a bright sunset or capturing fast-moving subjects, manual mode can be your saviour. You can adjust your settings on the fly to adapt to changing conditions and still get the perfect shot.
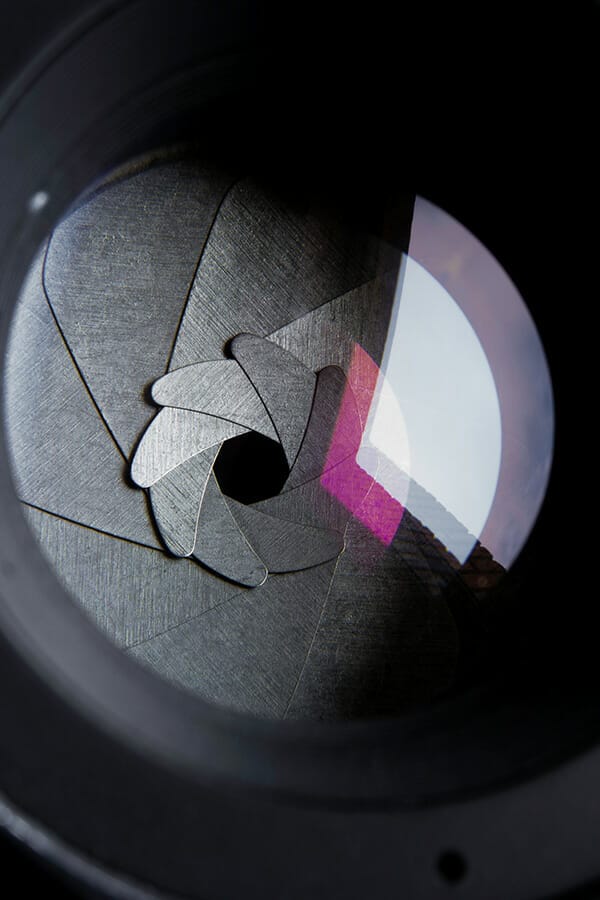
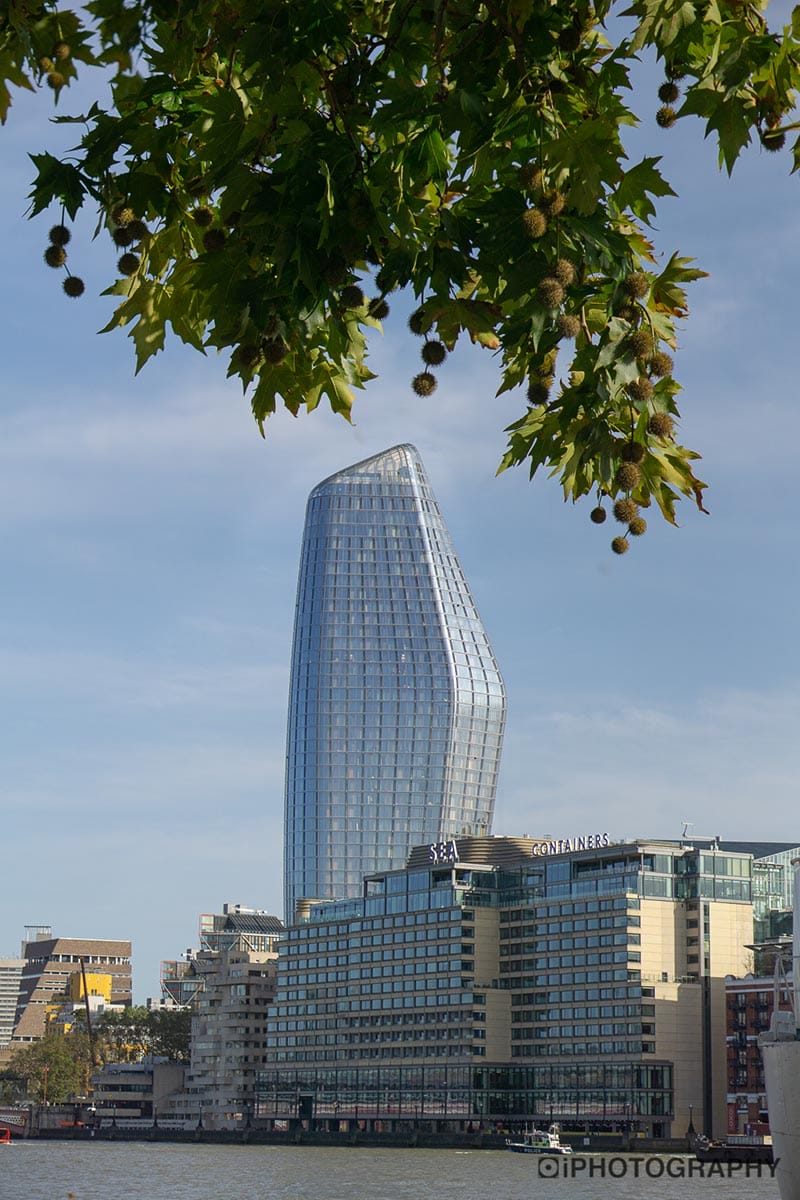
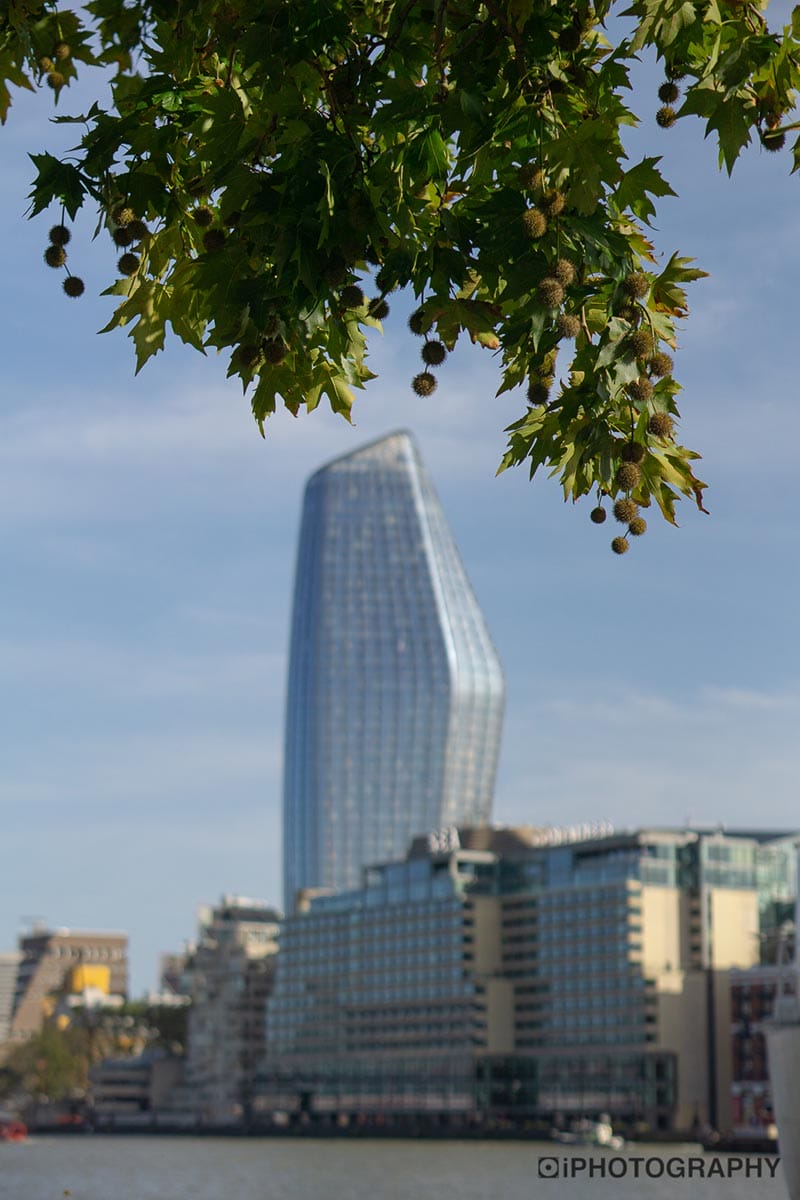
Now, let’s focus on one of the essential aspects of manual mode: aperture. Understanding how aperture works is crucial for achieving that beautiful background blur (bokeh) or getting everything in sharp focus.
Aperture not only controls the amount of light but also the depth of field in your photos. A wide aperture (e.g., F/1.8) creates a shallow depth of field, making the subject stand out while blurring the background. This is perfect for portraits and artistic shots.
On the other hand, a narrow aperture (e.g., F/16) increases the depth of field, ensuring that everything in the frame is sharp. This is great for landscape photography or group shots where you want everyone and everything to be in focus.
If you’re just starting, you can ease into manual mode by using Aperture Priority (A or Av) mode on your camera. In this mode, you set the aperture, and the camera automatically adjusts the shutter speed to maintain proper exposure. It’s a fantastic way to get comfortable with aperture control while letting the camera handle the rest.
Shutter speed is another vital aspect of manual mode that can dramatically impact your photos, especially when it comes to capturing motion.
A fast shutter speed (e.g., 1/1000th) freezes action, making it ideal for sports, wildlife, or any fast-moving subjects. You can capture every detail with precision, from a bird in flight to a skateboarder’s mid-air trick.
Conversely, a slow shutter speed (e.g., 1/30th) introduces motion blur, creating a sense of movement. This can be used creatively for subjects like flowing water or to convey a sense of speed in a car race.
Just like Aperture Priority mode, many cameras offer Shutter Priority (S or Tv) mode. Here, you set the shutter speed, and the camera takes care of the aperture. This mode is handy when you want to control motion but are less concerned about depth of field.


In low-light situations, having control over ISO is a game-changer. It allows you to capture stunning photos even when the lighting is less than ideal.
ISO controls the sensitivity of your camera’s sensor to light. A higher ISO (e.g., 800, 1600) makes your camera more sensitive, allowing you to shoot in darker environments. However, increasing ISO also introduces noise, which can degrade image quality.
To minimise noise, start with the lowest ISO setting your camera offers (usually 100 or 200) when shooting in well-lit conditions. When you’re faced with low light and a slower shutter speed isn’t an option, gradually increase the ISO until you achieve the desired exposure.
Now that you’ve learned the fundamentals of shooting in manual mode, it’s time to put theory into practice. Remember, photography is an art, and like any art form, it requires practice and experimentation to improve.
Begin by practising with stationary subjects in different lighting conditions. Experiment with various aperture settings to understand how they affect depth of field. Then, switch to shutter speed and capture moving objects to see the impact on motion.
Take your camera everywhere you go. Whether you’re at the beach, in the city, or in the mountains, there are endless photographic opportunities. Don’t be afraid to switch to manual mode and try different settings. Over time, you’ll develop an instinct for which settings work best in specific situations.
In conclusion, shooting in manual mode can be an exhilarating journey for any photography enthusiast, regardless of age or experience. By understanding aperture, shutter speed, and ISO and how they work together, you can take your photography skills to new heights. So, don’t hesitate to embrace manual mode, experiment, and let your creativity soar.
For the best photography training and how to get yourself out of auto mode, join our iPhotography Course and get access to the perfect online education.

Discover TOP features in the Lightroom CC mobile app with this guide for enhancing your photo editing skills. For desktop and tablet too.

Shooting sunsets using amazing 5-in-1 magnetic lens filters from Kentfaith, the 1st choice for photo & video products.

Popular memory cards for photography – what’s the best SD card for your digital camera? Choose the right capacity and class speed in our guide
Learn the basics of photography – fast – with our FREE 60-Second Photographer online course. Each class is short and sharp with simple, actionable steps that give you immediate results.
x 30 lessons

© iPhotography™
Become a confident and competent photographer in less than 30 minutes!
Before you leave, make sure you’ve secured your FREE online photography course (worth £29.99)
Each class is just 60-seconds or less making it the fastest and easiest way to learn photography!
