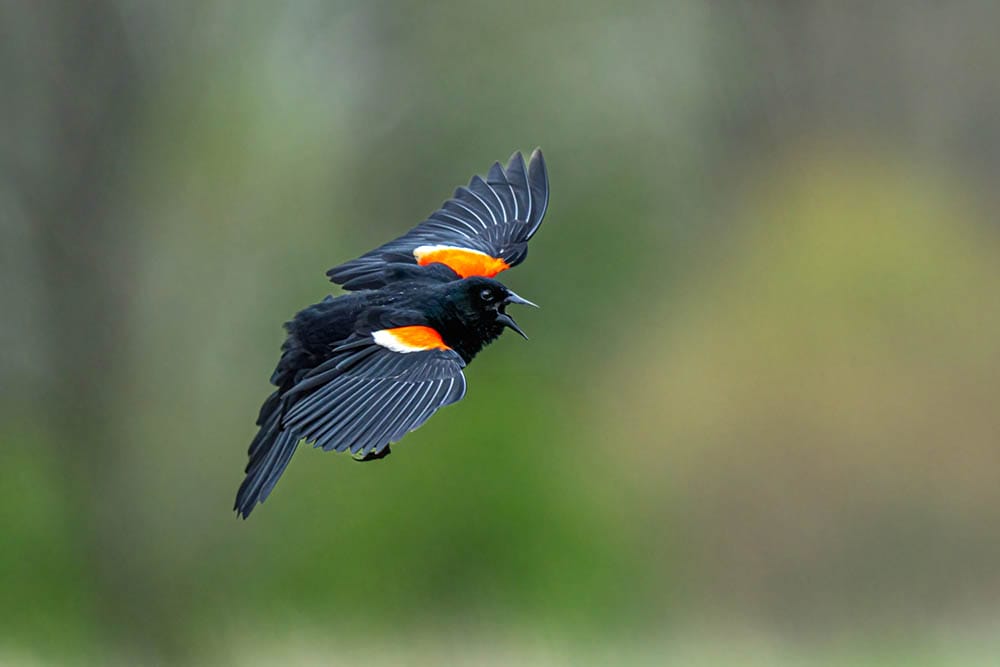
Birds that sing and have colourful feathers are amazing to photograph. To capture their beauty, you’ll need to learn some camera tricks and be patient.
In this article, we’ll talk about taking pictures of birds, like the ones you see in your backyard or in nature. We’ll also explain what kinds of birds are considered songbirds.
Before we start, let’s learn what songbirds are. Songbirds are a group of birds that can make pretty sounds. There are around 5,400 different kinds of songbirds all over the world.
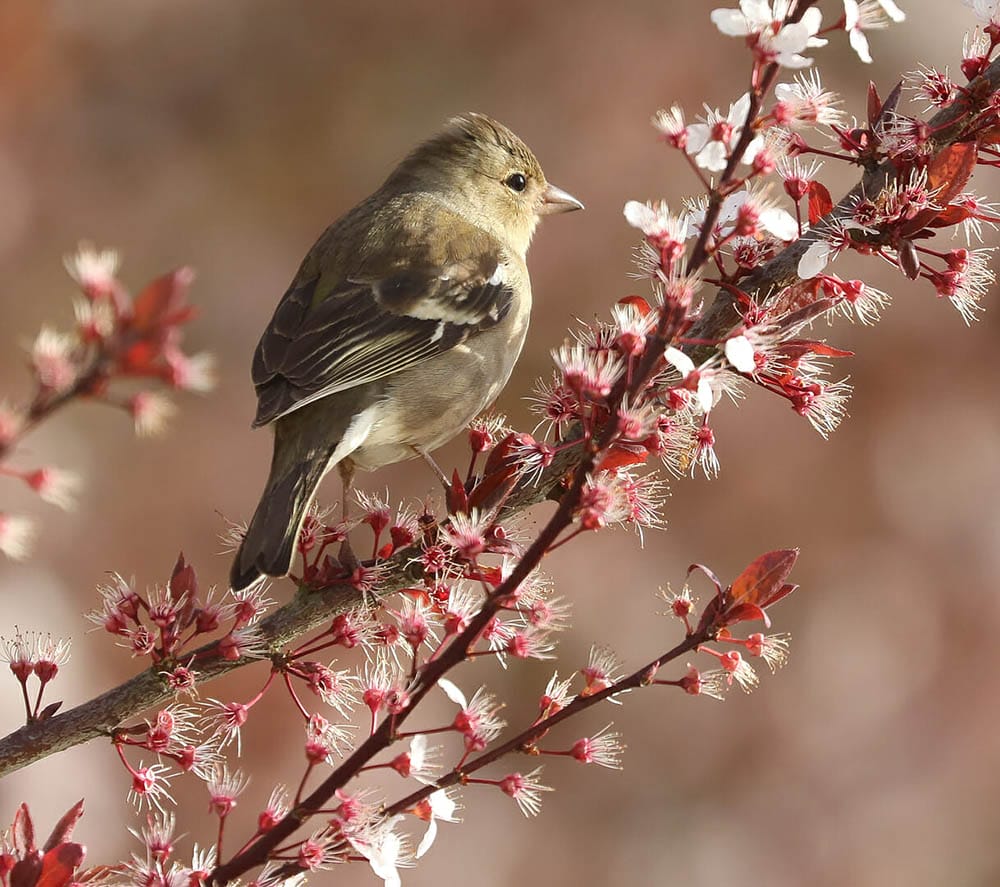
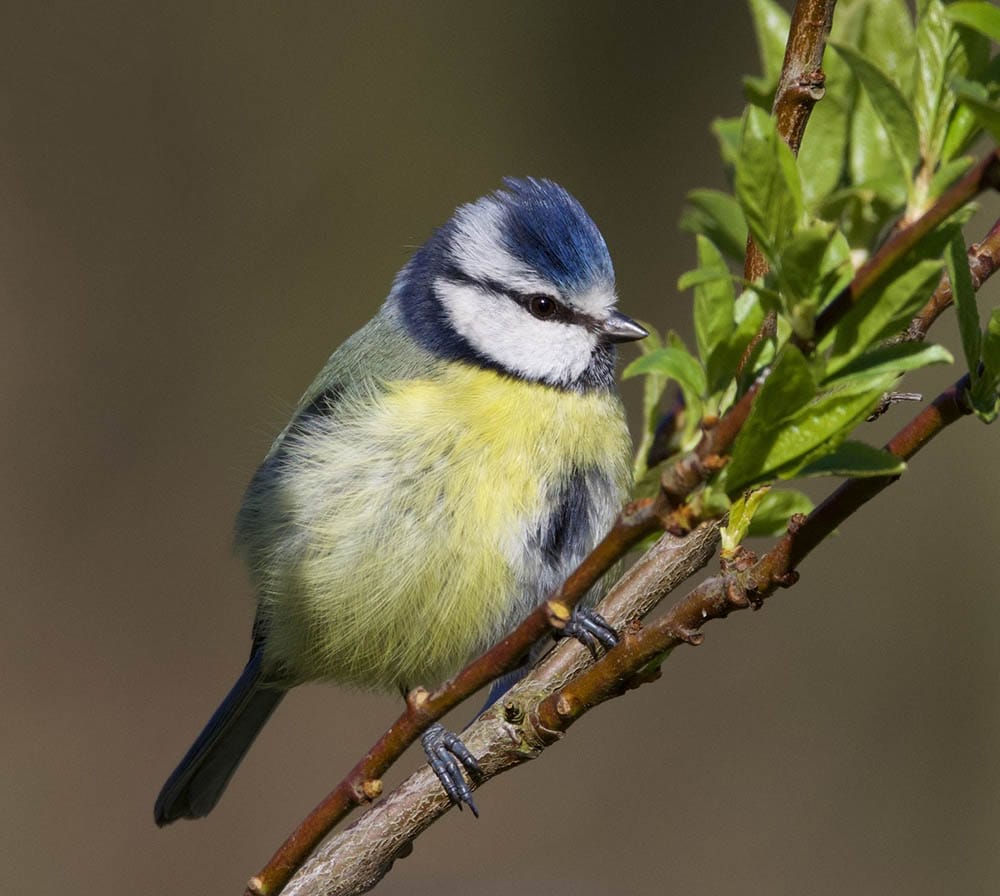
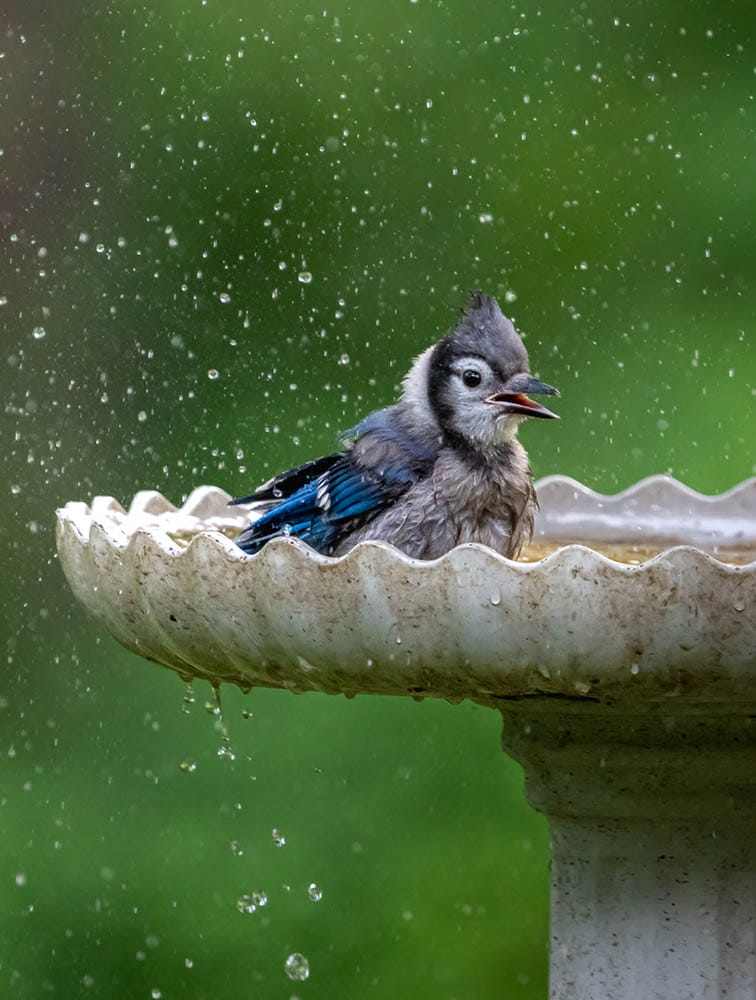
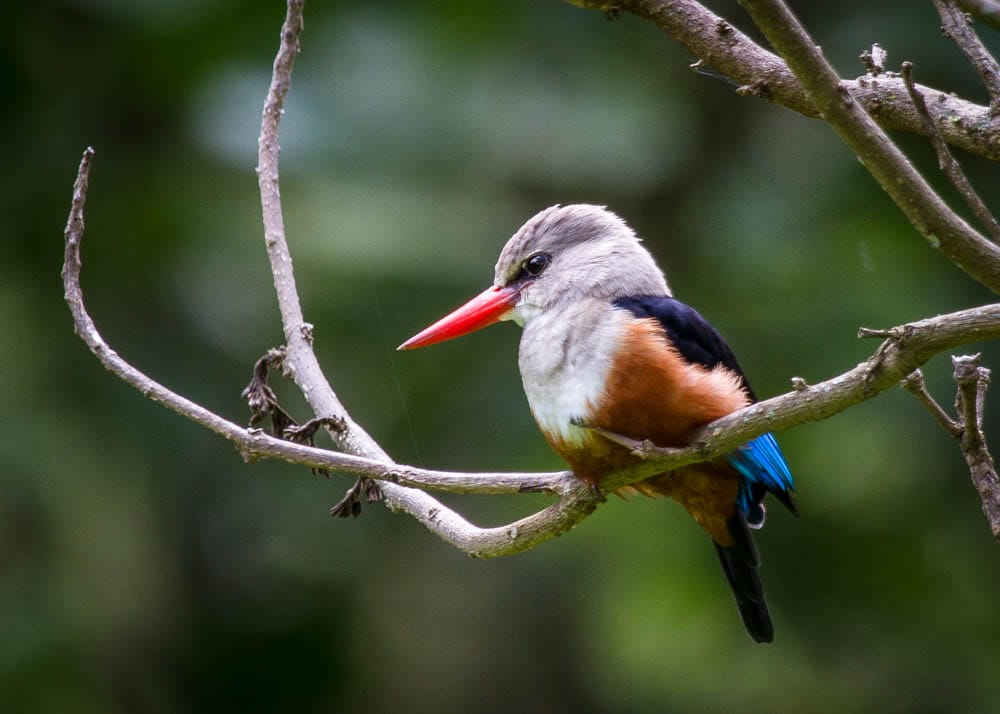
Here is a list of songbirds that you might come across;
To take great pictures of birds (and general wildlife photography), you need a good camera. Ideally cameras with a fast autofocus and health frame burst most will be great to keep up with movement of songbirds. Full-frame DSLRs like Canon EOS 5D Mark IV or Nikon D850 work well because they have high-quality images and work in low light.
Mirrorless cameras like Sony Alpha a7R III or Fujifilm X-T4 are also good because they are small and have fast autofocus systems. While you don’t need to specifically have any of these mentioned cameras to take photos of songbirds, they are good examples of the types of cameras which make the job easier.
The right lenses can make your songbird photograph even better. Here are some options:
A zoom lens that can go from 200mm to 600mm is great for getting close-up shots. For example, Canon EF 100-400mm f/4.5-5.6L IS II USM or Nikon AF-S NIKKOR 200-500mm f/5.6E ED VR.
Fixed lenses with one length, like 300mm or 500mm, are also good. They can make your photos sharper and blur the background nicely. For example, Canon EF 300mm f/2.8L IS II USM or Nikon AF-S NIKKOR 500mm f/4E FL ED VR.
There are some extra things you can use to make your bird photography better:
A tripod is a stand for your camera, which, when you’re standing still for long periods of time waiting for the birds to appear, takes the weight off your body. It keeps your camera steady and helps you take clear pictures. The Manfrotto MT055CXPRO3 Carbon Fiber Tripod is a good choice.
A gimbal head is a special attachment for your tripod. It helps you move your camera smoothly when birds are flying. The Wimberley WH-200 Gimbal Tripod Head is a good one.
A remote shutter release is a device that lets you take pictures without touching the camera. It helps to avoid any shaking that might happen when you press the button. This ideal to reduce the amount of movement you make around the birds. Instead of raising the camera to your face, adjusting the lens and pressing the shutter you can use remote shutter button to simply take the photo only moving a few fingers.
Wildlife photographers sometimes use a bean bag which is a small bag filled with beans or something soft. You can put your camera on it to keep it steady when you’re taking pictures from a low position or inside a car.
To make your bird pictures look amazing, you can try these settings:
It’s important to study your subject in wildlife photography. Don’t expect to rock up at your location and start shooting immediately. Just wait and watch how the birds are behaving, your presence will change their behaviour so let them settle.
Learn about the songbirds you want to photograph. Knowing their habits and where they like to be will help you find them easier.
Birds can get scared easily, so try to blend in with your surroundings. Wear clothes that are the same colours as nature, and you can even hide behind something like a portable tent.
When taking pictures, think about how they look. Use the rule of thirds, leading lines, and empty spaces to make your photos look interesting. Also, check the background to make sure it doesn’t distract from the bird.
Take pictures of birds in the morning or late afternoon. The light is softer and gives your photos a warm feeling. Avoid taking pictures when the sun is very bright because it makes harsh shadows.

Taking pictures of birds is a fun and creative hobby. With the right camera, lenses, and settings, you can capture their beauty. Remember to learn about the birds, be patient, and take care of them while photographing. Now, go out there and enjoy the wonderful world of bird photography!
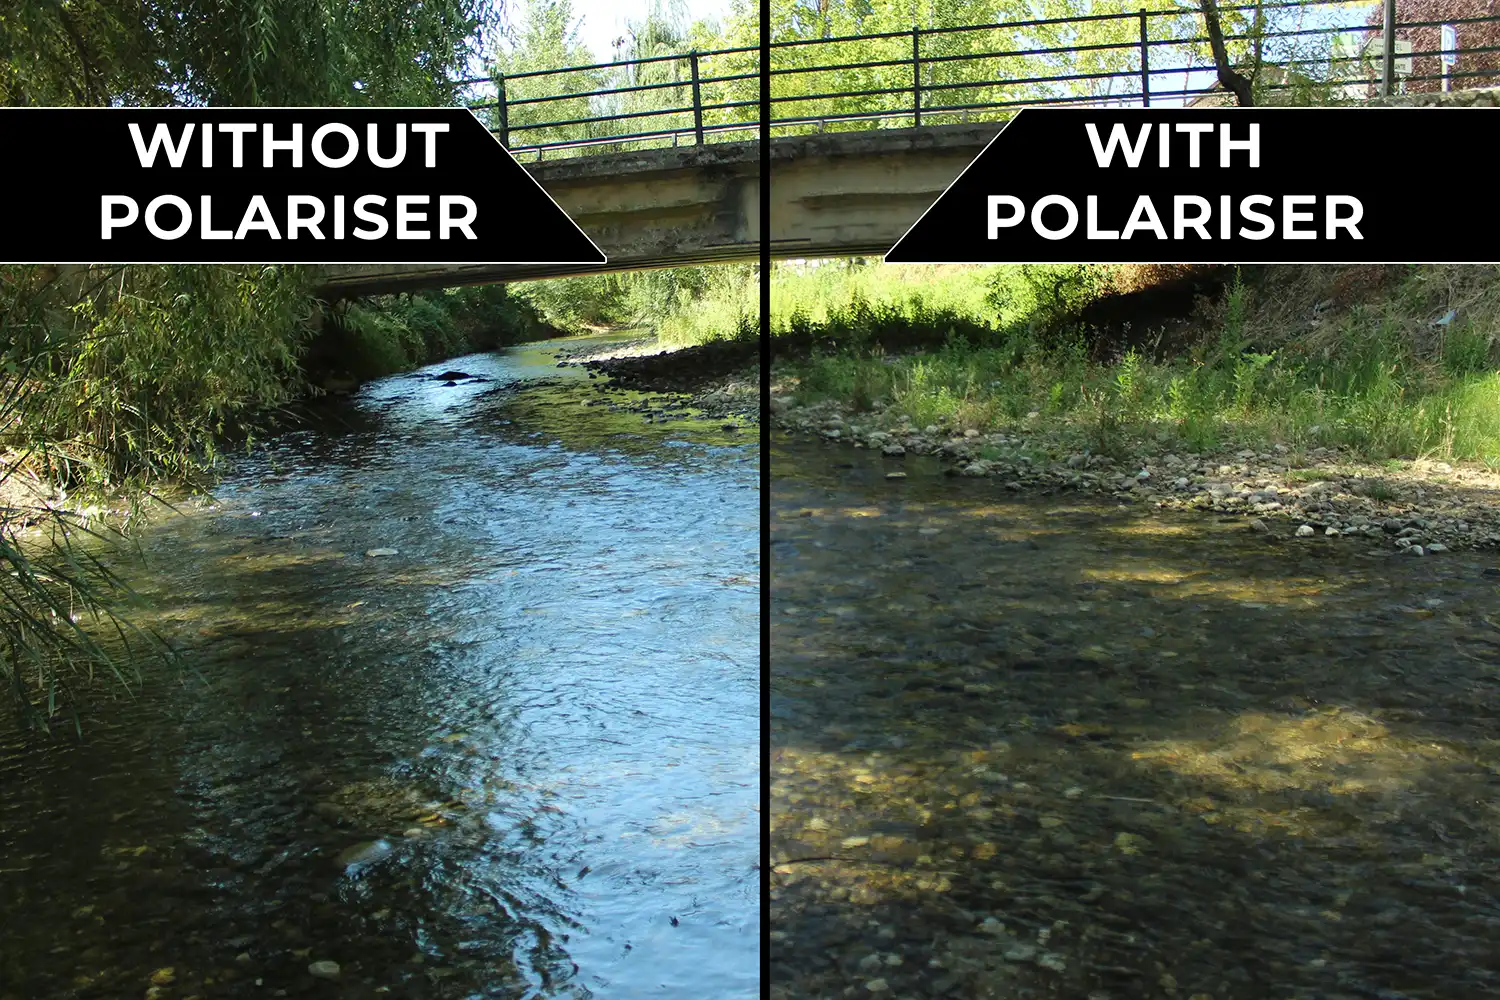
Find everything you need to know in this guide to polarizer lens filters for photography. How do they work and which is the best to buy?

Discover TOP features in the Lightroom CC mobile app with this guide for enhancing your photo editing skills. For desktop and tablet too.

Shooting sunsets using amazing 5-in-1 magnetic lens filters from Kentfaith, the 1st choice for photo & video products.
Learn the basics of photography – fast – with our FREE 60-Second Photographer online course. Each class is short and sharp with simple, actionable steps that give you immediate results.
x 30 lessons

© iPhotography™
Become a confident and competent photographer in less than 30 minutes!
Before you leave, make sure you’ve secured your FREE online photography course (worth £29.99)
Each class is just 60-seconds or less making it the fastest and easiest way to learn photography!
