There are so many buttons, sliders, menus and drop downs on photo editing software these days. It can be confusing for a beginner photographer knowing where to start. I’m going to show you how to edit a photo and the 3 things you need to look at on every photo you edit.
Whether you like to edit a photo or prefer all the work to be done in the camera it’s important to know how editing can improve your image using tools that a camera cannot match.
If you’ve never touched editing software before, don’t worry. This isn’t a complicated process, and anyone can do it!
There are lots of photo editing software available. Photoshop and Lightroom are probably the most popular and the industry standard for professionals. But there are great alternative photo editing tools such as Affinity Photo, Luminar and Capture One.
It’s a good idea to take a photo editing course in your chosen software to help you understand all the tools, sliders, buttons and menus before you begin.
All of the 3 basic editing steps I’m going to outline can be achieved using a free photo editor like Pixlr X. There is no need to splash out on any additional software.
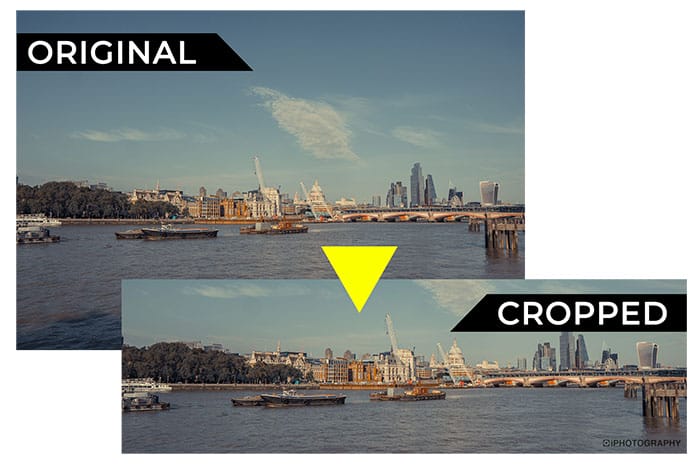
Firstly, let’s take a look at the crop of your photograph. Have you seen our free in depth guide about how to crop a photo?
Getting the crop right can change the overall look of the image. Focus on making sure your main subject is fully in the frame and important parts aren’t missing.
For landscape photographs, this may be chopping off bits of tree branches creeping in at the corners. For a portrait photographer make sure you’re not cropping at the joints of your subject.
Pay attention to your horizon too, is it straight or does it look unbalanced? Cleaning up your crop can amplify the story of your image as your viewer’s attention is being directed exactly where you want it to go.
Use the crop tool to place frame the composition of the image how you want. Check the corners for distracting objects. If you can’t crop out distractions, without spoiling the shot, use a spot healing tool to remove it instead. Click here to read more about cropping photos.
Secondly, look at adding a little bit of punch to the image and get the best level of contrast. You can use the contrast slider or curves tool to adjust the texture, colours, and tones all at once.
Adding a gentle amount of contrast to any image can start to separate your subject from your background more, whilst boosting the vibrancy. Don’t go too mad with this slider as there is such a thing as too much contrast.
A happy medium is where we want to be! You should still be able to see the detail in the subject after contrasting your photo. If you can’t maybe you’ve gone too far. Refer to your histogram to see if the image is too polarised.
Don’t use contrast tools to increase the saturation or vividness of colours. Use HSL sliders for that instead. Taking contrast too far in a photo can make it look amateurish and less slick.
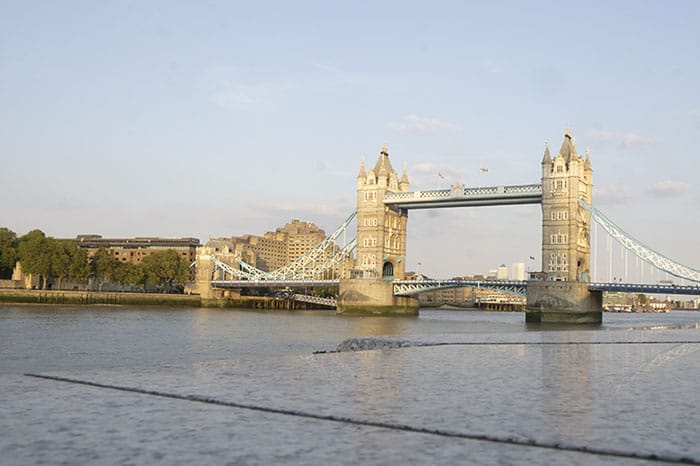
Image: RAW shot with no contrast adjustment
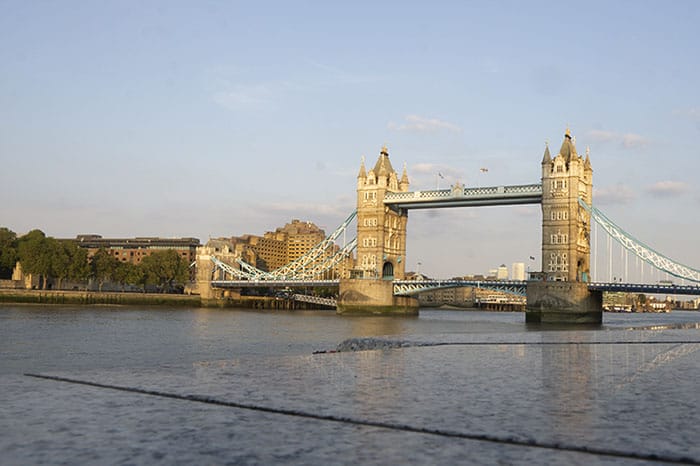
Image: After contrast adjustment to improve colour and detail
Finally, you need to honestly assess if your photograph is sharp.
While everything looks clean and crisp at 3 inches on the back of your camera, it’s not a true reflection of the shot. Open your image into your photo editor and zoom in to 100%.
Pan around the shot looking at the main subject(s) – is it sharp enough? Hopefully it is, but if not, you can add a little bit of sharpening when editing your photo.
It’s never a bad thing to add further sharpening to your photo, especially if you’re uploading online. Uploading images to any website will automatically compress the file size. To make sure your images look their best online you need to compensate for this compression.
Don’t go much further than 10-20% of extra sharpness. If you are adding more than that when you are editing a photo, chances are the shot wasn’t sharp to begin with. Knowing how to make a photo sharp in-camera will make your life much easier.
To make your photo sharp in editing remember to also adjust the noise reduction at the same time. Sharpening tools push pixels beyond their native capability which can look like digital noise. Use the noise reduction sliders to combat this effect.
It’s important to resize your images before uploading them online too. If you upload a huge file around 6000 pixels wide, all of that data is being squashed together to fit into the website’s preferred ratio.
Instead, resize your image to between 1200-1500 pixels on the longest side when you are editing a photo. These dimensions are more in line with many online photo-sharing platforms and galleries.

Image: Native camera sharpness before editing
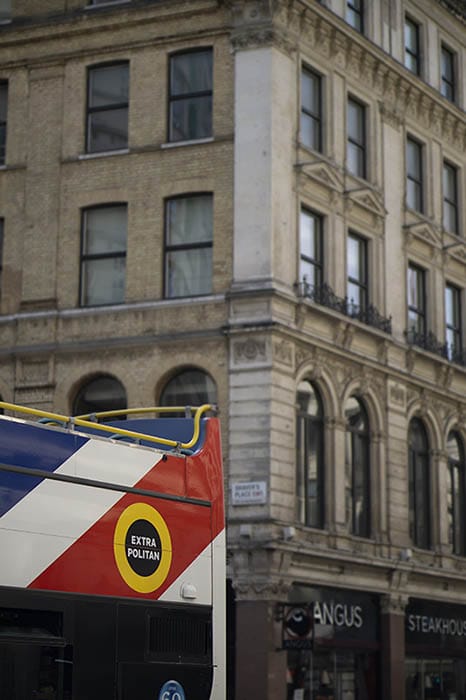
Image: After sharpness adjustment in Lightroom
I hope these 3 tips on how to edit a photo has been helpful. Do you feel a more confident about taking your first steps into photo editing?
There really is a wealth of customisation you can apply to your images, but getting started is the most important, and we know the software can be scary.
As always, iPhotography is at hand with more photography editing tutorials, online courses and premium training. Click here to find out more about our online photography course.
Discover TOP features in the Lightroom CC mobile app with this guide for enhancing your photo editing skills. For desktop and tablet too.
Shooting sunsets using amazing 5-in-1 magnetic lens filters from Kentfaith, the 1st choice for photo & video products.
Popular memory cards for photography – what’s the best SD card for your digital camera? Choose the right capacity and class speed in our guide
Learn the basics of photography – fast – with our FREE 60-Second Photographer online course. Each class is short and sharp with simple, actionable steps that give you immediate results.
x 30 lessons

© iPhotography™
Become a confident and competent photographer in less than 30 minutes!
Before you leave, make sure you’ve secured your FREE online photography course (worth £29.99)
Each class is just 60-seconds or less making it the fastest and easiest way to learn photography!