 Stephen Walton

Photographing a solar eclipse is an awe-inspiring endeavour, offering a rare opportunity to capture the celestial ballet of our solar system. Yet, it’s a challenging pursuit that demands precise planning, the right equipment, and technical finesse.
I’m going to share with you the intricacies of solar eclipse photography, from the essential gear to camera settings, and provide insights on how to maximise your chances of capturing breathtaking images of this cosmic spectacle.
The occurrence of a solar eclipse is a result of the alignment of the sun, moon, and Earth in a specific configuration.
Unlike lunar eclipses, which occur when the Earth comes between the sun and the moon, casting a shadow on the moon, solar eclipses involve the moon casting its shadow on the Earth’s surface.
The moon’s orbit around Earth is slightly inclined relative to Earth’s orbit around the sun. Consequently, solar eclipses do not occur every month but only when the moon’s orbit intersects with the plane of Earth’s orbit around the sun, known as the ecliptic plane.
When the moon aligns perfectly between the Earth and the sun, it casts its shadow onto Earth’s surface, causing a solar eclipse.
Don’t forget to protect your own eyes! Buy eclipse safety glasses here.

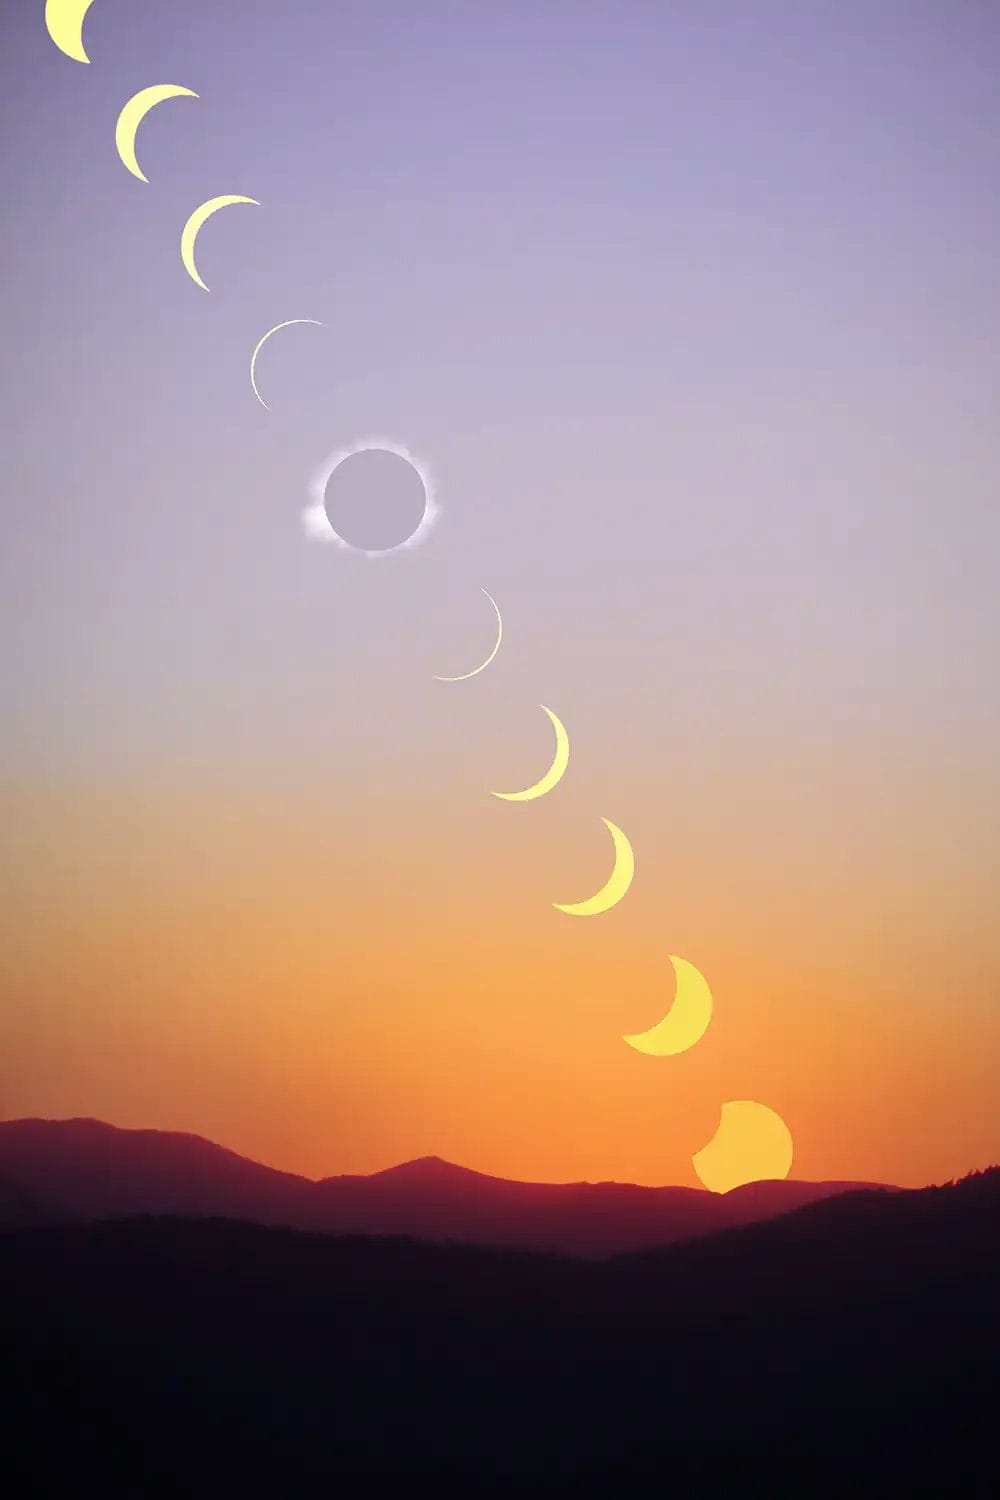
There are three main types of solar eclipses:
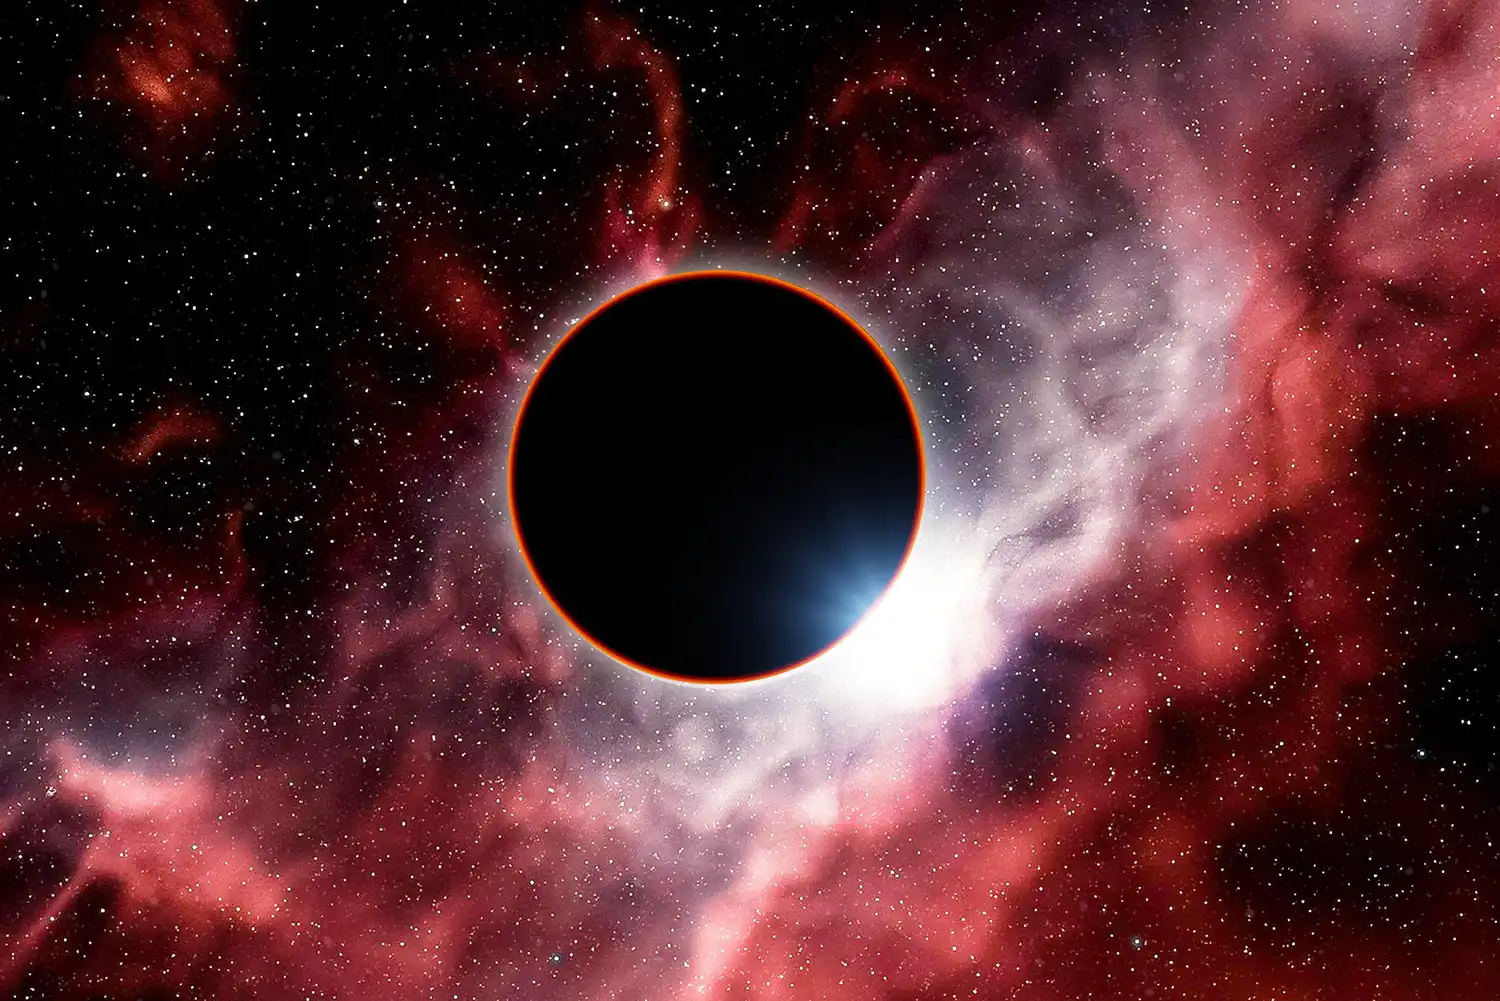
Total Solar Eclipse: During a total solar eclipse, the moon completely covers the sun, plunging the area within the moon’s shadow, known as the umbra, into darkness. Total solar eclipses offer observers the rare opportunity to witness the sun’s ethereal corona—a halo of plasma surrounding the sun’s surface.
Partial Solar Eclipse: In a partial solar eclipse, only a portion of the sun is obscured by the moon, resulting in a crescent-shaped sun. Partial solar eclipses are visible over a wider geographic area than total eclipses, offering observers the chance to witness a partial darkening of the sky.
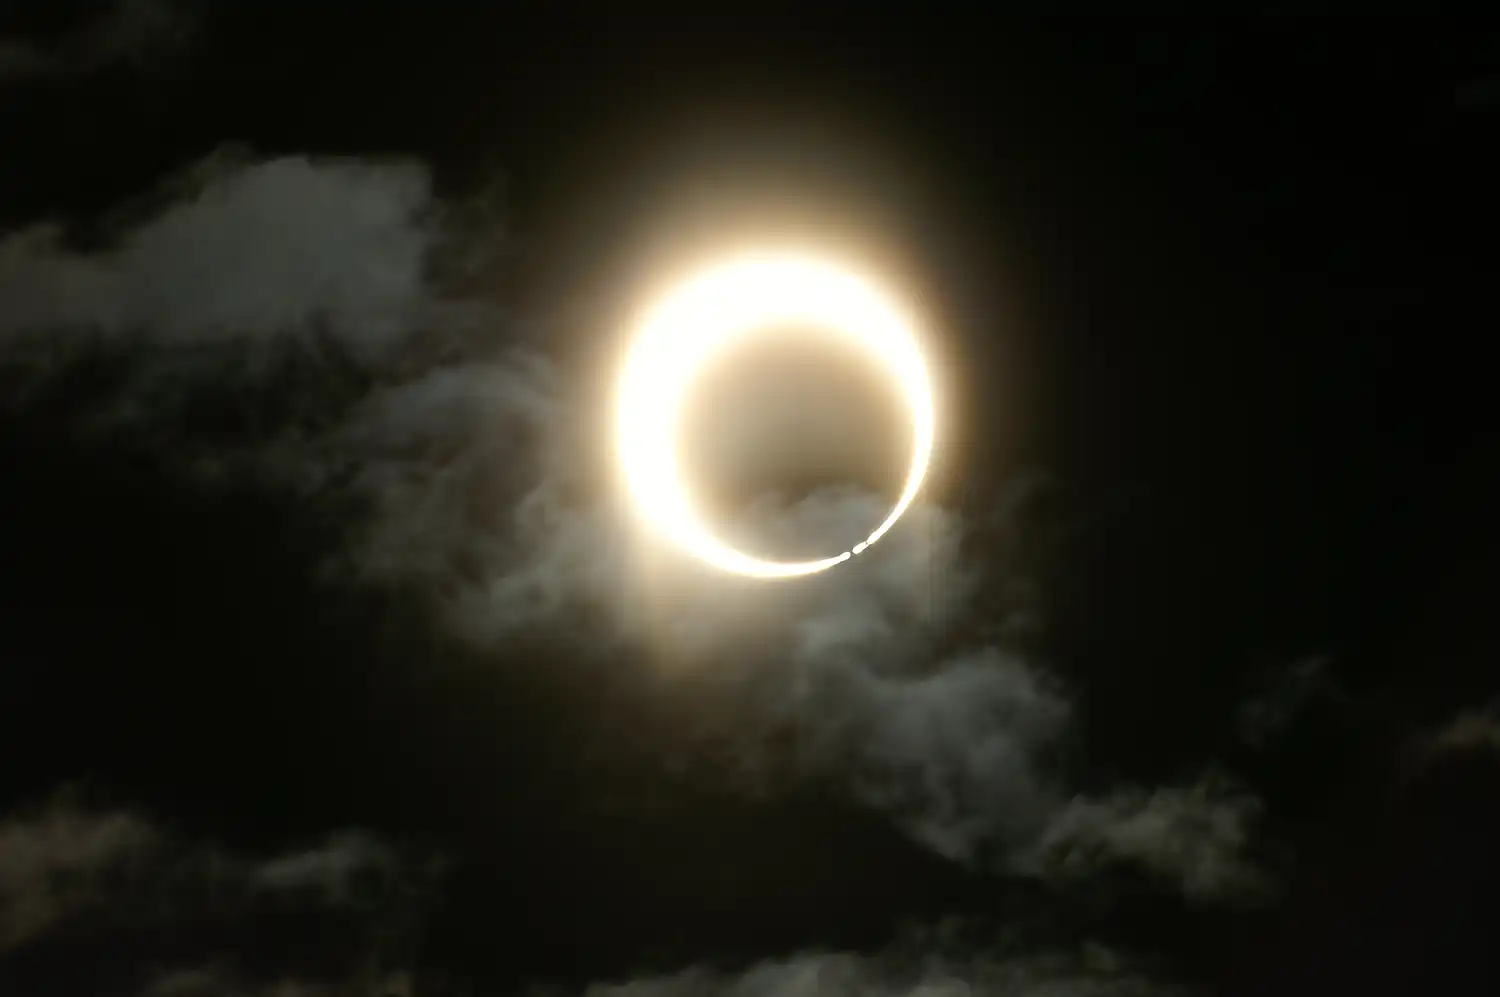
Annular Solar Eclipse: An annular solar eclipse occurs when the moon covers the centre of the sun, leaving a ring of sunlight visible around the moon’s silhouette. This phenomenon happens when the moon is near its farthest point from Earth in its elliptical orbit, making it appear slightly smaller in the sky compared to the sun.
Solar eclipses have fascinated humanity for millennia, inspiring awe and wonder across cultures and civilizations. Beyond their aesthetic beauty, solar eclipses hold scientific significance, providing researchers with valuable opportunities to study the sun’s outer atmosphere, known as the corona, which is typically obscured by the sun’s intense brightness.
During a total solar eclipse, the sudden darkness allows astronomers to observe the corona in unprecedented detail, unveiling insights into its structure, dynamics, and behaviour.
These observations contribute to our understanding of solar phenomena and help scientists investigate processes such as solar flares, coronal mass ejections, and solar wind, which can impact Earth’s magnetosphere and technological infrastructure.
Moreover, solar eclipses serve as potent reminders of the interconnectedness of celestial bodies and our place in the universe. They inspire a sense of wonder and curiosity, prompting individuals to contemplate the mysteries of the cosmos and our quest to unravel them.

Investing in the right equipment is paramount to capturing stunning images of a solar eclipse.
Opt for a DSLR or mirrorless camera with manual settings, allowing you to have full control over exposure and focus.
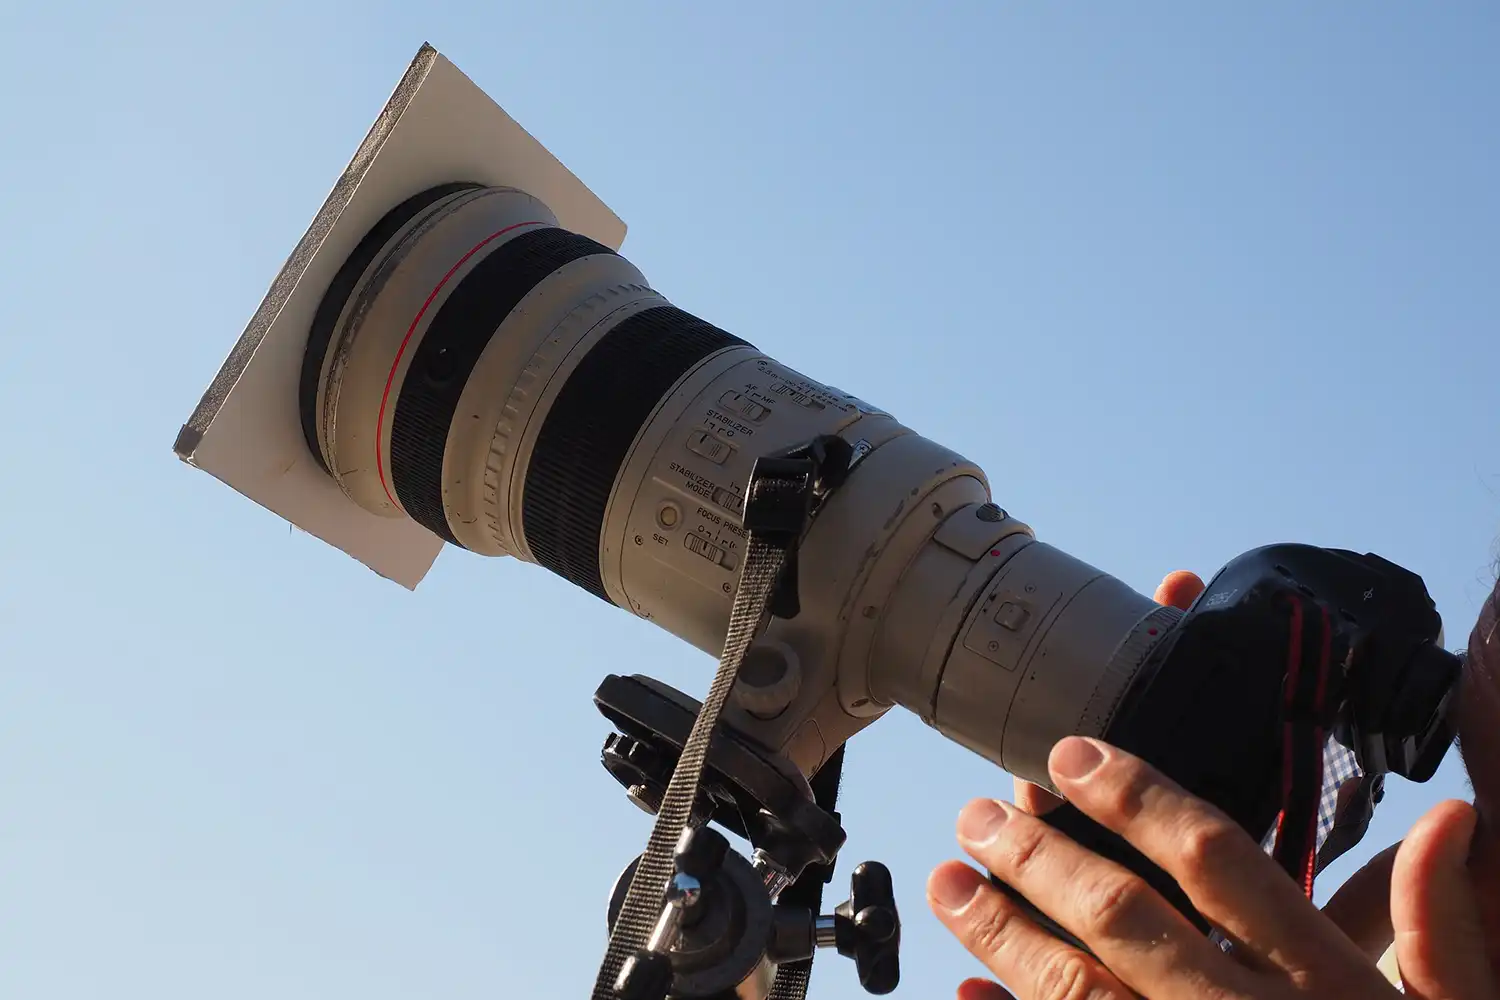
A telephoto lens with a focal length of at least 300mm is recommended to capture detailed shots of the eclipse. Never attempt to photograph the sun without a solar filter. This essential accessory protects your eyes and camera sensor from the sun’s intense light.
Stabilise your camera setup with a sturdy tripod to prevent blurriness caused by camera shake. Using a remote shutter release eliminates the need to touch your camera, minimising the risk of camera movement during the shoot.
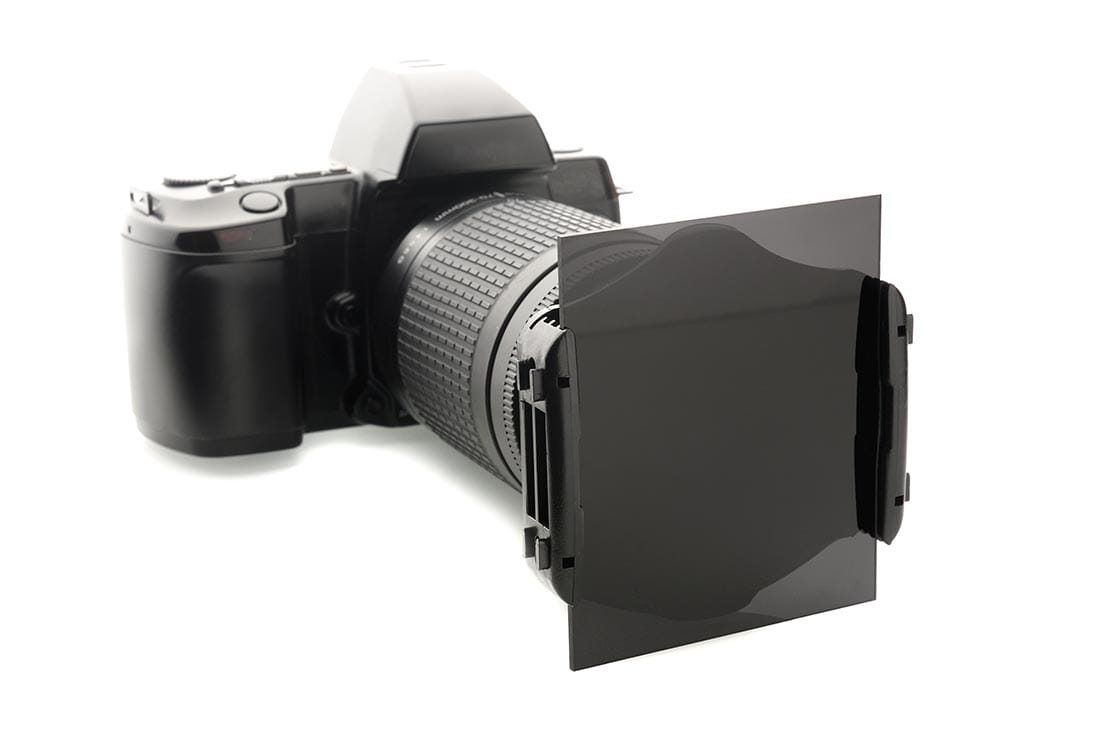
A solar lens filter protects your camera sensor from damage caused by the sun’s intense radiation. Without adequate filtration, the concentrated sunlight entering your camera’s lens can result in overexposure, lens flare, and even permanent damage to the sensor.
A high-quality solar lens filter acts as a barrier, reducing the amount of light reaching the camera sensor while preserving image clarity and detail.
It effectively neutralises the sun’s brightness, allowing you to capture stunning images of the solar eclipse without compromising the integrity of your camera equipment.
Solar lens filters are available in various types, each tailored to specific photography applications and preferences:
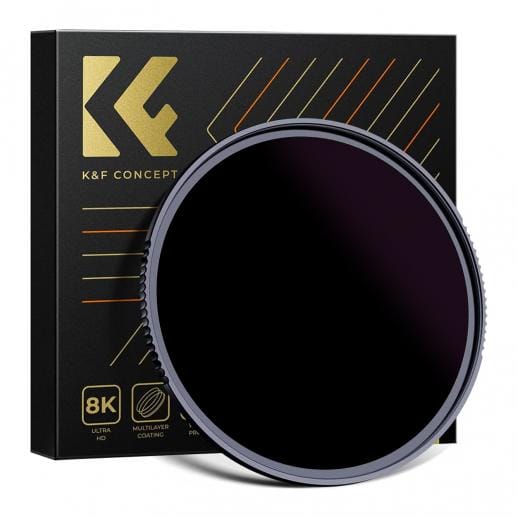
Neutral Density (ND) Filters: These filters reduce the overall intensity of light entering the lens without affecting colour balance. ND filters are commonly used in solar photography to attenuate sunlight and achieve optimal exposure settings.
Solar Filters: Dedicated solar filters are specifically designed to block harmful UV and IR radiation while allowing safe viewing of the sun. These filters are typically made from specialised materials such as aluminized Mylar or black polymer film, which provide reliable protection against solar glare.
Variable ND Filters: Variable ND filters offer adjustable light reduction capabilities, allowing photographers to fine-tune exposure settings in real-time. While versatile, it’s essential to ensure that variable ND filters used for solar photography are equipped with adequate solar protection features.
Teleconverter lenses stand out as invaluable tools for enhancing solar eclipse photography, offering distinct advantages for capturing intricate celestial details. These specialised lenses magnify your existing lens focal length, enabling closer views of the sun’s corona and other solar phenomena.
Teleconverter lenses effectively multiply your lens focal length, providing greater magnification for capturing detailed shots of the sun’s corona and prominences during a solar eclipse.
By magnifying the sun’s image, teleconverter lenses help mitigate atmospheric distortion and improve image sharpness, resulting in sharper, more detailed photographs of the eclipse.
Teleconverters aid in achieving optimal exposure settings by magnifying the sun’s image, allowing photographers to fine-tune camera settings for well-exposed images throughout the eclipse’s progression.
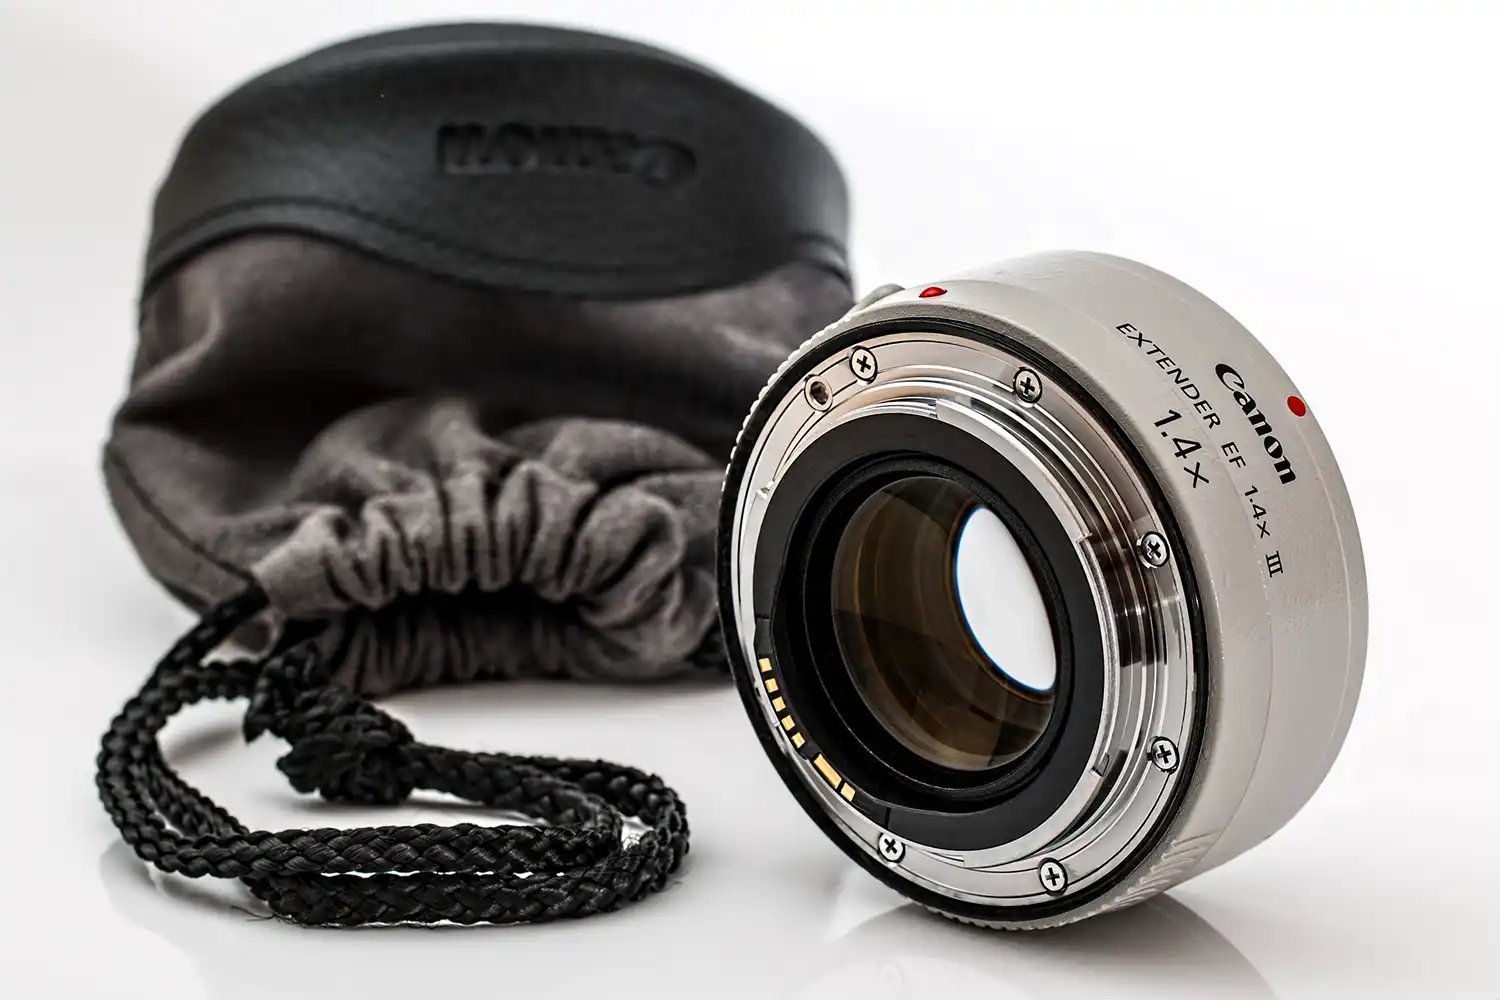
Canon EF Extender: Canon offers a range of EF Extender teleconverters, such as the EF 1.4x III and EF 2x III, designed to seamlessly integrate with Canon EF lenses, providing enhanced magnification and image quality.
Nikon Teleconverter: Nikon’s teleconverter lineup includes the Nikon AF-S Teleconverter TC-14E III and TC-20E III, compatible with Nikon F-mount lenses, offering superior magnification and optical performance for solar eclipse photography.
Sigma Teleconverter: Sigma’s Global Vision teleconverters, such as the Sigma TC-1401 and TC-2001, deliver exceptional image quality and compatibility with Sigma lenses, enabling photographers to achieve stunning results in solar eclipse photography.
Solar eclipses occur periodically but are only visible from specific regions on Earth. Here are the dates of the upcoming solar eclipses around the world:
Planning your shoot well in advance and choosing the right location with clear skies and minimal light pollution are crucial factors for successful solar eclipse photography.
Achieving the perfect exposure during a solar eclipse requires careful adjustment of your camera settings.
Set your ISO to its lowest value (typically ISO 100 or 200) to minimise digital noise in your images. Use a narrow aperture (high f-stop number) such as f/8 to f/16 to maintain sharpness and detail throughout the frame.
During totality, when the sun is completely covered by the moon, you can remove the solar filter and use a faster shutter speed to capture the corona’s delicate structure.
However, during partial phases, keep your shutter speed fast to avoid overexposure. Manually focus your lens to infinity to ensure crisp, sharp images.
On the day of the eclipse, arrive at your chosen location well in advance to set up your equipment.
Find a stable spot with an unobstructed view of the sky and set up your tripod. Securely attach the solar filter to your lens to protect your eyes and camera sensor.
Use your camera’s live view mode to frame the sun within the composition, making adjustments as needed. Take a few test shots before the eclipse begins to ensure your exposure settings are optimised.
Solar eclipse photography presents unique challenges and potential hazards that require careful consideration:
Eye Safety: Never look directly at the sun without proper eye protection, as it can cause permanent eye damage. Always use certified solar viewing glasses or a solar filter on your camera.
Weather Conditions: Unfavourable weather conditions such as clouds or haze can obstruct your view of the eclipse. Monitor weather forecasts closely and have a backup plan in case of inclement weather.
Overexposure: Be cautious of overexposing your images, especially during partial phases when the sun is still partially visible. Check your histogram regularly to ensure proper exposure.
Battery Life: Bring spare batteries and keep them fully charged, as extended shooting sessions can drain your camera’s battery quickly.
As the eclipse unfolds, remain vigilant and adjust your camera settings as necessary to adapt to changing lighting conditions. During totality, remove the solar filter and capture the ethereal beauty of the corona with a faster shutter speed. Experiment with different compositions and focal lengths to create captivating images that showcase the celestial event in all its glory.
Protect your camera kit outdoors with Ripe Insurance. They’re offering all iPhotography readers and members 20% OFF your insurance policy with this exclusive link.
After the eclipse, transfer your images to a computer and review them carefully. Use post-processing software such as Adobe Lightroom or Photoshop to fine-tune exposure, contrast, and colour balance to enhance the visual impact of your photos.
Once you’re satisfied with the results, share your images with friends, family, and fellow enthusiasts to spread the wonder of solar eclipse photography.
In conclusion, photographing a solar eclipse is a challenging yet immensely rewarding pursuit that allows you to capture the beauty and grandeur of our universe.
By following the tips and techniques outlined in this guide, you’ll be well-equipped to embark on your own solar eclipse photography adventure and create stunning images that inspire awe and wonder for years to come.
Experience the world of photo editing AI with Luminar and get $10 USD OFF 12 and 24-month plans when you enter the promo code ‘iPhotography’.
(iPhotography may make small commissions from links in this article.)

Discover TOP features in the Lightroom CC mobile app with this guide for enhancing your photo editing skills. For desktop and tablet too.

Shooting sunsets using amazing 5-in-1 magnetic lens filters from Kentfaith, the 1st choice for photo & video products.

Popular memory cards for photography – what’s the best SD card for your digital camera? Choose the right capacity and class speed in our guide
Learn the basics of photography – fast – with our FREE 60-Second Photographer online course. Each class is short and sharp with simple, actionable steps that give you immediate results.
x 30 lessons

© iPhotography™
Become a confident and competent photographer in less than 30 minutes!
Before you leave, make sure you’ve secured your FREE online photography course (worth £29.99)
Each class is just 60-seconds or less making it the fastest and easiest way to learn photography!