 Stephen Walton
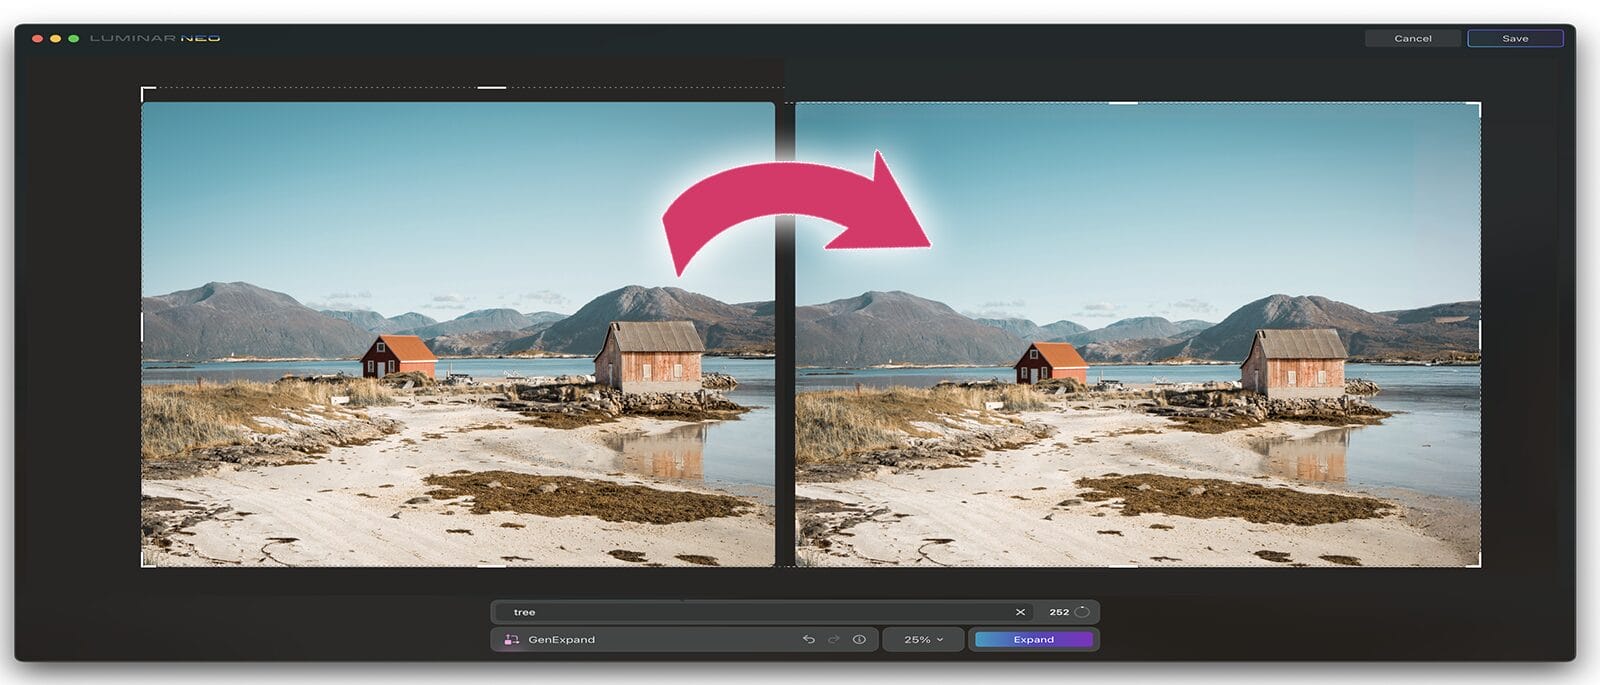
Luminar Neo’s GenExpand tool allows you to break the limits of the frame with your photos and will have you re-envisioning the way you edit. Using advanced generative AI technology, you can broaden the edges of your photos and achieve results that impress. Find out more about GenExpand and see it in action.
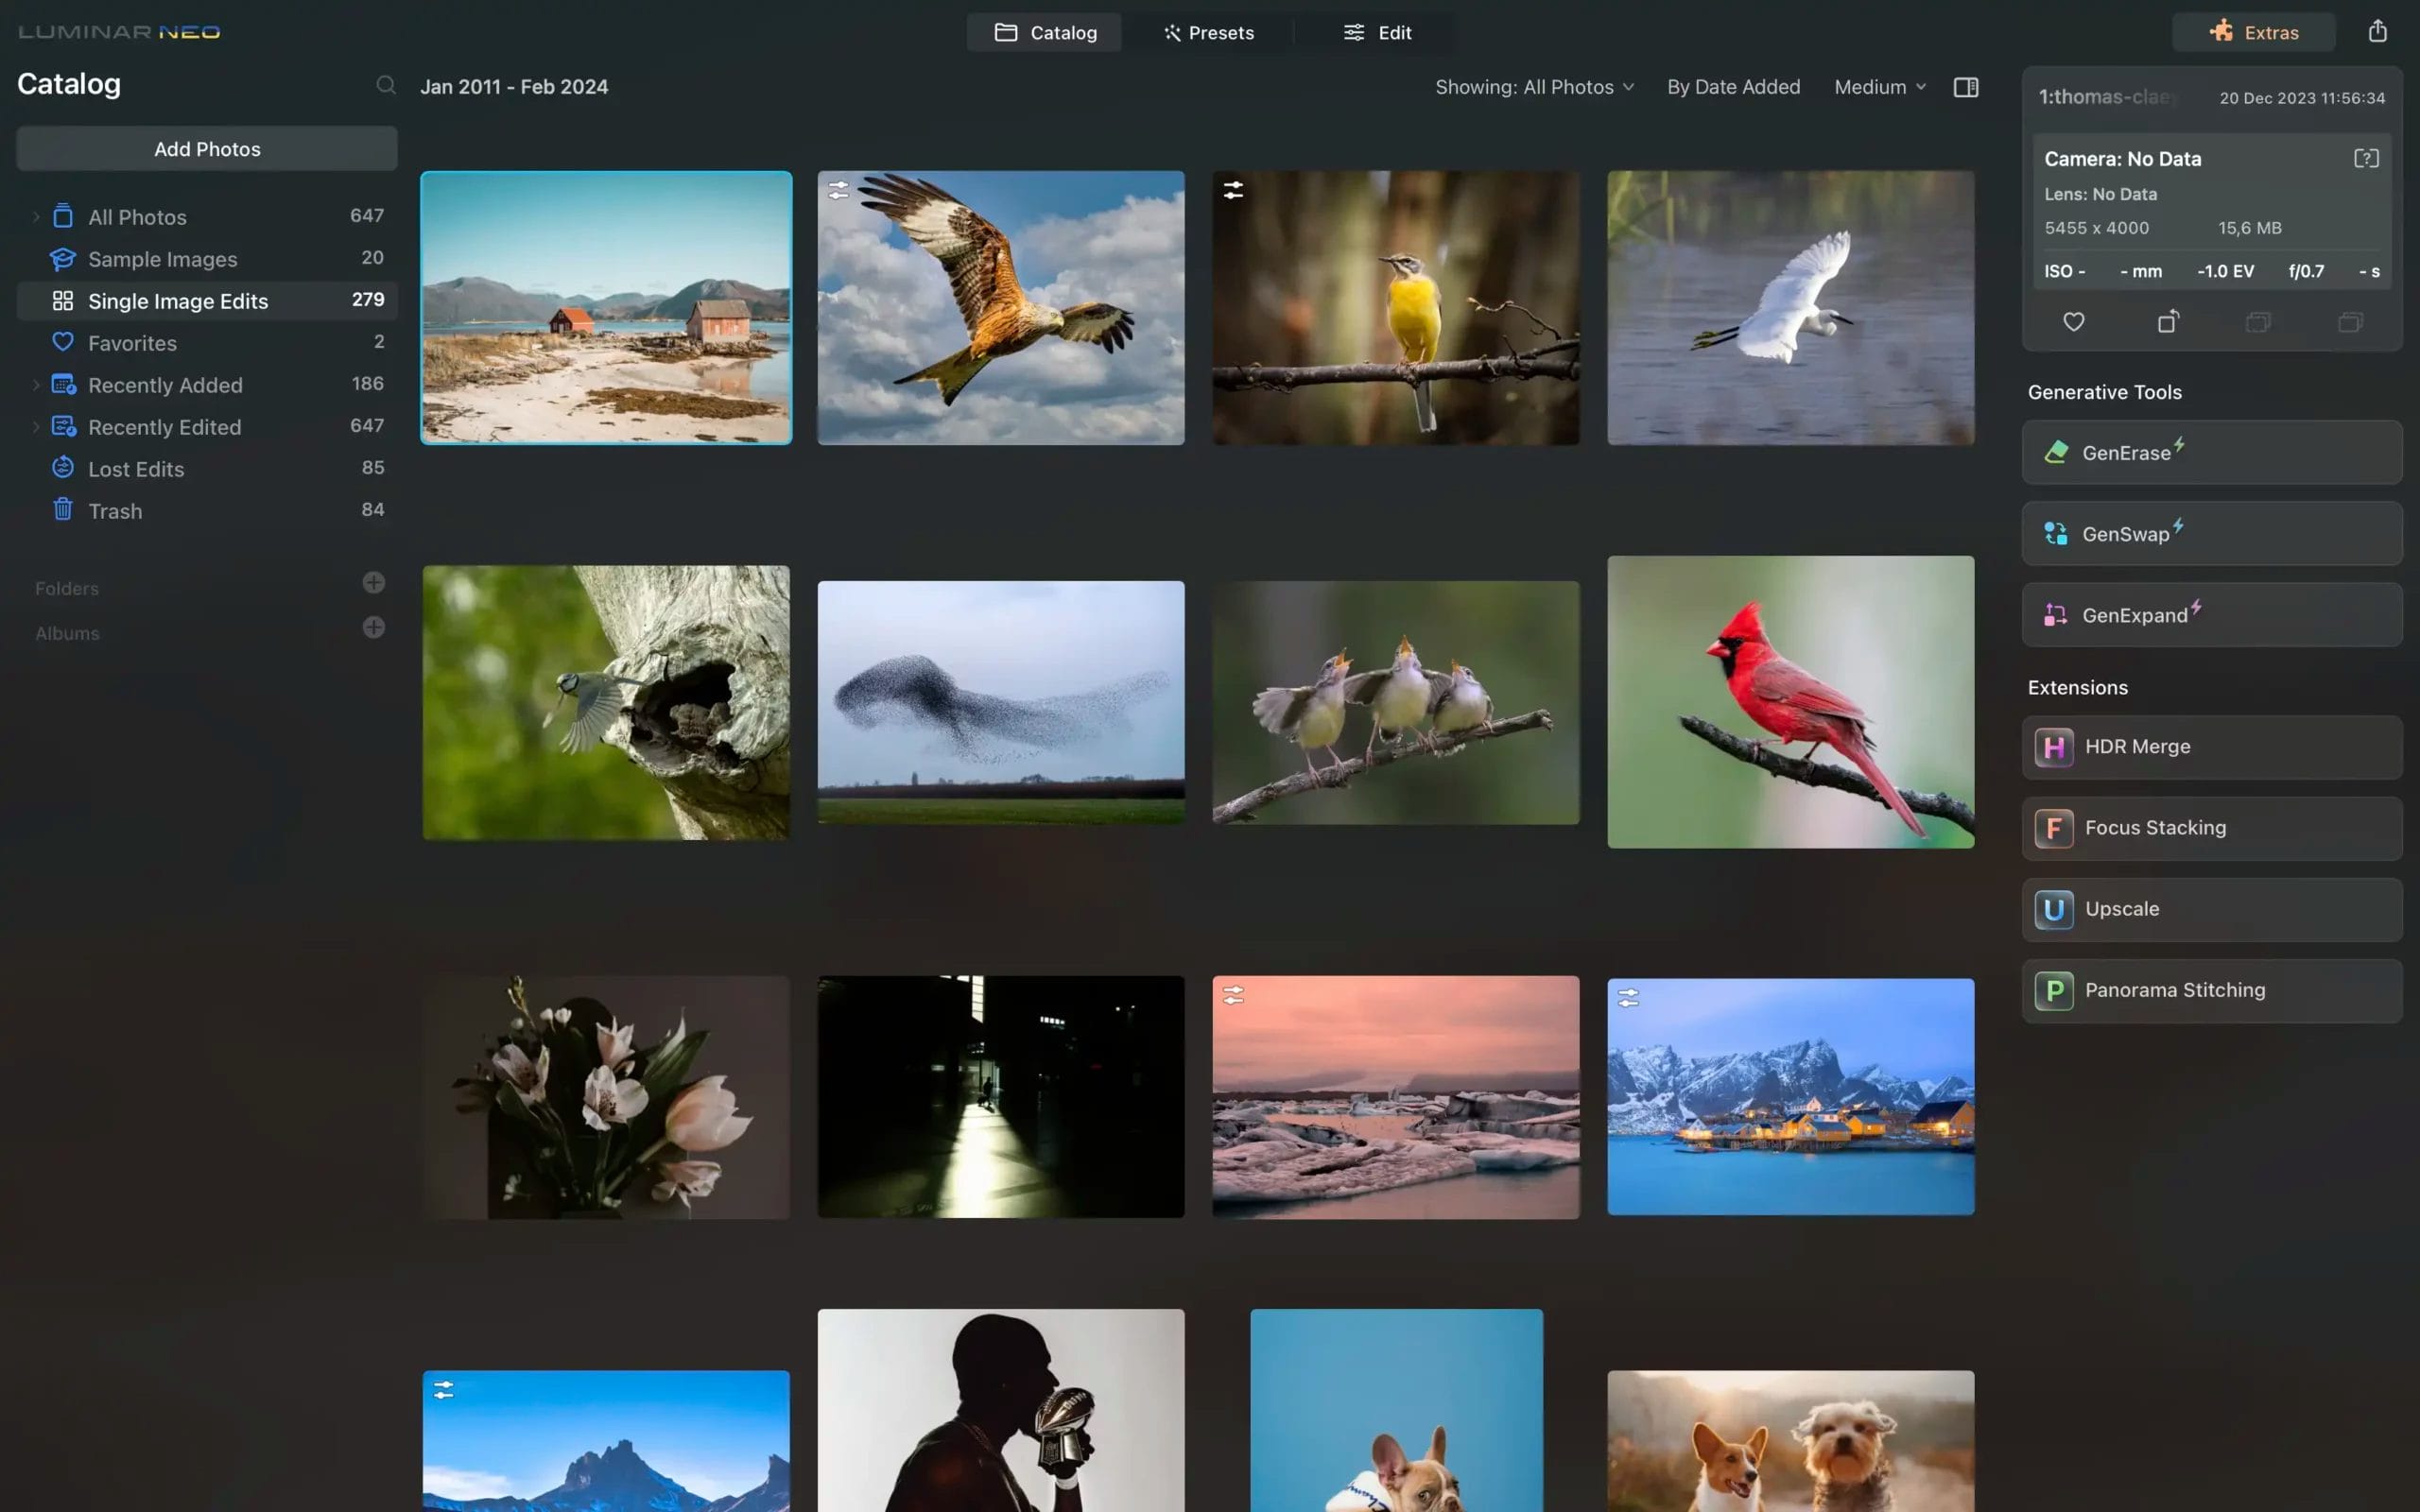
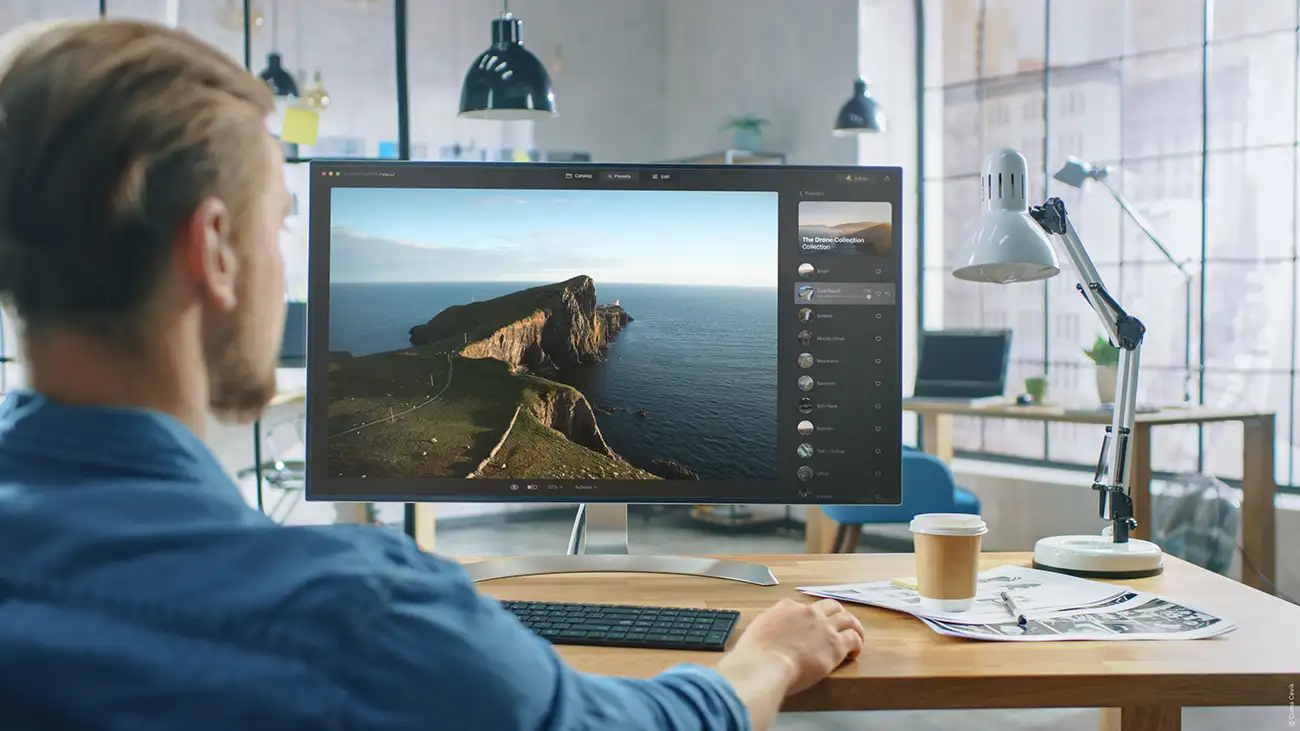
Luminar Neo, an application developed by Skylum, is a photo editing software compatible with both Windows and macOS operating systems. Boasting over 20 artificial intelligence-driven features, Luminar Neo aims to streamline the editing process for photographers.
Alongside these AI-powered functionalities, the software offers a wide range of editing tools that allow users to fix mistakes and enhance their photographs.
Recognised for its user-friendly interface and innovative approach, Luminar Neo received the prestigious Red Dot Brands & Communication Design award in 2022. Moreover, it clinched the title of Best Imaging Software at the TIPA World Awards for two consecutive years in 2022 and 2023. With its intuitive design, the application caters to photographers across all skill levels, accommodating both novices and seasoned professionals.
Experience the world of photo editing AI with Luminar and get $10 USD OFF 12 and 24-month plans when you enter the promo code ‘iPhotography’.
The third of the generative AI tools for Luminar Neo is GenExpand, which is a groundbreaking tool that empowers photographers to break free from traditional aspect ratios and add a new dimension to their original compositions.
You can effortlessly extend the boundaries of your photos, whether you’re creating panoramic landscapes or giving your favorite images more space.
As you expand the image border, GenExpand intelligently analyzes the image and anticipates how the additional space will be filled. To do so, it sends your photo to the server, which is why this tool works only with an internet connection, as all edits are performed on the cloud. However, rest assured that the Luminar Team doesn’t store your images on its servers!
For enhanced precision and creative authority, you can craft a specific prompt outlining your desired content for the new area, and GenExpand will incorporate this guidance into the expansion process.
GenExpand lets you add more breathing room to your photos. If you feel like the composition will benefit from some extra space, try GenExpand and see how it enhances your image. For example, if you took a portrait where the person takes up most of the frame, it might look more appealing to add some space around them.
The same works for architecture shots and street photos. With landscapes, you can widen the surrounding area to showcase a more dynamic and expansive scene.
Any type of image works, but for the best results, try it on images of a smaller size (1k–2k pixel resolution). As for large photos, the results will have a more visible difference with the original photos.
Also, try to expand photos with well-defined textures around the edges, like of the sky, sand or sea. Make sure that the photo you’re expanding is already edited the way you want it.
For example, if you want to expand a street photo and there are still some powerlines left hanging near the edges, GenExpand will think that you want to keep them and generate an area that has more powerlines.
In such cases, it’s best to get rid of the distractions in advance. You can use the “Remove Powerlines” feature (available inside the “Erase” tool) or GenErase to do that!
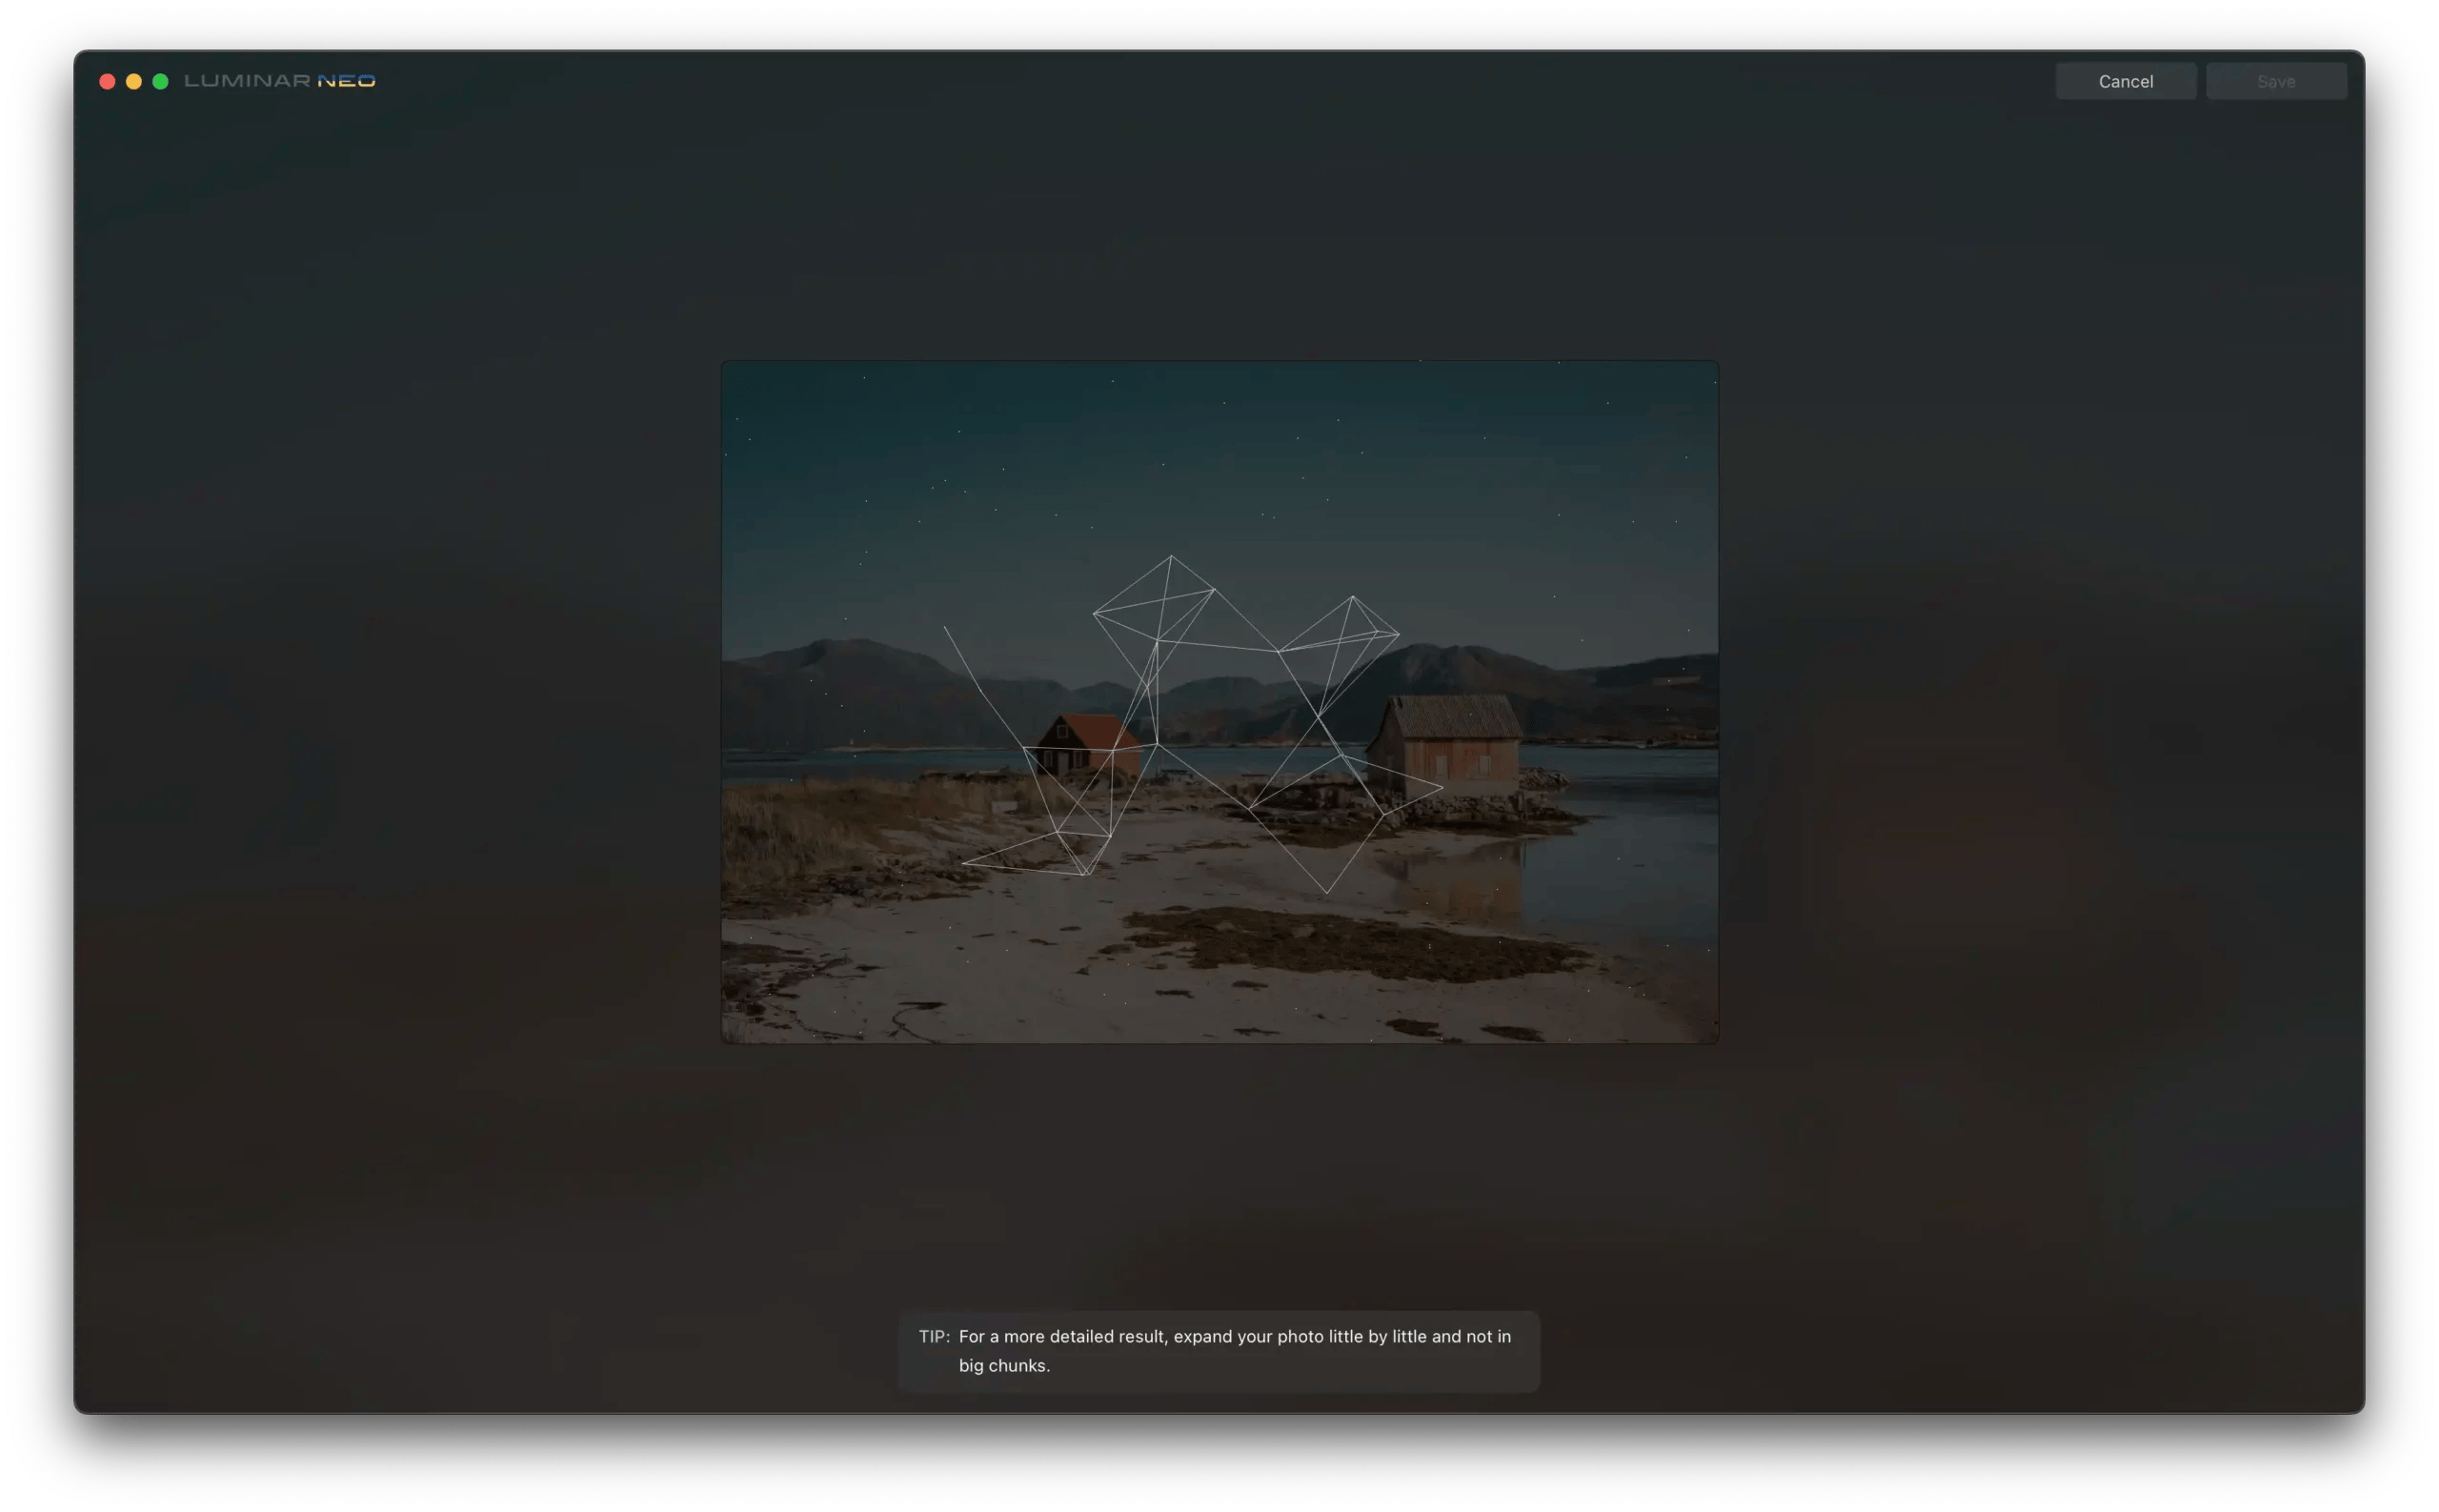
Another tip is to expand one edge of your photo at a time, little by little, instead of opting for big chunks at once.
If you’re not sure about the outcome, you can always try again by clicking “Expand” or adjust the expanded area to get another result.


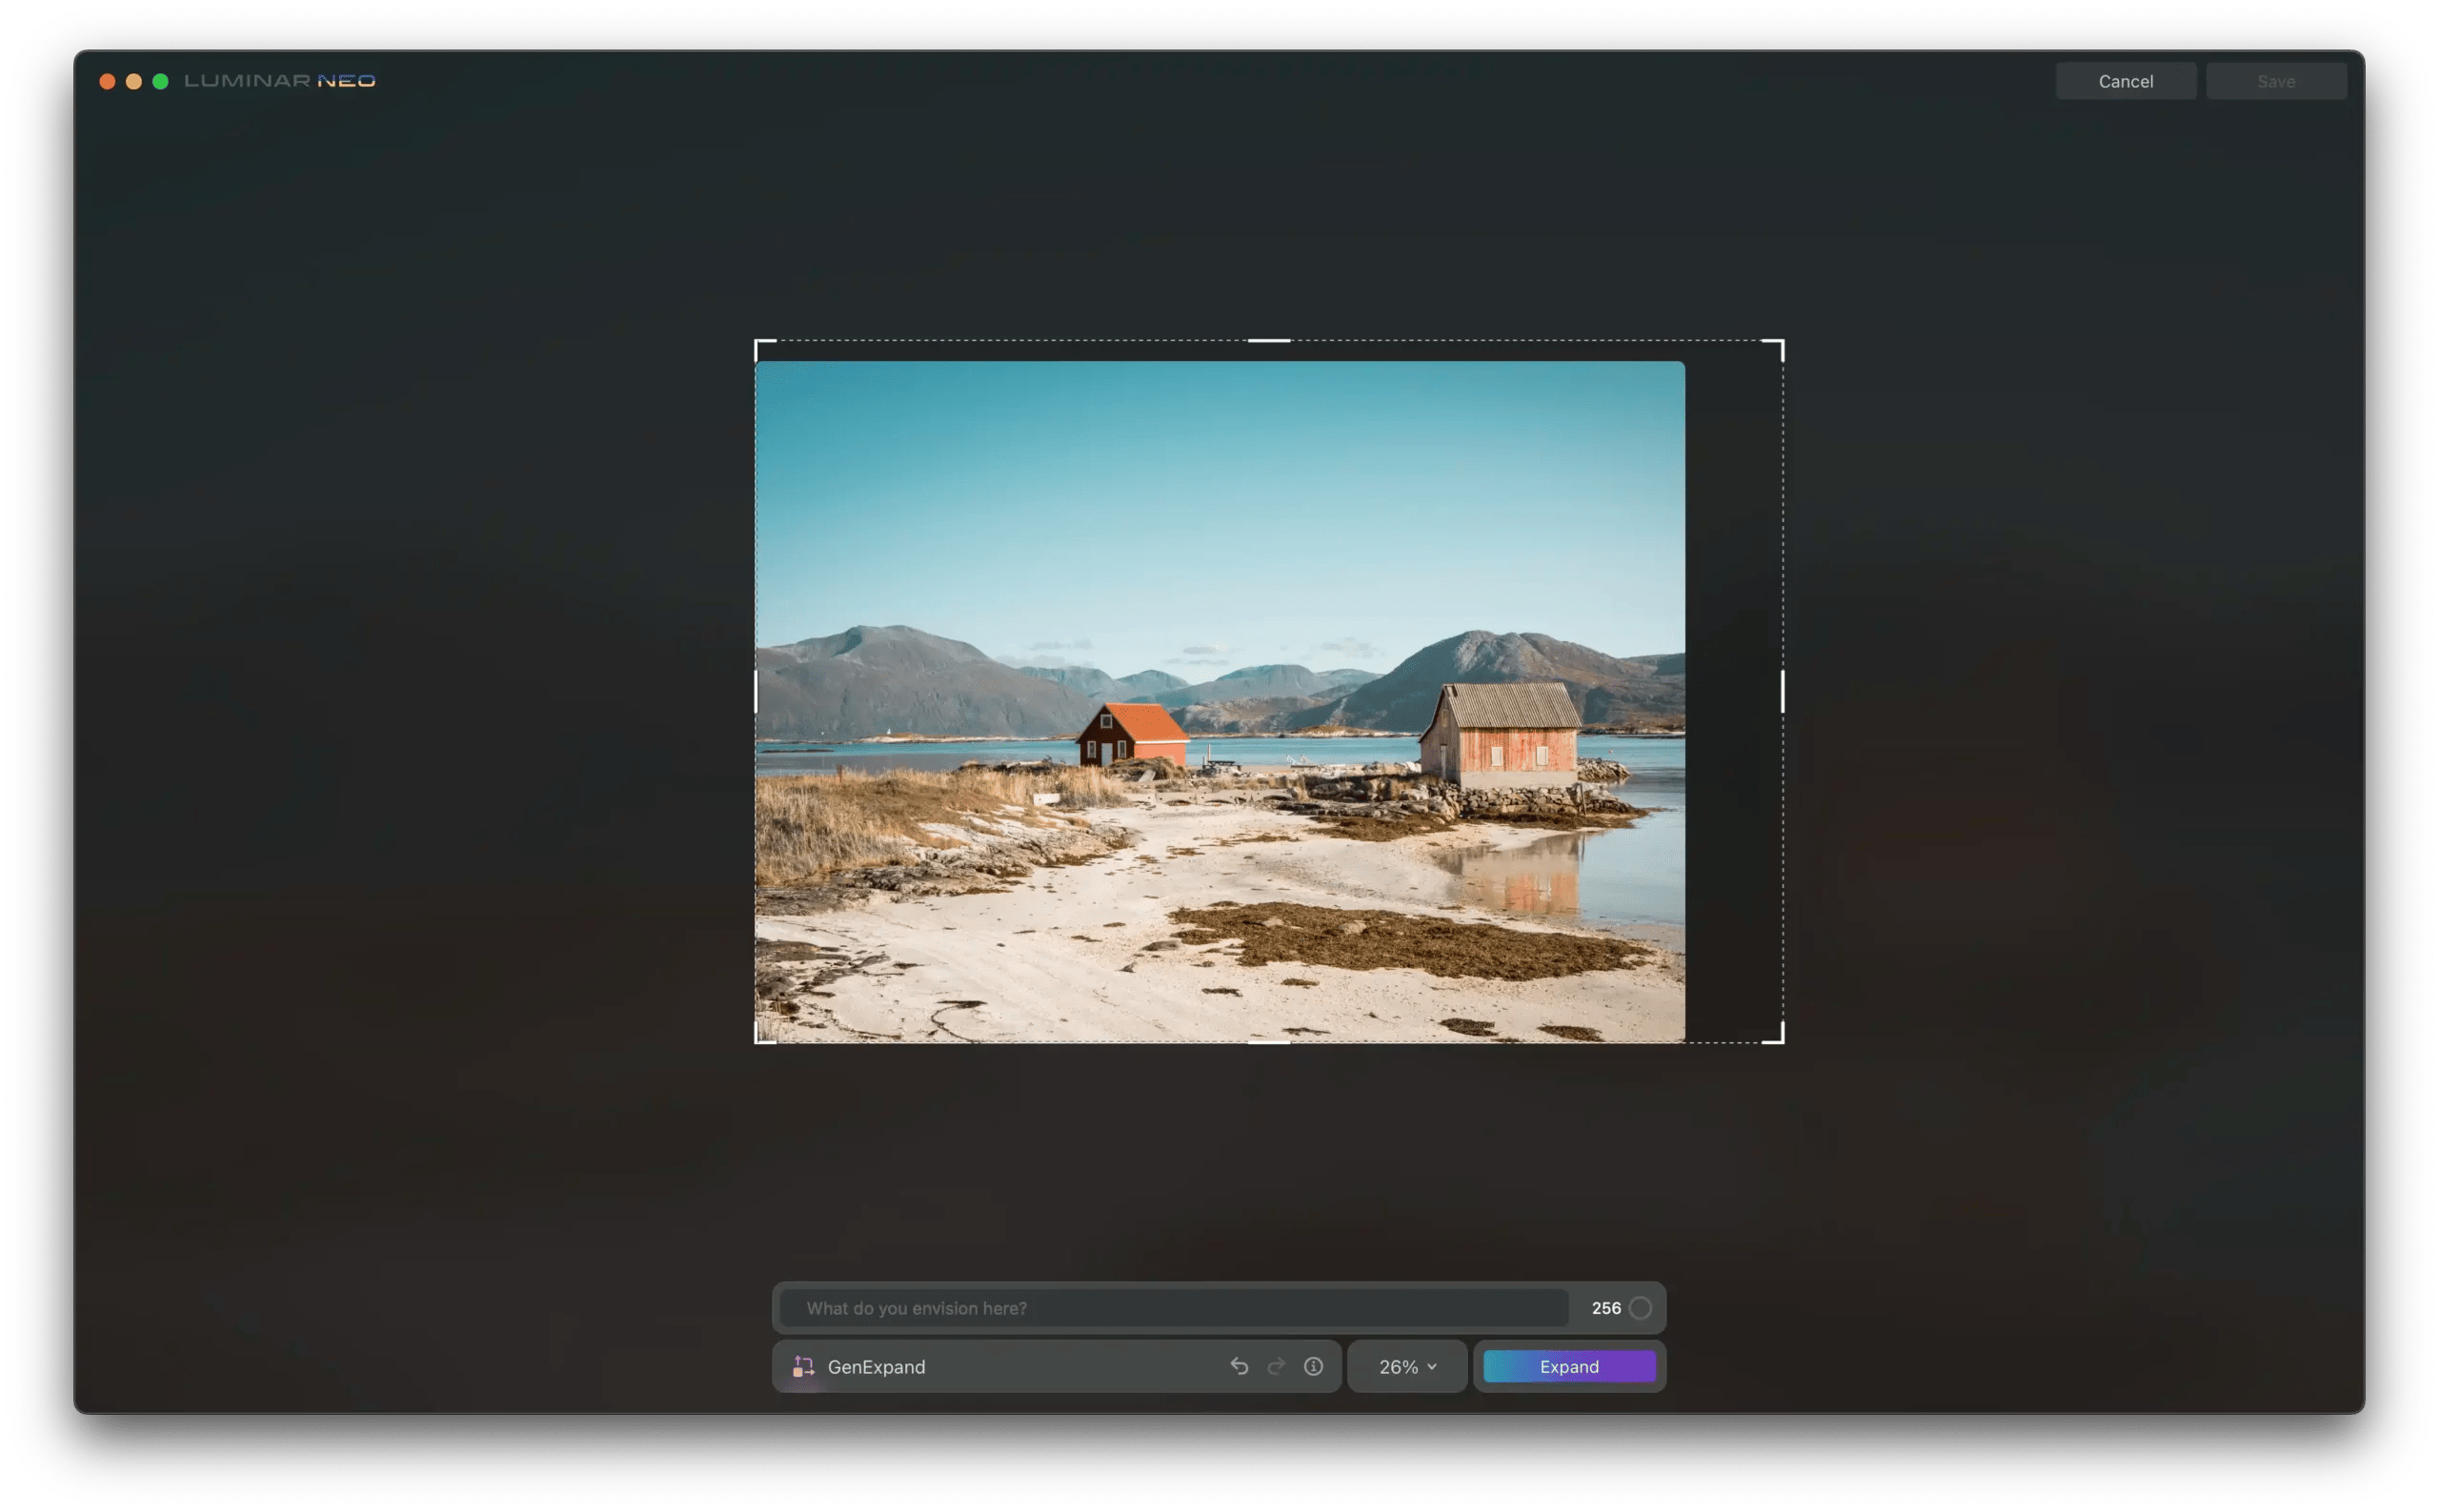
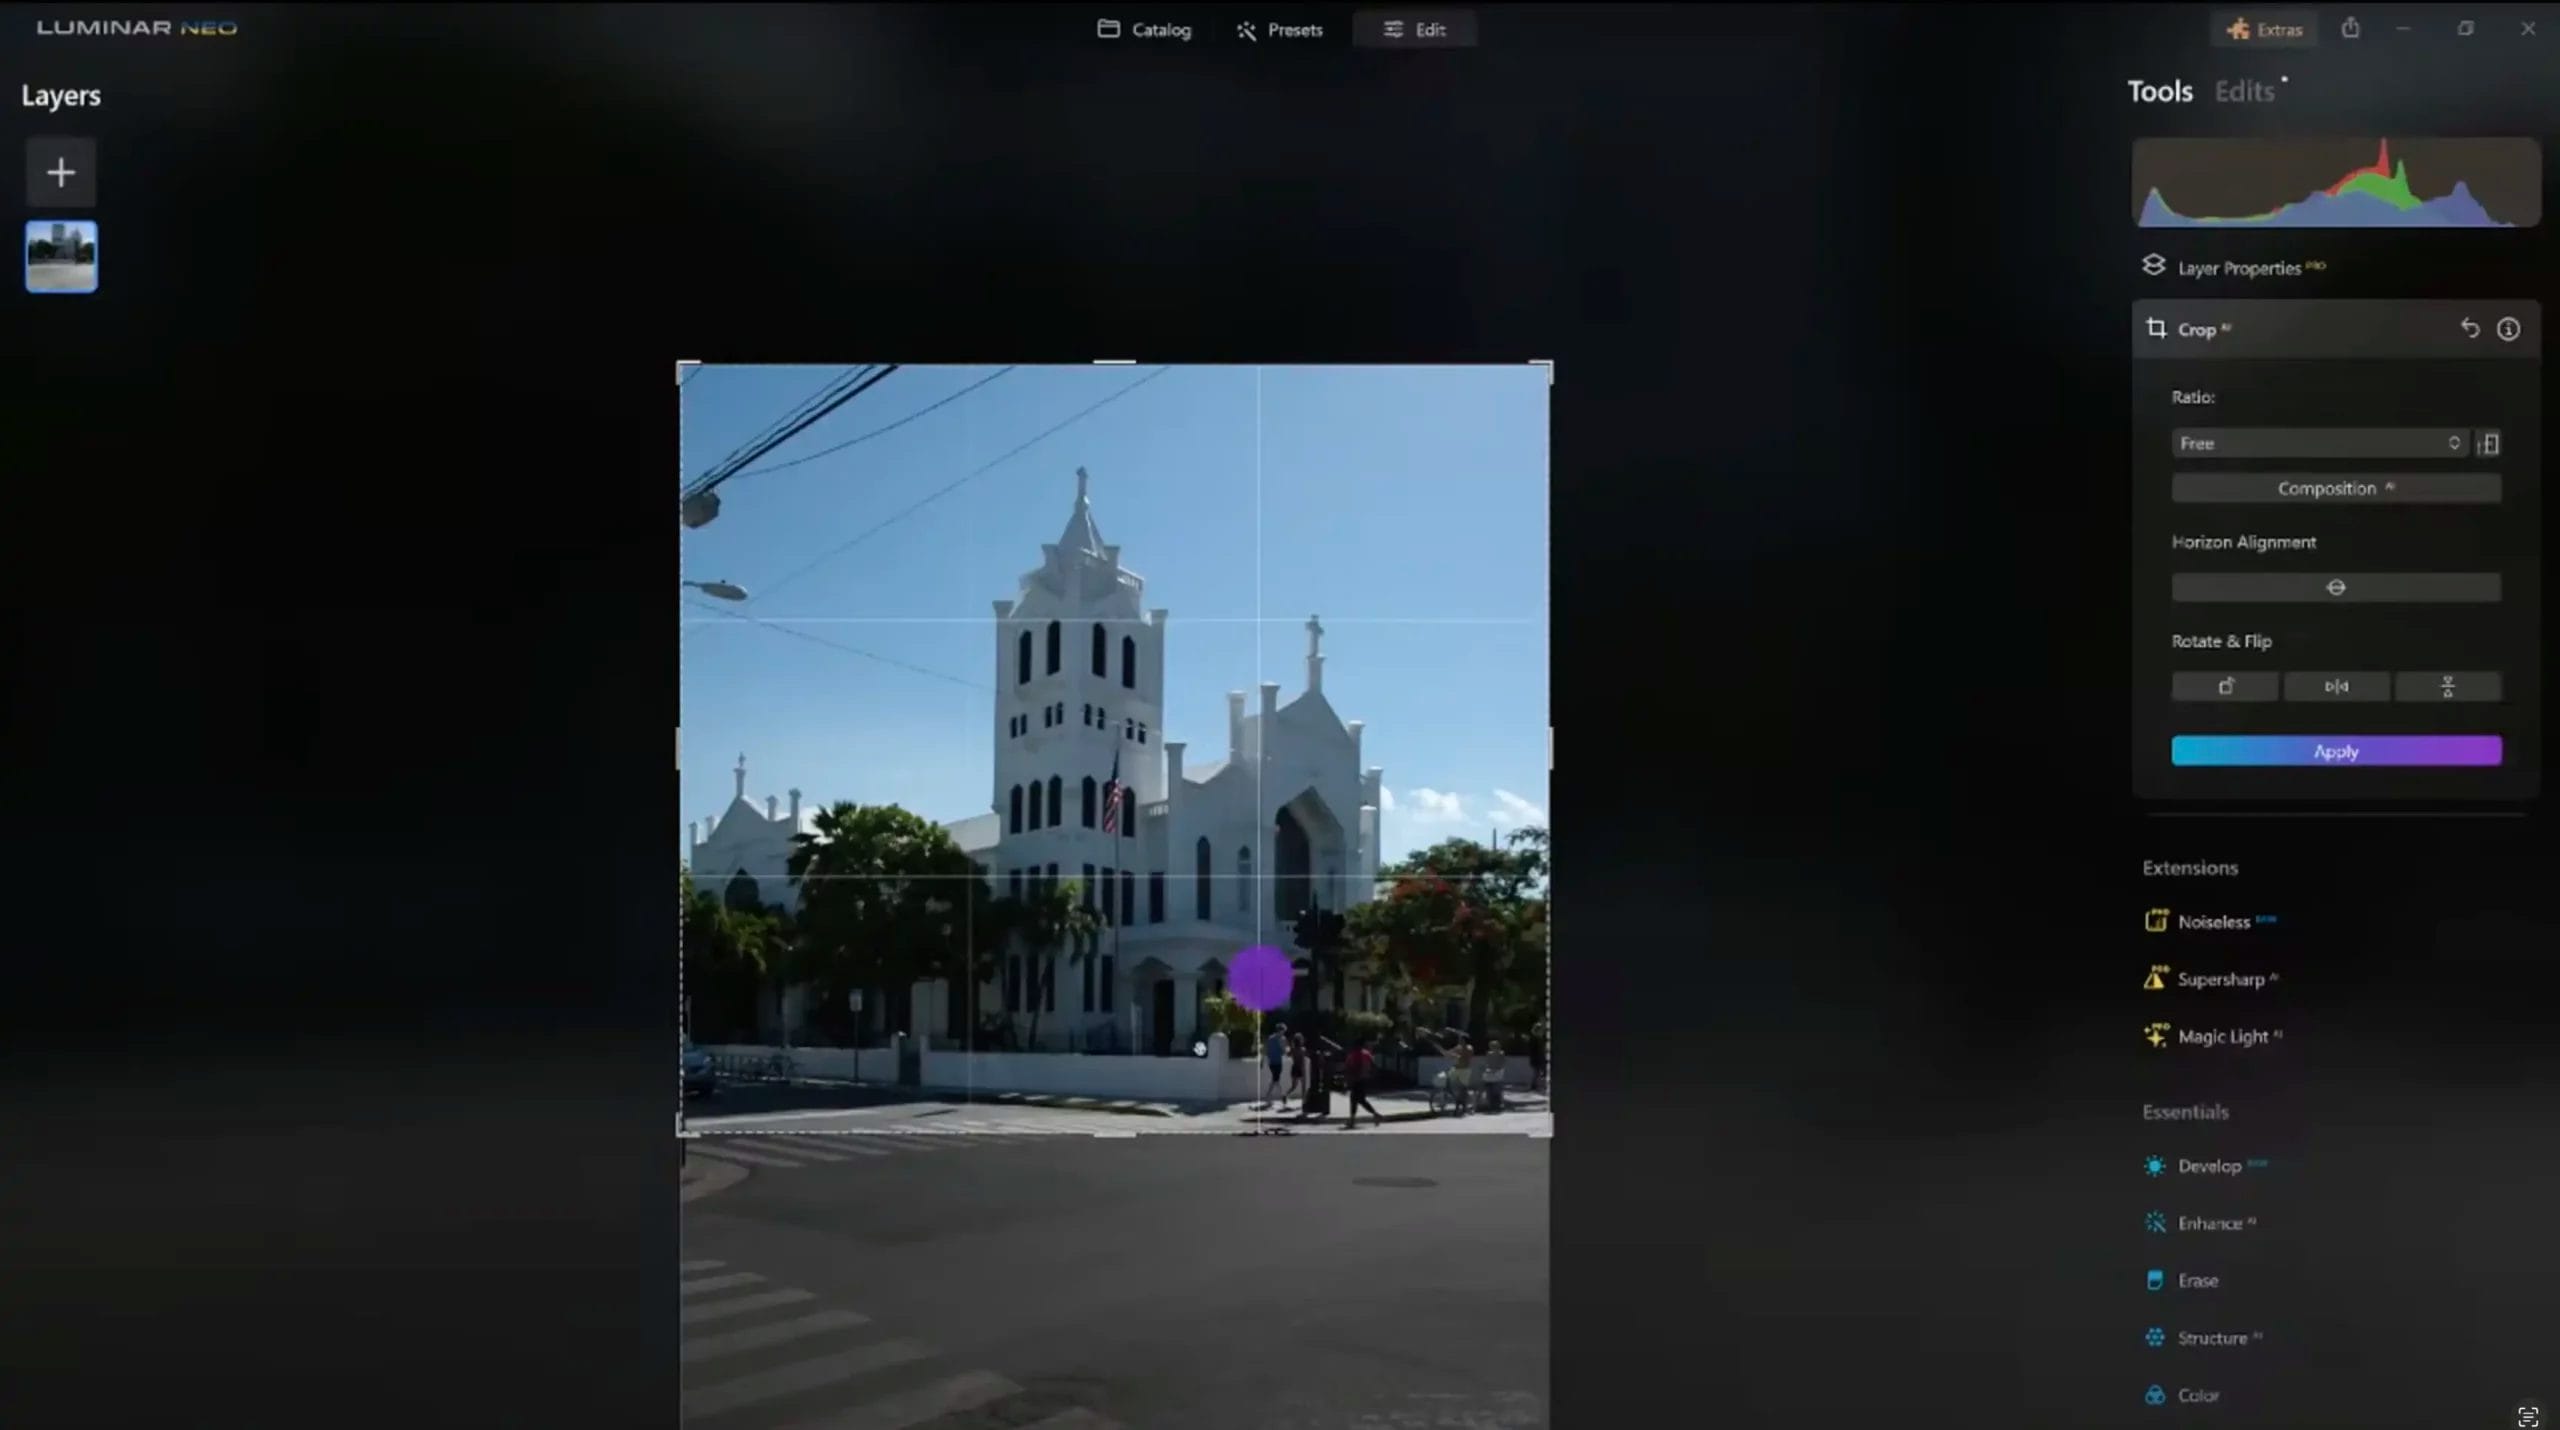
Let’s examine the panel that opens when you click on the “GenExpand” tool and find out everything you can do in this tool:

Undo/Redo: The curved arrows allow you to reverse or repeat the previous action.
Zoom: Adjust the magnification of your view using the drop-down menu next to the “Expand” button.
Expand: Simply click the “Expand” button to utilise GenExpand and add to the selected area in your image. This innovative tool goes beyond just expanding the image — it harnesses content-aware AI techniques for a refined result. You can continue to choose the “Expand” button to cycle through different outcomes, fine-tuning your edits until you achieve the desired outcome.
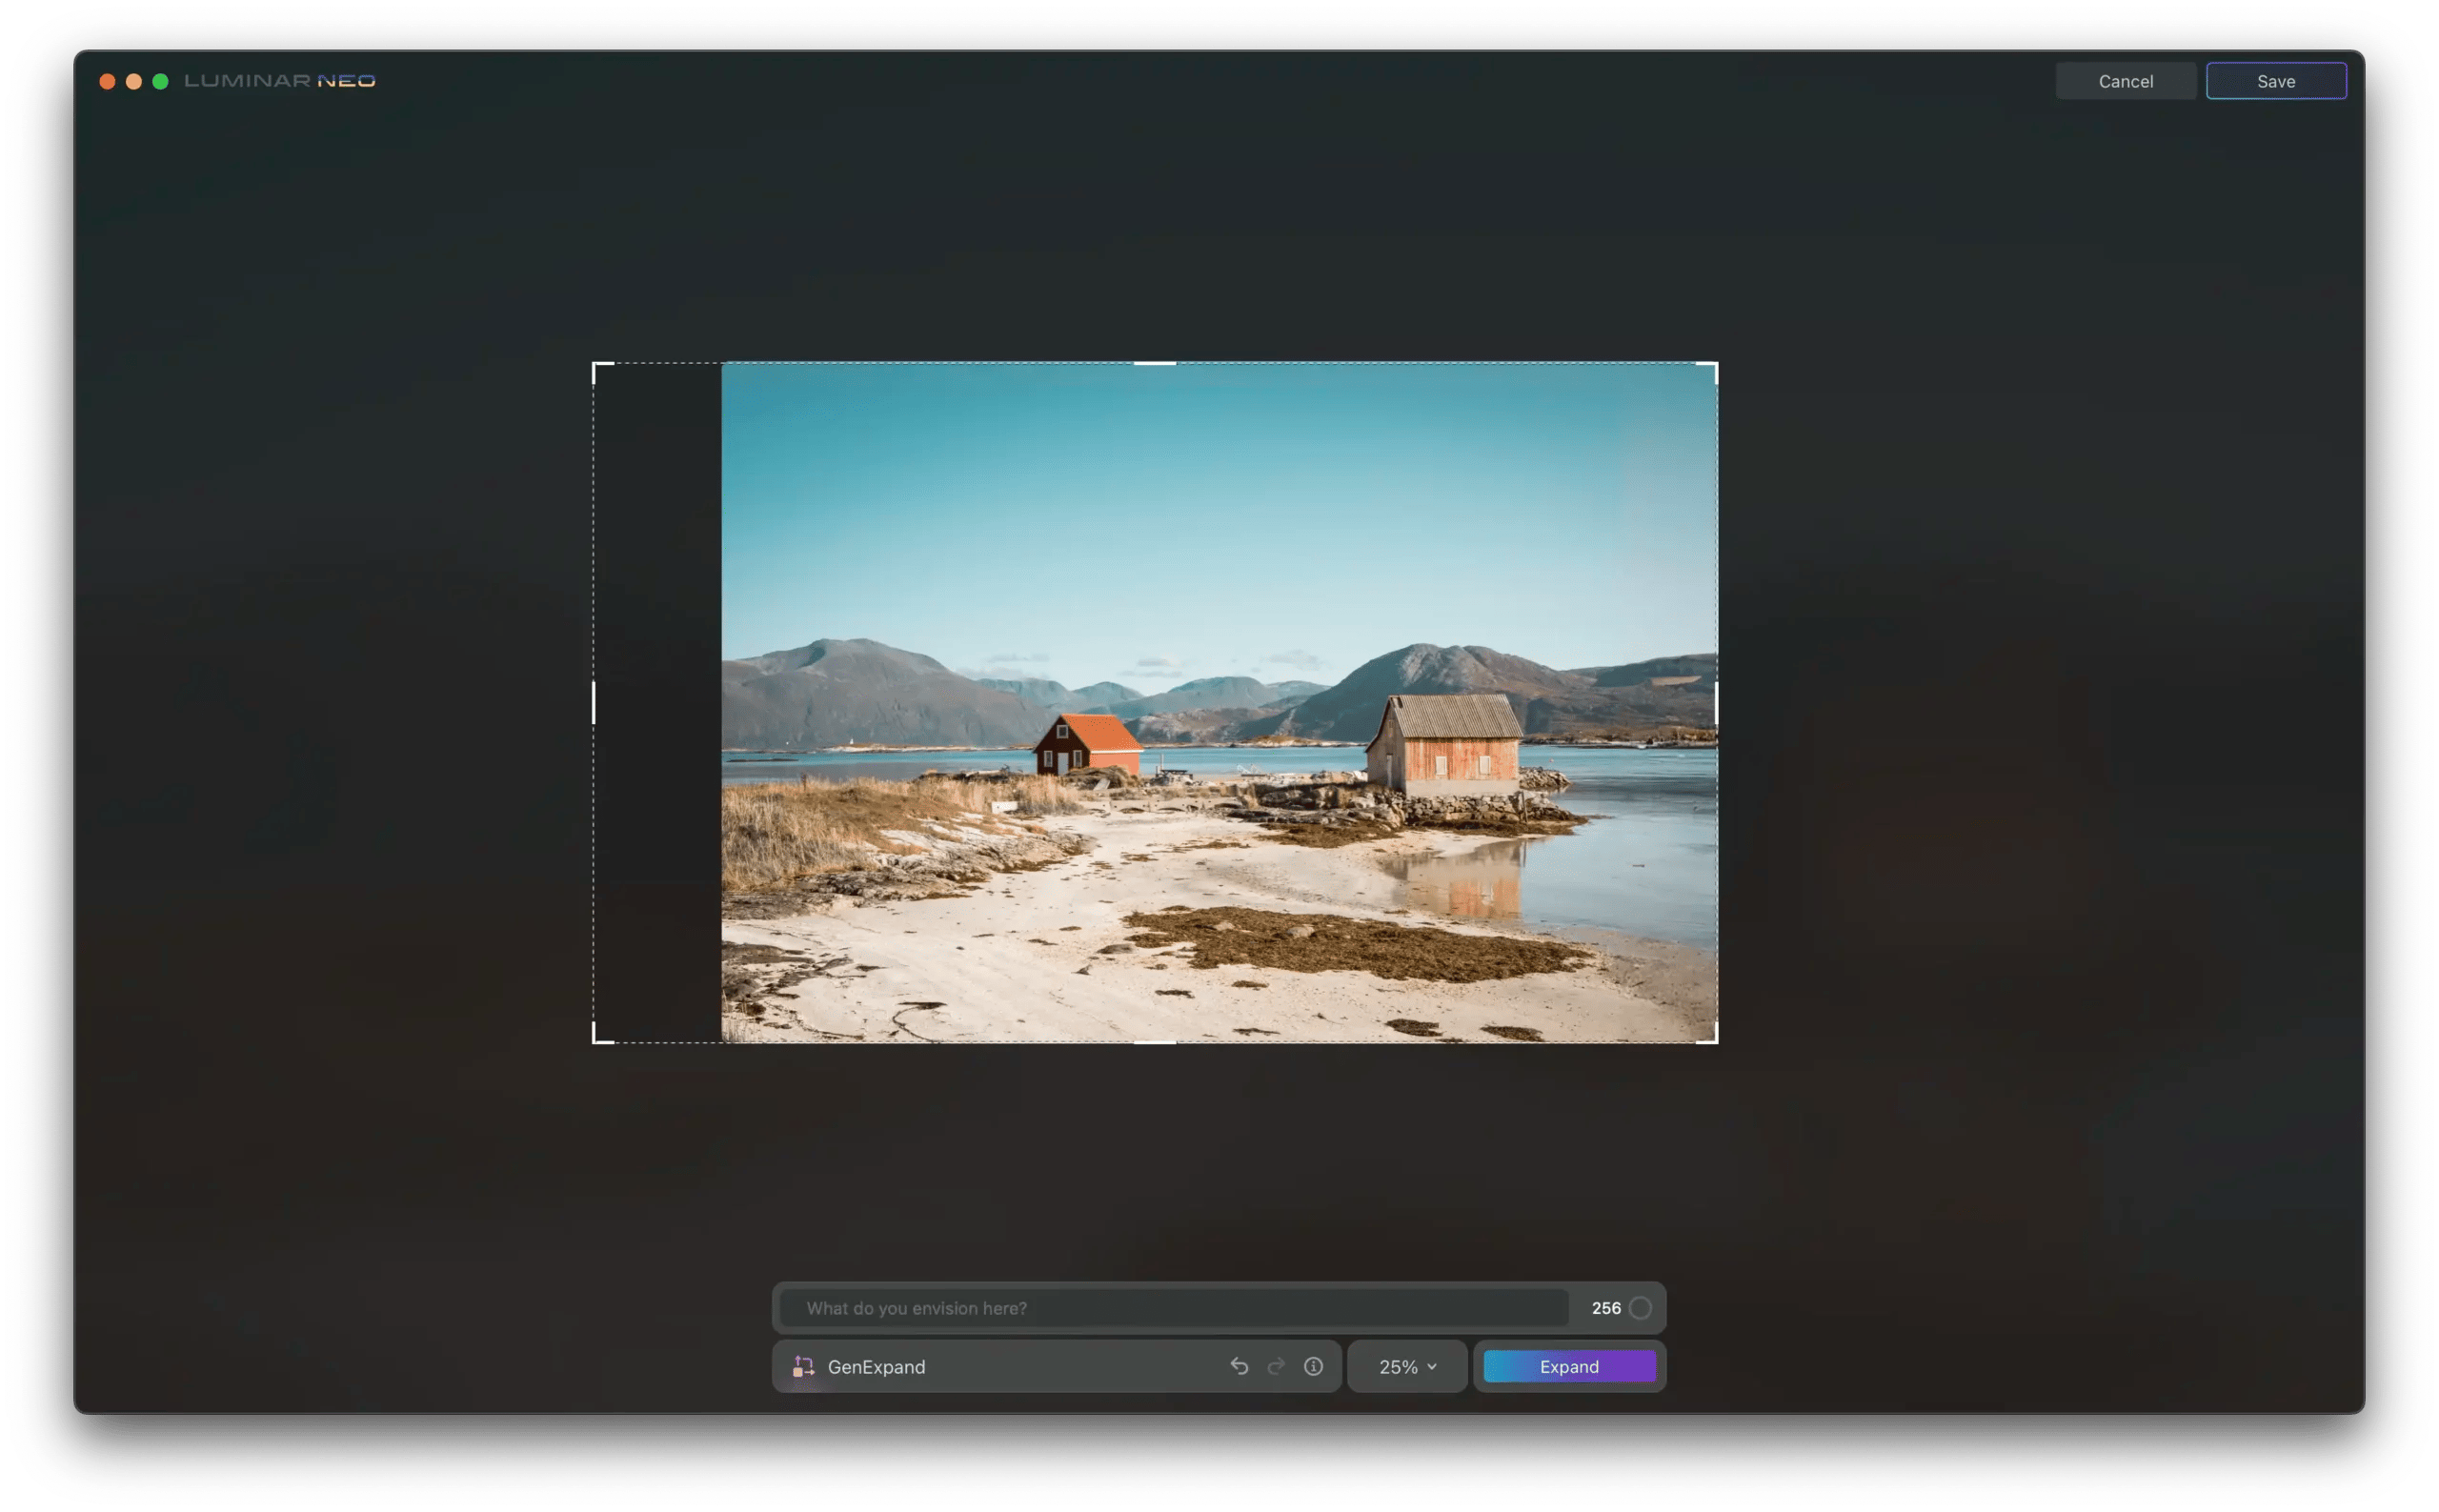
Cancel: If you opt not to implement the alterations, simply click the “Cancel” button in the top right corner. This will cancel the results of your generation.
Save: When GenExpand produces a result, click the “Save” button to confirm the changes. This will generate a new image saved in TIFF format, renamed with the GenExpand extension and added to the “Generative Creations” folder.
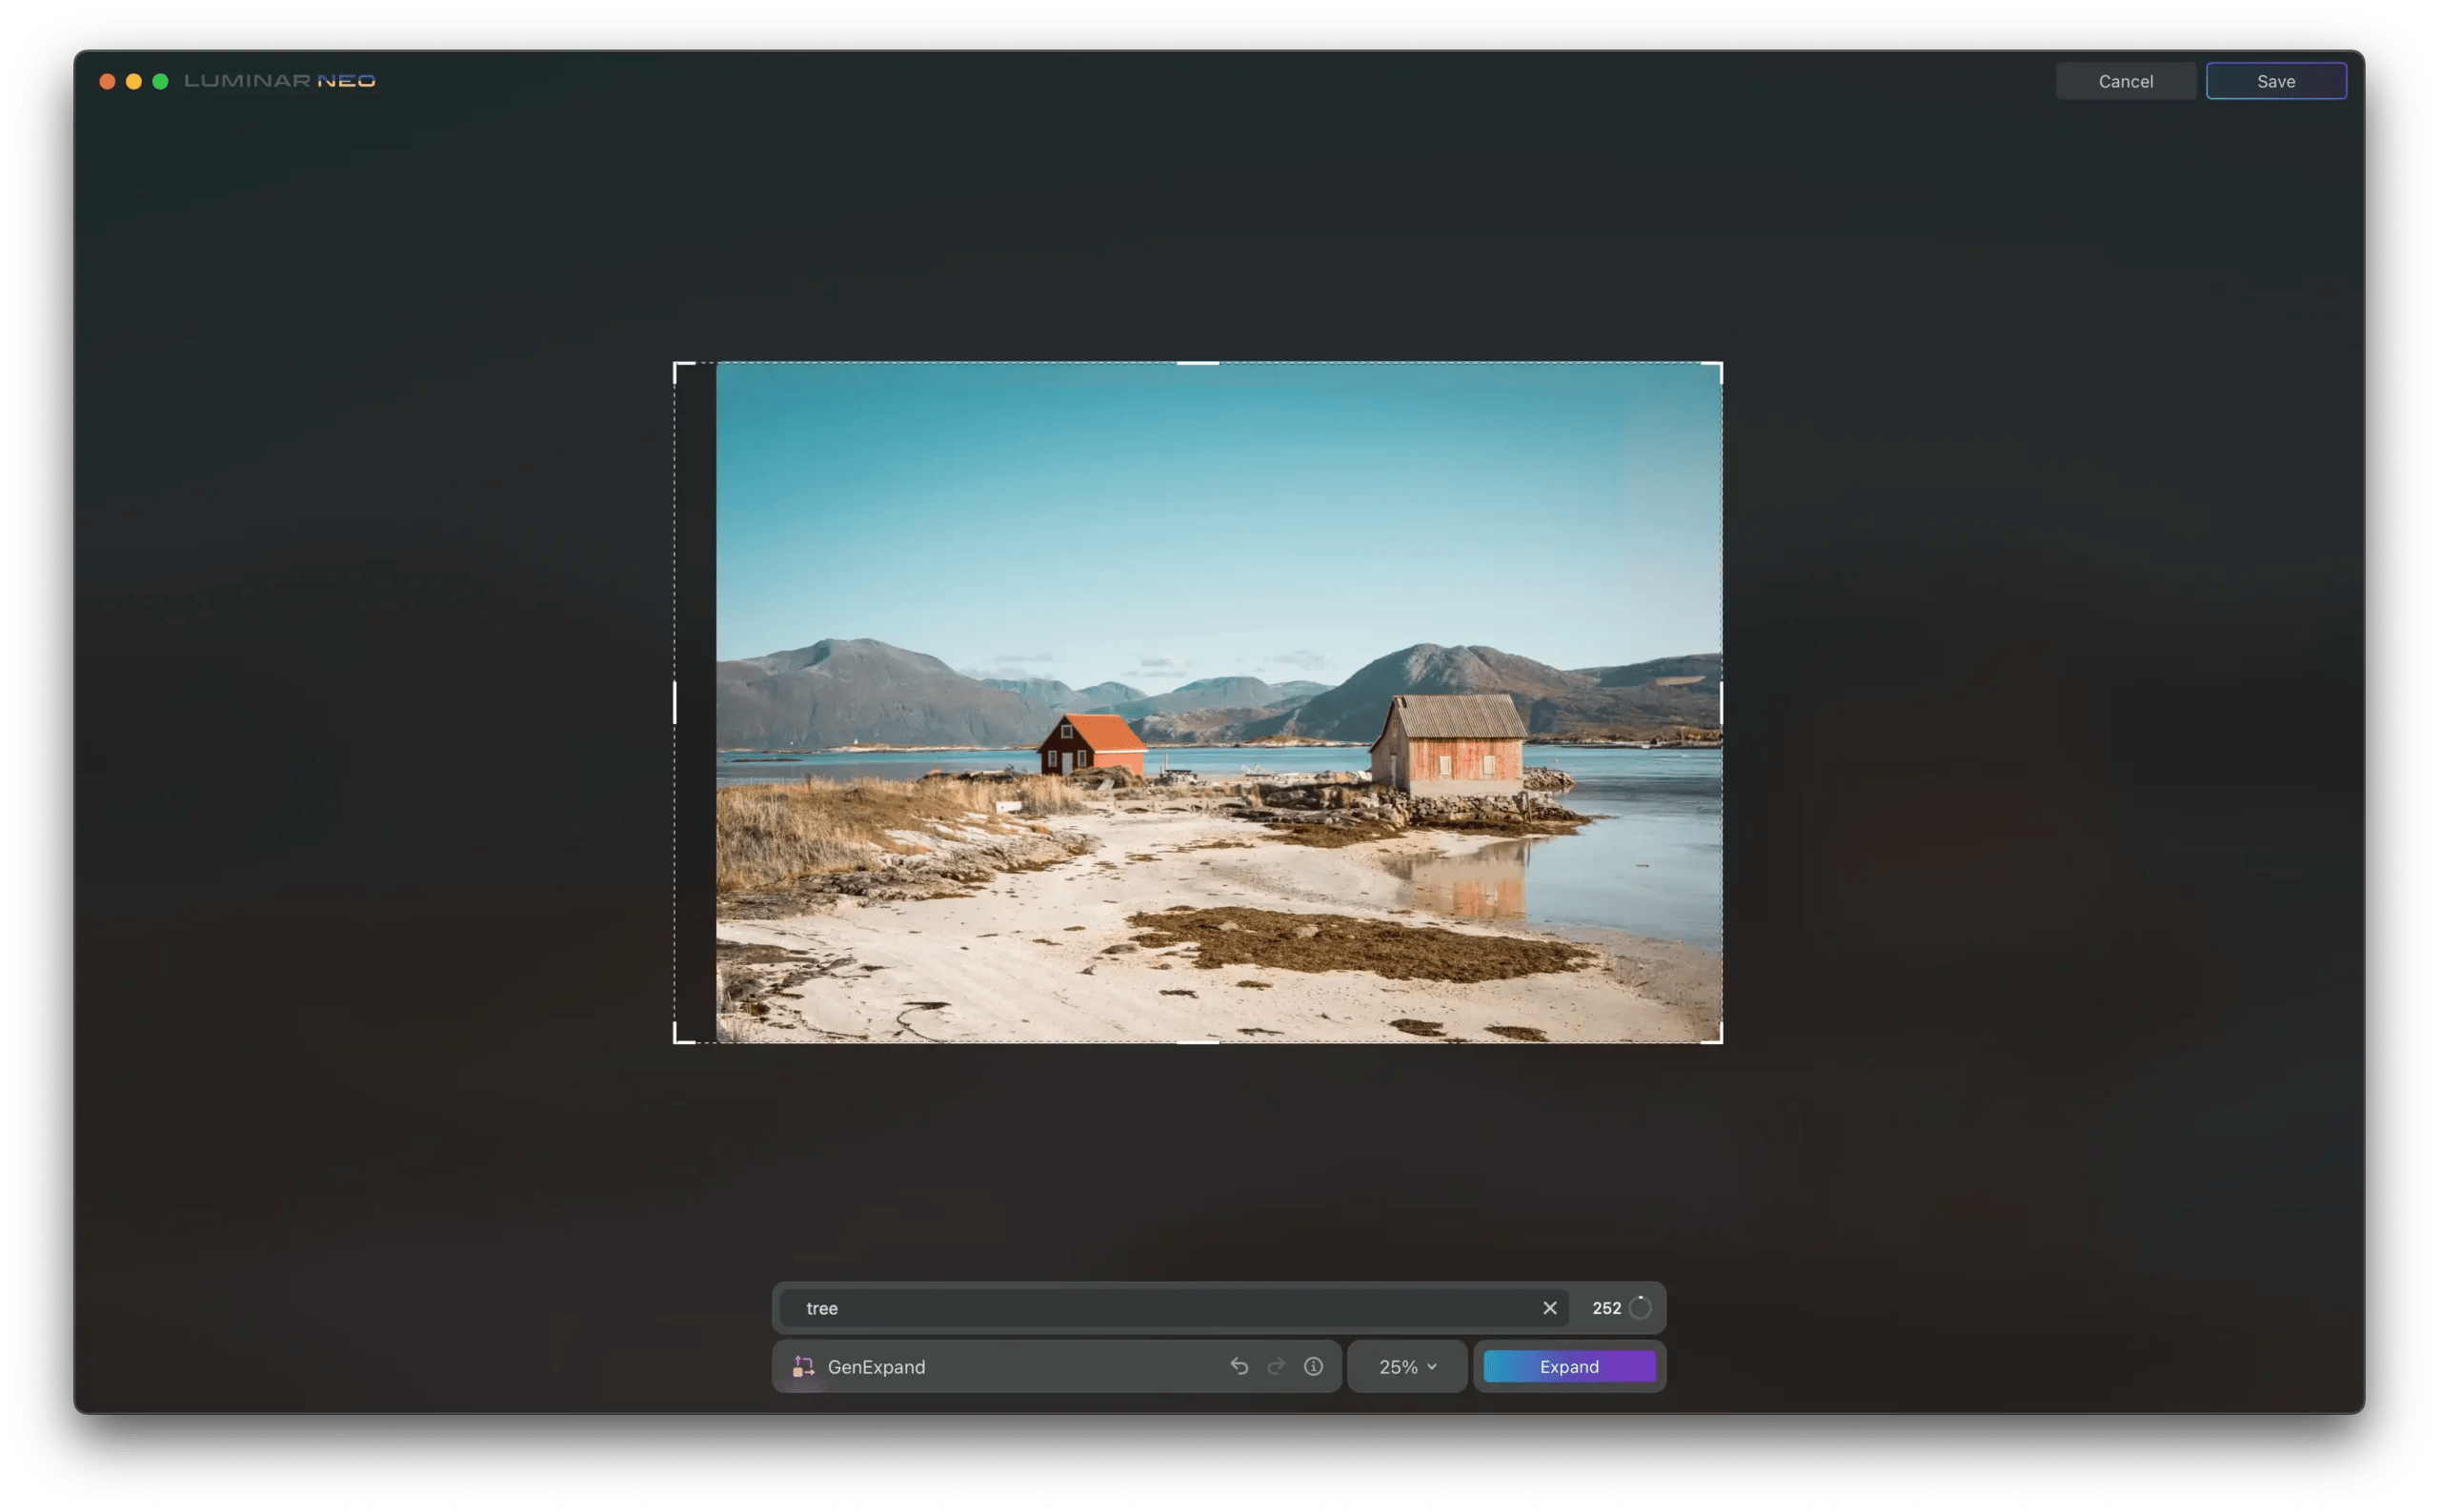
Prompt Input: Once an expansion is made, the prompt text box labeled “What do you envision here?” will appear. Enter your detailed prompt in the designated text field, using nouns, or adjectives plus nouns.
Specify precisely what you want to see, such as “blue sky” or “sandy beach,” and refrain from using verbs like “change,” “erase,” “remove,” “add,” or “create.” Direct prompts with nouns are processed better, and will help you add the object you envision in your photo, while verbs won’t contribute to the result.
If no prompt is added, GenExpand will intelligently analyze the image and anticipate how the additional space will be populated.
If you encounter an “inappropriate content” error message and are confident there’s no violation of our terms and conditions, try altering the mask or the prompt. While GenExpand may function with prompts in other languages, we recommend using English for more accurate results.
Below is a detailed, step-by-step guide for expanding your images with GenExpand.
1. Begin in the “Catalog” view and choose an image with objects you want to replace.
2. Find GenExpand among the other generative AI tools in the right panel.
3. Once the photo is open in GenExpand, drag one of the edges however wide you want it to be. Remember that you can always adjust the edges or undo your results.
4. Click “Expand” and wait for the generated results.

5. Drag another edge to balance the composition in a more harmonious way.
6. Click “Expand” and see if you’re satisfied with the results.
7. If the expanded area needs something extra — for example, an element or some texture — specify your request in the prompt bar and click “Expand” again.
8. You can regenerate and adjust the edges however you want. Once you’re satisfied with the result, click “Save.”
Check out this video of Skylum’s Director of Education and Luminar Neo expert, Vanelli, explaining how to use GenExpand on a photo he took of a church in Key West.
Vanelli’s steps are as follows:
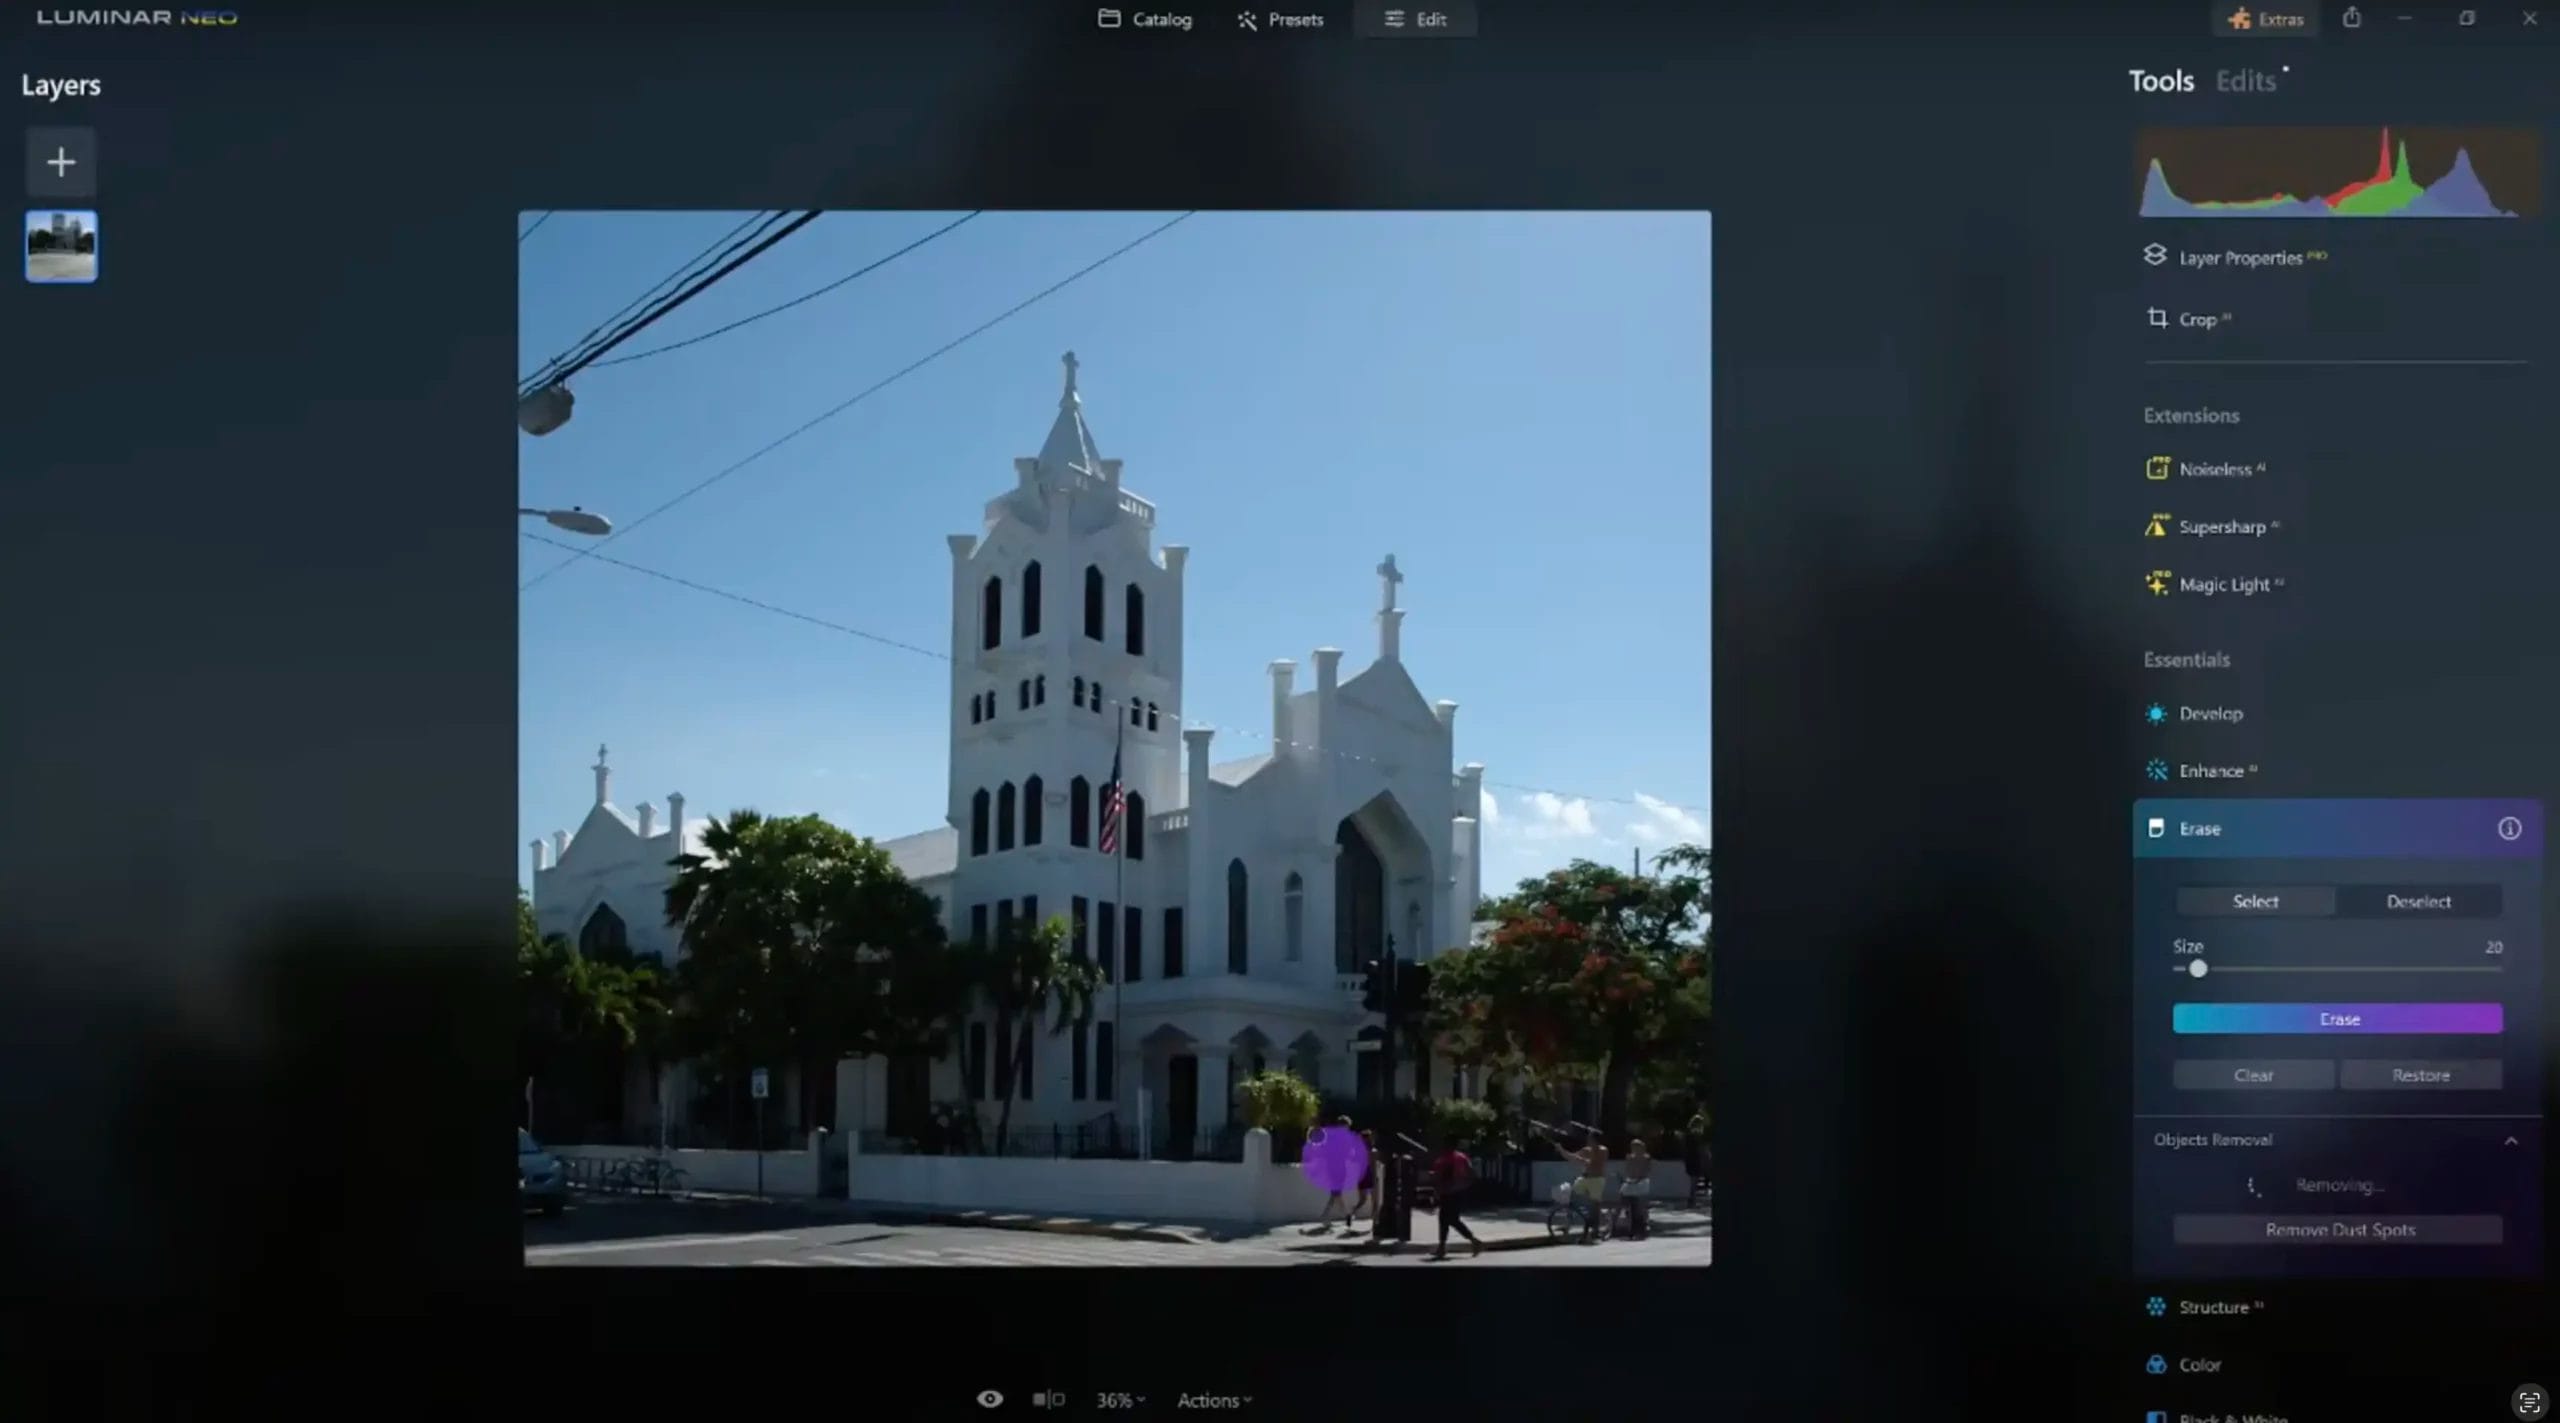
1. Open a photo and crop it so all the elements of the church you want displayed are captured within the frame.
2. Remove the distracting powerlines (using “Remove Powerlines” in the “Erase” tool), and also remove the people using GenErase, so GenExpand doesn’t think you want them added to the expanded area.
3. Open GenExpand. Drag the right edge of the photo and input the word “trees and street road” in the prompt box.
4. Drag the left edge of the photo without inputting a prompt — see what results GenExpand will come up with. Experiment with the results if you don’t like it.
5. In case you need an exact crop ratio, like 4:5, now is the time to crop your photo.
6. Enhance your photo with Presets and the “Develop” tool until you’re completely satisfied with the outcome.
If you want to achieve the best results with GenExpand, please consider the following:
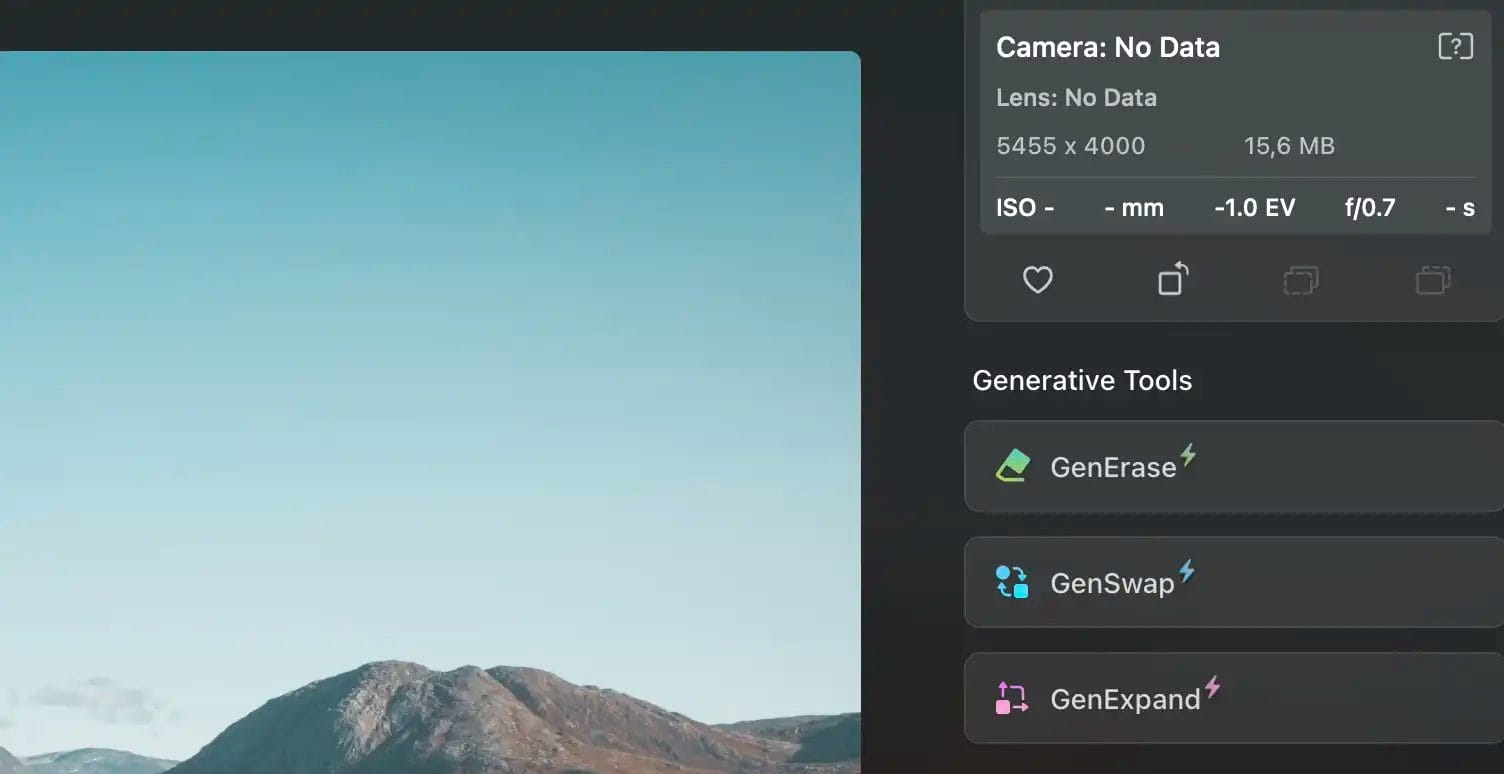
Apart from GenExpand, Luminar Neo also provides photographers with such leading-edge tools as GenErase and GenSwap.
GenErase is a next-generation Erase tool that allows you to not only remove unwanted distractions from your images but also fill those areas using content-aware technology.
You can easily achieve a focused, and distraction-free, composition with this tool. GenErase preserves the integrity of your photos by intelligently filling in the gaps with textures and other elements to match the surrounding area.
GenSwap lets you add a complementary element like a tree, stone or animal to your landscape. It helps you improve your composition with curated details, transforming your photo into a mesmerising masterpiece that manifests your vision.
You can use a prompt bar just like in GenExpand to specify what exactly you envision in your photo. You can also regenerate your results until you’re satisfied.
All three of these tools are already available for Luminar Neo subscribers, as well as the owners of the Luminar Neo lifetime license together with the 2023-24 Creative Journey Pass.
(iPhotography may make small commissions from links in this article.)

Discover TOP features in the Lightroom CC mobile app with this guide for enhancing your photo editing skills. For desktop and tablet too.

Shooting sunsets using amazing 5-in-1 magnetic lens filters from Kentfaith, the 1st choice for photo & video products.

Popular memory cards for photography – what’s the best SD card for your digital camera? Choose the right capacity and class speed in our guide
Learn the basics of photography – fast – with our FREE 60-Second Photographer online course. Each class is short and sharp with simple, actionable steps that give you immediate results.
x 30 lessons

© iPhotography™
Become a confident and competent photographer in less than 30 minutes!
Before you leave, make sure you’ve secured your FREE online photography course (worth £29.99)
Each class is just 60-seconds or less making it the fastest and easiest way to learn photography!