GenErase was released in Luminar Neo on October 26, 2023. Let’s find out all about this new generative AI tool and how you can use it to get rid of distractions in your photos and achieve results that impress. Find out more about GenErase and see it in action.
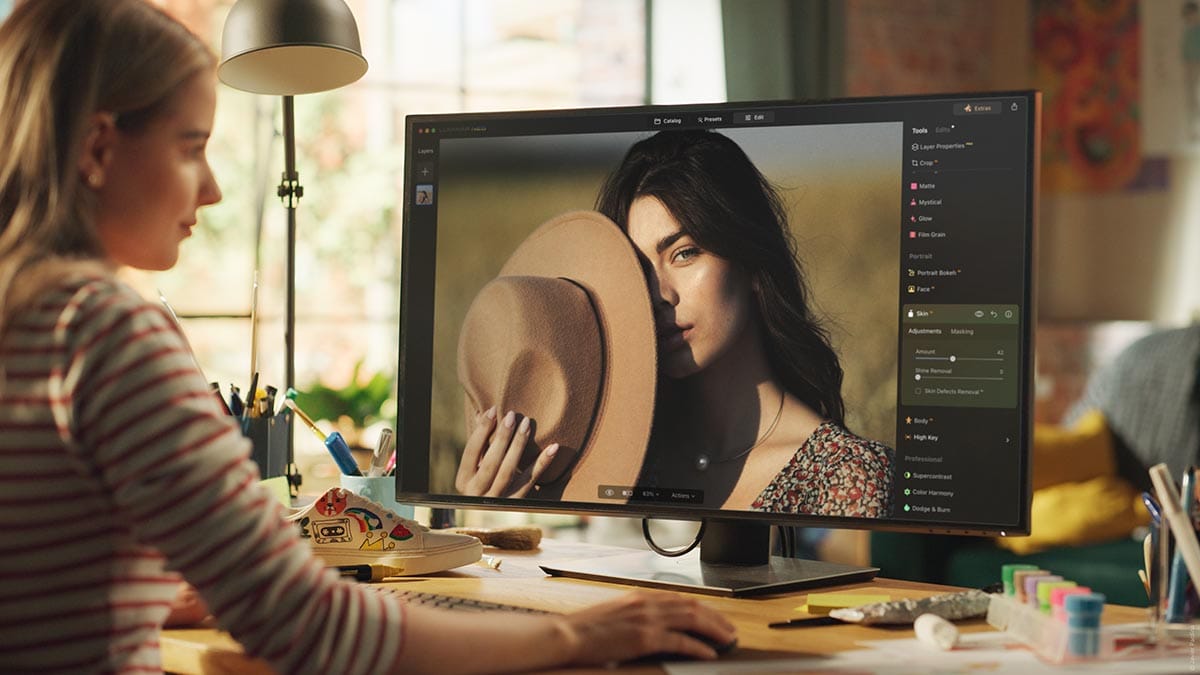
Luminar Neo is a photo editing software application developed by Skylum, available for Windows and macOS. Luminar Neo has over 20 AI-based features designed to streamline the photographer’s editing workflow, plus an expansive array of other editing tools, used for correcting imperfections and enhancing photos.
For its intuitive design and innovation, Luminar Neo has won the Red Dot Brands & Communication Design award in 2022, and the TIPA World Awards for Best Imaging Software for two years in a row: in 2022 and 2023.
It’s an easy-to-use app with an intuitive interface for photographers of all levels, including beginners and professionals. Read more about Luminar Neo on the main website
As one of the first movers in the industry, the Luminar Team is determined to lead the way toward a future where AI-assistive photo editing becomes second nature, giving photographers more exciting possibilities to enhance their photos and letting them explore the world and their creativity.
That’s why the Luminar Team is now focusing on releasing an impressive array of new AI-assistive tools designed to streamline photographers’ challenges with scene manipulation, removing unwanted objects, and expanding the canvas of a photo. Skylum believes generative AI technologies can be powerful assistants within every photographer’s toolkit and has developed its flagship product, Luminar Neo, according to these principles.


The first of the generative AI tools for Luminar Neo is GenErase. It’s a next-generation Erase tool that allows you to not only remove unwanted distractions from your images but also fill those areas using content-aware technology.
You can easily achieve a focused, and distraction-free, composition with this tool. GenErase preserves the integrity of your photos by intelligently filling in the gaps with textures and other elements to match the surrounding area.
After you mask the area you want to eliminate, GenErase uses content-aware tools to analyze your photo.
To do so, it sends your photo to the server, which is why this tool works only with an internet connection, as all edits are performed on the cloud. However, rest assured that the Luminar Team doesn’t store your images on its servers!
After that, GenErase seamlessly removes the object and replaces it with generated visuals, matching patterns, textures, and elements to make it look like it was never there in the first place. You can also click the button multiple times to get different results and see which ones best reflect your vision.

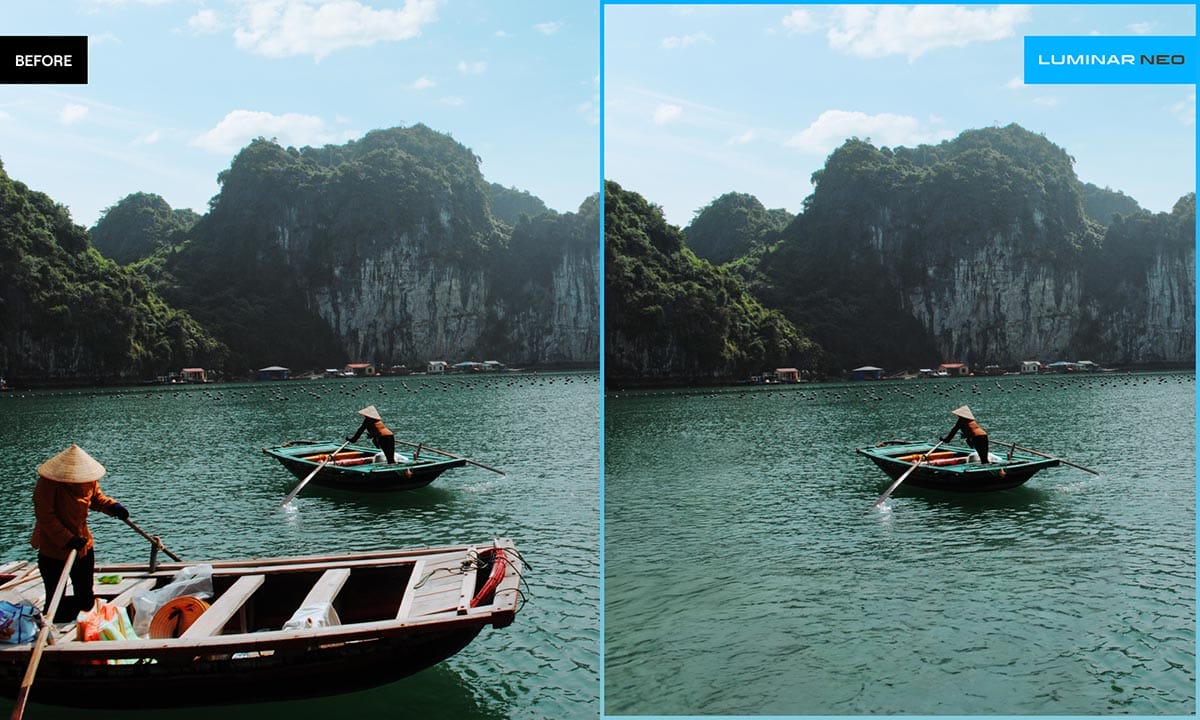
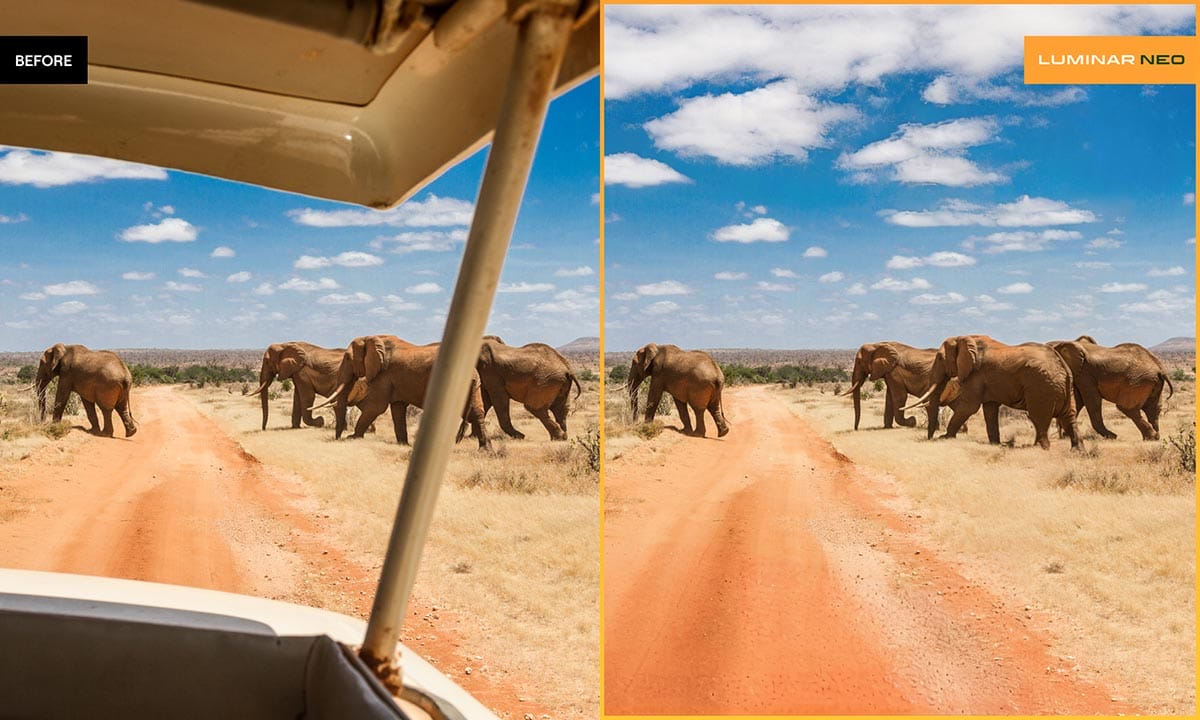
If you ever thought that your otherwise perfect shot could do without a distracting object, GenErase can help you deal with it effortlessly. Now you can remove trash, street signs, vehicles, graffiti, construction elements, random people or animals, and other secondary objects, ensuring that nothing distracts from the beauty of your composition.
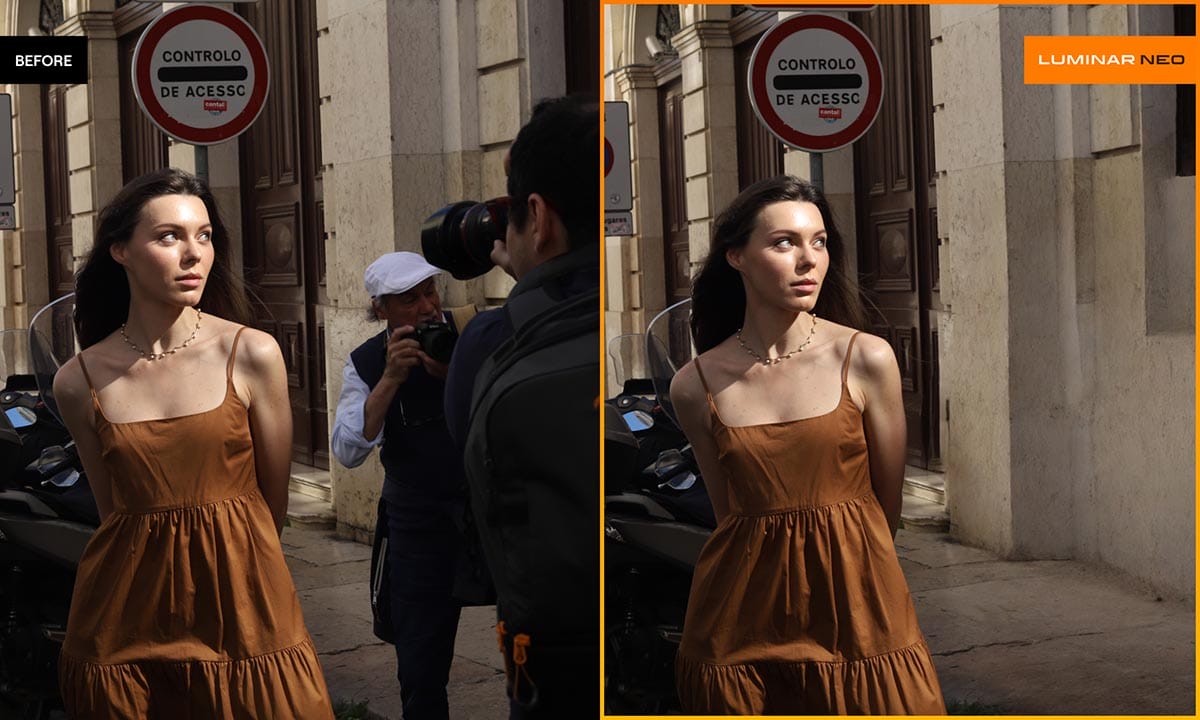
Create landscapes that truly showcase the majesty of nature without the crowds of tourists. Make sure your street photos are immaculately composed. Remove distractions from your portraits and keep the focus on the person or the object in the spotlight.
Luminar Neo already has an Erase tool. Find out the difference between these two tools, and how GenErase can amplify your editing experience.
| GenErase | Erase | |
|---|---|---|
| Erasing small objects | Yes | Yes |
| High-quality results | Yes | Yes |
| Simple interface | Yes | Yes |
| Erasing large objects | Yes | No |
| Erasing uneven texture | Yes | Yes |
| High semantic precision | Yes | No |
| Average speed | 30 sec | 0.5 sec |
| Re-erase to get different results | Yes | No |
While both of these tools are great at erasing small objects on simple surfaces and giving you high-quality results, GenErase is better at erasing large objects and uneven textures, and has higher semantic precision, meaning that it’s content-aware and generates better elements to match your photo in the best way possible.
For example, if you erase a person from a room with a flower-themed wallpaper, GenErase will fill the space with a texture that matches the design of the wallpaper, making it look realistic.
Right now GenErase takes more time on average to achieve the same job as Erase, as your photo is being sent to the server for a thorough analysis, however, GenErase is going to improve in the future. Another difference is that you can press the button multiple times to achieve different results in your photo.

Let’s examine the panel that opens when you click on the GenErase tool and find out everything you can do in this tool:
Below is a detailed, step-by-step guide for replacing undesired objects in an image with GenErase.


Before and After:


Check this video for more information.
Here are some important tips to remember when you use GenErase to get the most out of this feature and achieve the results you want.
If you’re looking for an effective and impressive solution to erase distractions from your photos, GenErase is a great choice. With its help, you can easily eliminate unwanted elements from your photos, create a better composition, and enjoy realistic results.
GenErase is already available for Luminar Neo subscribers, as well as the owners of the Luminar Neo lifetime license together with the 2023-24 Creative Journey Pass. Find out more about Luminar Neo on the main website.
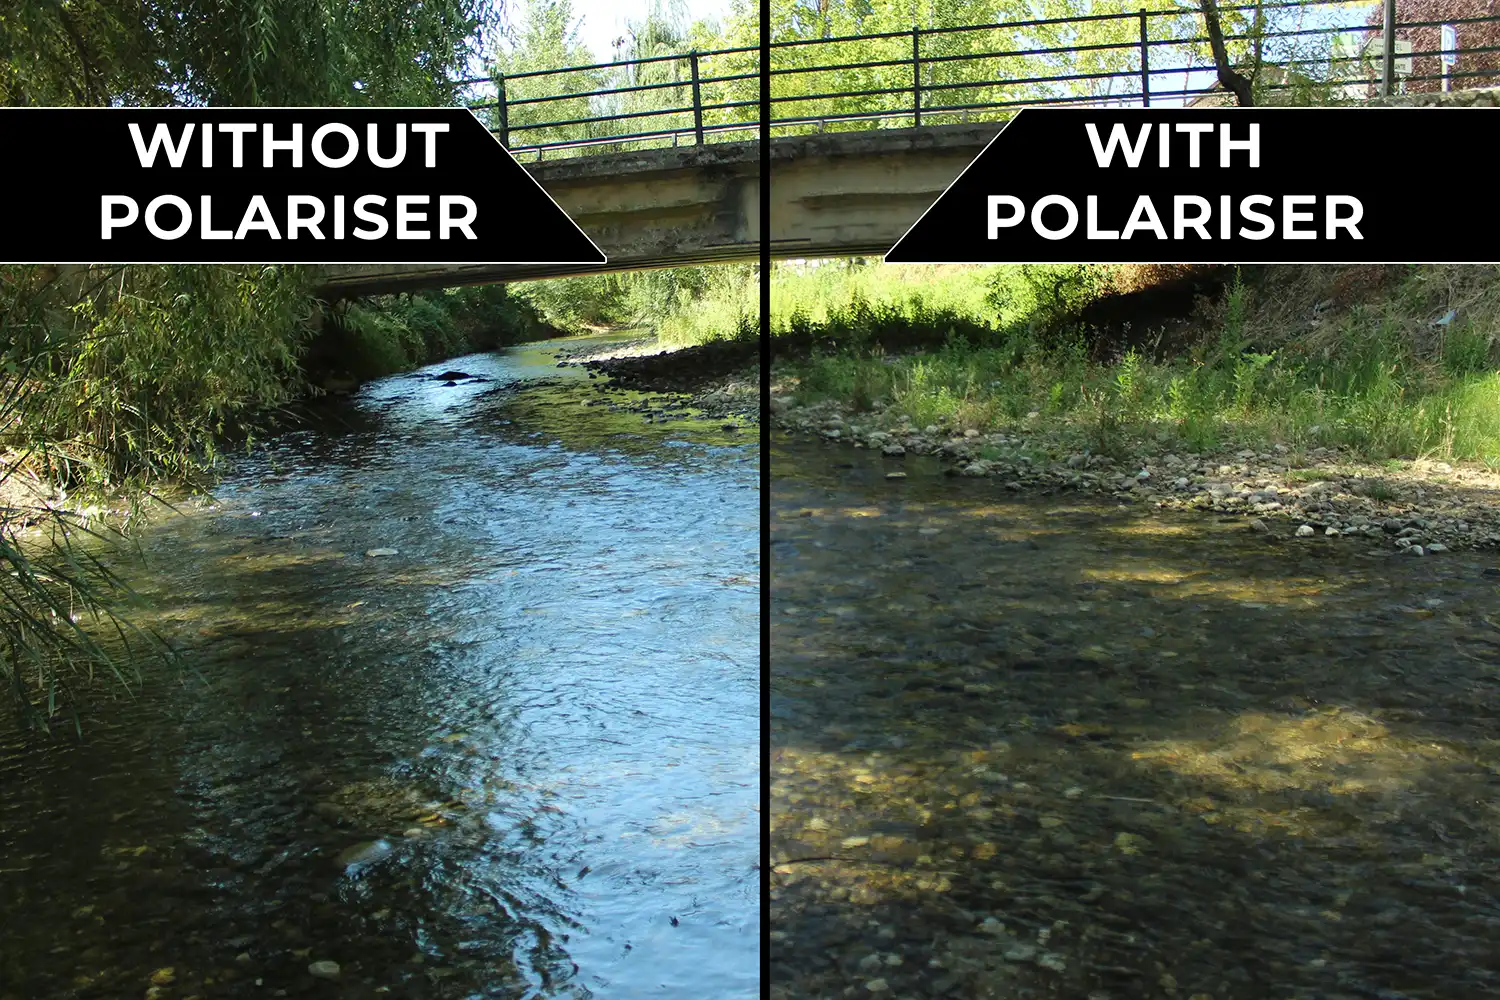
Find everything you need to know in this guide to polarizer lens filters for photography. How do they work and which is the best to buy?

Discover TOP features in the Lightroom CC mobile app with this guide for enhancing your photo editing skills. For desktop and tablet too.

Shooting sunsets using amazing 5-in-1 magnetic lens filters from Kentfaith, the 1st choice for photo & video products.
Learn the basics of photography – fast – with our FREE 60-Second Photographer online course. Each class is short and sharp with simple, actionable steps that give you immediate results.
x 30 lessons

© iPhotography™
Become a confident and competent photographer in less than 30 minutes!
Before you leave, make sure you’ve secured your FREE online photography course (worth £29.99)
Each class is just 60-seconds or less making it the fastest and easiest way to learn photography!
