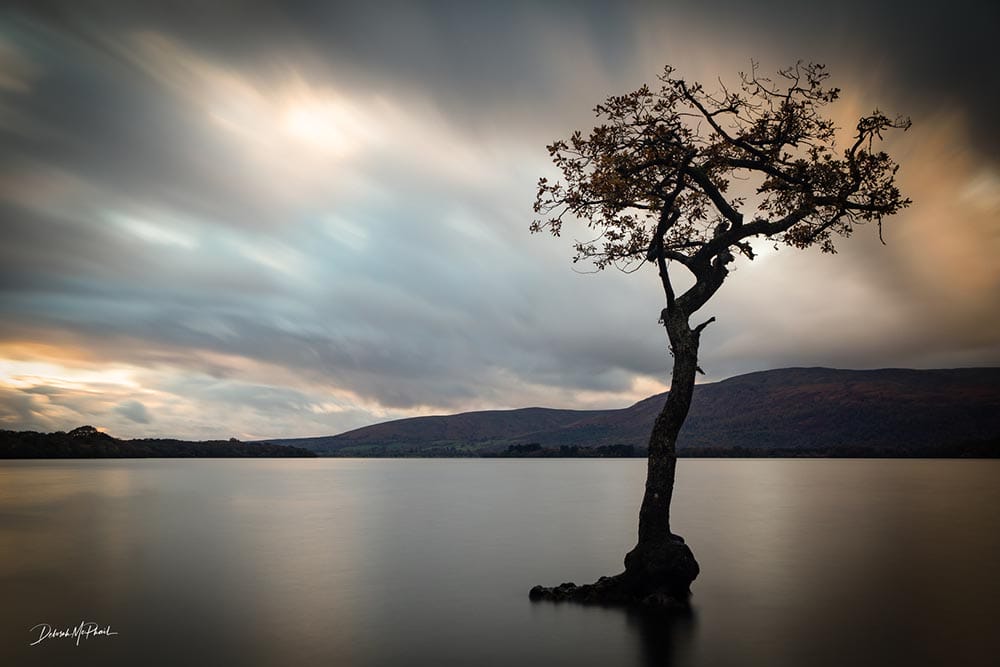
Do you want to take mind-blowing pictures that look like works of art? Then you should try long exposure photography! It’s a cool technique where you use longer shutter speeds to capture amazing effects like motion blur, light trails, and smooth water.
If you’re new to long exposure photography, don’t worry! I’ve got 20 tips to help you get started.
Before you head out, check the weather and find cool locations to shoot. Look for interesting things to capture and pay attention to the weather conditions to get the right mood.
A good tripod is essential for keeping your shots sharp. Look for one that’s sturdy but not too heavy. Make sure it’s easy to adjust and holds your camera securely. You can even hang your camera bag on it for extra stability.
This helps prevent camera shake when you take the picture. Get a remote that connects to your camera so you can press the shutter without touching it. If you don’t have one, you can use the self-timer function on your camera.
Switch your camera to Manual (M) mode to have full control over the settings. This lets you adjust the shutter speed, aperture, and ISO to get the effect you want. Manual mode is great for long exposures.
Neutral Density (ND) filters help control the amount of light that enters your lens. They’re super useful for long exposures. Get a good quality one with different densities to match different lighting conditions.
Use your camera’s light meter or a handheld one to figure out the correct exposure settings. Aim for a balanced exposure (with the exposure scale at 0) without too much brightness or darkness. Adjust the aperture, shutter speed, and ISO accordingly.
RAW files capture more information than JPGs, so they’re great for editing later. They give you more control over things like white balance and exposure without losing quality.
Bulb mode lets you control the length of your exposure for really long shots. Use a remote shutter release to keep the shutter open for a while, especially if you want exposures longer than 30 seconds.
Think about how you want your picture to look. Use the rule of thirds, leading lines, and symmetry to make it interesting. Try different angles and points of focus to add depth and make your shot stand out.
To make your picture even better, include something interesting in the foreground. Rocks, trees, or other objects can add depth and lead the viewer’s eye into the scene.
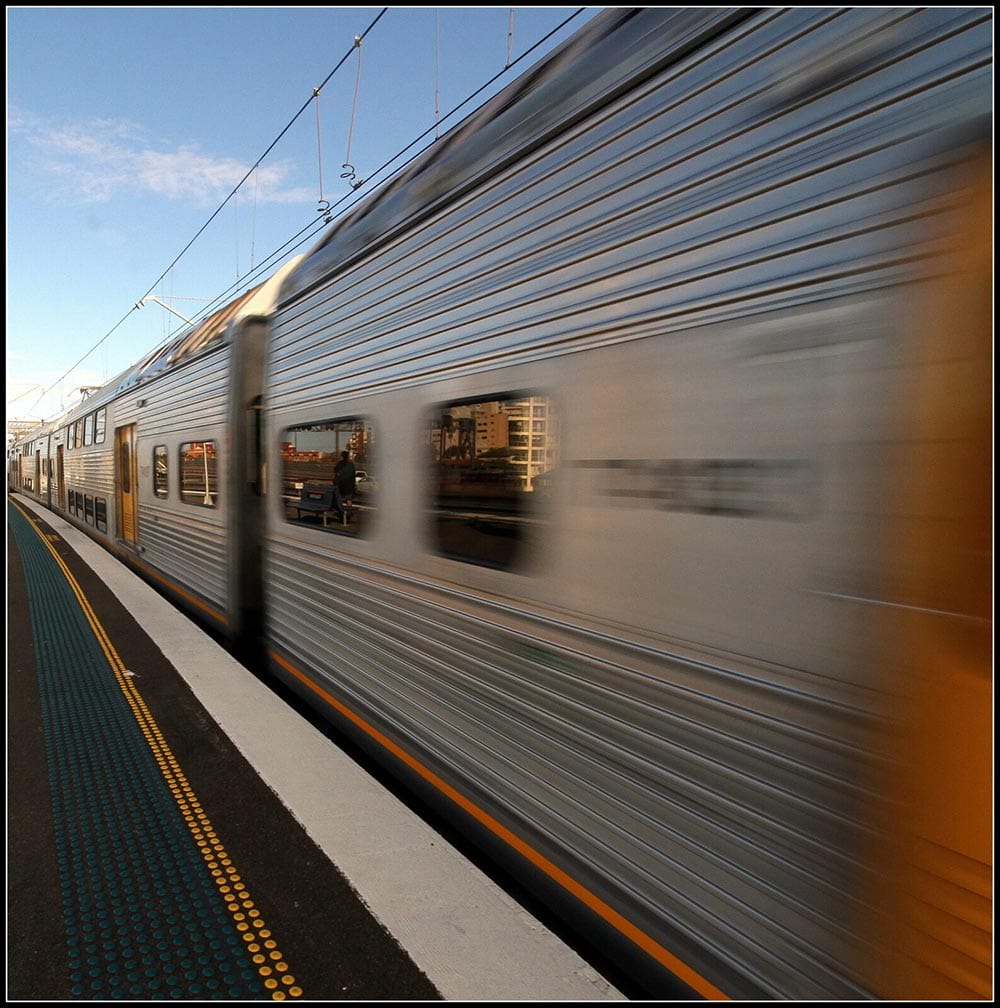
Long exposure lets you experiment with different shutter speeds to get different effects. Use slower speeds, like 30 seconds or more, to capture smooth water or light trails. Faster speeds, like a few seconds, can create cool effects in dynamic scenes.
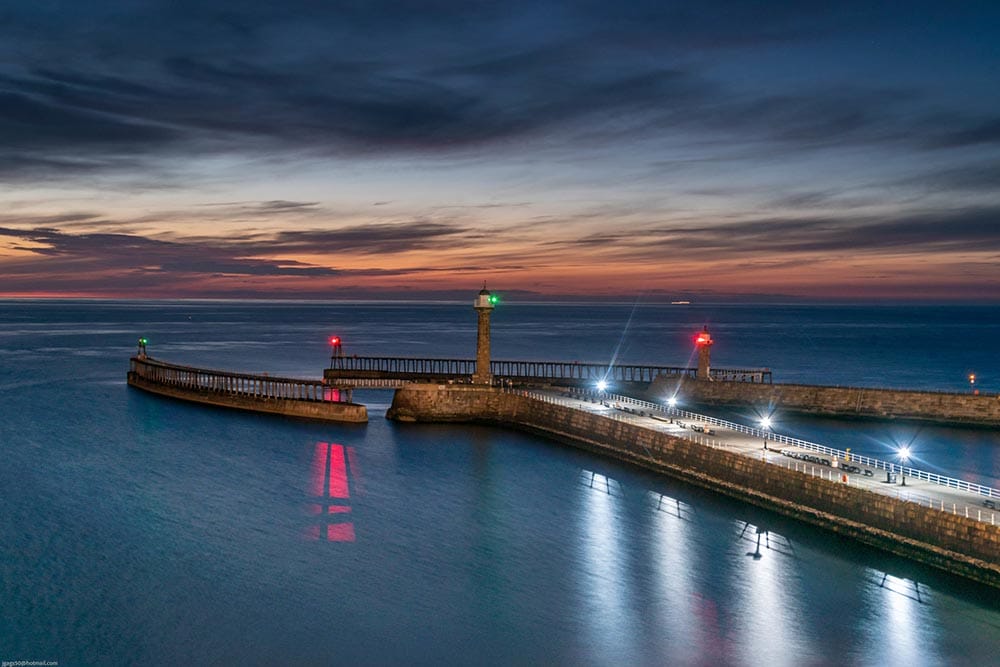
While shutter speed is important, the aperture also plays a role. A smaller aperture, like f/11 or f/16, keeps everything in focus. Just be careful not to use extremely small apertures that might make your picture look fuzzy.
The time just after sunrise or before sunset, called the Golden Hour, has amazing lighting for long exposures. It adds a warm, soft glow to your pictures. Plan your shoots around this time for extra beauty.
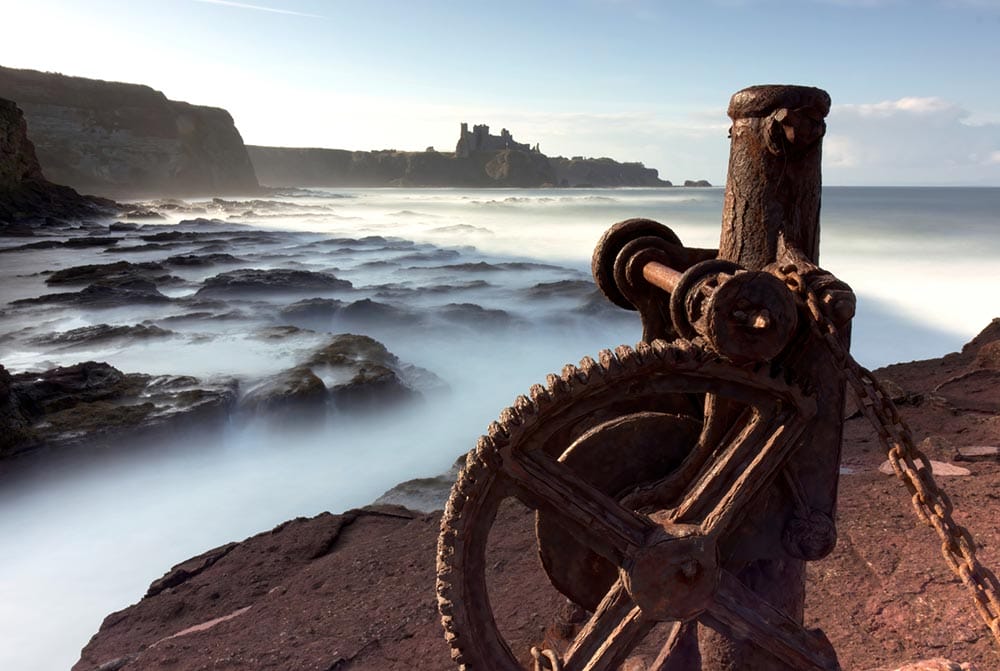
Water is a fantastic subject for long exposures. Try capturing rivers, waves, or lakes to show motion and serenity in your pictures. Adjust your shutter speed to get the effect you want.
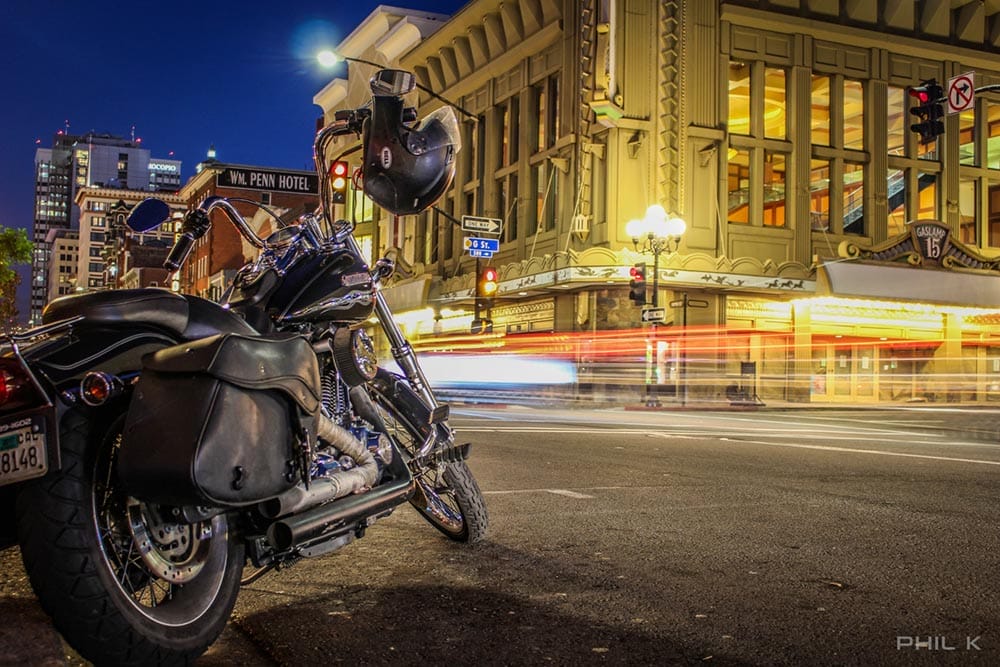
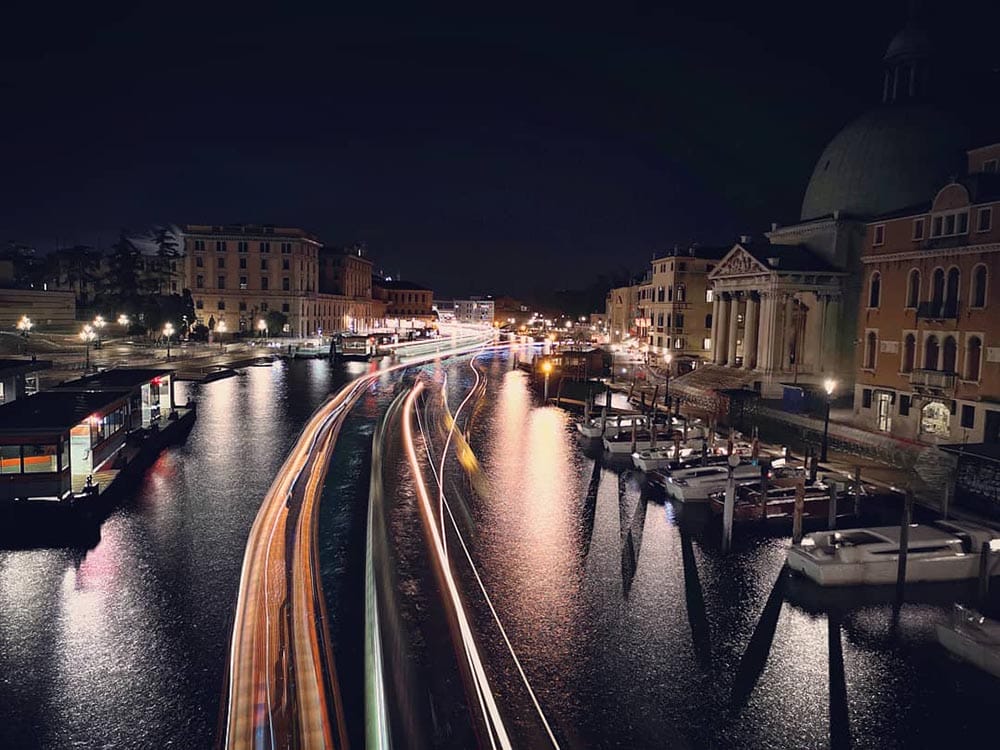
Urban environments offer great opportunities to capture cool light trails. Stand near busy streets in the evening when car lights create streaks of light. Use longer exposures to capture multiple cars passing by for dynamic shots.
Don’t be afraid to merge multiple shots together in editing to create unique effects. It’s like combining puzzle pieces to make something awesome. You can use software like Photoshop to do this.
Make sure your subject is in focus before taking your long exposure shots. You can use autofocus or manual focus, depending on what you prefer. Zoom in on your subject using the live view on your camera to be sure it’s sharp.
Dust or dirt on your camera’s sensor can ruin your pictures. Clean it regularly using a sensor-cleaning kit or take it to a professional if you’re not sure. Clean sensor equals clean pictures!
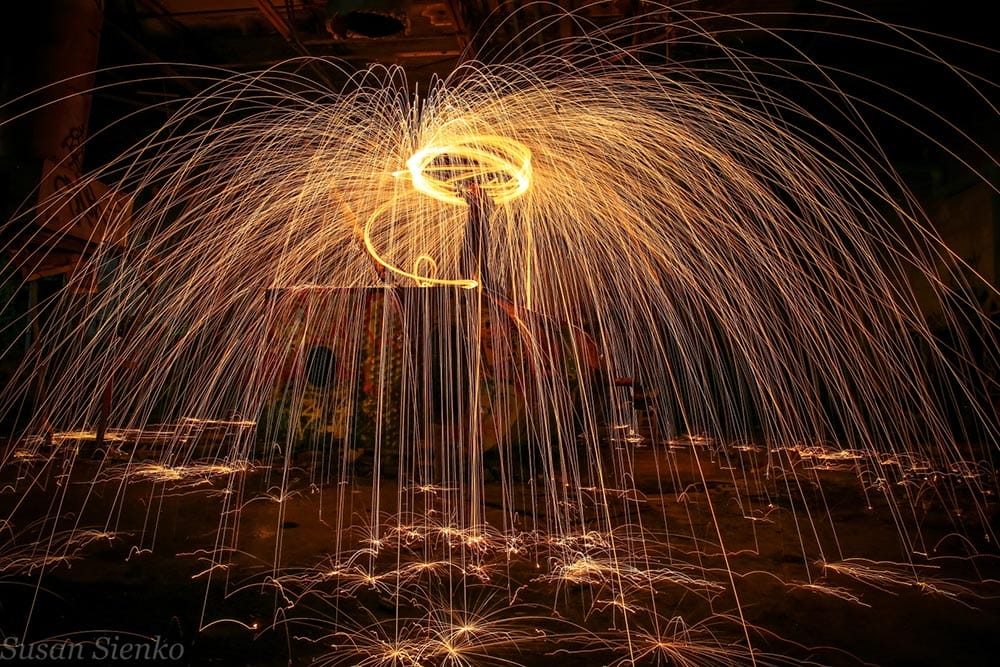
Light painting is a super creative way to add interesting elements to your shots. You can use flashlights or other light sources to paint with light during a long exposure. Try different patterns and colours to make your pictures pop.
Long exposure photography takes time and practice. Don’t worry if every shot isn’t perfect. Keep trying new things and learning from your experiences. You’ll get better and develop your own unique style.
Now you’re all set to create amazing long exposure photos! Remember to plan, use the right equipment, and get creative with your compositions.
Be patient and enjoy the journey of improving your skills. Grab your camera and go explore the world with your imagination!
Explore 11 famous photos in politics and society that became symbols of change. From elections and protests to tragedy and truth.
Photographers elevate your photo editing with Adobe Photoshop Express, a beginner’s guide for spectacular results.
Find everything you need to know in this guide to polarizer lens filters for photography. How do they work and which is the best to buy?
Learn the basics of photography – fast – with our FREE 60-Second Photographer online course. Each class is short and sharp with simple, actionable steps that give you immediate results.
x 30 lessons

© iPhotography™
Become a confident and competent photographer in less than 30 minutes!
Before you leave, make sure you’ve secured your FREE online photography course (worth £29.99)
Each class is just 60-seconds or less making it the fastest and easiest way to learn photography!