Are you looking to elevate your photo editing skills to the next level? Look no further than DxO PhotoLab, a powerful and versatile software that can help you transform your photos into stunning works of art.
In this comprehensive guide, I’ll take you through the ins and outs of DxO PhotoLab, providing you with step-by-step instructions and valuable tips to make the most of this remarkable tool.
Whether you’re a professional photographer or an enthusiastic hobbyist, DxO PhotoLab has something to offer everyone.
Before we dive into the world of DxO PhotoLab, let’s start by understanding the basics and getting the software up and running on your computer.
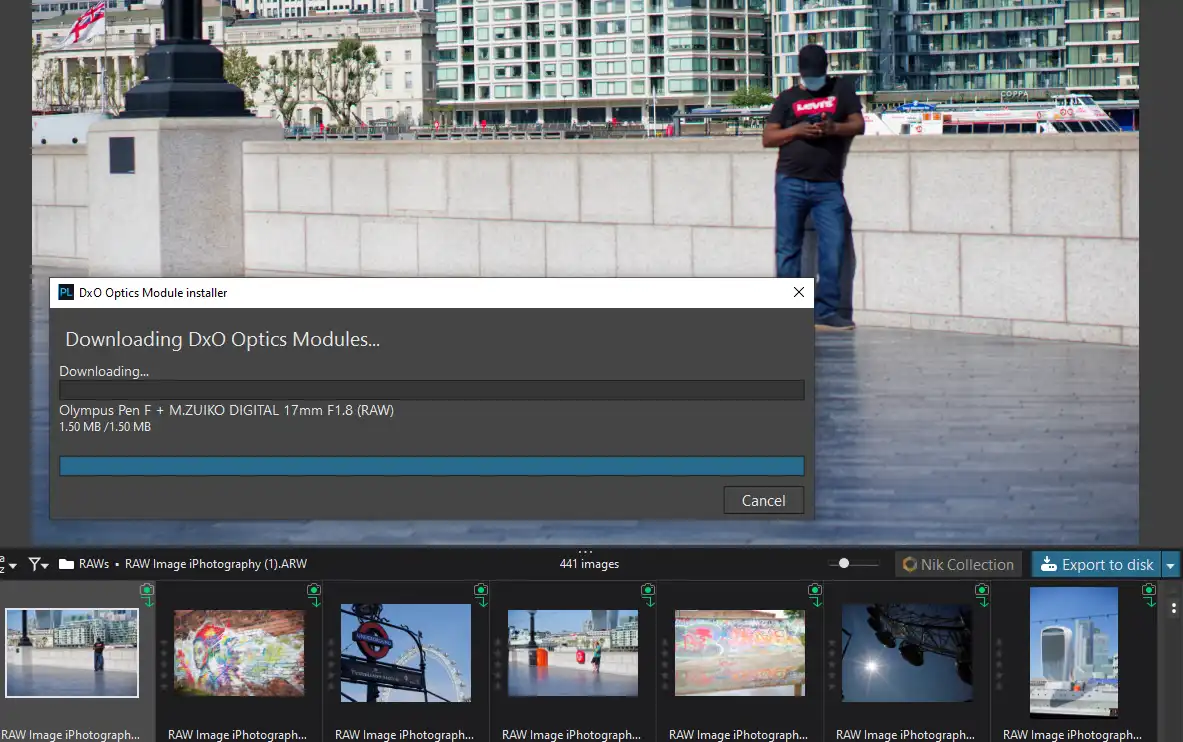
To begin your journey with DxO PhotoLab, you first need to install the software on your computer. Visit the official DxO website, download the latest version of the software, and follow the installation instructions provided. It’s a straightforward process that should only take a few minutes.
Once DxO PhotoLab is installed, you’ll be prompted to activate your licence or start a free trial. Ensure you have a stable internet connection for this step. After activation, you’re ready to launch the software and begin your photo editing adventure.
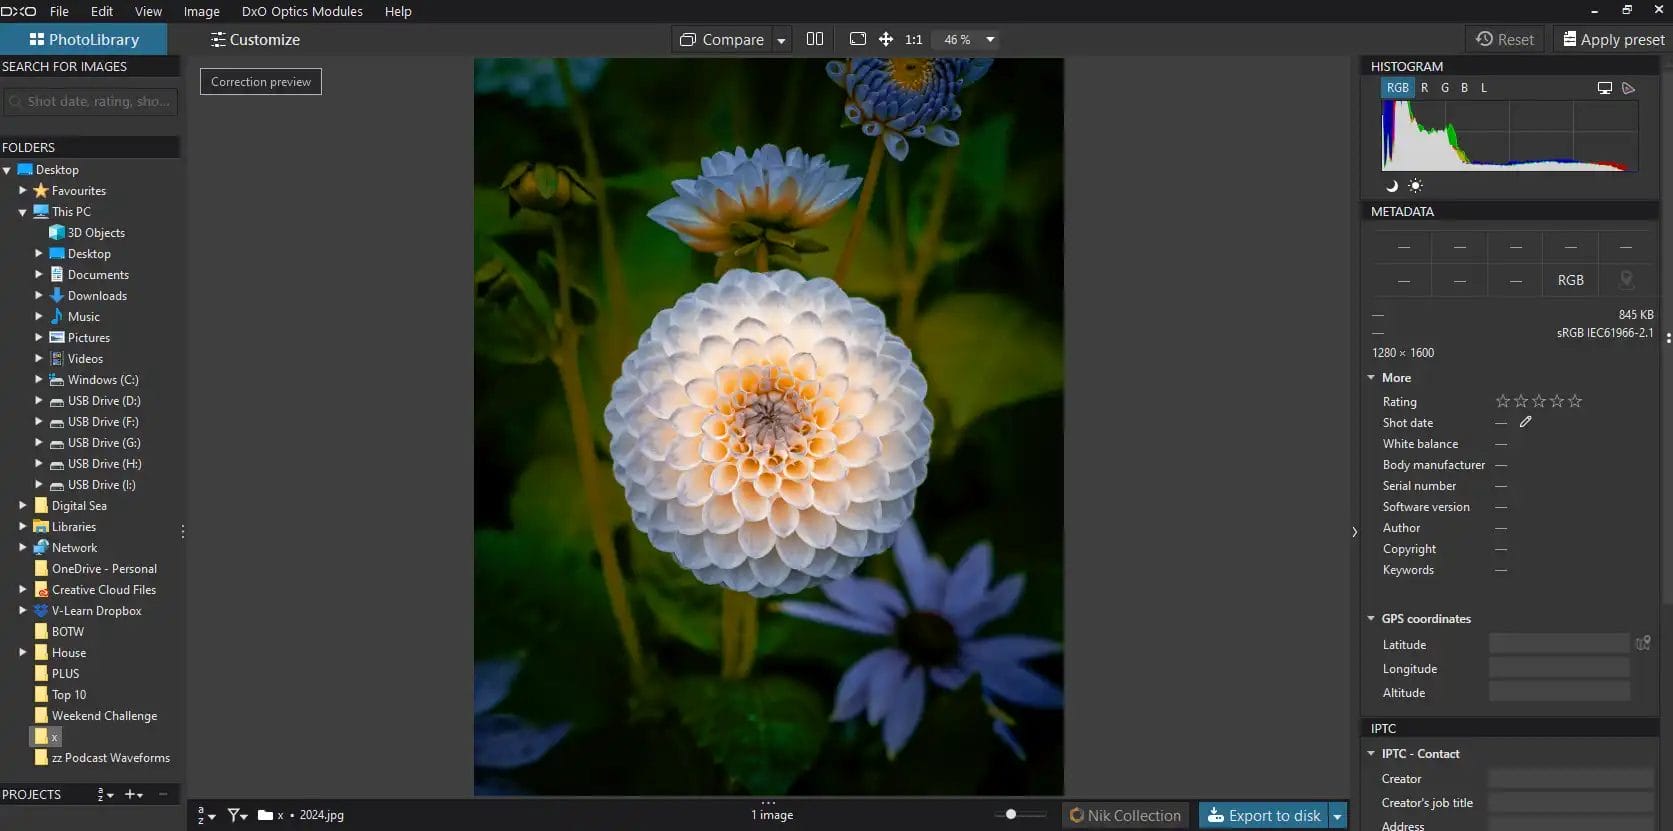
Now that DxO PhotoLab is installed, it’s time to import your photos. Click on the “Import” button or drag and drop your images into the software. DxO PhotoLab supports a wide range of file formats, including RAW, JPEG, and TIFF, ensuring compatibility with most cameras.
Your imported photos will be organised into a convenient workspace, making it easy to access and edit them. You can also create folders or albums to further organise your images based on your preferences or projects.
DxO PhotoLab offers a plethora of editing tools that can help you enhance your photos and achieve your creative vision. In this section, we’ll explore some of the key features and how to use them effectively.
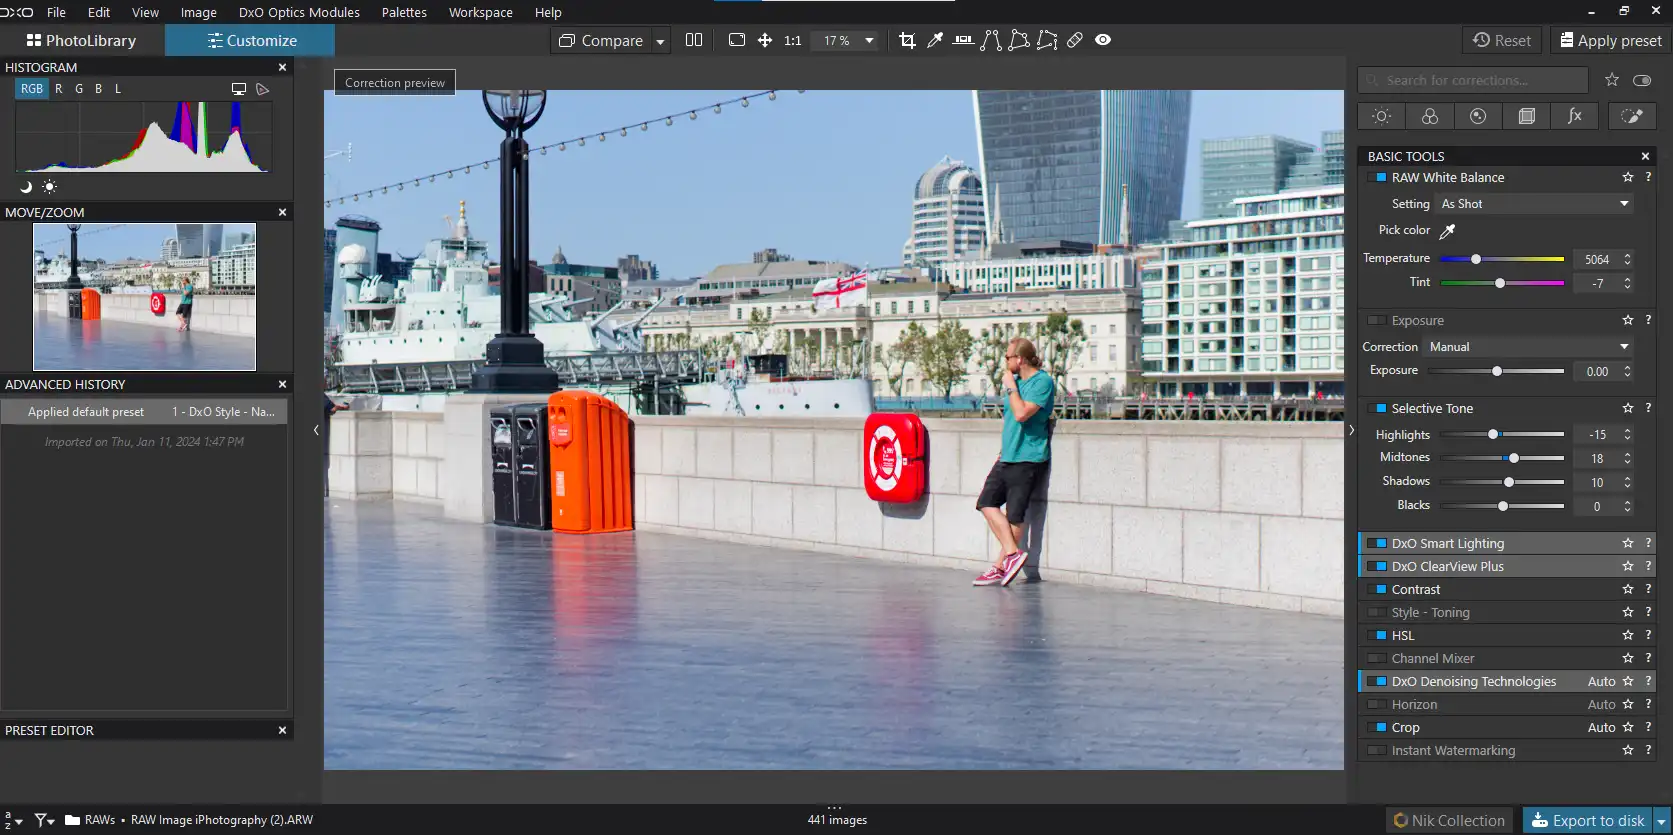
Global adjustments in DxO PhotoLab allow you to make broad changes to your image. This includes basic adjustments like exposure, contrast, and colour temperature. To get started, select the image you want to edit and navigate to the “Essential Tools” panel on the right-hand side.
Here, you’ll find sliders for various adjustments. For example, if your image is underexposed, simply move the exposure slider to the right to brighten it up. Likewise, the contrast slider can help you fine-tune the overall contrast of your photo. These global adjustments are an excellent starting point for your edits.
Local adjustments in DxO PhotoLab give you precise control over specific areas of your image. To access these tools, click on the “Local Adjustments” tab, and you’ll find options like “Brush,” “Graduated Filter,” and “Control Points.”
For example, if you want to brighten only a specific part of your photo, use the “Brush” tool to paint over that area, and then adjust the exposure slider. Alternatively, you can use “Control Points” to target specific elements, such as a person’s face or a building, for more precise adjustments.
Now that you’re familiar with the basics, let’s explore some advanced techniques that can take your photo editing skills to the next level with DxO PhotoLab.
DxO PhotoLab is renowned for its Prime Noise Reduction feature, which excels at reducing noise in high-ISO images. To utilise this powerful tool, select the image with noise issues and navigate to the “DxO Prime” tab in the “Detail” panel.
Activate the “Prime Noise Reduction” checkbox, and DxO PhotoLab will work its magic to significantly reduce noise while preserving fine details. This feature is especially valuable for low-light and night photography.
DxO PhotoLab’s Smart Lighting tool is a game-changer when it comes to enhancing dynamic range and recovering details in overexposed or underexposed areas. In the “Light” panel, you’ll find the “Smart Lighting” slider.
Simply adjust the slider to the right to recover highlights or to the left to reveal details in shadows. This tool can rescue images that may have initially appeared irredeemable due to extreme lighting conditions.


Efficiency is key in photo editing, and DxO PhotoLab offers several features to streamline your workflow.
DxO PhotoLab comes with a variety of presets that can instantly transform your photos with a single click. These presets are a great starting point for your edits and can be found in the “Presets” tab.
Moreover, you can create your own custom presets to apply your preferred adjustments to multiple images at once. This feature can save you a significant amount of time, especially when editing large batches of photos.
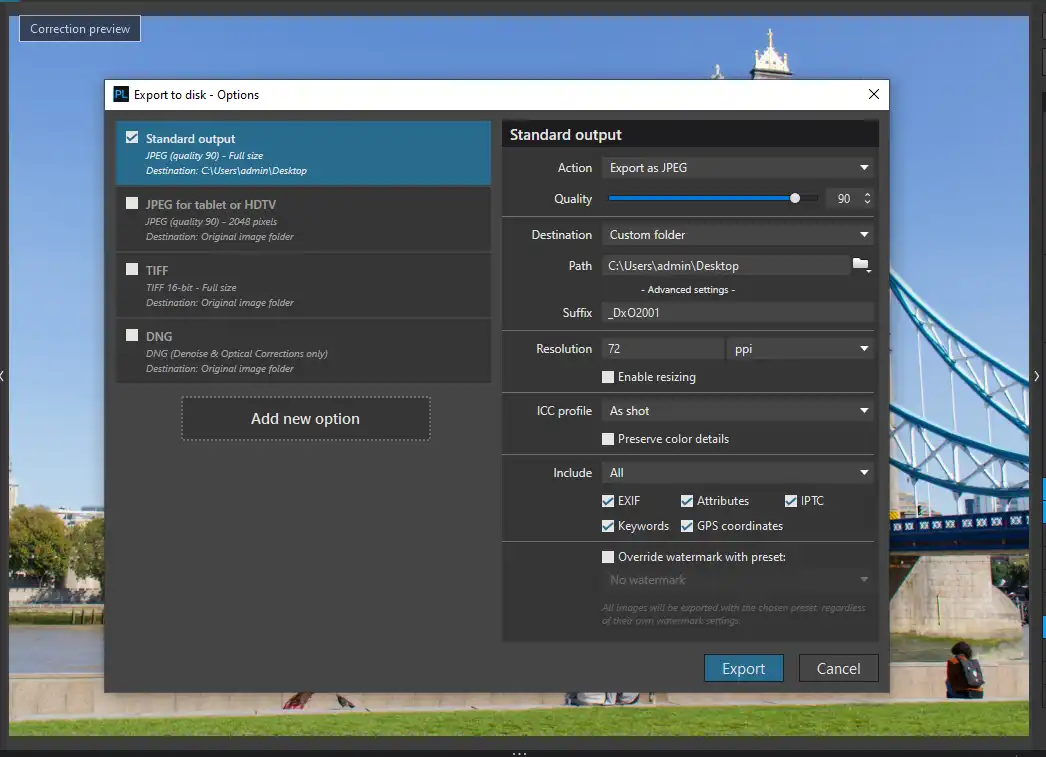
Once you’ve perfected your photos in DxO PhotoLab, it’s time to share or print them. Click on the “Export” button to access various export options.
You can choose the file format (JPEG, TIFF, etc.), set the image size and quality, and specify the destination folder. DxO PhotoLab also allows you to add watermarking and copyright information to protect your work.
DxO PhotoLab seamlessly integrates with other software and platforms, making it easy to collaborate and share your work.
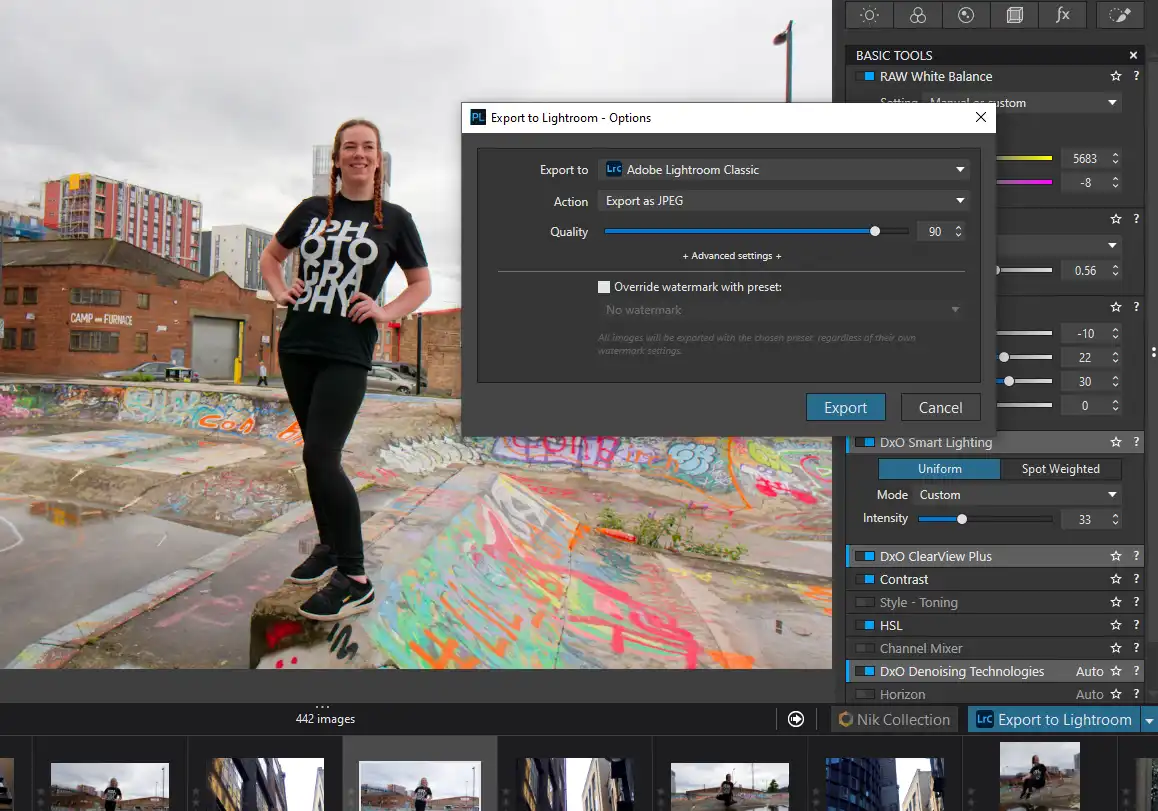
If you’re accustomed to using Adobe software, you can export your edited photos from DxO PhotoLab directly to Adobe Photoshop or Lightroom. This allows you to continue refining your images using Adobe’s powerful tools while benefiting from DxO PhotoLab’s initial enhancements.
DxO Connect is a companion app that simplifies the process of transferring photos from your camera to your computer. It offers a smooth workflow for tethered shooting and image import, ensuring that you can start editing your photos quickly.
In this comprehensive guide, we’ve covered everything you need to know to use DxO PhotoLab effectively.
From installation and basic edits to advanced techniques, workflow optimisation, and integration, you now have the knowledge and tools to unleash your creativity and elevate your photo editing skills.
DxO PhotoLab’s user-friendly interface, powerful editing tools, and advanced features make it an excellent choice for photographers of all levels. Whether you’re a professional seeking to perfect your images or an enthusiast looking to enhance your hobby, DxO PhotoLab can help you achieve your goals.
So, why wait? Dive into the world of DxO PhotoLab today and start turning your photos into masterpieces. With practice and creativity, you’ll soon be producing stunning images that capture the essence of your vision.
(iPhotography may make small commissions from links in this article.)

Discover TOP features in the Lightroom CC mobile app with this guide for enhancing your photo editing skills. For desktop and tablet too.

Shooting sunsets using amazing 5-in-1 magnetic lens filters from Kentfaith, the 1st choice for photo & video products.

Popular memory cards for photography – what’s the best SD card for your digital camera? Choose the right capacity and class speed in our guide
Learn the basics of photography – fast – with our FREE 60-Second Photographer online course. Each class is short and sharp with simple, actionable steps that give you immediate results.
x 30 lessons

© iPhotography™
Become a confident and competent photographer in less than 30 minutes!
Before you leave, make sure you’ve secured your FREE online photography course (worth £29.99)
Each class is just 60-seconds or less making it the fastest and easiest way to learn photography!
