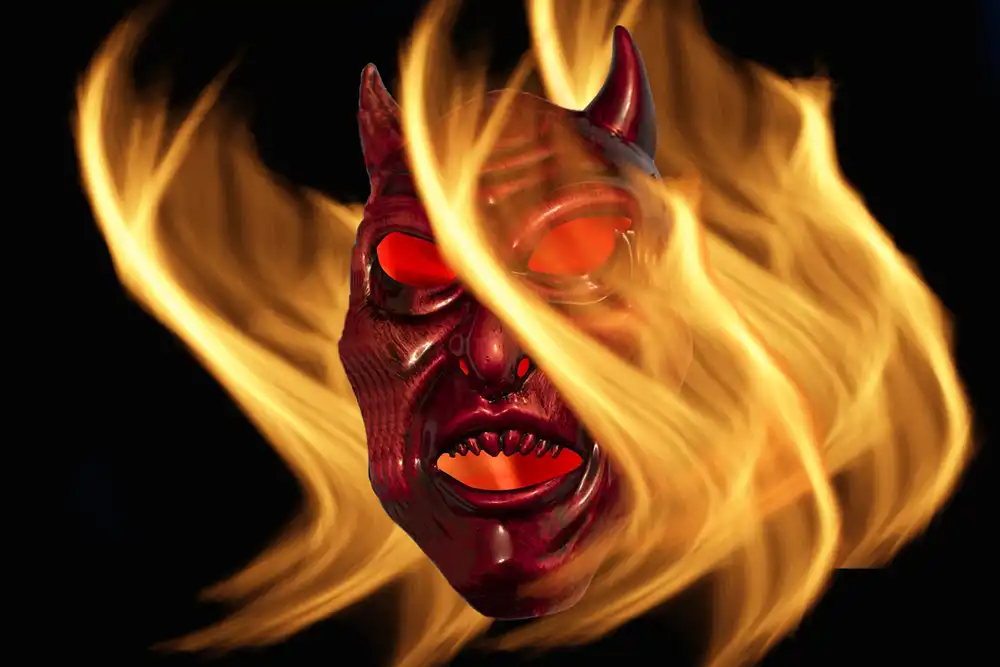
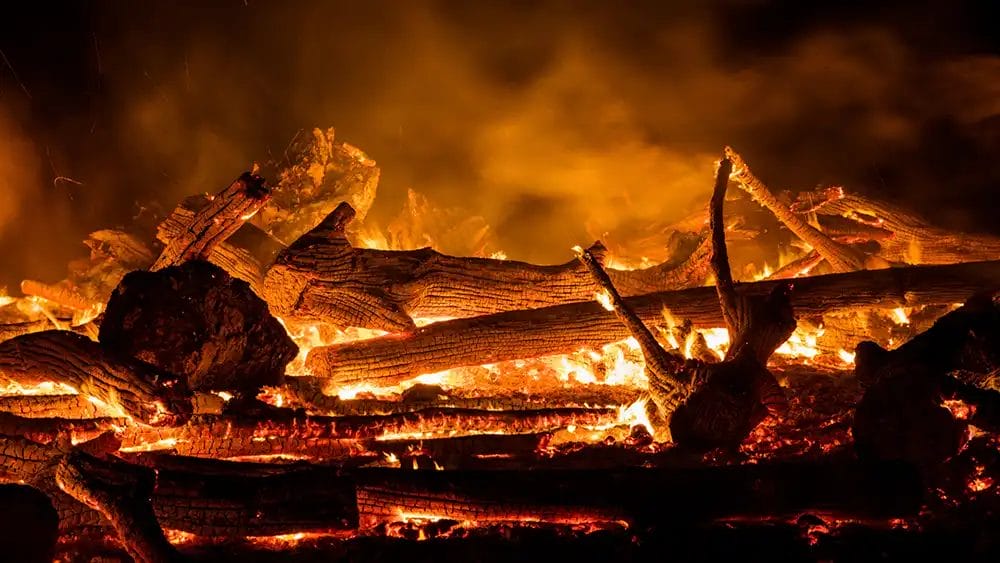
Fire is a mesmerising and dynamic subject for photography. Capturing the flickering flames, vibrant colours, and intricate patterns of fire can result in stunning and evocative images.
Whether you’re photographing a campfire, a bonfire, or even a controlled fire performance, this beginner’s guide will provide you with the tips and techniques you need to create striking photos of fire.
Before you start photographing fire, safety should be your top concern. Fires can be unpredictable, and it’s crucial to take precautions to ensure your well-being and the safety of others around you. Always follow these safety guidelines:
Maintain a Safe Distance: Keep a safe distance from the fire to avoid burns or injury. Use a telephoto lens to get close-up shots without getting too near.
Use Protective Gear: If you’re shooting near a high-intensity fire, consider wearing heat-resistant clothing and gloves. Safety goggles can also protect your eyes from sparks.
Have Fire Extinguishers On Hand: Keep fire extinguishers or buckets of water nearby in case of emergencies. Make sure you and others know how to use them.
Avoid Flammable Materials: Be cautious with your camera gear and accessories. Ensure that nothing flammable, like camera straps or clothing, comes into contact with the flames.
Follow Local Regulations: If you’re photographing in a public place or at an event, follow any fire-related regulations or guidelines provided by authorities.

Choose a camera with manual settings, as you’ll need full control over your exposure. A DSLR or mirrorless camera is ideal, but even some advanced compact cameras offer manual modes. When it comes to lenses, a versatile zoom lens or a prime lens with a wide aperture (e.g., f/2.8 or lower) is advantageous.
Photographing fire requires careful exposure adjustments. Here’s a basic setup to get you started:
ISO: Begin with a low ISO setting (e.g., ISO 100 or 200) to minimise noise in your images.
Aperture: Use a wide aperture (e.g., f/2.8 or lower) to create a shallow depth of field, isolating the flames and creating a beautiful background blur.
Shutter Speed: Depending on the intensity of the fire, start with a moderately fast shutter speed (e.g., 1/250 or 1/500 second) to freeze the flames’ motion. Adjust as needed.
Manual Mode: Set your camera to Manual (M) mode to have full control over these settings.
Autofocus can struggle in low-light conditions, so it’s often best to switch to manual focus when photographing fire. Use Live View mode on your camera’s LCD screen to fine-tune focus manually. Focus on a specific part of the flames or coals to capture their intricate details.
Fill the Frame: Get close to the fire and fill the frame with flames and glowing embers for a dramatic effect.
Rule of Thirds: Apply the rule of thirds to place the fire at an intersection point, adding balance and interest to your composition.
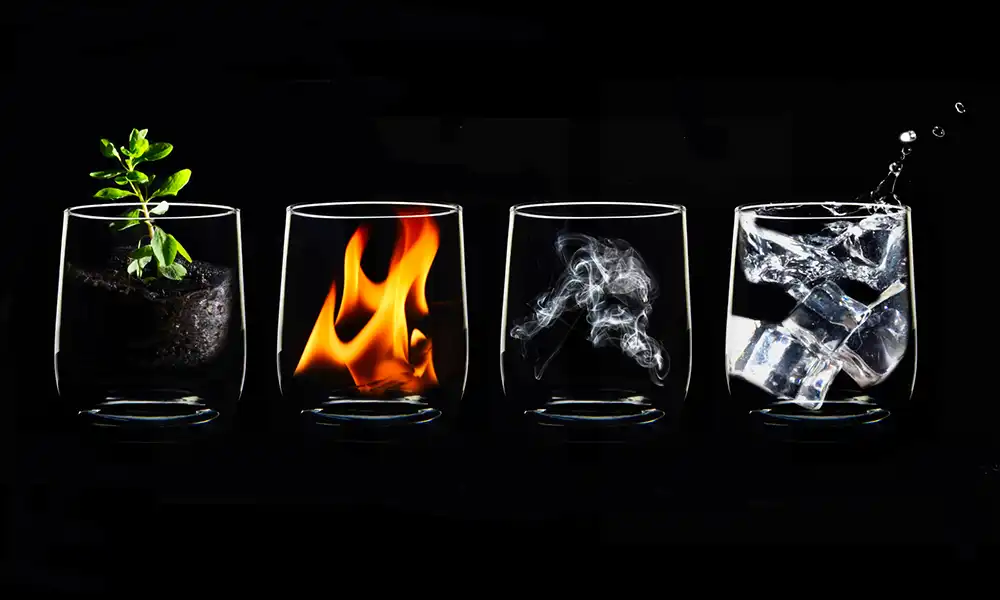
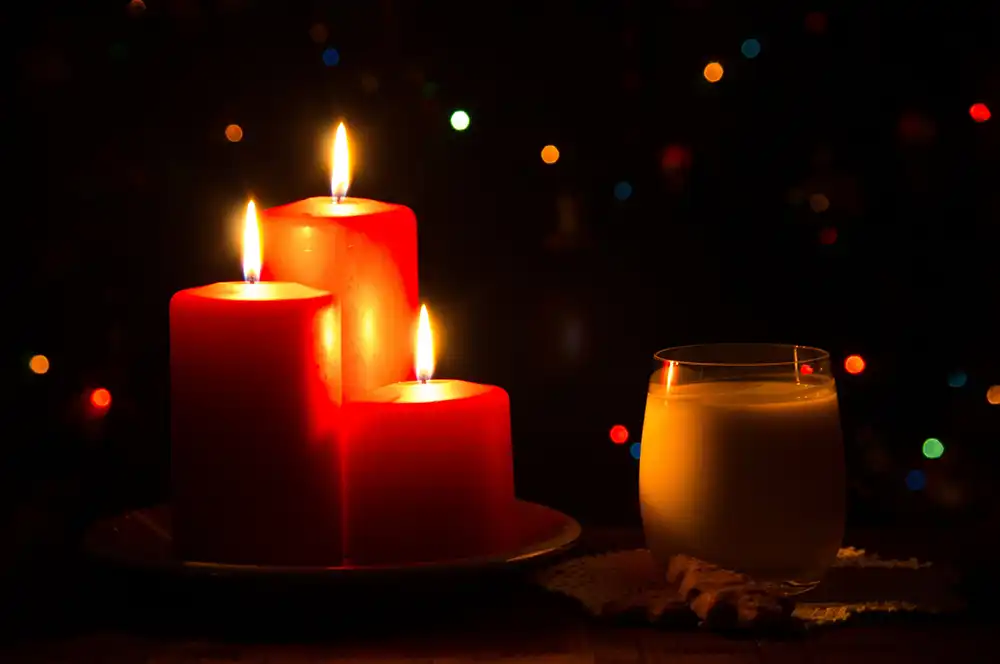
Include a Subject: Incorporate a person, an object, or the environment to provide context and scale to your fire photos.
Experiment with Angles: Try different angles and perspectives to find the most captivating view of the fire. Shoot from above, below, or from the side to discover unique compositions.
Adjusting your shutter speed can result in various effects when photographing fire:
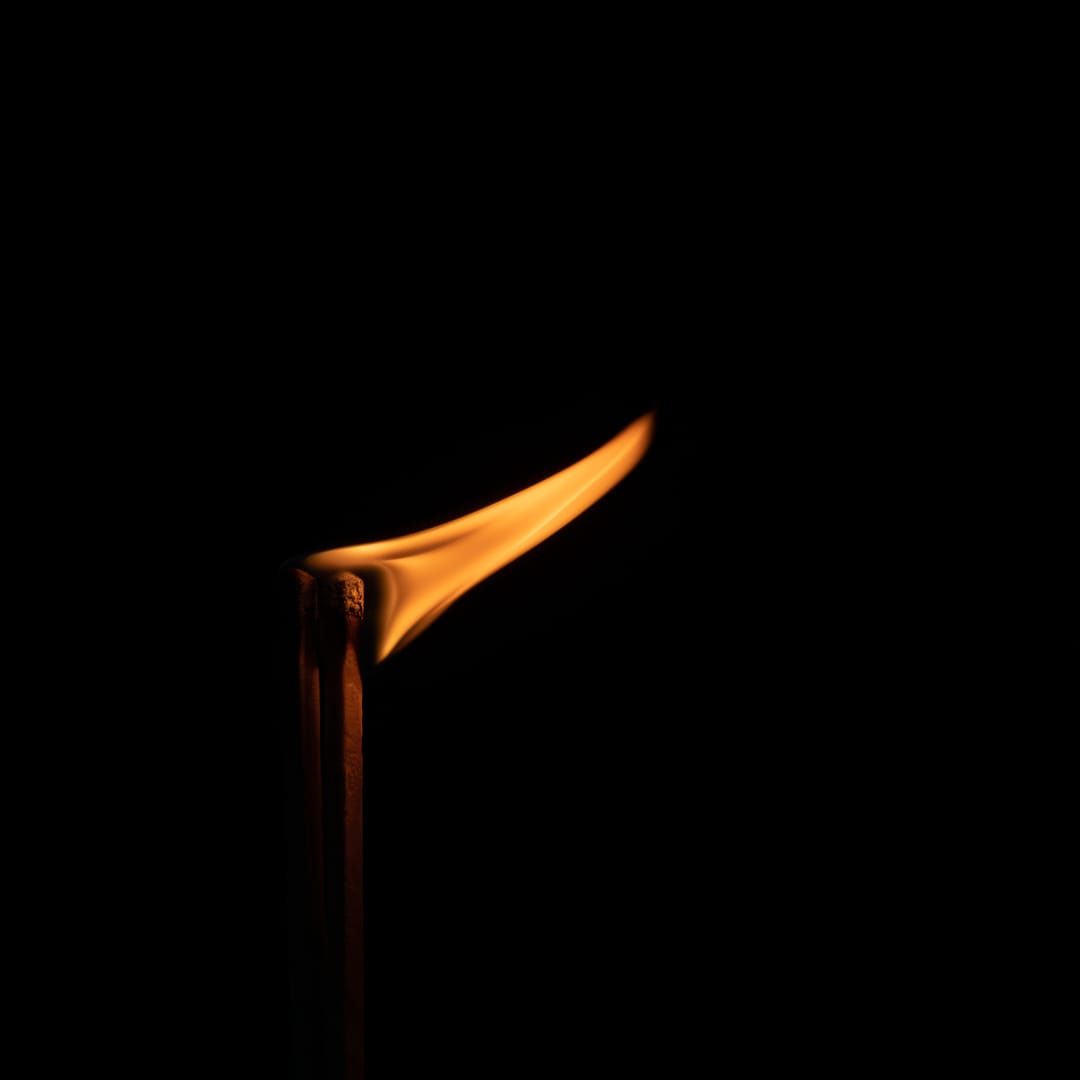
Freezing Flames: Use fast shutter speeds (1/500 second or faster) to freeze the motion of the flames, capturing intricate details.
Blurring Flames: Alternatively, slower shutter speeds (1/30 second or slower) can create a mesmerising blur effect, emphasising the dynamic nature of the fire.
Long Exposures: For long exposures (several seconds or more), you can capture the trails and patterns of the flames. This technique can yield artistic and abstract images.
Don’t hesitate to take multiple shots at different shutter speeds to explore the various effects you can achieve. You might discover unexpected and captivating results.
Consider shooting fire during the “golden hour” (just after sunrise or before sunset) or the “blue hour” (just before sunrise or after sunset). The soft, warm, and diffused light during these times can create a beautiful contrast with the fire’s intensity, resulting in visually striking images.
Experiment with external lighting sources, such as flashlights or LED panels, to add creative and dramatic lighting effects to your fire photos. Light painting techniques can also be employed to illuminate specific parts of the scene.
Adjusting your camera’s white balance settings can impact the colours of your fire photos. Experiment with different white balance presets to achieve various colour temperatures, from warm and fiery oranges to cooler, bluish tones.
Shoot in RAW format if your camera allows it. RAW files contain more data and provide greater flexibility during post-processing. You can adjust exposure, contrast, colour balance, and reduce noise to enhance your fire photos.
Fire photography can produce noise, especially when using high ISO settings. Use noise reduction software or tools like Adobe Lightroom to reduce noise and maintain image quality during post-processing.
Feel free to get creative with post-processing. Experiment with saturation, vibrancy, and colour adjustments to enhance the flames’ colours and intensify the overall impact of your fire photos.
With these tips and techniques in mind, you’re well-equipped to embark on your journey of capturing great photos of fire. Remember to prioritise safety, experiment with settings, and let your creativity flow as you capture the mesmerising beauty of flames dancing in the darkness.


Discover TOP features in the Lightroom CC mobile app with this guide for enhancing your photo editing skills. For desktop and tablet too.

Shooting sunsets using amazing 5-in-1 magnetic lens filters from Kentfaith, the 1st choice for photo & video products.

Popular memory cards for photography – what’s the best SD card for your digital camera? Choose the right capacity and class speed in our guide
Learn the basics of photography – fast – with our FREE 60-Second Photographer online course. Each class is short and sharp with simple, actionable steps that give you immediate results.
x 30 lessons

© iPhotography™
Become a confident and competent photographer in less than 30 minutes!
Before you leave, make sure you’ve secured your FREE online photography course (worth £29.99)
Each class is just 60-seconds or less making it the fastest and easiest way to learn photography!
