Setting up a website simply to showcase your photography or to sell your prints isn’t as hard as it may sound. It doesn’t have to cost that much at all either (and sometimes it’s free).
I’m going to take you through a full guide on how to make a photography website to get you started.
There is a level of expectation that photographers should have some type of platform (outside of social media) for potential clients to check out their work and learn more about them. Whether you need a website or not all comes down to what you’re trying to achieve as a photographer;
While having a website isn’t mandatory for a photographer it will open up lots of potential opportunities for clients and other visitors. Remember not everyone uses social media, so simply having a Facebook page for your photos may not be accessible or of interest the world. A website is much more universal.

No – these days the internet is catered for users who don’t understand Java script, HMTL and Python (don’t worry I don’t understand those words either!) Website hosts have ‘cookie-cutter’ templates to help making a webpage very simple and easy.
You won’t need to know anything special, most of it is drop-and-drag or click-and-pick technology which allows nearly anyone to build a website quickly.
Even if you’re only looking to put together a home page or something with menus and e-commerce features (that’s where people can buy things on your site) it doesn’t require a deep education, most is clearly explained in tutorials as you build your website.

You’re spoilt for choice when it comes to your options for which is the best website builder for beginners. Platforms such as WordPress, SmugMug, Pixpa, SquareSpace, Wix, Format, Zenfolio and Behance are all popular and easy to use.
There are some considerations and questions you need to ask yourself before choosing who to build your website with;
Answering these questions will help you choose which is the best place to build your photography website.
Thanks to our friends at Pixpa you can get 50% OFF on annual plans when you subscribe with the promo code ‘PXREF50′.

Most providers will offer a free account option or a free trial to give you time to build you website before you take it any further.
For example, SquareSpace, the largest website-building platform for photographers, offers a free account with unlimited pages, users and access to multiple themes.
This means building a basic website for photography doesn’t need to cost you anything – apart from time. Though premium plans start from £16 per month to add extra features as your photography business needs grow.
(you may find it cheaper to pay annually for certain plans rather than monthly. Prices may be displayed as a monthly breakdown of the annual cost you pay – watch out for this trick!)
Photos, of course! But these days it’s not just images that you might want to consider.
Photographers also need to reach their audience through different types of content – videos, blogs, projects, drawings, illustrations, short-form videos, questionnaires, interactive elements etc.
Simply building a home page and putting lots of your photos on it may not look that attractive and cohesive IF you’re trying to attract business. But if you just want a place online to upload all your photos that isn’t Facebook or Instagram then a basic homepage may be enough to show friends and family – or a Behance account.
Otherwise, if you want something that looks a little more professional then it’s a good idea to structure your website by adding a small menu on the home page.
Give dedicated areas to your specialist photos, a contact page, an about you page and any other services or features you want to tell people about.
A homepage of any website needs to do 3 things;
The more scrolling and reading a visitor has to do to understand your site the sooner they’ll leave. Your website needs to;
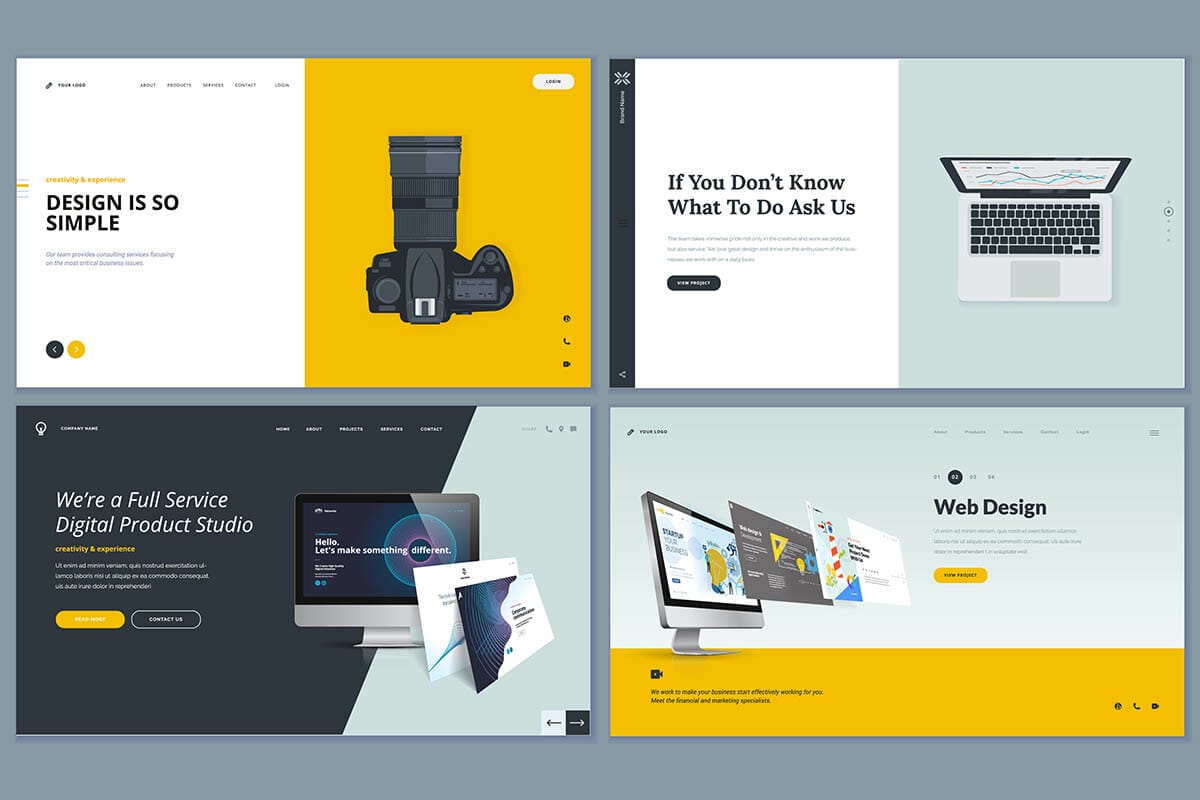
You don’t want your website looking like everyone else’s, otherwise, how will people know when they’re on your site and not a competitors?
Do some planning beforehand about the colours you want to build your website around. Choose no more than 3 hues to design your website with.
Make a clear title or design a logo that quickly establishes towards the top of your home page, who you are and what you do. Pick out one or two of your best ever photos that reflect the type of photographer you are. This sets the tone early on for what clients can expect from you.
A homepage is the shop window for your photography website. The best images go on this page. Make sure they are size-optimised to make sure they load quickly on a page – photos shouldn’t exceed 200kb each in file size.
ALL your photos! Just because your website builder might give you 20gb of storage to upload photos for your website doesn’t mean you should fill it up. Only the best photos, that you are proud of and represent the kind of photographer you right now need to be on your website.
Avoid writing lots too on your homepage. Your choice of photos should be clear enough to establish whether you’re a landscape, street or food photographer for example. Try to stick to one or two niches to brand yourself as.
If you want people to hire you, they’re more likely to hire someone who is great at their particular niche, rather than someone who can do ‘a bit of everything’. Give confidence to the world that you are a landscape photographer and you’re sticking to it!
Once you’ve settled on your niche don’t stray from that with other pages on your website. It can look disjointed if you brand yourself as a sports photographer but you’ve also got a page called ‘Food Photos’ – visitors are going to get confused as to what you’re best at.

Yes! There’s very little you can’t do with a website these days. Being able to set up an online shop and sell your images isn’t hard. Much like the drop-and-drag website builders, there are also plugins (third-party add-ons to a website) that give you a shop feature and which work the same way.
Shopify is one of the biggest e-commerce website plugins. You can upload photos to sell at different sizes as digital files, or prints that you produce yourself.
But if you currently sell your photos through another website such as RedBubble, ShotProof, Snapperz, 500px, Alamy, Shutterstock or Esty then you can add a button under your photos to make it easier for customers to buy them quickly.
Don’t make it a complicated process for someone to buy from you. Think of how easy it is to purchase from Amazon for example – while you might not have the time and funds to create a process as smooth as that – still you want to minimise the number of clicks to get from start to finish.
As often as you’ve got something new to say update your website. Adding more photos, videos or blogs doesn’t cost you anything extra (until you exceed your plan’s storage limits) so keep it updated regularly and remember to tell the world when you do.
If you have a new photo for sale, or you’ve written a new blog then tell your followers about it on social media to drive ‘traffic’ (internet speak for ‘people’) to your website. The more hits/visits your website can get the higher it will move up the search rankings in Google and Bing.
Other supporting factors such as SEO (search engine optimisation) also help improve where your website appears in users’ searches – but that’s a blog for a different day!

Don’t be afraid to make yourself a photography website. There are lots of benefits to having a website to showcase your photography.
Getting your name out there and showing the world what you can offer as a creative photographer requires a good looking website.
Bookmark and save this article about how to make a basic photography website so you can find it again in the future. If you’ve got any other questions about photography chances are you’ll find the answers in our other articles and tutorials below.
(iPhotography may make small commissions from links in this article.)
Photographers elevate your photo editing with Adobe Photoshop Express, a beginner’s guide for spectacular results.
Find everything you need to know in this guide to polarizer lens filters for photography. How do they work and which is the best to buy?
Discover TOP features in the Lightroom CC mobile app with this guide for enhancing your photo editing skills. For desktop and tablet too.
Learn the basics of photography – fast – with our FREE 60-Second Photographer online course. Each class is short and sharp with simple, actionable steps that give you immediate results.
x 30 lessons

© iPhotography™
Become a confident and competent photographer in less than 30 minutes!
Before you leave, make sure you’ve secured your FREE online photography course (worth £29.99)
Each class is just 60-seconds or less making it the fastest and easiest way to learn photography!