Fancy adding a bit of Hollywood Green Screen photography into your repertoire?
Stick around to see how we use a simple green background to transform a plain portrait into absolutely anything we like!

The use of green screen has been in movie making for years, but it’s not so common in photography for 2 simple reasons:
1. You generally need a strong understanding of photo editing and manipulation as well as quite a bit of spare time to composite images correctly.
2. Some photographers feel like you don’t get the same atmosphere by plonking a new background behind a subject digitally. It’s always going to look fake and photography isn’t meant to be a fake medium.
But what if you are new to photography? Don’t have a lot of spare time? And what if you don’t really have the best understanding of Photoshop yet? Maybe you know a few tools but not enough to create full-scale composites.
Well if that sounds like you, then this guide will help you expand your creativity by opening up horizons to conceptual and surreal photography.

Green screens can basically be made of most materials. Thick cloth will work well as you don’t want a material that light will pass through.
However, you could paint a giant piece of cardboard green to make it a cheap alternative. Now you may ask, does it have to be green? Well, yes and no.


Green screens should really only be green or blue for portraits. Why’s that?
Well from the point of view of a digital camera everything the sensor sees is made up from varying values of blue, red and green pixels. Skin tone on a portrait is seen as different shades and tints of red.
Depending on the lighting and white balance there isn’t naturally any blue or green in the skin. Therefore, it’s easier for editing software to separate subject and background when there are zero pixels of a certain colour in a selected area.
Simply put, you need to use a background colour that is not represented in any way in your foreground subject.
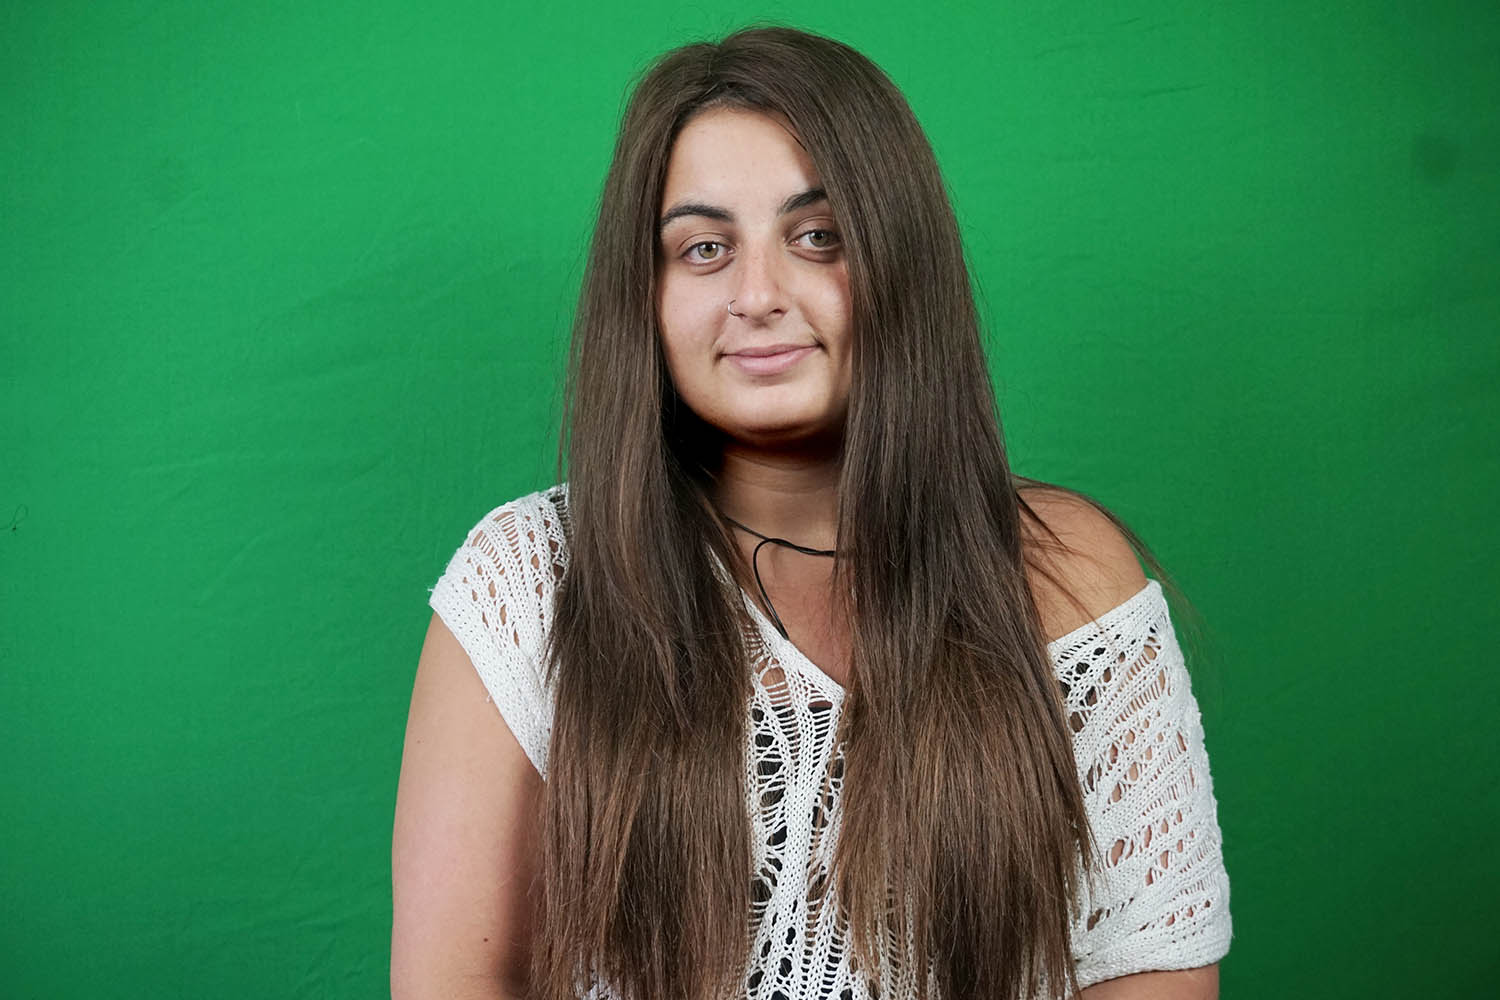
Anyway, for our experiment we’re going to show you how to work a green screen for the purpose of a portrait.
Our green screen is on a collapsible frame which makes it really easy to transport around. They come in lots of different sizes.
It’s great if you are a mobile photographer who likes the functionality of what we’re going to do.
You can pick them up fairly cheaply from photography shops or online stores. In fairness though, with a bit of green fabric, it’s not hard to make your own.
Now the top tips for getting your picture right with a green screen are as follows:
Don’t ‘spill’ light on to your screen. Either direct all light towards the subject and background or completely isolate your subject. Aim to keep the green screen a block of similar colour.
If you already have your composite background in mind, think about how your portrait needs to look to make the final image look convincing. Consider your camera angles to match up.
Obviously please make sure your subject isn’t wearing clothing that’s the same colour as the screen behind them! It will make the separation process so much quicker.
When editing a green screen effect, these Photoshop tips should help;
1. Firstly, we need to select all the areas of green on our portrait.
With our portrait file active select the Magic Wand Tool on your vertical toolbar. Along the options bar at the top make sure you untick the Contiguous option.
This will help our selection be considered across the whole image not just in the area that we initially click. You can keep the Anti-Alias option checked.
2. Now simply press once on the green screen and see how it selects large parts of the background. Now one simple click may be enough for you but if it isn’t follow the next step.
3. If you need to select more areas of your green, you simply need to increase your tolerance levels. You can find that on your options bar at the top again. The default setting is 32, which means whichever pixel of colour you click on, the Magic Wand will select pixels that are 32 levels brighter and darker than that original value.
4. If your selection is too big, reduce the tolerance, but otherwise increase it to widen your selection. It’s a total guess as to how much tolerance you need, so just give it a few attempts to get it right.
5. Once you’ve nailed it, keep that selection active and get your background file. Follow these final steps:
SELECT > ALL
EDIT > COPY
6. Press back on your subject photo with the magic wand selection still active.
EDIT > PASTE SPECIAL… > PASTE INTO
7. We’ve now pasted the background file only into the selected areas (which was why we needed to get the selection perfect, to begin with). If you’ve got any areas that are still green, you’ll need to go back a few steps and try the selection process again.
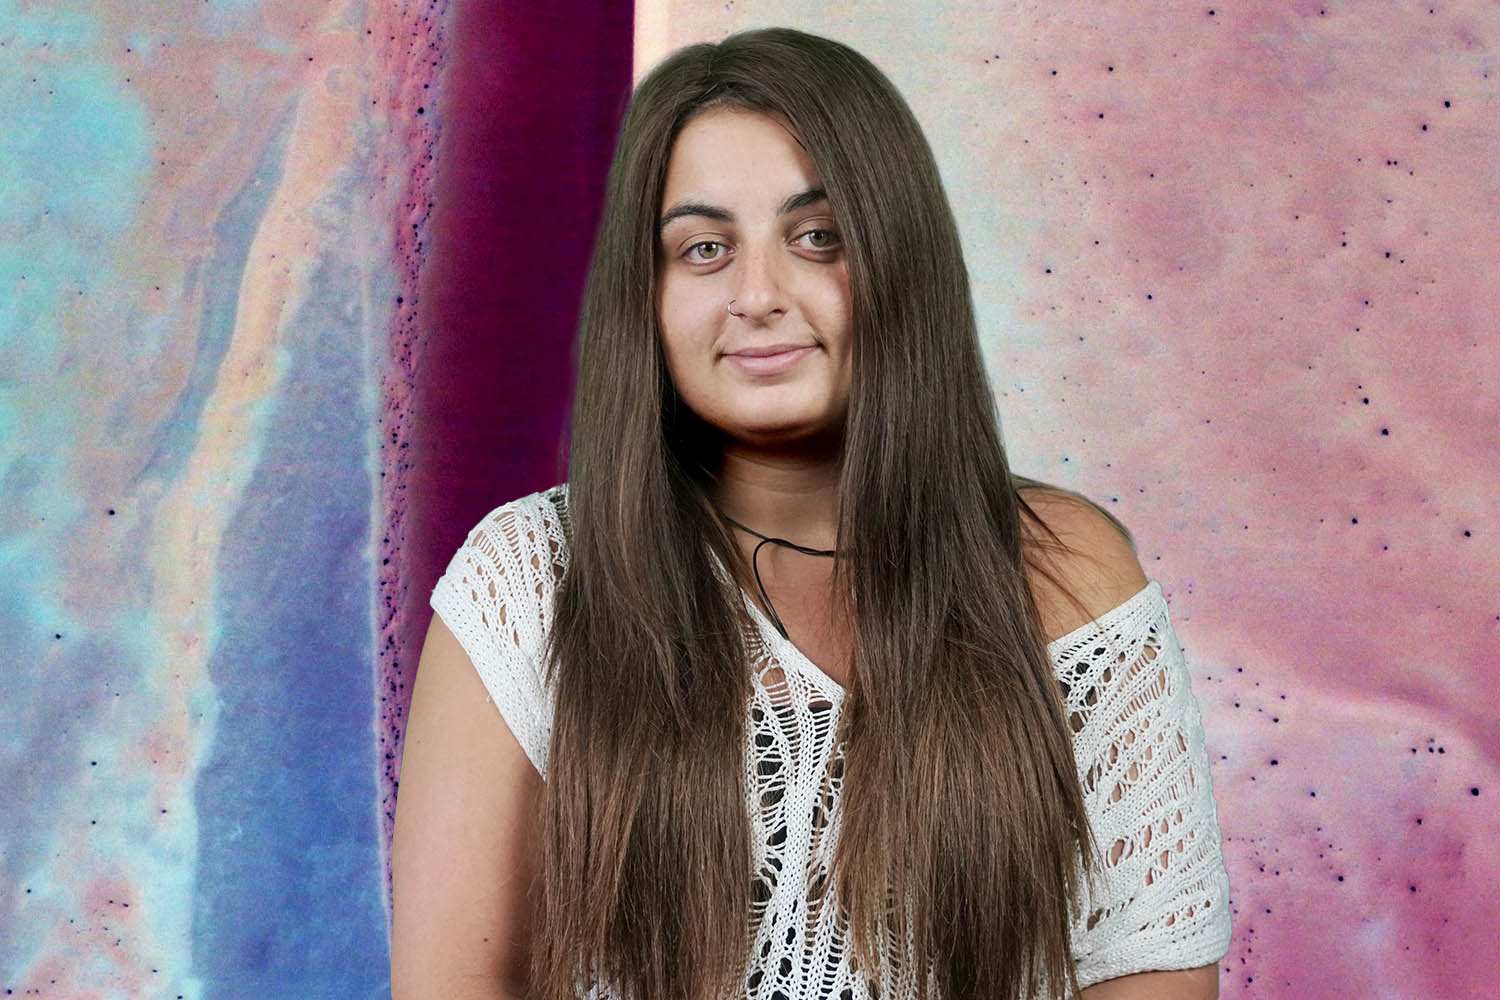
Once you’ve completed your green screen composite you can continue on from here. Add in further lighting effects and colour overlays to blend the two elements further but that’s up to you. We’d love to see your versions too if you’ve been playing along.
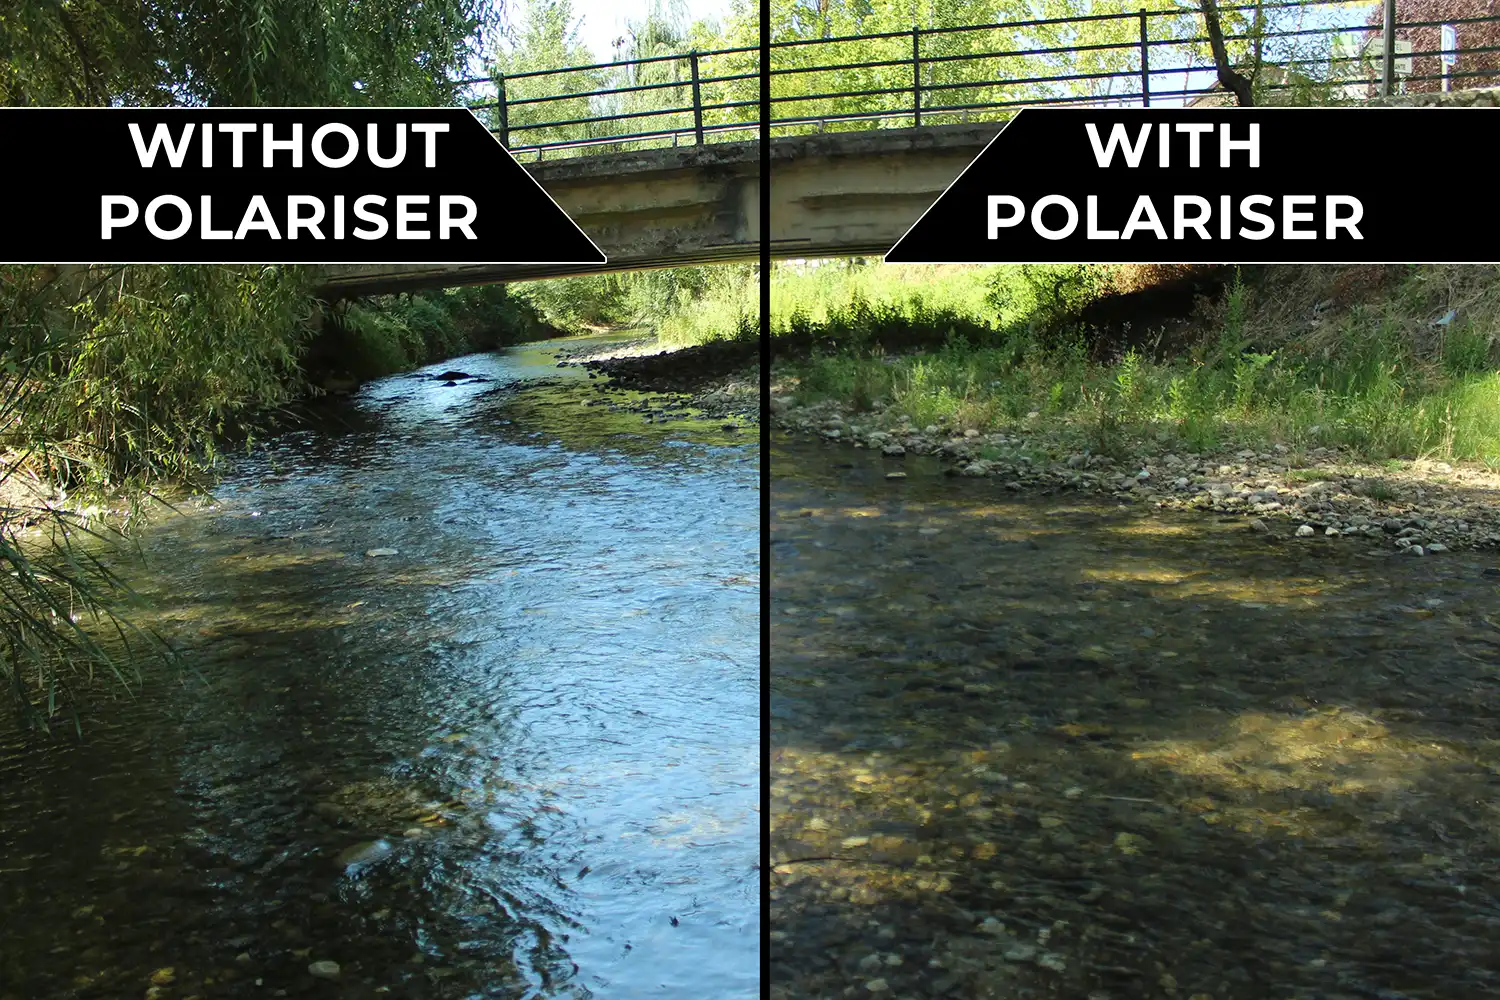
Find everything you need to know in this guide to polarizer lens filters for photography. How do they work and which is the best to buy?

Discover TOP features in the Lightroom CC mobile app with this guide for enhancing your photo editing skills. For desktop and tablet too.

Shooting sunsets using amazing 5-in-1 magnetic lens filters from Kentfaith, the 1st choice for photo & video products.
Learn the basics of photography – fast – with our FREE 60-Second Photographer online course. Each class is short and sharp with simple, actionable steps that give you immediate results.
x 30 lessons

© iPhotography™
Become a confident and competent photographer in less than 30 minutes!
Before you leave, make sure you’ve secured your FREE online photography course (worth £29.99)
Each class is just 60-seconds or less making it the fastest and easiest way to learn photography!
