Author: Terry Holdren
I have been asked by iPhotography if I would give you a guide on how I take my textured flowers photographs. So here I go…
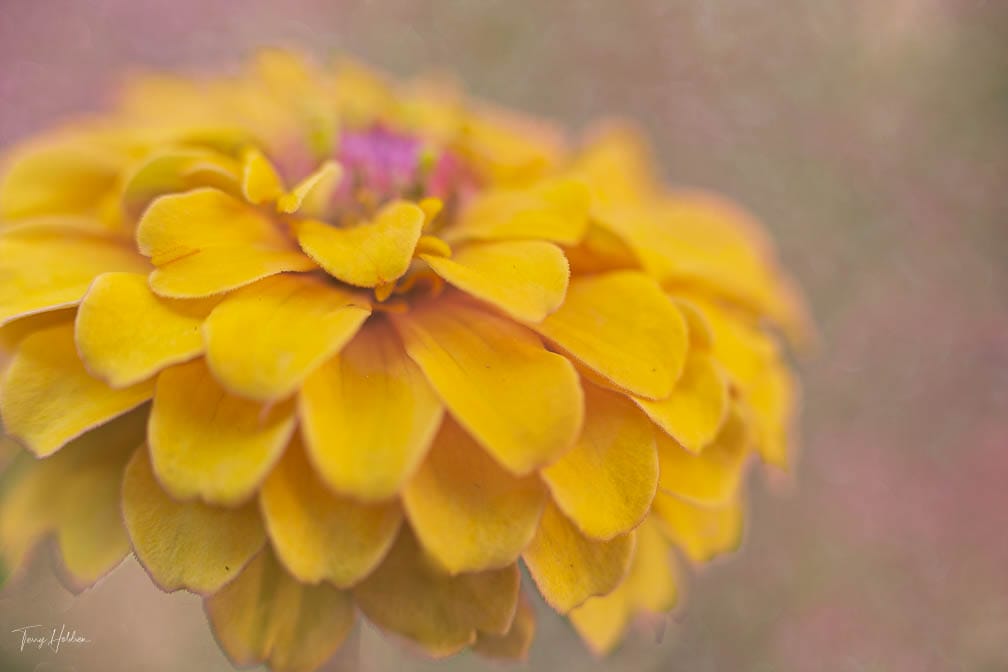
Image by Terry Holdren
Normally I take my initial flower photos using my 100mm macro lens. Usually handheld, but at times, especially if I have extension tubes, I will use my tripod.
When I select what flowers to photograph, I do my best to find flowers without any blemishes, if possible. I will normally take my photos in the shade or use a diffuser as I don’t want any shadows on them.
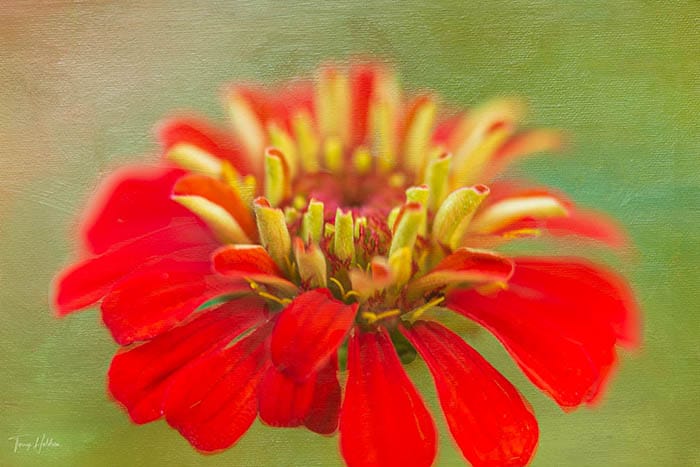
Image by Terry Holdren
The textures I use on my floral images I had to purchase. There are several places online you can find texture files for free, but sometimes the quality isn’t the same as the premium ones.
Previously I have bought from Kathleen Clemons Textures and Leslie Nicole Textures.
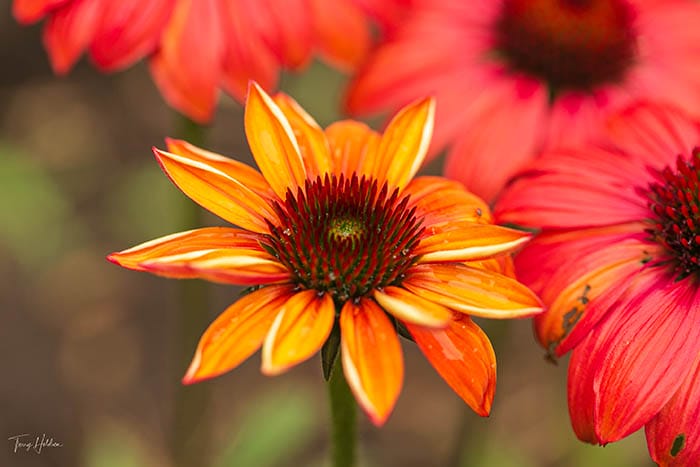
Image by Terry Holdren
1. I edit my photos in Lightroom, making any adjustments as needed. I then will take it over to Photoshop by right-clicking on the picture and pressing EDIT IN > PHOTOSHOP.
2. Once in Photoshop, with my flower photo selected I will then choose the texture file I want to place over it.
3. Under FILE, select PLACE EMBEDDED then select your texture. The texture file will then appear over your photo. You want to make sure all edges cover the photo before you press ENTER.
By doing this you will see you have added a layer to your original photo.
4. Now this is where your creativity needs to come into play. You will need to choose the right layer blending mode, which is a dropdown in the layers panel.
5. There are several to choose from depending on the look you want. I normally select either NORMAL, MULTIPLY, SOFT LIGHT or OVERLAY. Next, I adjust the opacity slider to control the strength and transparency of the texture layer.
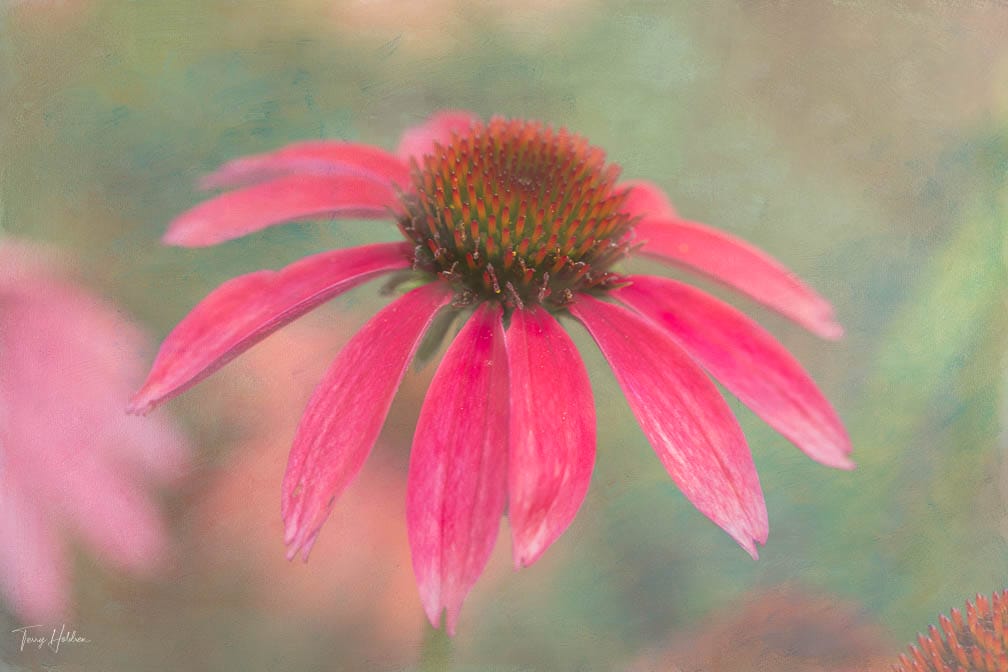
Image by Terry Holdren
First, you need to add a layer mask to the top layer. Look at the layers palette and click the top layer to make sure it’s selected. Then click the third icon along the bottom to add a white layer thumbnail to the texture layer.
Secondly, go to your photo and select the BRUSH TOOL. You want to make sure the colour palette is set to black and white. Ensure the foreground colour is black, this will mask the texture.
I almost always use a soft-edged brush. You can change the hardness of the brush by right-clicking when using and reducing the hardness slider. I tend to start at 75% for the main portion of the flower I want to show through the texture.
Then I just adjusted down 50% to 30% as I get to the edges of the flower. Make sure when brushing to use small strokes and stop often. This way if you need to undo parts, you are only having to do small parts.
Finally, once you have the photo as you like, select the drop-down menu from the layers panel and press FLATTEN ALL LAYERS – then save.
Couldn’t be much easier!
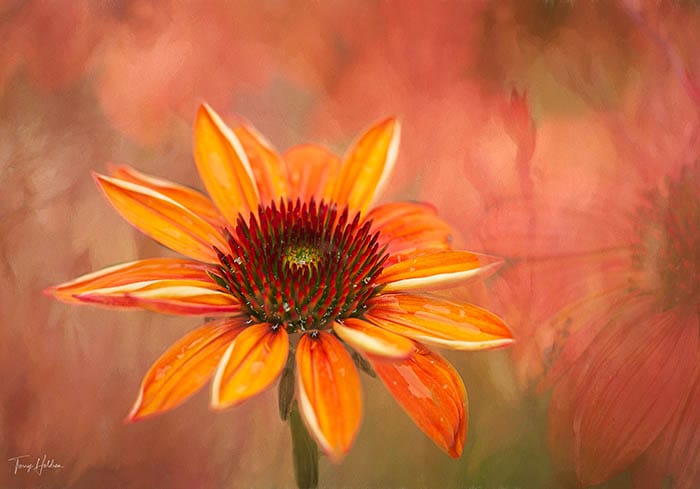
Image by Terry Holdren
Shooting sunsets using amazing 5-in-1 magnetic lens filters from Kentfaith, the 1st choice for photo & video products.
Popular memory cards for photography – what’s the best SD card for your digital camera? Choose the right capacity and class speed in our guide
Discover the BEST way on how to clean a camera sensor using swaps, rocket blowers and pencil brushes to give your shots a dust-free finish!
Learn the basics of photography – fast – with our FREE 60-Second Photographer online course. Each class is short and sharp with simple, actionable steps that give you immediate results.
x 30 lessons
© iPhotography™
Become a confident and competent photographer in less than 30 minutes!
Before you leave, make sure you’ve secured your FREE online photography course (worth £29.99)
Each class is just 60-seconds or less making it the fastest and easiest way to learn photography!