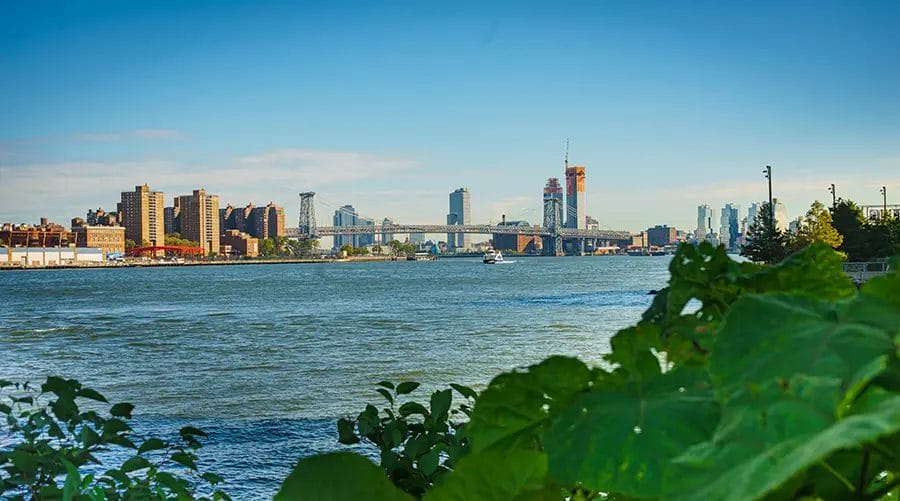
Ever looked at a city skyline and thought, “Wow, that’d make a killer shot!”? Well, you’re not alone. Cityscape photography is all about capturing the essence of any city – towering skyscrapers, shimmering lights, and bustling streets. It’s a way to share a piece of the urban jungle with the world.
With a few pointers and a bit of practice, you can shoot cityscapes that will leave your friends in awe. I’m here to spill the beans on how you can become a cityscape photography whiz! So grab your camera, and let’s dive in.
Cityscape photography is a genre of photography that focuses on capturing the urban environment and the architecture, infrastructure, and overall ambiance of cities.
It involves taking photographs of city skylines, streets, buildings, landmarks, and other elements that define the character of a city. Cityscape photographers often aim to convey the unique atmosphere, energy, and beauty of urban areas.
First off, let’s talk gear. You might think that cityscape photography requires super expensive equipment.
Spoiler alert: it doesn’t. Sure, fancy gadgets can help, but your skill and vision matter way more.
Most importantly, invest in a decent camera. Whether it’s a DSLR, mirrorless, or even a high-end smartphone, make sure it allows for manual settings. A tripod is also a must-have. When shooting in low light (like during twilight or night), you’ll need that stability to avoid blurry shots. And hey, a wide-angle lens? That’s a bonus. It lets you capture the vastness of a city landscape in all its glory.
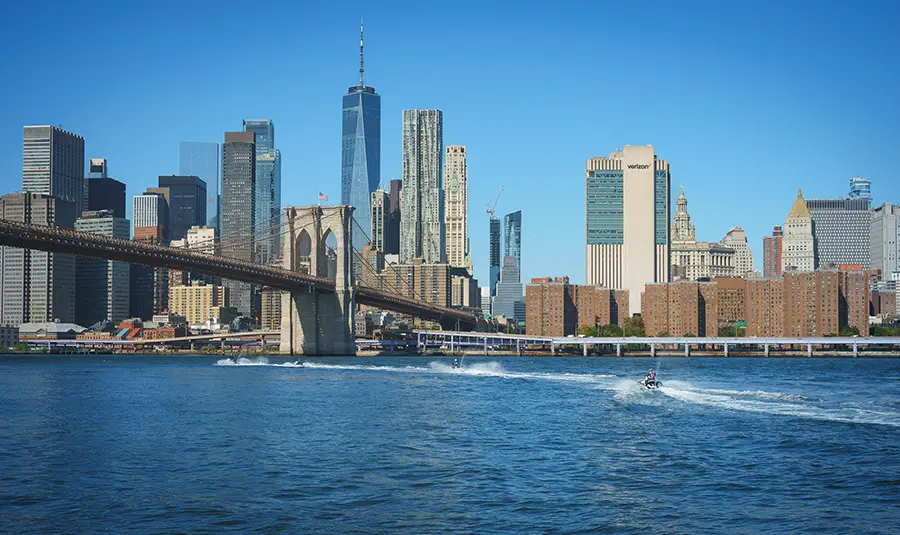
How should you set up your cityscape photo? I prefer to work using the rule of thirds to compose my shot. Imagine your frame divided into nine equal parts with two horizontal and two vertical lines. Break up your cityscape by dividing your shot into sky (top third) , the cityscape itself (middle third), and the water or whatever is in the foreground in the lower third.
Following this approach allows the shot to look proportionate, balanced and even to the viewer’s eye.
But hey, rules are meant to be broken, right? Feel free to experiment. Maybe you want to put a towering skyscraper right in the centre or focus on a winding river that cuts through the city. Go with what feels right, and trust your gut.
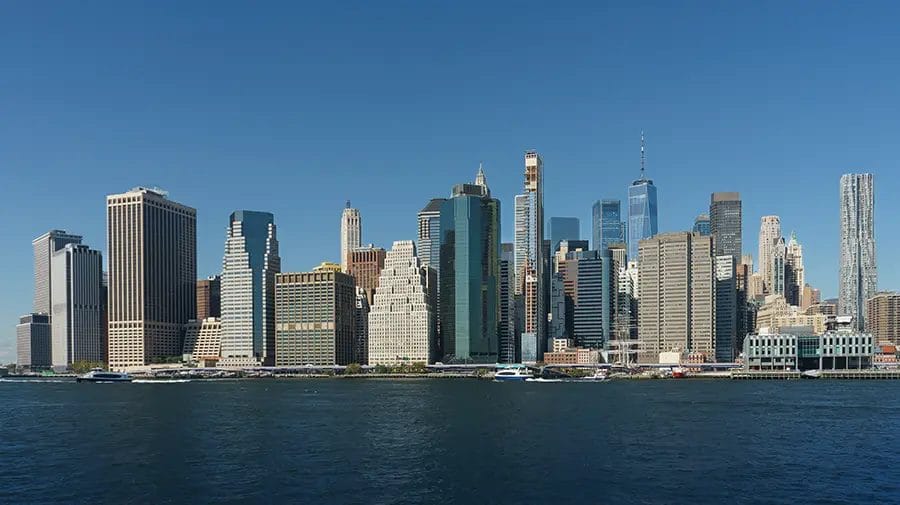
The time you choose to shoot can make or break your cityscape photography game. So, when’s the best time? Many photographers swear by the “blue hour.”
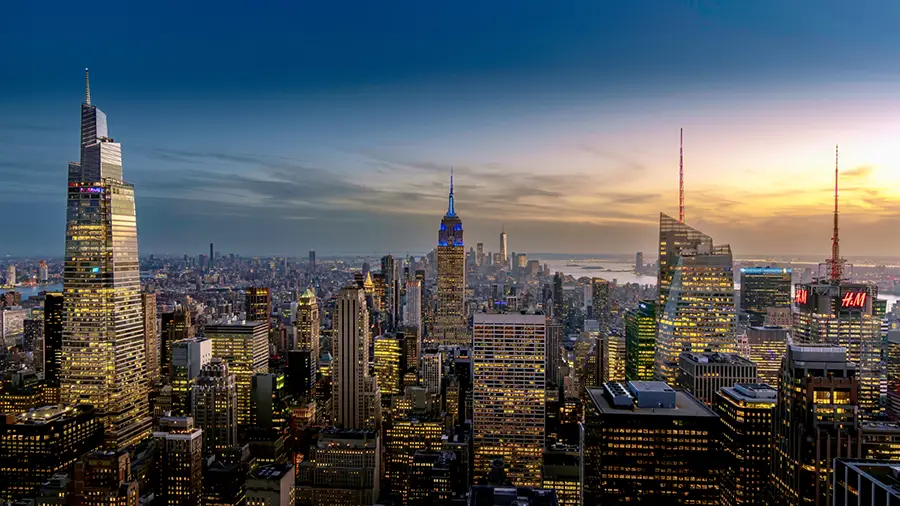
The blue hour is the time just before sunrise and right after sunset when the sky paints itself in deep blue hues. The city lights start to twinkle, creating a beautiful contrast against the sky.
But don’t limit yourself either. Daylight brings out the vibrant colours and shadows of buildings, while nighttime unveils a city illuminated in neon lights. Every time of day offers a unique perspective. Experiment and see what vibes with you!
Great cityscape photography often comes down to where you’re standing. Location is key. Start by exploring the city. Look for high vantage points. Maybe there’s a rooftop bar, a waterfront opposite the city itself, or a tall building that offers a panoramic view of the skyline.
On the flip side, you can also go deep into the streets. Capture the hustle and bustle, the cafes, the trams, and the life that flows through a city’s veins. The point is, keep an open mind and an adventurous spirit. You never know where you might find your next epic shot.
After your cityscape photography session, it’s time to polish those shots. Software like Lightroom or Photoshop can be your best friend here. Tweak the brightness, play with the contrast, and maybe add a touch of saturation. Remember, it’s all about enhancing the photo, not making it look fake.
And a pro tip? Play with the shadows and highlights. Bringing out details in the darker parts of your photo can add depth and dimension. But remember, subtlety is the key. You want to enhance, not overpower.
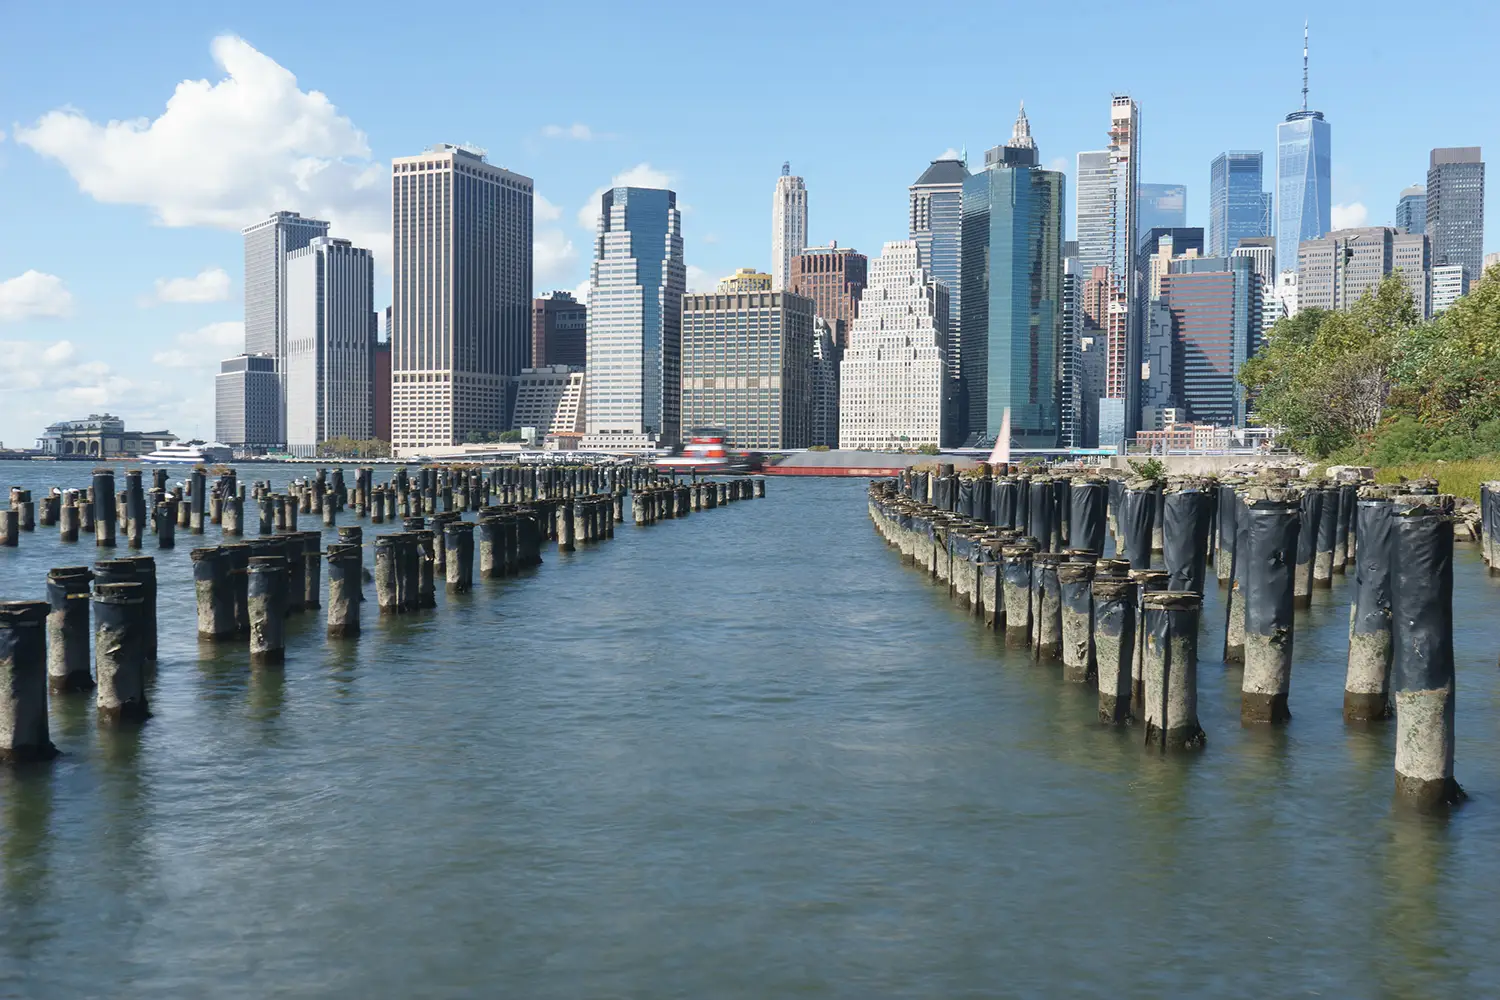
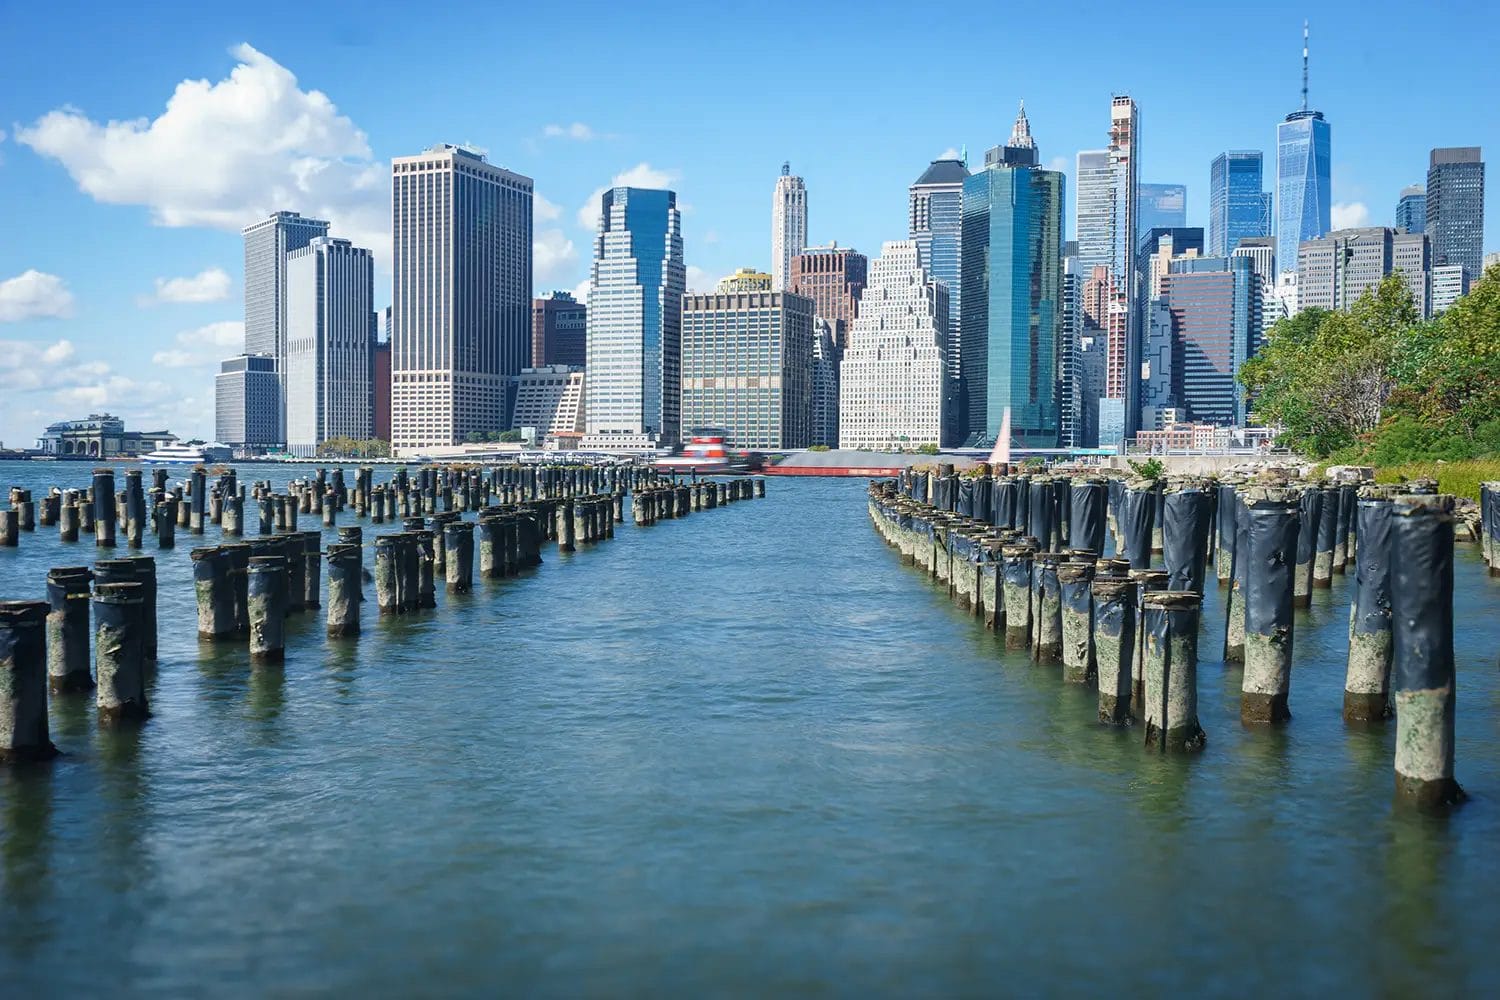
You don’t have to take your cityscapes in one shot by the way. By shooting as a panorama means you can improve the detail and overall resolution of your photo.
Turn the camera to a vertical orientation and shoot between 5-7 shots of the cityscape moving from left to right. Make sure you include a 20% overlap to help when it comes to editing.
Some cameras have a built-in panorama mode but it won’t carry as high a resolution as shooting individual frames and stitching them together in post-production.
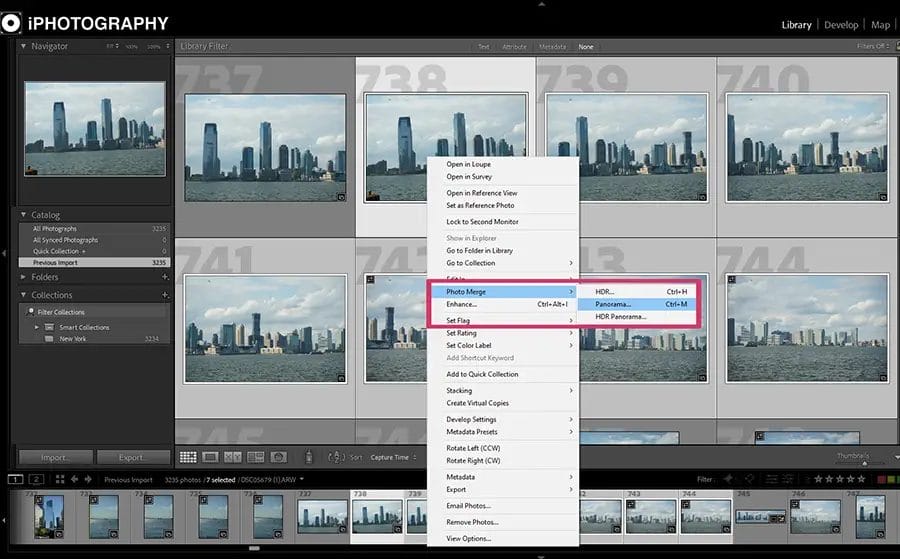
When using Lightroom, simply select all your individual shots, right click and choose MERGE>PANORAMA MERGE. The software will automatically stitch the shots together giving you three different perspectives on how to render the final panorama. It’s quick, easy and gives a higher quality file which is handy if you’re going to print your cityscape photography.

And there you have it! Dive into the world of cityscape photography with these tips and tricks up your sleeve. Remember, every city tells a story, and it’s up to you to capture it.
So, grab your camera, hit the streets, and let the urban landscapes inspire you. The city is waiting, and it’s your canvas to paint. Happy shooting!
Find everything you need to know in this guide to polarizer lens filters for photography. How do they work and which is the best to buy?
Discover TOP features in the Lightroom CC mobile app with this guide for enhancing your photo editing skills. For desktop and tablet too.
Shooting sunsets using amazing 5-in-1 magnetic lens filters from Kentfaith, the 1st choice for photo & video products.
Learn the basics of photography – fast – with our FREE 60-Second Photographer online course. Each class is short and sharp with simple, actionable steps that give you immediate results.
x 30 lessons

© iPhotography™
Become a confident and competent photographer in less than 30 minutes!
Before you leave, make sure you’ve secured your FREE online photography course (worth £29.99)
Each class is just 60-seconds or less making it the fastest and easiest way to learn photography!