Imagine you’ve decided to broaden your horizons and venture out into the big wild world as a photographer – but you aren’t too sure where to begin. It’s entirely up to you where you want to shoot. How do you know where your best photo location is? Let me help.
You might feel really passionate about a certain type of location or setting or just be spell bound at the vast number of things you can shoot.
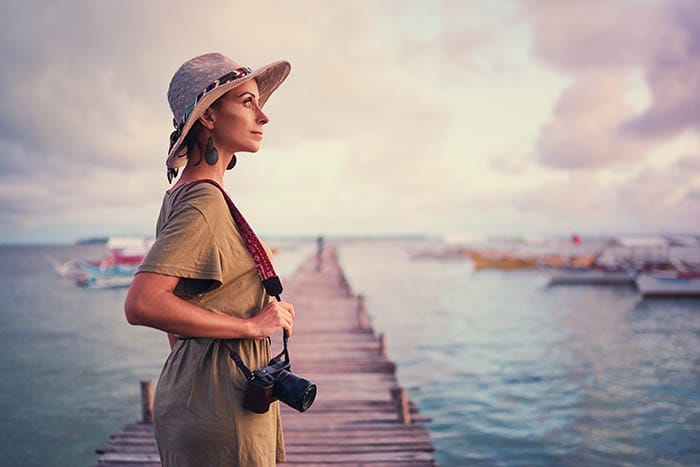
Location photography always help to tell a story, think about what kind of story you want to tell, or mood you want to depict. Whether that be a romantic beach setting or an eerie, dark forest scene, you are only limited by your imagination.
I’ve got 4 things for you to consider when choosing the best location for your outdoor photography.
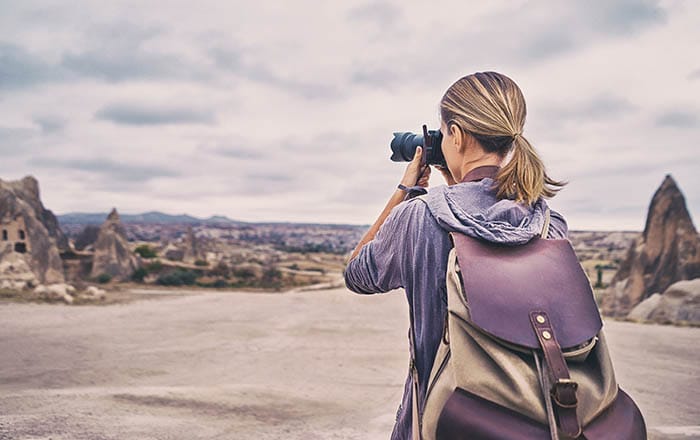
To begin with we would suggest going on a photography location scout. You don’t need to be a fully-fledged brownie scout to do this either. For the day you’re going to put yourself in Dora’s shoes, grab your camera and your friend and simply go exploring.
As you know you don’t always “see” things the same way you see through the camera. Therefore, it’s important to take various shots of different locations on your travels. This will help you gauge a feel if the location is right for you.
It’s like a first date; if you aren’t feeling it or the vibe isn’t right, get up and go. You haven’t made a commitment to that location after all!
It’s handy to have a friend by your side, not just for the company. Friends or family members can be a great source of practice. If you are choosing to use a model or subject in your photo, then see how this could work in your shots.
Think about lighting and angles at your locations, try out rough poses before you get down to the real thing.
Shooting on location as a photographer for the first time can be really exciting, you’re probably thinking “where can I go that’s quirky and exciting?”.
Well, remember background isn’t everything. It’s still about your subject focus and the end of the day and using the surroundings to really enhance them.


Using this type of location adds grit to your photo. There are endless possibilities, with an array of colours and textures. You could do unclose abstract shots, use a model and make use of the background to contrast with your subject. Remember to always get permission before strolling in with your camera!
It’s busy and edgy, could it suggest a certain type of lifestyle or feel? Hustle and bustle. If you choose a city have a look for quirky places to shoot, look for interesting lines and shapes that can add to your shot.

Provide a rustic element, there are never too many distractions, which can be ideal when shooting. You can always take a prop such as an old chair or box which would make for an interesting central feature within the location.
Remember photography is all about personal preference, style and perspective, so it’s all about what excites you and what works for you. Don’t go on a location if you don’t feel comfortable with what you’re doing because it will come through in your images.
By now you should have an idea of what and where you are going to shoot. Remember when on locations it’s all about finding angles and lines and exciting compositions.
Mountains, buildings and trees will not move, so you have to do all the leg work, the position of you as a photographer matters! Don’t forget to use the lines, colours, and textures to your advantage, making the most of all the visual elements to really enhance your image at the location.
Just because you’re out on location, don’t throw all your basic skills out of the window! All situations and locations are different, so it’s hard to suggest the perfect shutter speed, flash, or what style of frame to use.
It’s all down to experimentation, it will be time consuming, but the time you spend getting that setting just right on the camera will save you time on the post-production side.
Which then brings us on to the camera. As you all know, it’s a powerful tool and can create so many exciting things.
Before you get carried away with yourself on location it’s important you know what you can and can’t do. Dig out that camera manual guide and do a bit of late-night reading.
Experiment with settings filters in different lighting and surprise yourself with what that bad boy can do!
Combine your camera settings with your personal skills and you’ll be onto a winner.
We would always suggest going to your location a week or a few days before hand to really scope out the area. Find and document the areas and compositions that work well. This is also your chance to play around with your aperture and shutter speeds. Think about experimenting with filters and different angles.
Make sure you take down any notes of settings that you use. Ones that you find particularly interesting in preparation for the big day. There’s nothing worse than forgetting how you created a ‘look’ and leaving it to chance you could stumble on to it again.
Make sure you also check out any weather that could disrupt your shoot and check out wind speeds and sunlight hours prior to venturing outside.
On the big day make sure you give yourself time before you start ‘happy snappin’. Check out if there are any items, or rubbish that shouldn’t be in the shot, and that would cause any unwanted attention and distract from the subject. After all, nothing says romantic like that crushed can of beer on the beach, does it?
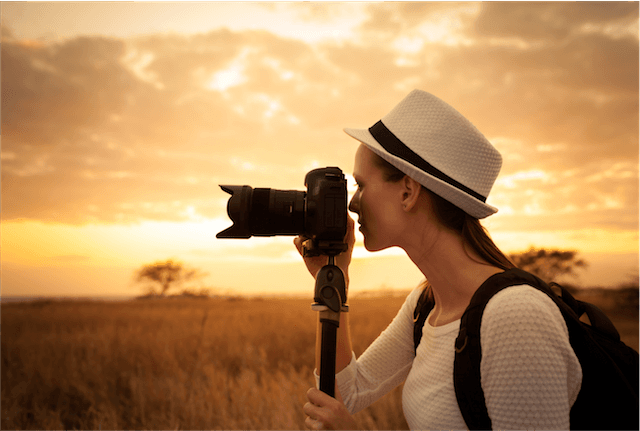
It’s all about practice, experiment with heights and angles, once you think you’ve got a shot, switch positions, mix it up. Make the most of your time there, don’t get home and think ‘oh I wish I’d just shot it from this angle, or with a slightly higher exposure’…don’t be that person.
Have fun with it, the more practice you get in, the more confidence you’ll build and then ease into your own style and flow!

Photographers elevate your photo editing with Adobe Photoshop Express, a beginner’s guide for spectacular results.
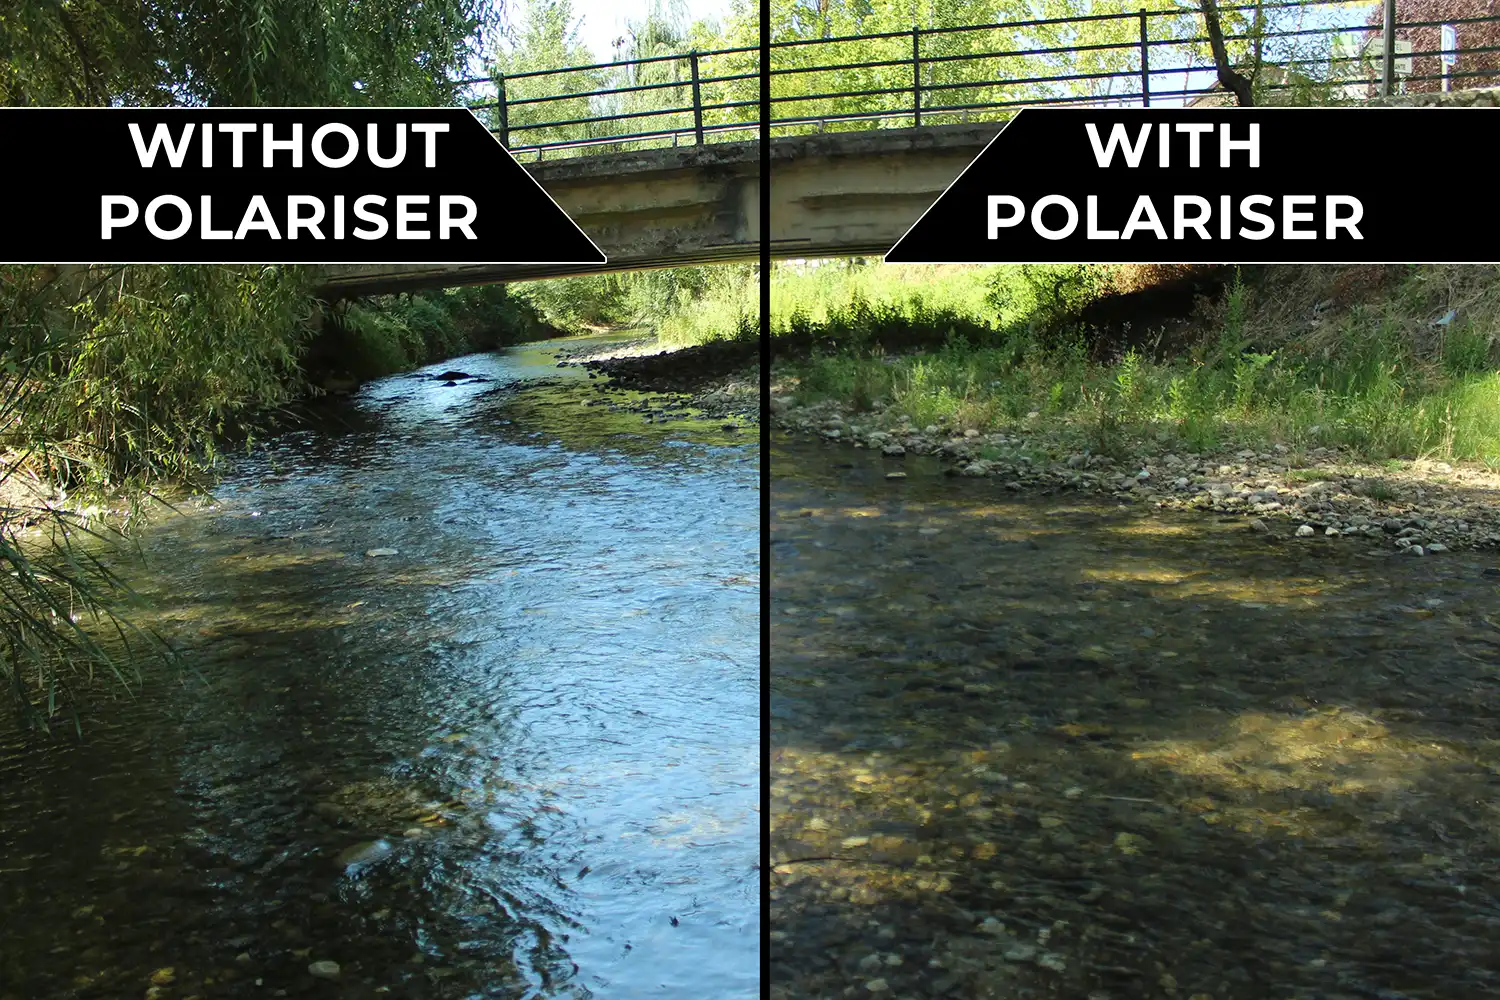
Find everything you need to know in this guide to polarizer lens filters for photography. How do they work and which is the best to buy?

Discover TOP features in the Lightroom CC mobile app with this guide for enhancing your photo editing skills. For desktop and tablet too.
Learn the basics of photography – fast – with our FREE 60-Second Photographer online course. Each class is short and sharp with simple, actionable steps that give you immediate results.
x 30 lessons

© iPhotography™
Become a confident and competent photographer in less than 30 minutes!
Before you leave, make sure you’ve secured your FREE online photography course (worth £29.99)
Each class is just 60-seconds or less making it the fastest and easiest way to learn photography!
