 Stephen Walton
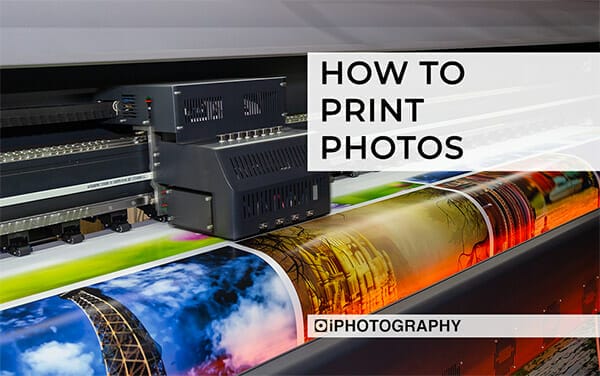
Printing photos is not a dying art – there are still many new photographers who love to see their art on display in a physical form.
This guide is designed to help a beginner photographer understand how to capture, prepare and print a photo to the best quality possible.
We’ll answer this one quickly – RAW. But not every camera has a RAW setting, especially smartphones, compacts and older cameras. In those situations, aim to use JPG Fine, not JPG Standard.
RAW files contain the highest level of detail and it’s that finer detail you need to translate into a quality photo print.
What’s the difference between RAW and JPG? Click here to find out.


When printing photos you already know the highest quality images translates into the highest quality print. To get the best possible image then try this little pro trick.
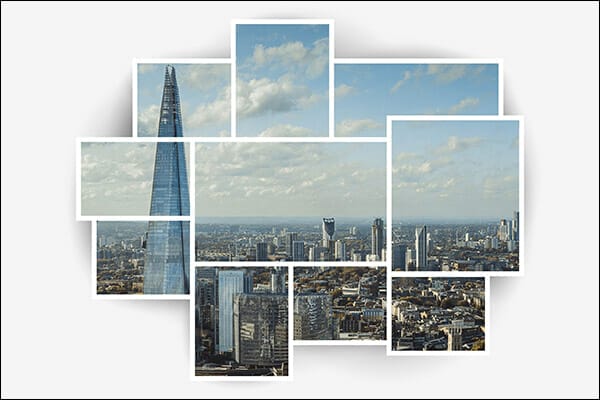
When shooting still objects or landscapes (with no moving elements) zoom in to your scene and take multiple images of different parts, making sure there is no gaps. Take all these shots and composite them together to create a super high res version of that scene/object.
You are using the full power of your sensor in each shot rather than a portion of it as a portion of an overall shot.
We’ve already said, shoot in RAW so when editing your photo, to prepare it for print, it’s important to preserve as much of that detail as possible. Dynamic range is key to ensuring your print looks amazing.
Turn on your editing software’s histogram and aim to keep any changes in levels, contrast and brightness off the extreme edges of the histogram. This will help retain detail when you print.
Of course, you’ll have aimed to keep your shot sharp when taking it, but there’s no harm in giving it a little boost in sharpness when editing, but not too much. Lightroom has its own dedicated sharpness slider and Photoshop has options under FILTER>SHARPEN.
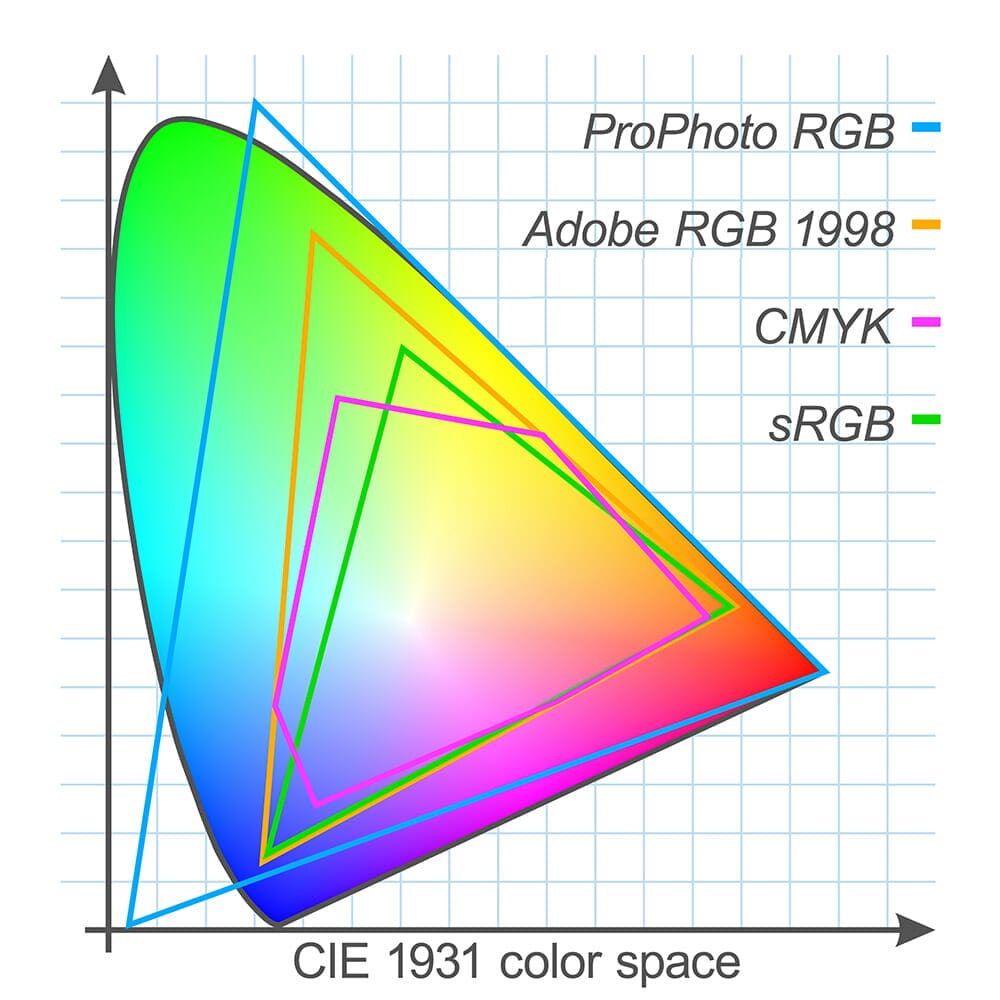
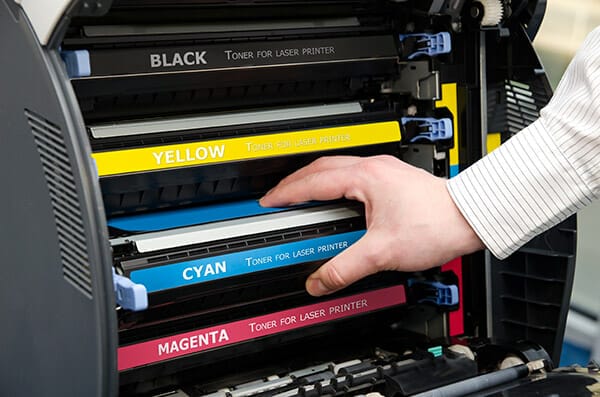
Colour profiles is the other area you need to make sure you’ve changed. Depending upon where you are having your photos printed some businesses may ask that you send your pictures in CMYK profile and others may still prefer RGB. Either way, you need to check.
CMYK colour space is traditionally used by printing businesses, but technology is always changing. CMYK offers a wider colour gamut (i.e. a range of colours and tones) which means colours are less compressed, but some tones such as reds are invariable softened in comparison to an RGB profile.
If you need to change colour profiles before printing your photos, then it’s really easy to do in Photoshop. Simply go to IMAGE>MODE>RGB COLOR / CMYK COLOR.
Before finalising your editing, zoom in. Zoom in on your whole image to 100% and check that everything that you can see you want in the final print as that’s the level of detail that should be visible.
Read more about colour spaces here.
Resolution when printing photos is vital to get correct for the place you are sending your pictures to, or even when doing it at home. Traditionally 300DPI (dots per inch) is a printer’s standard.
RAW camera files typically produce images to this resolution when shooting, but you can always check in Photoshop by choosing IMAGE>IMAGE SIZE and seeing what the resolution is. You can always change it to be 300DPI, but the dimensions of the image will change accordingly to stop the image from being low resolution (res).
Remember to check the DPI. It can range from 200-600 for different print companies.
Ideally, change the dimension of the RAW image when you start editing so you can see how much detail there will be. If your printed photo is going to be a different ratio to the original, then crop it to those proportions at the beginning of editing.

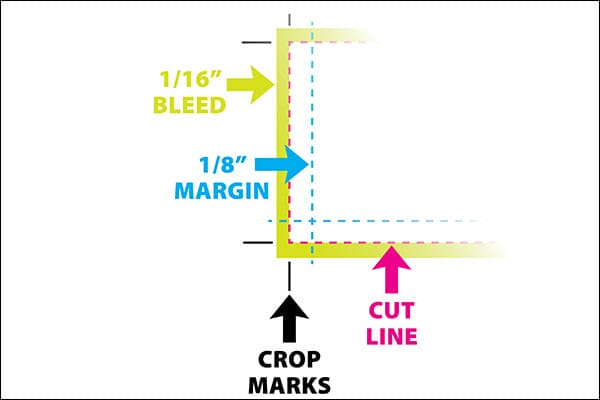
Printers tend to prefer having excess space on a printed photo called ‘bleed’. This is an overspill which is normally cut off so that the final version results in the intended crop. Bleed is normally 3mm extra on all sides.
To add this excess in Photoshop then choose IMAGE>CANVAS SIZE and add 3mm onto the current dimensions on the height and width. A small thin border will appear around your image which you’ll need to stretch your image over to cover.
Remember that anything now covering that 3mm excess will likely be cut off in the printing process, so make sure it’s not important.
Read more about different types of photo paper here.
DPI = Dots per inch
PPI = Pixels per inch
DPI relates to how printers interpret resolution and PPI relates to how camera sensors determine it. DPI when it comes to printing your photos is really what you need to concentrate on. It is a reference to how many dots of ink can be placed in a line within the span of 1 inch.
PPI refers to how many pixels are displayed in 1 inch of your digital photo.
There are 3 common types of printers you’ll encounter as a photographer. All use different types of technologies to develop the final image.
Inkjet printers use liquid ink to make dots on the paper. They are the most versatile and easy to use, which is why inkjets are so popular for home users.
The only downside is the financial implication – inks aren’t cheap, especially when printing colourful photos. If you can try to use branded ink from the same manufacturer but be aware there are 3rd party options that are cheaper.
Cheaper colour laser printers aren’t as good as inkjets for printing photos. They tend to excel for printing documents, presentations, illustrations etc.
Laser printers can be refilled cheaply just like inkjets and the same considerations (and manufacturer restrictions) apply. When buying a colour laser printer, look for one that has separate colour ‘toner’ tanks for cheaper refills.
If you just want to print quick snapshots from your holiday, then consider a dye-sublimation printer.
Dye-Sub printers were previously the only way to print glossy photos but inkjets caught up fast. Since Dye-Sub printers aren’t much use for anything else, that makes them difficult to be the standout choice over inkjets.

Popular memory cards for photography – what’s the best SD card for your digital camera? Choose the right capacity and class speed in our guide

Discover the BEST way on how to clean a camera sensor using swaps, rocket blowers and pencil brushes to give your shots a dust-free finish!

Capture the magic of the night with our beginner’s guide to night photography. Learn tips and techniques for stunning results.
Learn the basics of photography – fast – with our FREE 60-Second Photographer online course. Each class is short and sharp with simple, actionable steps that give you immediate results.
x 30 lessons

© iPhotography™
Become a confident and competent photographer in less than 30 minutes!
Before you leave, make sure you’ve secured your FREE online photography course (worth £29.99)
Each class is just 60-seconds or less making it the fastest and easiest way to learn photography!