 Stephen Walton
Here are some handy festival photography hints for those of you going to any festival this summer. At iPhotography™, we want to ensure that you capture all the highlights with your camera!
To begin with, shooting at any type of festival photography (whether it be music, food or large outdoor events). It requires a lot of skill as a photographer, and a lot of patience.
Furthermore, you have to have good stamina, be quick on the ball and work at a fast pace to make sure you don’t miss out on anything.
Make sure you know the ins and outs of the event line up and create an itinerary of where you’re going to be throughout the day.
Therefore, the main problem you will face when shooting festival photography is a distraction. There is such an array of things to do and capture, you could easily be spoilt for choice and get carried away, so stay focused.
But make sure you give yourself plenty of time to arrive. Scan the area and find the best spots, positions and angles for the day. Additionally, look for areas that give you good vantage points, allowing you to get the most from your shots.
Furthermore, as the day progresses that well evidently become harder. This is because the crowds will begin to grow. For example, if you don’t fancy your chances at elbow wars with the crowds. Make sure you find a spot that gives you space and height.


Keep a clear head and keep in mind the techniques you have acquired and learnt. As the excitement and atmosphere builds, it can be easy to make mistakes when shooting.
Because with festival photography it’s important to remember that although we may not be accomplished authors, we are visual storytellers. Furthermore, our shots should always tell a story, convey emotion and engage the viewer.
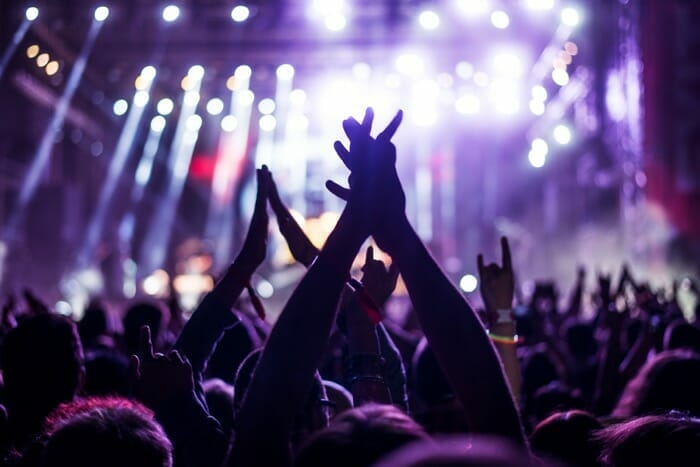
The reason festival photography is so striking and powerful is because of the atmosphere that comes across in the images. They instantly uplift you and make you wish you were there.
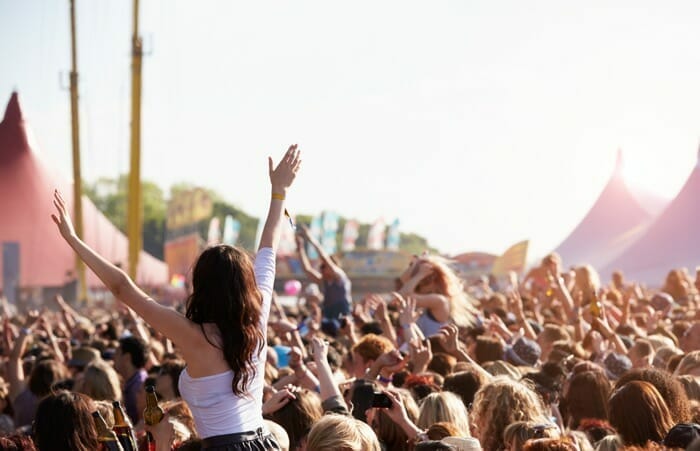
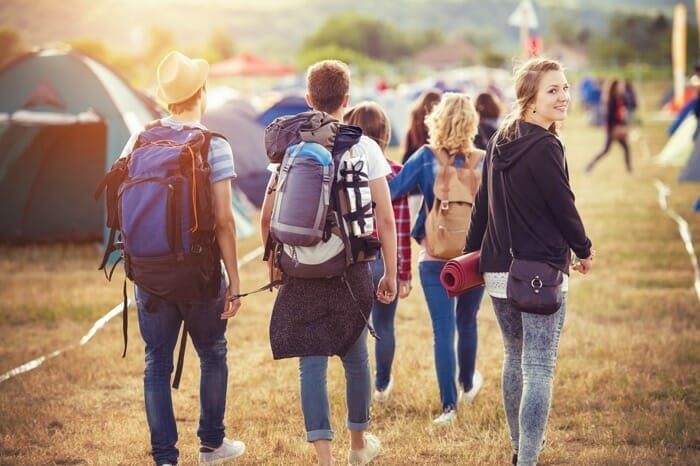
Pictures that work well are images that create a narrative; so during a festival, it may be nice to focus on the timing of the day. For example, shots of excited people entering. Then get some shots of stands and crowds gathering as the day fades into night).
1. Firstly, establish a scene: if the weather calls for wellies, make that a focal point of your images.
2. Secondly, make sure your shots tell a story, so have a beginning, middle and end.
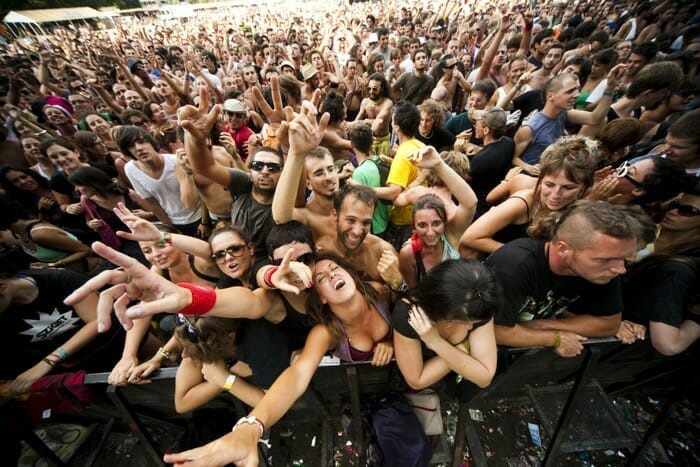
3. Thirdly, show the emotions on people’s faces in your shots, to convey emotion to the viewers.
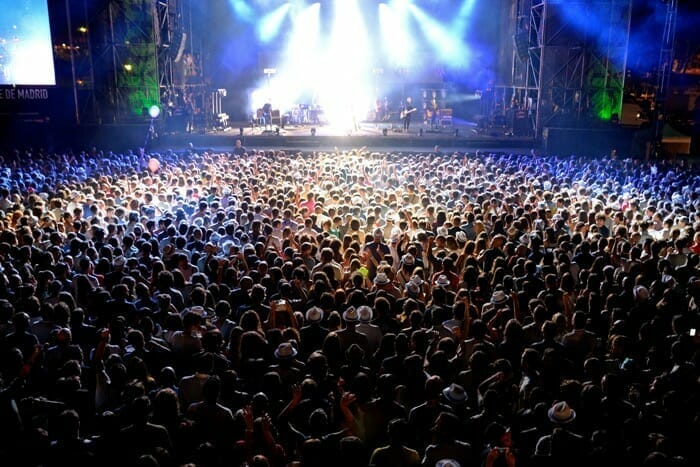
4. Get shots that show the scale of the festival: overwhelm viewers with the mass of people, the range of activities, the atmosphere, the lights and excitement – show your viewers (who have never experienced festivals) what they are missing out on.
5. Finally, get a mixture of shots. The last thing you want to do is end up with 200 images of the backs of people’s heads!
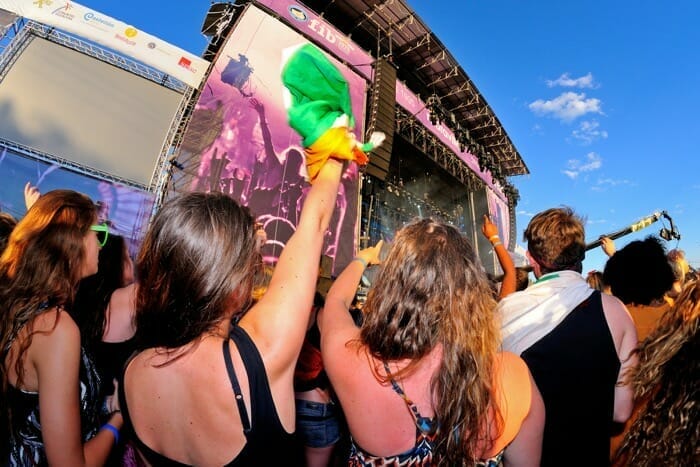
Festival photography also give you the opportunity to capture extraordinary characters and personalities – some of which you wouldn’t see on a daily basis. As a result, people at festivals like to let their hair down, dress differently, let loose and get wavey!
As a result, candid shots often work better than posed shots at festivals and events, as they tend to capture the heart of the event. Confidence and personalities shine through – rigid, stiff, awkward poses are definitely not the order of the day.
Why not try capturing wider shots that set the scene; provide the viewer with a shot that displays the vast size and depth of the festival? Mix these shots with nicely composed detailed images; focus on pieces of costume, drink or food.
Similarly, look out for colourful, quirky, interesting stalls that catch your eye, and focus on taking narrow depth of field shots of objects.
When shooting festival photography you are guaranteed to see some form of glitter and paint about. So why not focus on capturing those small details – these are the little details that make festivals so unique and individual?
You’re at a festival, so make sure you have fun and let loose. Why not get creative with your shots, there are no strict guidelines?
You don’t have to make sure your pictures are perfectly composed, pin sharp and full of detail. Furthermore, why not try slowing your shutter speed down to blur lots of motion and see what effects you get. You might be surprised by how impressive the end results of these shots can be?
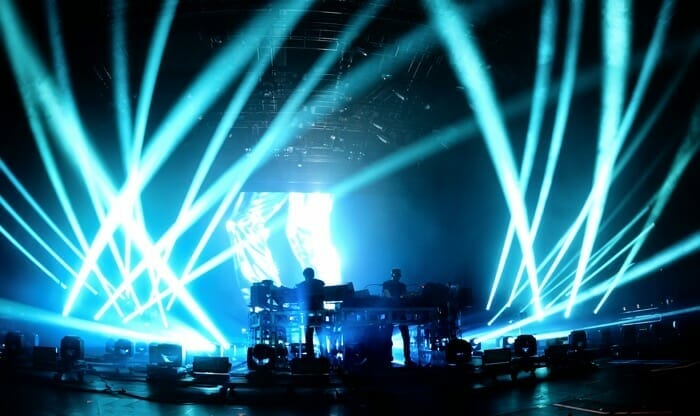
With festival photography, take advantage of the interesting light opportunities. The place will be full of bright lights, strobe lights, lights of all different colours; experiment with your shutter speed and see what vibrant, striking action and moments you can capture.
You’ll often experience a mixed range of weather and natural lighting throughout the day (especially if you’re in the UK for instance); these conditions can be very unpredictable and out of your control. But they can also add to the experience as a whole, providing a huge variety of different shots and photographic opportunities.
With a long days work full of shooting ahead, you will want to ensure your battery is fully charged.
Firstly, make sure you have at least one spare battery with you – it would be a shame if your camera died towards the end of the festival or event (just before all the big, spectacular things happen) and you miss out on capturing them.
Secondly, the same goes for memory cards! Image storage is of great importance, and musical festivals especially, are like marathons. You will need ample amounts of storage, to be sure you can capture the whole event.
By the way, memory cards are just as important as batteries, you’ll need to have plenty of those bad boys in your possession throughout the day.
Suggesting what lenses to take with you for a festival can be difficult; it really depends on your style of photography and what kind of images you are hoping to capture.

This type of lens would be ideal for headlining acts or any type of act where the crowd gets overly busy. If you want to take a step back, but still get good quality shots, the zoom is going to serve you well here – it will help provide you with the extra breathing space.
Ultra wide lenses are perfect for capturing the atmosphere and scale of festival photography. They are ideal for those of you wanting to capture large crowds and stage shots. However, using this type of lens will only really have one use and isn’t as versatile as a mid range lens, but it’s still great to have the option.
Using a fisheye lens will create those great wavey festival shots, which look quirky and exciting! You can even get clip on fisheye lenses (at extremely low cost) to use on your smart phones! They are great fun for you selfie lovers out there!
This is ideal for those of you who want to enjoy the day, without carrying heavy equipment. If the weather for the festival is anything like it is here in the UK, for example, you’re guaranteed it will rain; this type of camera is perfect for those of you who are concerned about damaging your camera from rain or mud.
This style of camera body is also ideal with large powder paint colour bombs! You can very easily wipe the coloured chalk or paint from your camera (knowing it won’t damage the lens or risk losing the images taken).
1. Firstly, never leave your camera or equipment unattended and only take the necessities.
2. Secondly, if you take an excessive kit it will not work in your favour, as you have to carry it around for a long period of time, so pack light!
3. Thirdly, walking around and switching lenses will become hard work, so stick to just one or two.
4. A tripod will be a bit of a nuisance, but you may find a monopod will take up less room and will be easier to lug around at the event.
5. If you’re working with a DSLR (or handheld camera) be vigilant and aware of where your camera is at all times.
6. The camera strap will stop your camera from getting knocked out of your hands, nevertheless, if you walk around in busy areas with it around your neck, not only will it get in the way, you could also injure yourself if it gets tugged off your neck.
7. Finally, ensure you are wearing suitable footwear so you don’t fall over and break a leg (or worse still, your camera).

Shooting sunsets using amazing 5-in-1 magnetic lens filters from Kentfaith, the 1st choice for photo & video products.

Popular memory cards for photography – what’s the best SD card for your digital camera? Choose the right capacity and class speed in our guide

Discover the BEST way on how to clean a camera sensor using swaps, rocket blowers and pencil brushes to give your shots a dust-free finish!
Learn the basics of photography – fast – with our FREE 60-Second Photographer online course. Each class is short and sharp with simple, actionable steps that give you immediate results.
x 30 lessons

© iPhotography™
Become a confident and competent photographer in less than 30 minutes!
Before you leave, make sure you’ve secured your FREE online photography course (worth £29.99)
Each class is just 60-seconds or less making it the fastest and easiest way to learn photography!