 Rachel Sinclair
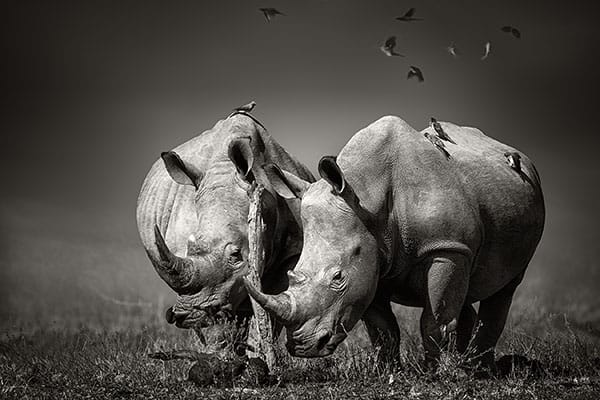
While wildlife in the zoo looks great in colour to give that natural feeling, don’t be afraid to try out some black and white too.
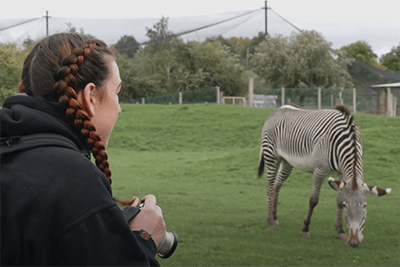
Certain animals in zoo photography will look great in mono. Zebras (of course) and other animals whose fur are quite neutral won’t lose anything by not being in colour so consider something a little more stylised.
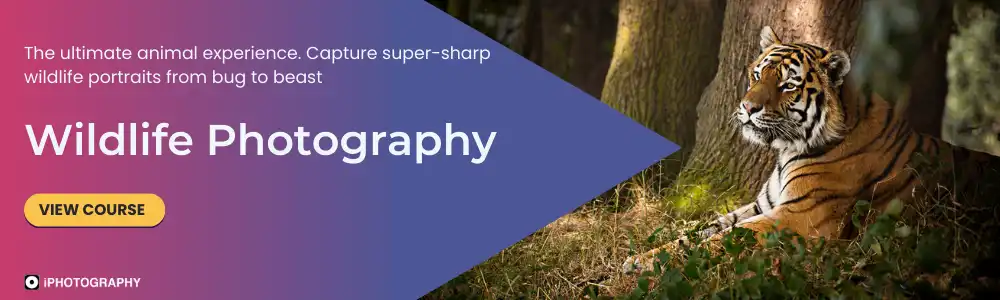
I’ve got 9 tips for taking amazing zoo photos that you can try out on caged animals, ones behind glass and even those large enclosures.
Watch iPhotography Head Tutor Rebecca guide you through these practical tips to improve your wildlife photographs.
When shooting through glass get as close as you can to avoid any distracting stickers and zoo information. The other benefit of getting close is that it’ll help cut down on reflections and glare.
You can invest in a rubber lens hood that gives you a cleaner shot through the glass without damage.
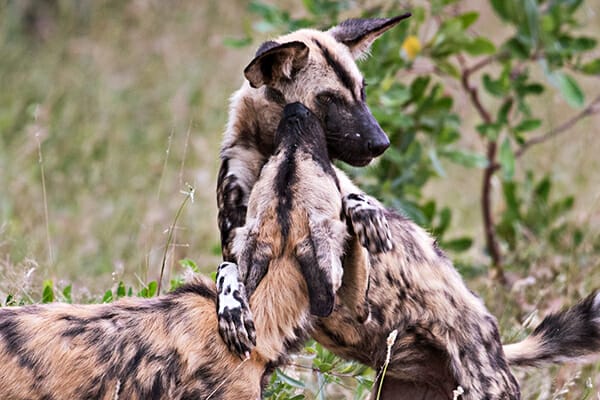
Some animals roam in packs, but if you want an image of just one then you’ll need to pick your moments. Sometimes an animal on their own can look more dramatic in a wild setting then being bunched up together with their pack.
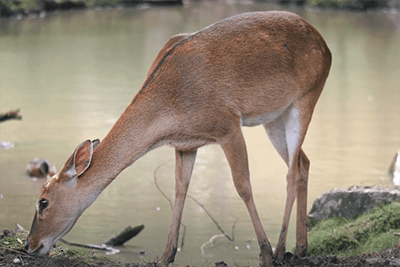
To make every shot special focus your zoo photos on what makes each animal iconic. It may be their fur, size, colour, markings etc., Get close up shots of these little descriptive elements to make each image different.
Zoos can get really busy, especially in the summer months, so planning your trip ahead of time is a great move. Check the opening hours and get there early. Being one of the first through the gates should get you the best spot in front of the enclosure.
See if your zoo has a route map to download to your phone so you can plan where to go next when it starts getting busy.
Be prepared for a long day as it normally gets quieter again in the late afternoon, which could be another great time to focus on the popular animals.
Avoid shooting at eye level all the time. For smaller animals like Meerkats and Penguins then consider getting down low and shooting upwards as they sit on rocks.
This can make your animal look more majestic, plus it can cut out distracting backgrounds if you angle it so the sky or trees are behind them instead.
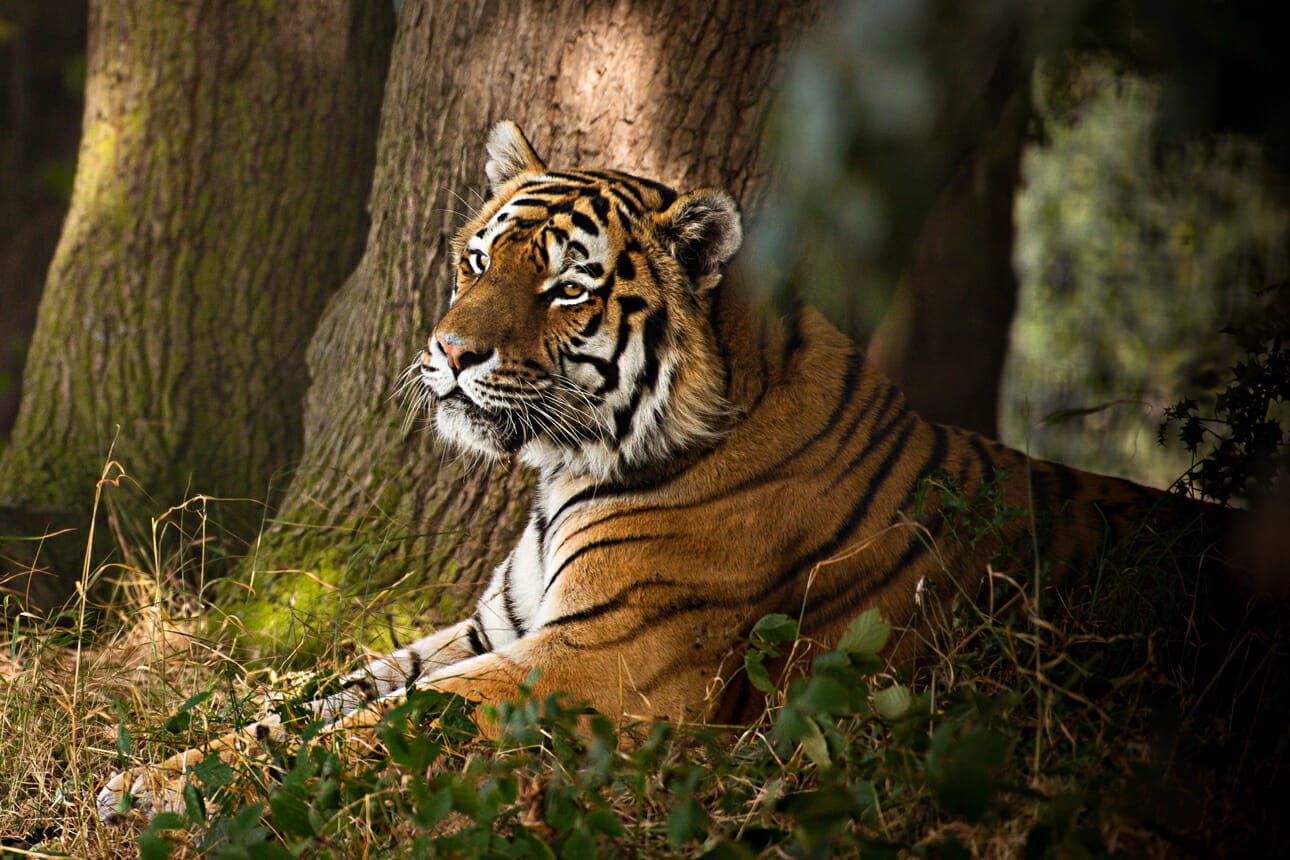
Making your animal look isolated in a busy scene is another way of cutting out distracting elements.
Use an aperture of F/4 or wider to make sure you’re getting a nice clear outline of your subject, while also blurring anything else.
We’ve said it a couple of times already but watch out for distractions. It may be other zoo visitors, zookeepers, cages in the distance, sheds, signage etc.
All these objects can be distracting to the eye, even if they’re blurred. Avoid having strong rich colours in the background as they’ll only draw attention away from your animal.
While wildlife in the zoo looks great in colour to give that natural feeling, don’t be afraid to try out some black and white too.
Certain animals in zoo photography will look great in mono. Zebras (of course) and other animals whose fur are quite neutral won’t lose anything by not being in colour so consider something a little more stylised.
Always leaving the most important thing till last – be patient and calm. In a zoo you’re not only contending with the animal’s behaviour but also the people around you.
You may be struggling to get the perfect angle, so just back off and wait. If you plan your route maybe you can go to your next stop and then double back when it’s quieter.
Don’t settle for second best in wildlife photography as no two moments are the same.

Shooting sunsets using amazing 5-in-1 magnetic lens filters from Kentfaith, the 1st choice for photo & video products.

Popular memory cards for photography – what’s the best SD card for your digital camera? Choose the right capacity and class speed in our guide

Discover the BEST way on how to clean a camera sensor using swaps, rocket blowers and pencil brushes to give your shots a dust-free finish!
Learn the basics of photography – fast – with our FREE 60-Second Photographer online course. Each class is short and sharp with simple, actionable steps that give you immediate results.
x 30 lessons

© iPhotography™
Become a confident and competent photographer in less than 30 minutes!
Before you leave, make sure you’ve secured your FREE online photography course (worth £29.99)
Each class is just 60-seconds or less making it the fastest and easiest way to learn photography!