 Stephen Walton
A nice weekend walk in the outdoors is great for the creative soul but take your camera with you still as there is a lot to explore with woodland photography.
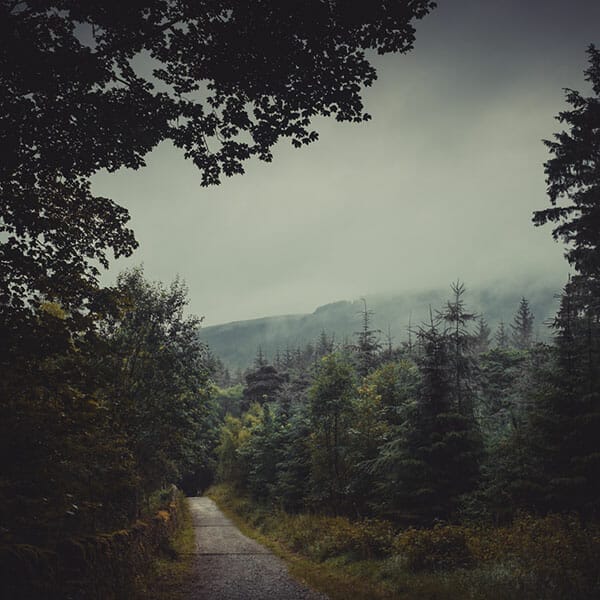
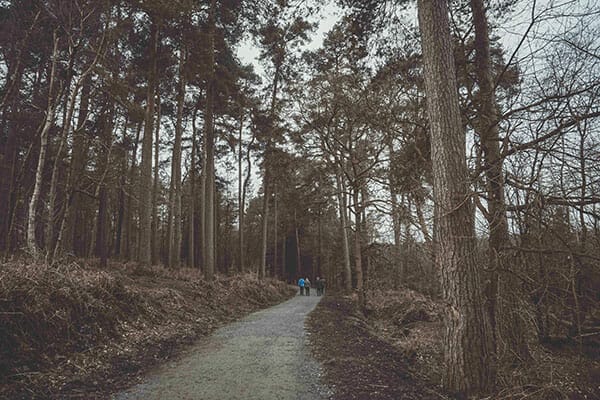
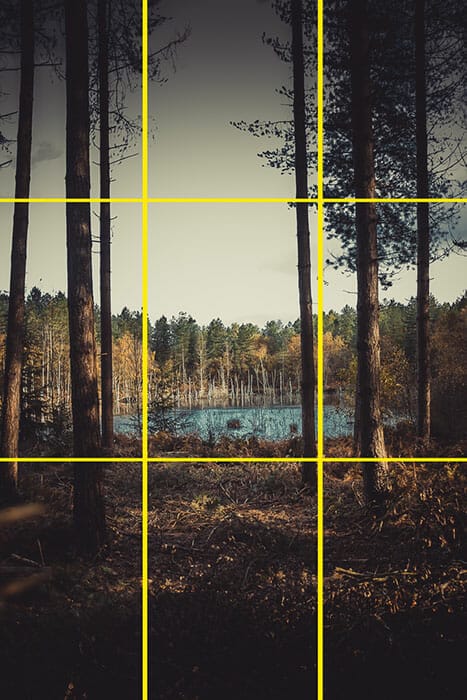
Woodlands vary in terms of the wildlife and plant species within them, but the general view is mostly the same. Tall trees, winding paths, dabbled light and inaccessible areas.
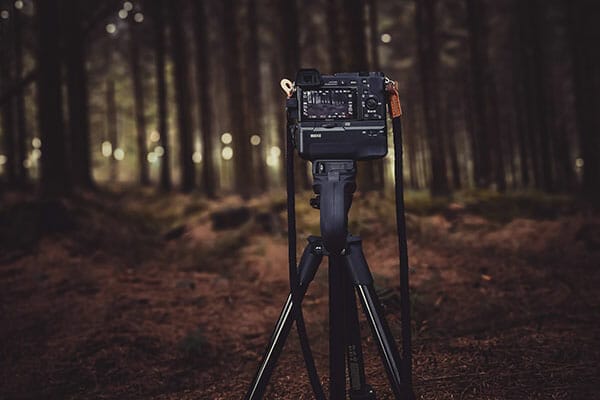
With all this in mind choosing the right kit to take is important. Given that the terrain can be a little rugged, packing light is sensible. Packing a good zoom lens and a macro is all you really need in our experiences.
Your zoom should cover from 18mm to about 100mm and the macro around 60 or 100mm. This will help you deal with the small intricate textures as well as shooting the wider and sometimes inaccessible views.
Don’t use a flash, as the beauty of woodland photography is that it’s all led by natural light. A flash, depending upon the density of trees, wouldn’t do much justice in a cluttered environment.
If you’ve got space for a tripod and small gold reflector then it’s definitely worth throwing in the bag for macro shots, as you’ll see later.

Time to change out the lens for a macro approach to woodland photography. You need to take your time and look for something special. Try not to disturb the wildlife and delicate eco-systems when searching for something interesting.
Pick out different coloured leaves and rest them on fallen trees, capture pinecones on the floor and watch out for native plants blooming in the light.
A shallow depth of field will help the brightness as woodlands can be a very dark place, regardless of the time of day. Use a spot focus method for small macro shots.
Using these macro shots next to the larger vistas in a collage can give a really nice impression in a photo album of your visit.

Think of woodland photography in two different ways – the big view (trees, paths, skies) and the microenvironment (leaves, plants, insects). Each need a different approach – let’s start off with the big view.
Some maintained woodlands have paths already marked out. Use these paths as leading lines to feature through your composition. Winding paths look great to meander through beautiful woodland. Get down low to make the path appear closer and wider, it’ll draw audiences in faster.
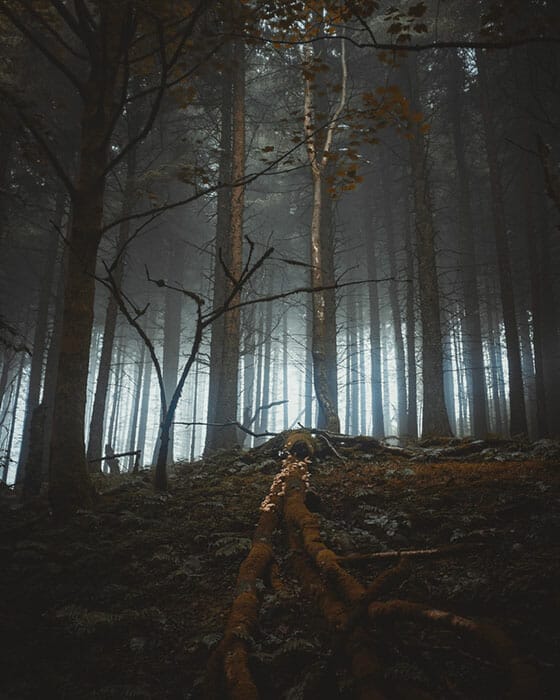
Look for trees with unique markings, or ones that stand out in a barren area. Using a shallow depth of field helps increase that feeling of separation from everything surrounding.
Apply techniques such as the rules of thirds where possible to proportion your photo correctly. The top third should be the sky, the middle is the tree/woodland subject and the lower is the grass/woodland floor.
Alternate the orientation of your shot, especially with tall trees. Let the trees suggest which way you should shoot – if they’re very tall shoot portrait, if they aren’t shoot landscape.
If you’re in a cluster of trees get up close to one but focus further into the distance. This will create a foreground blur and introduces a voyeuristic look in the photo – as if we are peeking around a tree at something.
The most interesting light for woodland photography comes in the early mornings. When the light is strong and bursting through the woodland canopy is when you want to be out and shooting. The strong light rays will find any opportunity to illuminate the forest floor.
As the light moves throughout the day the rays will soften and the effect lessens so early mornings are the best. This strong light can cause problems with backlighting through.
If you want to capture little light flares by shooting into the sun, then make sure you’re not underexposing other objects facing you. Consider bracketing your exposure to get the most balanced result.
Woodland photography is not only a therapeutic pursuit but it’s also got great wellbeing benefits.
Spending time in nature and just appreciating the big and small things around us can re-engage our creative mind without the pressure and noise of a busy urban setting.

Shooting sunsets using amazing 5-in-1 magnetic lens filters from Kentfaith, the 1st choice for photo & video products.

Popular memory cards for photography – what’s the best SD card for your digital camera? Choose the right capacity and class speed in our guide

Discover the BEST way on how to clean a camera sensor using swaps, rocket blowers and pencil brushes to give your shots a dust-free finish!
Learn the basics of photography – fast – with our FREE 60-Second Photographer online course. Each class is short and sharp with simple, actionable steps that give you immediate results.
x 30 lessons

© iPhotography™
Become a confident and competent photographer in less than 30 minutes!
Before you leave, make sure you’ve secured your FREE online photography course (worth £29.99)
Each class is just 60-seconds or less making it the fastest and easiest way to learn photography!