Winter photography is not a time to put the camera in the cupboard a few months. Just because the weather isn’t warm it doesn’t mean photography stops.
I’ve got lots of ideas and tips about how to prepare your camera for harsh winter conditions and the best settings for shooting winter photography.
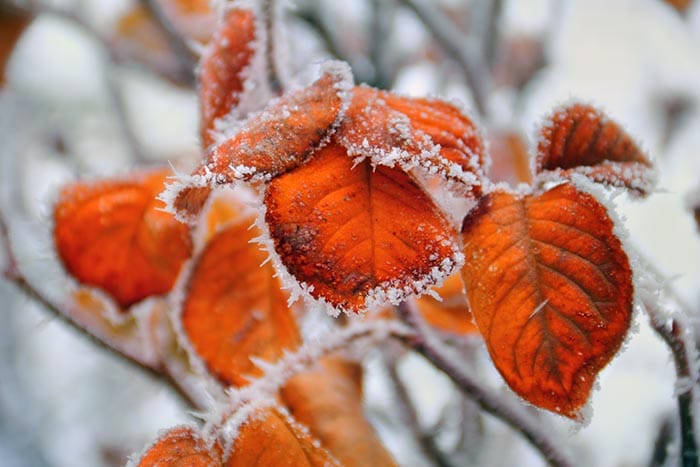
There are lots of ideas you could shoot in the winter months from falling snow, icicles, frozen lakes, frosted plants through to hot mugs of mulled wine, children throwing snowballs and simple glittering lights across the town.
Why not use your newfound photography knowledge to capture your best winter photos yet?
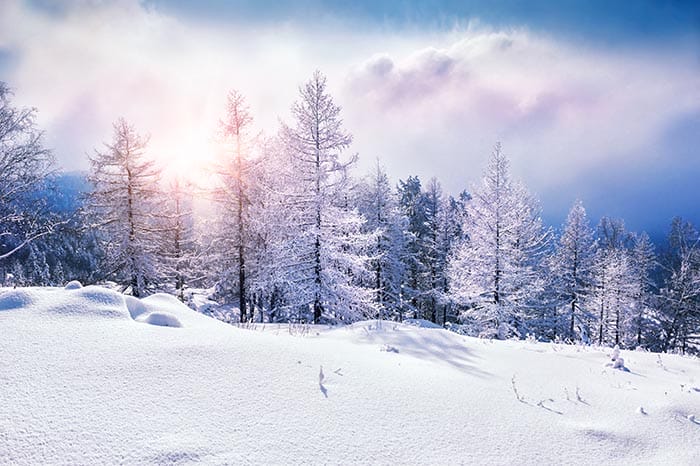
Winter presents photographers with the harshest weather to work in.
The winter days are shorter, which limits our time to capture great images. Combined with a winter sun, which sits lower in the sky creating longer shadows, it can make our photographs more high key than we may want.
But how do we retain our highlights, whilst not sacrificing our shadow detail?! Don’t worry, at iPhotography have compiled the perfect winter photography guide for taking stunning photos in the harshest conditions to make sure your photos glisten like tinsel!
It is vital that your camera is in tip-top condition before heading out into the cold, as winter weather forces us to operate differently with our kit.
Condensation is the biggest killer of cameras in the cold months. Do not place your camera under your coat in hopes of warming it up. The warmth of your body heat and the moisture from sweat can be potentially harmful.
Plus, there is nothing worse than whipping out your camera for that once-in-a-lifetime shot only to have it fog up as soon as it’s exposed to the cold.
The best way to eliminate this threat is to place your gear back into your kit bag after you’ve once you’ve finished shooting outdoors and don’t open it up again until you’ve been home for a couple of hours. This allows your gear, particularly your camera, to slowly warm up to room temperature.
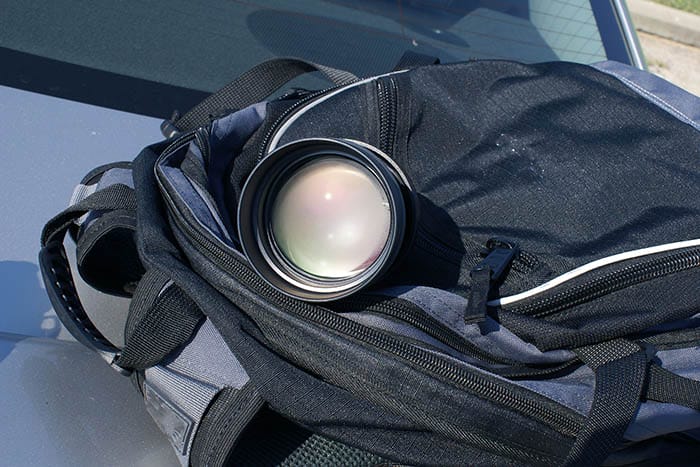
Don’t be overly confident of wanting to capture images with telephoto, wide angled, fisheye and prime lens before you go out. The intentions are great, but the reality is that sub-zero temperatures will limit your willingness to constantly opening your bag and changing lens and settings whilst your fingers are turning in to icicles!
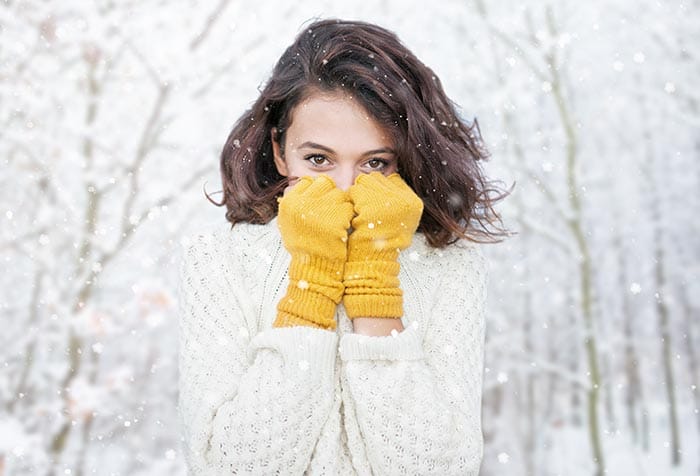
Instead of losing fingers to frostbite, take out a zoom lens which covers short to long focal lengths which will still give you variety in your shots. (And pick up a pair of fingerless gloves to help with the frost!)
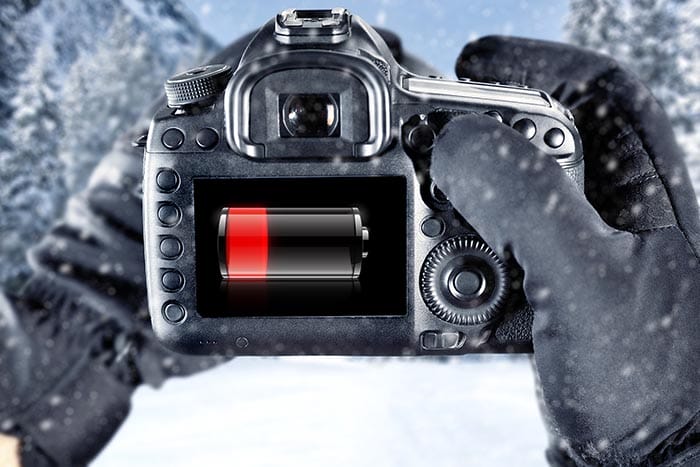
Other things that can give up easily in cold weather, are your batteries. Always pack a couple of spares and keep them warm for when you need them. Cold weather severely drains battery power by up to 50% and if you aren’t aware then your shoot could be over quicker than you think!
Invest in a strong camera neck or wrist strap to keep control on your kit, the last thing you want to happen is to lose your footing on icy floors and drop your camera on hard surfaces.
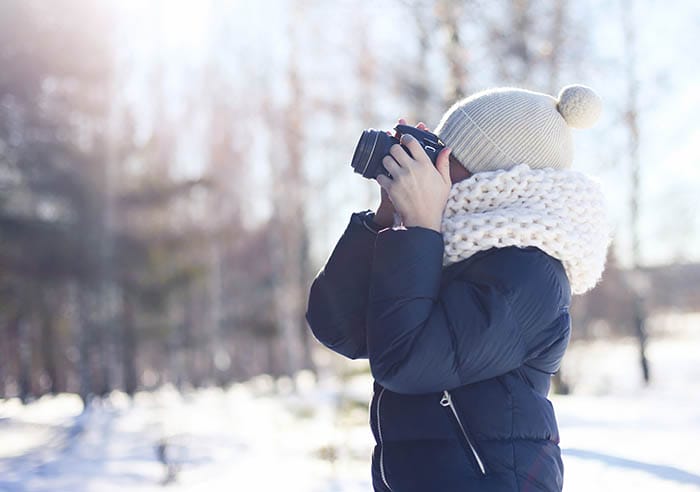
To help cut down on that bright winter’s sunshine then of course small apertures will help, but if you’re a lover of shallow depth of field then using filters will allow you to keep the shallowness along with the correct exposure.
Grad (Graduated) filters are perfectly made for this situation, half filters the skylight and the landscape exposure remain the same – best of both worlds! Just make sure it is screwed on the right way around!
UV or Skylight filters are generic filters that you can attach on top of any filter to protect the front element from snow and debris.
Polarizing filters will darken skies and make blacks appear crisper, giving more definition to clouds.
Yellow filters can be useful to counteract the blue tones reflected by snow from the sky.
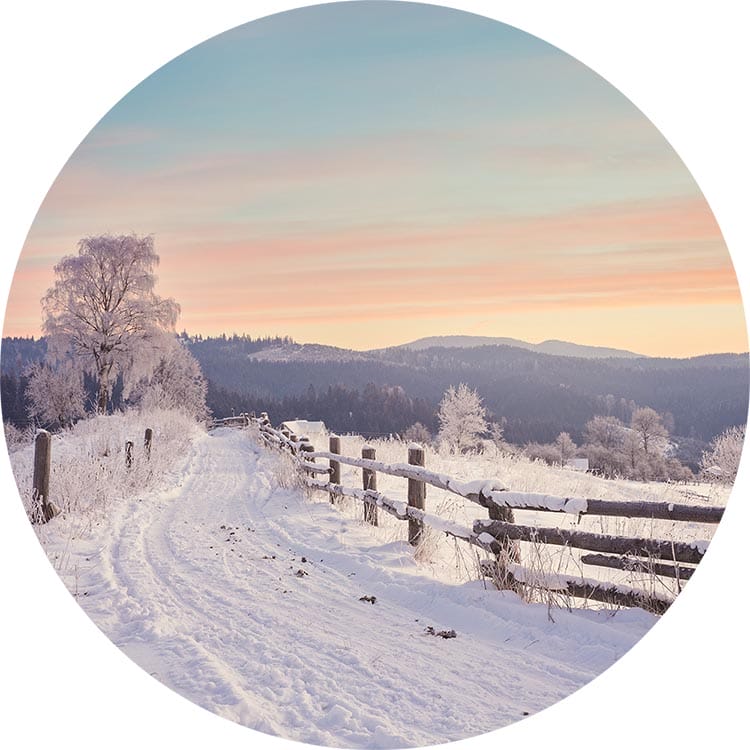
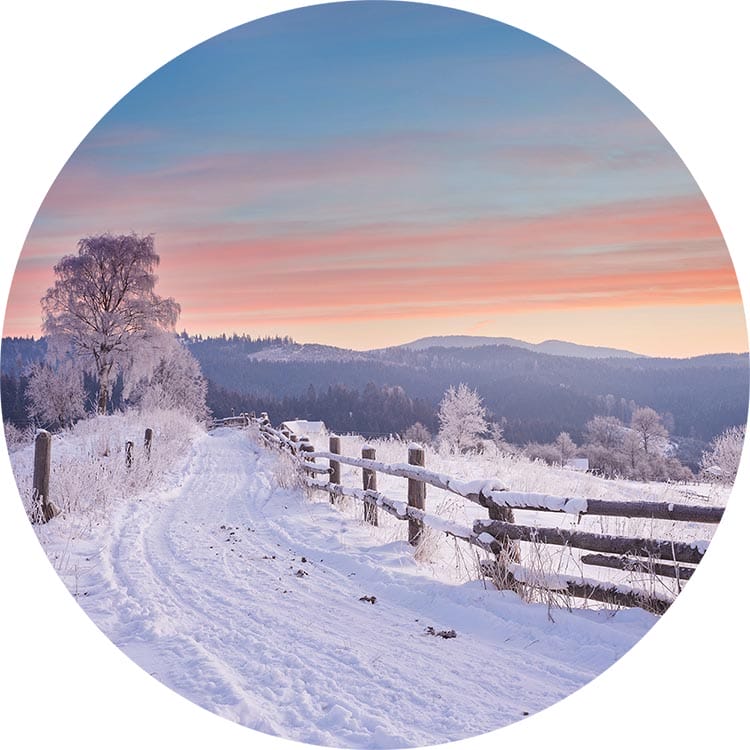
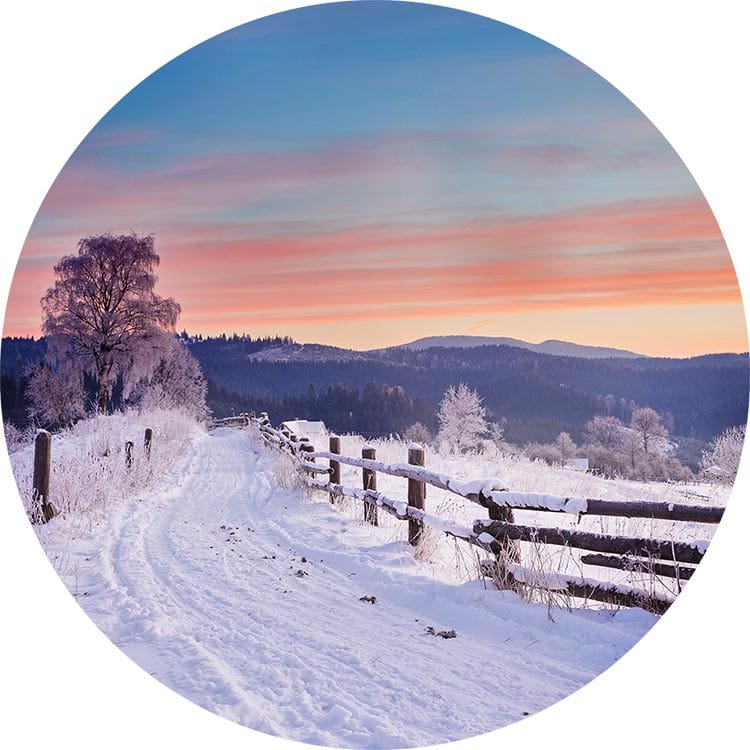
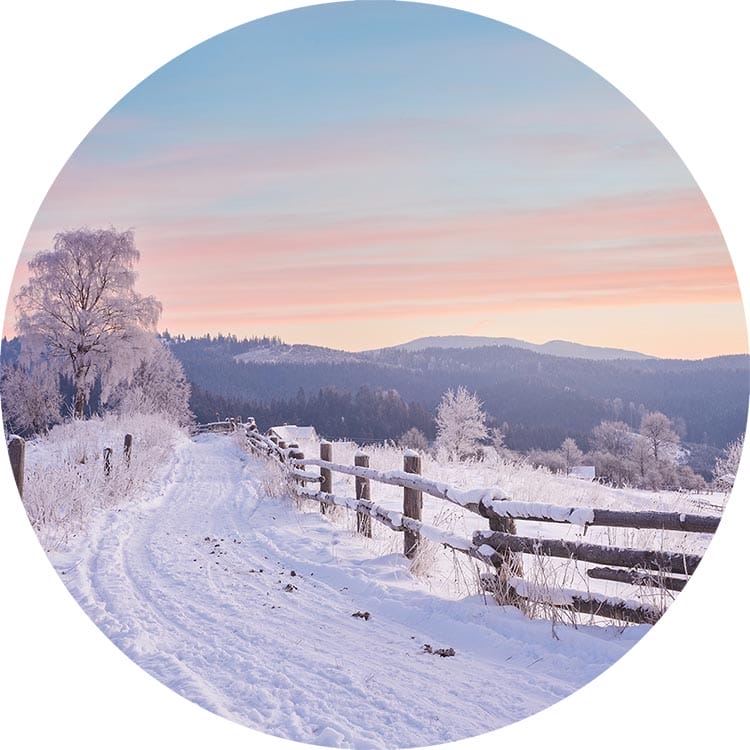
Try to motivate yourself in the early mornings when dew is melting the overnight frost. It brings a mist as the rising sun thaws the ice, making landscapes and nature photographs look fresh and crisp.
We’ve thought of 6 important camera settings, that will have a huge impact on making the most of your expedition.
1. Set your camera’s scene mode to ‘Snow’, or create a custom white balance weighted towards yellow which will counteract the blue-sky reflection in the snow.
2. Use your histogram to make sure highlights aren’t blown out! Try a few test shots and use your LCD screen to make sure you don’t have an extreme peak right of the histogram. It needs to be a gradual transition.
3. Use Matrix exposure metering for landscapes and spot metering for portraits. Auto modes can be confused by snowy scenes and end up rendering the snow as a light grey to avoid the image being overexposed. It’s best to use Manual mode if you have it as you may find you’ll need to be constantly changing settings if the weather is varying.
4. If your camera supports it, then use Peak Highlight Warnings on LCD to notify you of where your scene is too bright.
5. Flash will capture falling flakes of snow or rain or sleet, but otherwise use a fast shutter speed around 1/250th if you’re not a ‘strobist’!
6. Vary your compositions too. Snow isn’t the only signifier of winter, look for other iconic symbols to further your work. Think about frosty spider webs, icicles, sledging, winter animals foraging for food, frozen water and morning mist.
Remember, snow should not be completely white or overblown, but it can’t be grey, either. Make sure it’s as bright as possible, but not a solid white mass.
Use your viewfinder like an explorer’s telescope and look for colour in an otherwise white scene to create contrast and offer a main focal point to viewers. Red berries, green trees, orange leaves, black tarmac or yellow coats to suggest a few.
If you are lucky enough to be graced with snow, then don’t spoil your own pictures and leave your footprints all over the scene. Try to cover your tracks, or at worst whip out the Patch Tool in Photoshop afterwards!
Make use of exposure compensation settings. Use -1 to +1 EV to make sure bright scenes don’t blow out the highlights without changing the aperture.
Once your back in the comfort of your own home and your fingers and toes are slowly thawing out, take a moment to think about what winter looks like in your family.
It may not snow much in your town, so look for alternative ways to make winter memories. Think about activities you do with your partner, children, grandchildren or pets.
• Do you get snuggled up in front of the TV watching family movies?
• Bake cookies in the kitchen?
• Get messy making homemade Christmas decorations with the little ones?!
Whatever it is that says ‘winter at home’ to you, then make it an extension of your winter expedition (but a much warmer one)!
Open fires, twinkling fairy lights, thick woollen blankets, mulled wine and hot food create beautiful wholesome family imagery, which are perfect for a family album.
Just remember to switch your white balance to Incandescent, to add a glowing warmth to your shots and open up that aperture nice and wide, to soften the edges making the moment look dreamy. Twinkling Christmas lights in the background will look like glowing orbs, which look great if your taking pictures of the kids.
Above all, don’t be afraid to experiment – making wrong choices can sometimes be better than making obvious ones because wrong choices push you into making right ones.
We hope you enjoy your winter adventure whenever it happens and remember to share your expeditions with us in the gallery and the story behind it. Most importantly, keep warm and safe!
Make sure you stay up to date with posting in the iPhotography member’s gallery to be in with a chance of featuring as our Photo of the Day. Don’t miss out on all the latest challenges and competitions.
Like us on Facebook and follow us on Twitter and Instagram daily content.
Discover the BEST way on how to clean a camera sensor using swaps, rocket blowers and pencil brushes to give your shots a dust-free finish!
Capture the magic of the night with our beginner’s guide to night photography. Learn tips and techniques for stunning results.
Master the art of solar eclipse photography with expert tips on equipment, settings, and precautions for stunning celestial images.
Learn the basics of photography – fast – with our FREE 60-Second Photographer online course. Each class is short and sharp with simple, actionable steps that give you immediate results.
x 30 lessons

© iPhotography™
Become a confident and competent photographer in less than 30 minutes!
Before you leave, make sure you’ve secured your FREE online photography course (worth £29.99)
Each class is just 60-seconds or less making it the fastest and easiest way to learn photography!