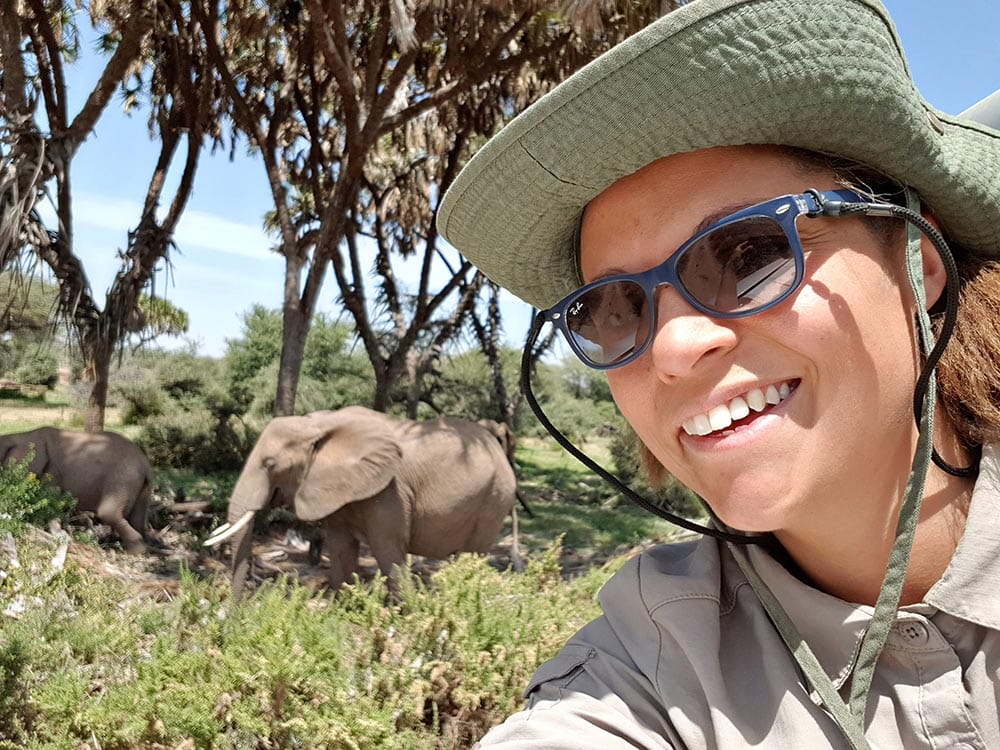
 Rachel Sinclair
Wildlife photography tutorials are essential to a beginner to understand not only how to choose the right camera settings but how to prepare, position and react when the moment comes.
Well pretty much the art of photographing any living animal that isn’t a person! Everything constitutes wildlife pretty much. From photographing garden birds to snapping animals on safari, they all fall under the same umbrella.
We’ve got some incredible wildlife photography tips coming up to help you take better photos of wildlife such as birds and garden animals. If you’re looking to get started on a wildlife photography course, then scroll to the bottom – we’ve got what you’re looking for.
You can start your wildlife adventure at home, you don’t need to go abroad to capture great shots. We’ve got 8 wildlife photography tips for beginners piled as high as a Giraffe in this tutorial that you can act on today!
There’s no one single answer for the question of ‘what’s the best camera settings for wildlife?’
That’s simply because no two species are the same. If you’re getting into amateur wildlife photography you need to know that shooting a Cheetah at full pace is totally different from capturing ladybugs.
But if you’re shooting animals in your garden, we can give you some wildlife photography settings and preparation tips that’ll start you off on the right foot.
There’s no such thing as the best beginner wildlife camera – most digital cameras will have enough features to help you take good shots. But there are some other specific features to consider elevating your shots.
If you’re wondering what the best wildlife photography equipment for beginners is, let us help you out. A lot depends on what type of animal you are photographing – is it always birds, zoo animals, pets or insects? All require a different approach. If we were to generalise and help you get a good all-round camera if you like photographing all wildlife then consider a DSLR or Mirrorless camera with full manual controls.
A camera with IBIS (inbuilt image stabilization) and telephoto lenses with IS (image stabilisation) too are good ideas when using long and heavy lenses.
If you are working to a budget, then we’d say the best lens for wildlife photography is a long optical zoom lens (70-300mm) to cover a lot of the focal lengths for different types of animals. This will help you photograph distant birds and closer animals for example.
The best tripod for wildlife photography is one that is lightweight, sturdy and within budget. Tripods and monopods are helpful to stabilise the camera whilst you are waiting for the shot to happen. Have a look on Amazon waterproof and comfortable photography bags that have been recommended and reviewed by other wildlife photographers.
Rapid movement from the photographer to pick up the camera and start shooting can scare timid wildlife away. Therefore, it’s best to have your composition ready locked and waiting for the animals to appear.
In our experience, the best place to focus your camera’s attention is on a food source. No matter what time of year or what species, food is what will make any garden animal come out into the open where you can photograph it.
Try to strategically position the food in a place that will look photogenic. For instance, moving a bird feeder away from a brick wall so the background is nice and clear.
Moving the hedgehog food to an area that is surrounded by grass rather than flowerpots. Or it may even be a matter of temporarily moving a few items out of the way, like that rake and bright red plastic watering cans.
The next thing is to try and keep out of sight. A lot of garden animals are not too keen on humans being close by and will not come out for food if they sense anything unusual that could potentially be dangerous to them.
Hide yourself away. The more hidden you are, the higher chance you have of seeing different species as some are not as brave as others. You could try hiding in your shed or using a pop-up hide.
Camera settings will be different for everyone but it’s a good idea to set your camera to Continuous Autofocus (C-AF) / AI Servo (for Canon users) and use a high frame rate (sometimes called burst mode).
You will more than likely need quite a fast shutter speed for most of the animals, but this will vary massively depending on what the species is and what you would like your final image to look like.
For bird photography shutter speeds should go between 1/1000th – 1/4000th depending on your distance from the bird and if they are in flight or stationary. Keep the shutter speed high in case the do move rapidly or another bird jumps into the frame unexpectedly.
It’s a good idea to really take your time and experiment with different angles, focal lengths, apertures, shutter speeds and ISO. If you enjoy taking photos of things like butterflies and bees, you may even want to try using a macro lens for some super close up detailed images.
The best time of day to photograph wildlife is early to mid-morning. This is not only because the sun is just rising and can cast a warm glow to your images but also for another reason.
Birds, for example, go looking for food in the morning to feed themselves and their chicks. This is the same of many wildlife animals. For the best action you should be planning to travel early.
Get to your location early and get setup ahead of sunrise. You’ll see lots of animals foraging for food and interacting meaning you’ll get lots of chances for capturing beautiful wildlife photography.
When you are photographing birds just before you take off your lens cap and starting to shoot – take a moment. Stay still and observe the bird from the hide. Watch its movements and patterns. If you can roughly predict where the bird will land, if it’s grazing for food, then you’ll have a better success rate.
Pick a position and stick to it for 2 reasons.
1. It requires patience to get the right shot. You maybe have the best angle and lighting, but don’t sacrifice that for your inability to wait.
2. Birds will be very sensitive to movement nearby. A creaky floorboard, a rustling of kit can spook them enough to retreat.
When choosing your camera settings for photographing birds combine a fast shutter speed with a decent size aperture (around F/8). This will give you a crisp finish within a comfortable depth of field. Your shutter speed may need to be above 1/1000th depending upon the distance and movement of the bird.
The problem of photographing birds outside is the light. The ever-changing natural conditions, if you’re hidden behind trees, will require you to check (and double-check) your exposure. Use your histogram to make sure the highlights aren’t clipping, and those wonderful feathers are still in an acceptable range.
You should use simple compositional techniques such as the rule of thirds when framing your wildlife photos.
Position the face of your subject on the power points of the grid. Turn on the virtual grid on your camera screen to help guide you.
Get creative and offset your wildlife composition by framing the animal to the far left or right of the scene. Create negative space in the shot to make it more dynamic and modern. Putting the animal in the centre of the photo all the time doesn’t always look interesting.
Every animal will require a slightly different approach when it comes to editing your wildlife photography. If you’re a beginner wildlife photographer, we’ve got 3 tips on how to improve your animal photos further in Lightroom. These are tools that you’ll need to use on 99% of your wildlife edits.
Even when photographing wildlife outdoors colours may not exactly how you want them. Sometimes morning haze can soften colours. Therefore, adjust the colour tones using the HSL slider to make greens, oranges and blues look richer. Instead of boosting the saturation of these colours use the luminance slider to increase the brightness of these hues.
Beginner and amateur wildlife photographers will sometimes feel under pressure to get the shot quickly and not have a chance to dial in all the correct settings. This is normal and something you’ll learn over time that having camera presets are useful.
White balance is normally the most common setting to get wrong. You can fix white balance and colour temperature issues in most editing software.
Colours should look as close to natural as possible, not too warm or too cold. Try using the white point tool in Lightroom to tell the software what you want to be white. It’ll adjust all other colours based on this selection. Use the tint slider to make further adjustments.
The best wildlife photography are images that show off feathers, fur and hair in a realistic way.
The best way to do that in editing is by using the texture or sharpening tool in Lightroom. Resist the temptation to push the slider to +100. Providing your image is sharp and well lit to begin with you shouldn’t need to add much more that +20 to compensate for online image compression if you’re using the photo online.

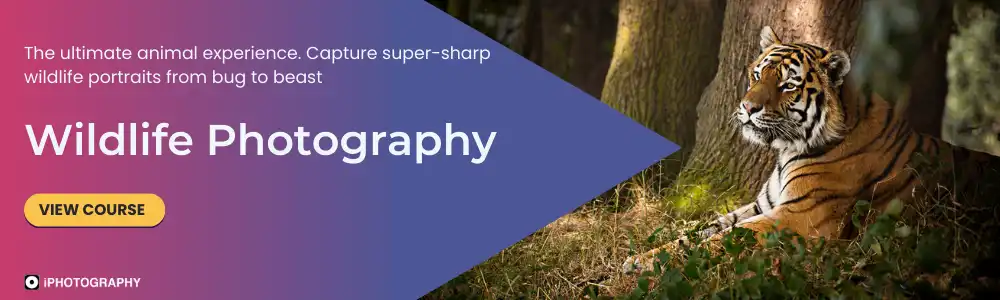
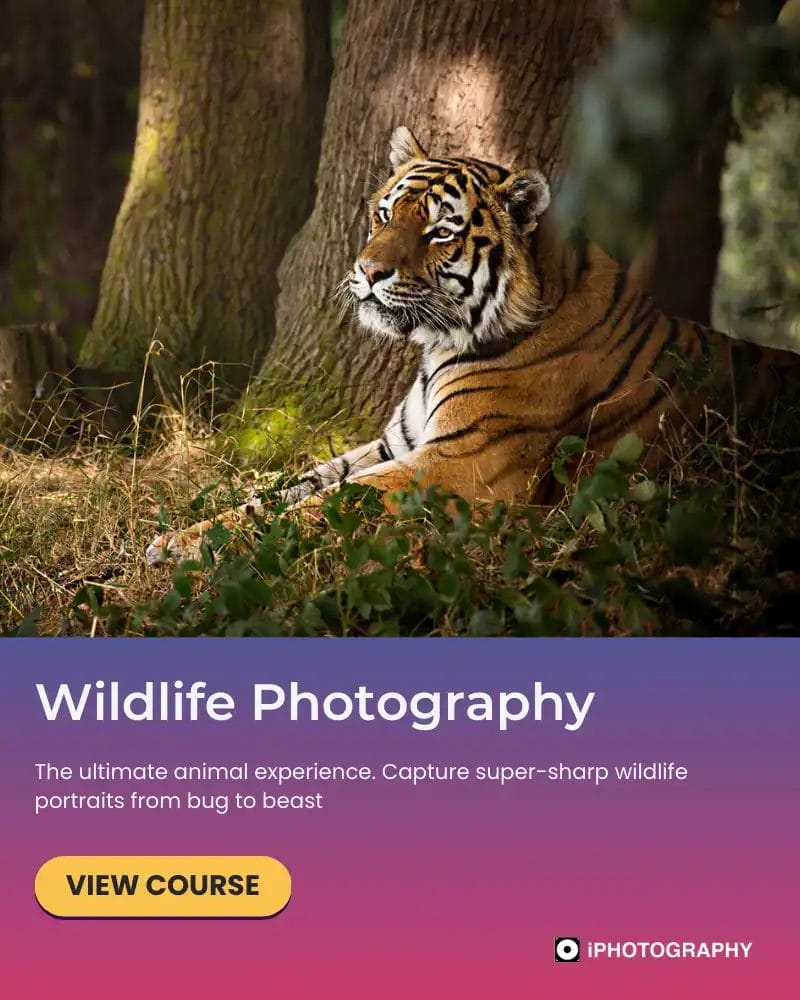
If you want to take the beautiful wildlife photography you’ve been shooting and turn it in to some well-deserved cash, then consider an online course.
The iPhotography wildlife photography course is designed and presented by professional photographer Rachel Sinclair. In this incredible course for beginner wildlife photographers you’ll learn all the essential camera settings and tips for photographing birds, insects, pets, wildlife and zoo animals.
As well as tutorials on wildlife photography composition and editing this course will give you ideas on how to make money from wildlife photography.
Find out more about this wildlife photography online course here.

Shooting sunsets using amazing 5-in-1 magnetic lens filters from Kentfaith, the 1st choice for photo & video products.

Popular memory cards for photography – what’s the best SD card for your digital camera? Choose the right capacity and class speed in our guide

Discover the BEST way on how to clean a camera sensor using swaps, rocket blowers and pencil brushes to give your shots a dust-free finish!
Learn the basics of photography – fast – with our FREE 60-Second Photographer online course. Each class is short and sharp with simple, actionable steps that give you immediate results.
x 30 lessons

© iPhotography™
Become a confident and competent photographer in less than 30 minutes!
Before you leave, make sure you’ve secured your FREE online photography course (worth £29.99)
Each class is just 60-seconds or less making it the fastest and easiest way to learn photography!