 Stephen Walton
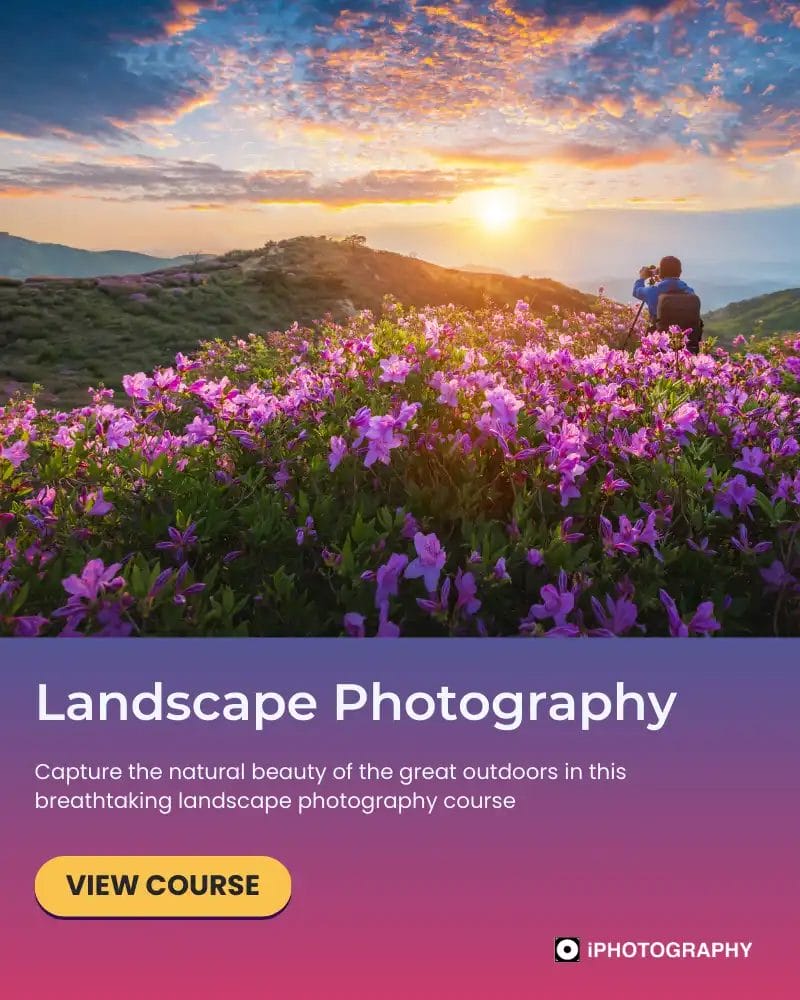
No matter what job you do in life, having some type of workflow is important to increase efficiency and productivity – the same is true of photography. Having a photography workflow allows you to be faster and more accurate in capturing great images time and time again.
Firstly, let me say, you don’t need a workflow as a photographer – it’s totally optional. But if you want your reactions to be quicker to fleeting moments then it’s wise decision.
It takes no cost or extra equipment to create a workflow, you can do it with any camera. After reading this article you can also take the principles and apply it other areas of photography – planning your shoot and editing your photos.
Having a workflow is all about following a standardised process each time you take a photo. This may not be suitable for all types of photography – but certainly professional photographers do benefit from it when they are concentrating regularly on one type of genre.
Either way, having a workflow teaches you more about your camera, the menus, buttons and what your live view display shows. All this information means you can react and adapt to the situation more instinctively to make sure all your settings are the best possible.
It’s very easy to create a workflow for one particular type of photography, but if you enjoy taking photos of lots of different moments (portraits, landscapes, macros etc) then make your workflow more generic – trying to remember 2-3 different processes can get confusing.
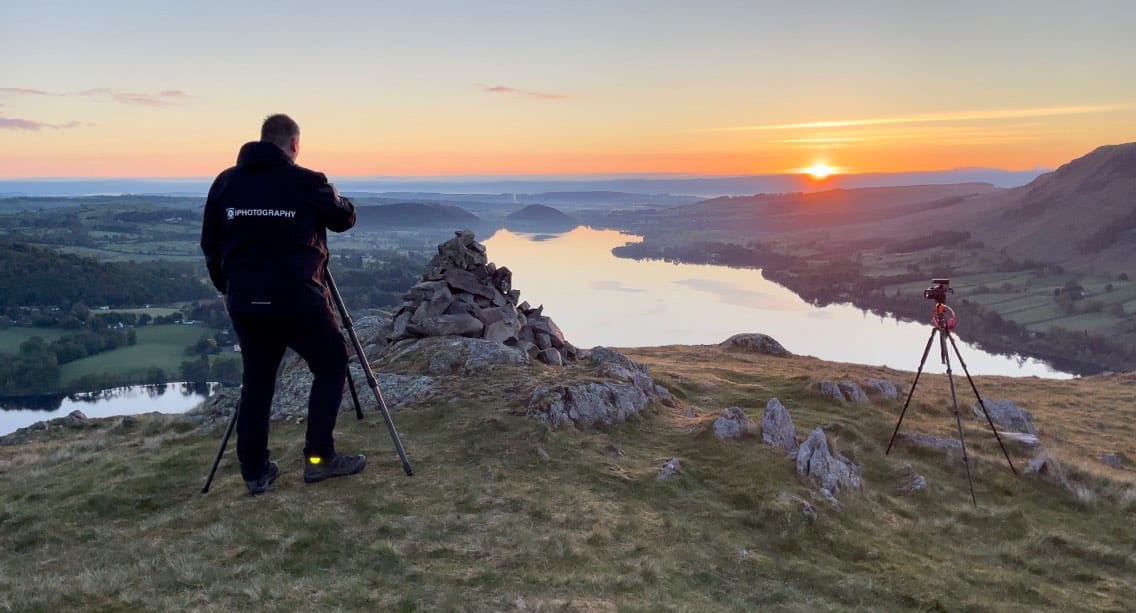
1. For example with landscape photography the first thing you need to do is select your scene. Pick out the spot you’re going to shoot from and think about what the image is going to be about.
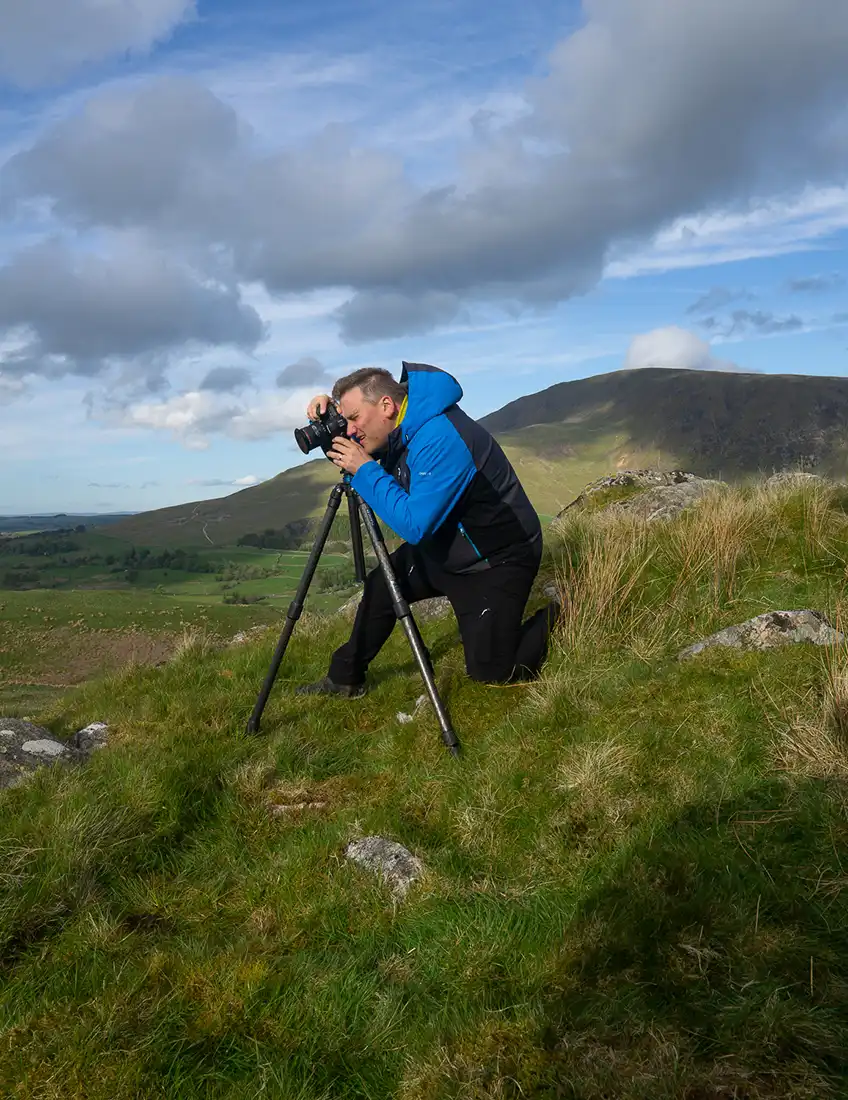
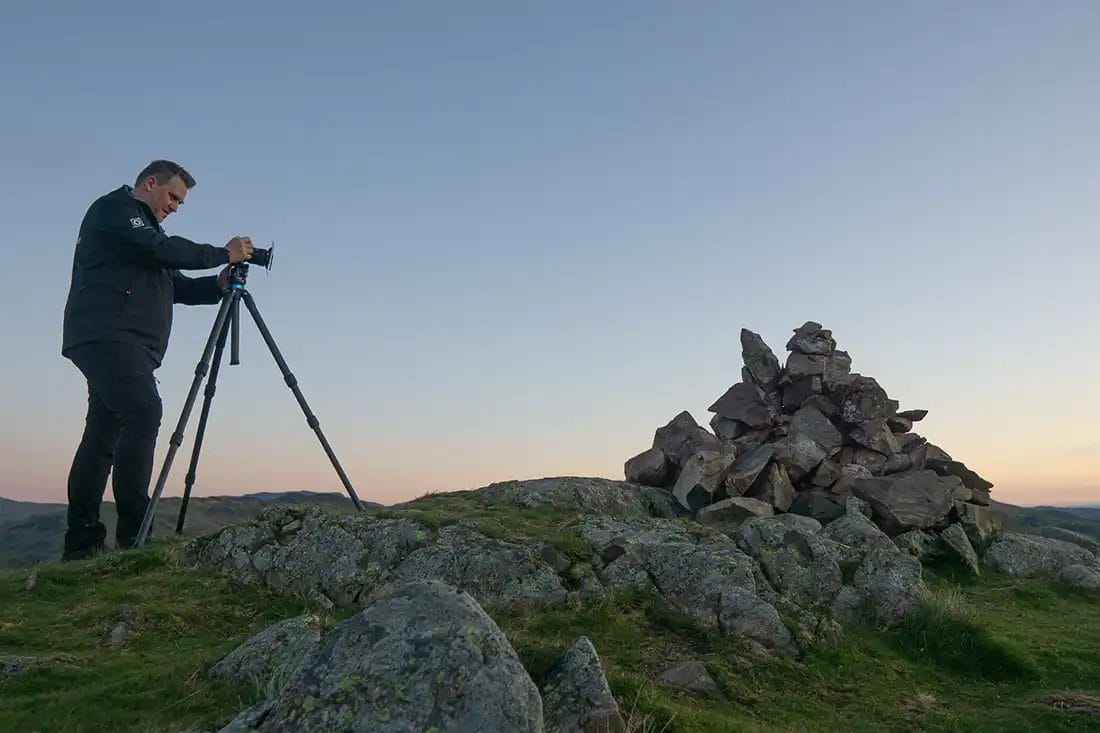
2. Secondly get the camera out and pop it on a tripod (you may not need it every time but it’s worth considering it each time you shoot as it can help). Decide how high the tripod needs to be to get the framing correct.
3. With the camera turned on, move it into position to get the composition how you want it. Check the edges of the shot and corners to make sure there are no distracting elements.
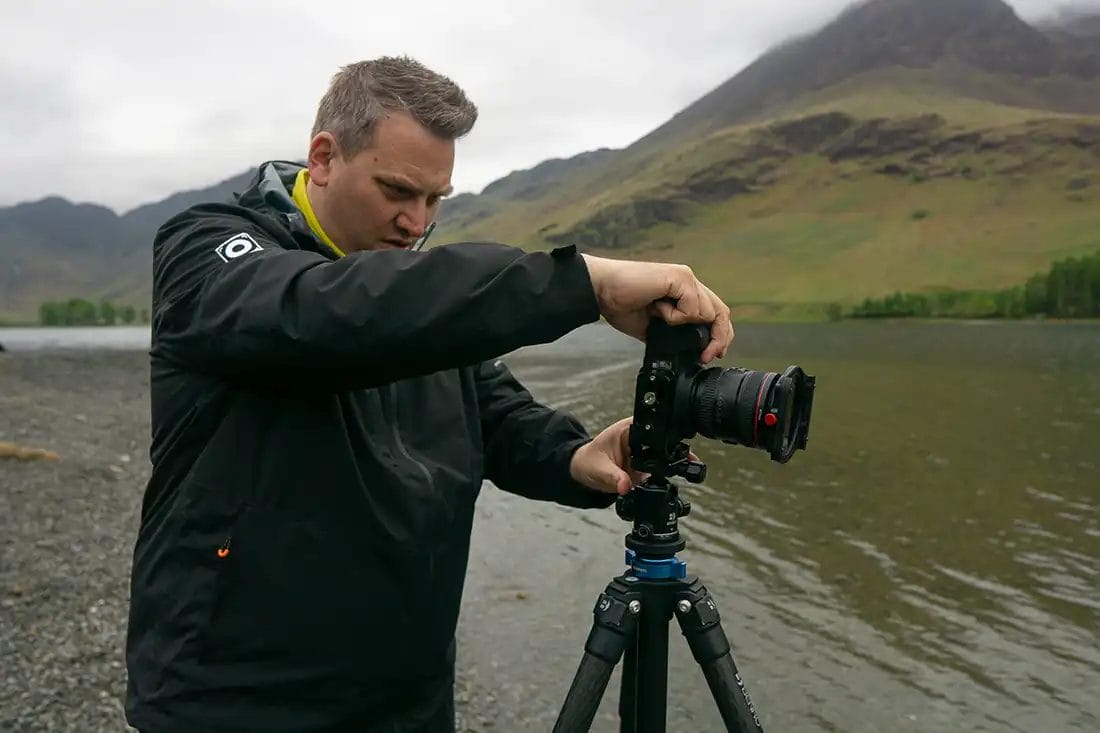
4. Next, look at the camera settings. For landscapes you’d naturally adjust the aperture to a fixed point, something like F/8 or F/11 normally (unless you’re doing something creative). It’s best to shoot in manual mode (M) to give you full control over your photography workflow.

5. Now change the shutter speed to something around 1/200th (depending upon the strength of the wind and any movement in your subject).
6. Have a look at your histogram at this point (or exposure scale) – how’s it looking? You may not need to change your ISO if the histogram isn’t clipping in the white or black areas. Ideally, keep your ISO as low as possible, but raise it gradually if you need to brighten the exposure.
7. Finally, you’ve set the exposure, so it’s time to set the focus as the last thing. Manual focus (for landscape photographers especially) will give you pinpoint accuracy of what is in focus in your photo. Turn the focus ring on your lens and watch the camera screen to see where the focus peaking points appear. Don’t dump the focus spot in the middle for no reason and expect everything to look good.
When you’ve followed each of the steps, take the shot. While this workflow was aimed at landscape photographers, you can take the same principles for wildlife, portrait and still life etc.
You may have more or less time with different subjects to complete your workflow, but the more often you do it, the faster you’ll become.
Simple repetition will be the only thing that makes a workflow habitual. If you choose not to follow it each time then you’ll never adapt to it effectively. To truly save time and improve your efficiency when shooting then holding yourself to following each step is vital.
It will take time but it will also pay dividends in the end. You’ll find yourself more in tune with your camera display and recognise problems faster.
No – and while that sounds blunt, it is true. Cameras don’t make photographers better at their job, they are merely a tool, and a workflow helps you use that tool effectively.
Nor will a workflow guarantee that your photo is more interesting (as that depends on what you’re shooting and the composition) but it will help you to capture the best version of that moment.
Overall though, a photography workflow saves you time (which is crucial in photography); become more adept at spotting mistakes which means you’re less likely to slip up accidentally (providing you still to the steps) – isn’t that all worth it?
Take stock when you’re next out shooting as to the process you follow when you take a photo. Don’t throw the baby out with the bathwater as they say, try to create a simple to remember workflow that is close to your current method of shooting.
I’ve even seen photographers bullet point that workflow, laminate it and stick it behind the camera screen to remind themselves.
1. STORY – Pick the spot and decide the story
2. TRIPOD – Set up the tripod and get the height correct
3. COMPOSITION – Turn on the camera and adjust the composition
4. APERTURE – Set the aperture for the desired depth of field
5. SHUTTER SPEED – Change the shutter speed to balance the exposure
6. HISTOGRAM – Check the histogram for clipping (adjust the ISO if needed)
7. FOCUS – Set the focus accurately
8. SHOOT
If you’ve enjoyed this guide check out our other articles below.

Popular memory cards for photography – what’s the best SD card for your digital camera? Choose the right capacity and class speed in our guide

Discover the BEST way on how to clean a camera sensor using swaps, rocket blowers and pencil brushes to give your shots a dust-free finish!

Capture the magic of the night with our beginner’s guide to night photography. Learn tips and techniques for stunning results.
Learn the basics of photography – fast – with our FREE 60-Second Photographer online course. Each class is short and sharp with simple, actionable steps that give you immediate results.
x 30 lessons

© iPhotography™
Become a confident and competent photographer in less than 30 minutes!
Before you leave, make sure you’ve secured your FREE online photography course (worth £29.99)
Each class is just 60-seconds or less making it the fastest and easiest way to learn photography!