Digital photography is ruled by the technology and science behind resolution. Understanding how resolution works and what settings you need to avoid pixelated photos is important to the presentation of your work.
Some cameras have better resolution than others, but that doesn’t mean you can’t take a good photo, which looks good online, with cheaper gear – and we’ll show you how.
The digital sensor of your camera creates an image from lots of little pixels. The amount of pixels it uses is what resolution is based on.
1 million pixels is known as a megapixel (well technically speaking it’s more like 1.048 million pixels, but who’s counting?!). Therefore a 24-megapixel camera has 24 million pixels being used to display a photo. The more pixels you have available the higher the resolution of your image will be.
Most digital sensors are in a 3:2 ratio, which means for every 3 pixels going horizontally, there are 2 going vertically on the sensor’s surface.
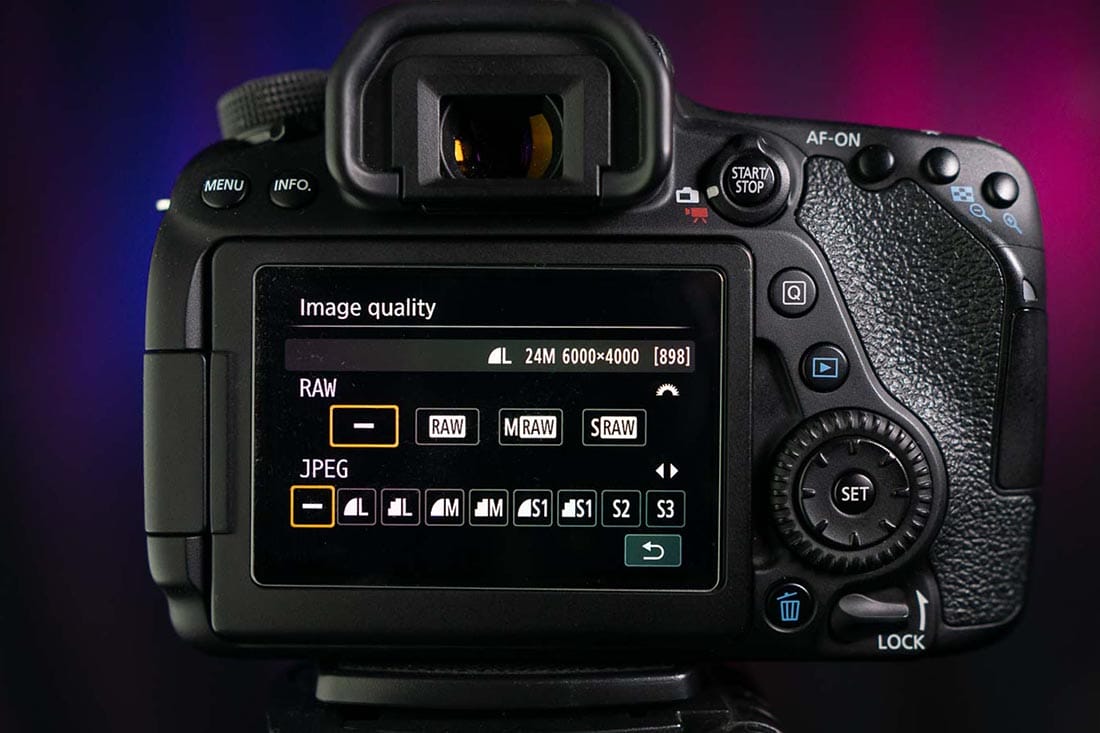
For example, one of my cameras (Canon 80D) has a maximum resolution of 6000 x 4000px. 6000 multiplied by 4000 equals 24,000,000 – which means the maximum resolution of that camera is 24 megapixels.
You can find out what your max resolution size is from looking online or in your camera manual.
Resolution also relates to how larger a picture can be without looking pixelated. Camera and image resolution is measured in pixels per inch or PPI for short.
Photographers generally always strive to capture the highest resolution image possible. Why?
Because it gives us options for what we can do next. Whether you like to print your photos, or upload them online or something else you’ll require a different resolution for each purpose. Therefore shooting at the highest resolution gives you options.
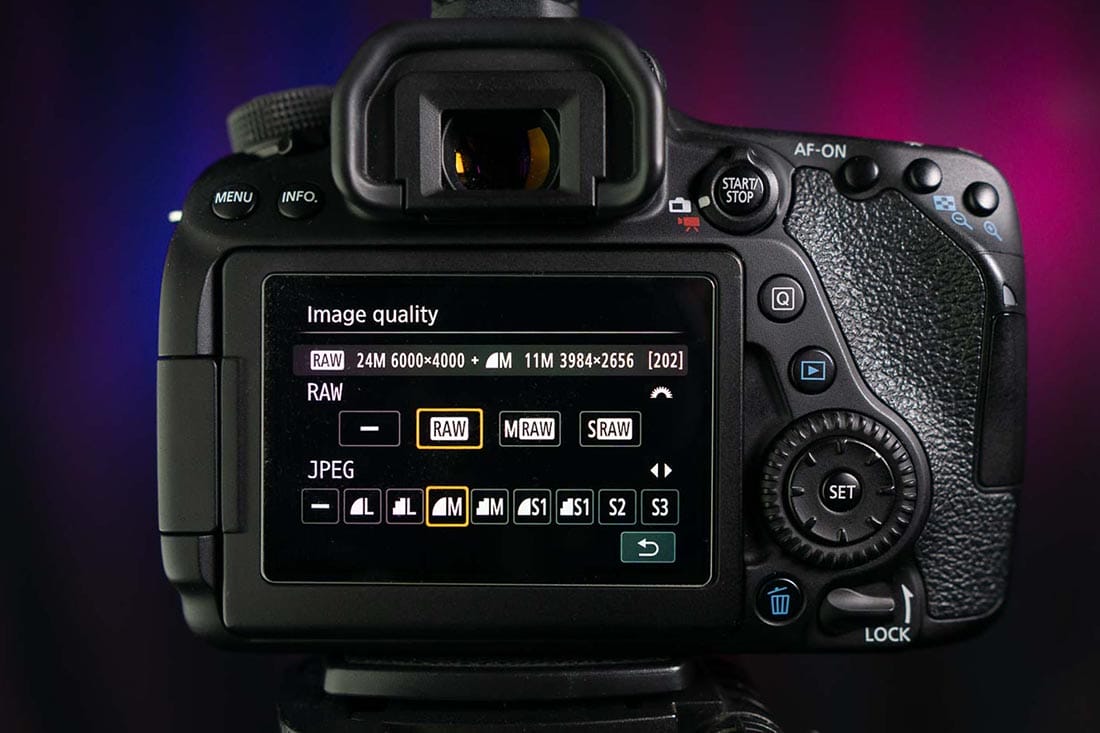
Setting your camera to shoot in RAW will always give you the highest possible image resolution.
BUT while the higher the resolution the clearer and more detailed your photo can be – it does not mean your photo will be sharper if it wasn’t in focus already! You will still need to get the basic exposure and image in focus firstly for the resolution to be maximised.
The more pixels in an image, the denser the picture information will be. High res photos provides more detail and allows for larger prints with smooth, continuous tone and better colour accuracy.
An taken at 300 pixels per inch (PPI) would be classified as high resolution.
A low-resolution photograph doesn’t necessarily mean it’s a ‘bad’ photo. You may purposely want to take/make a photo at a lower resolution.
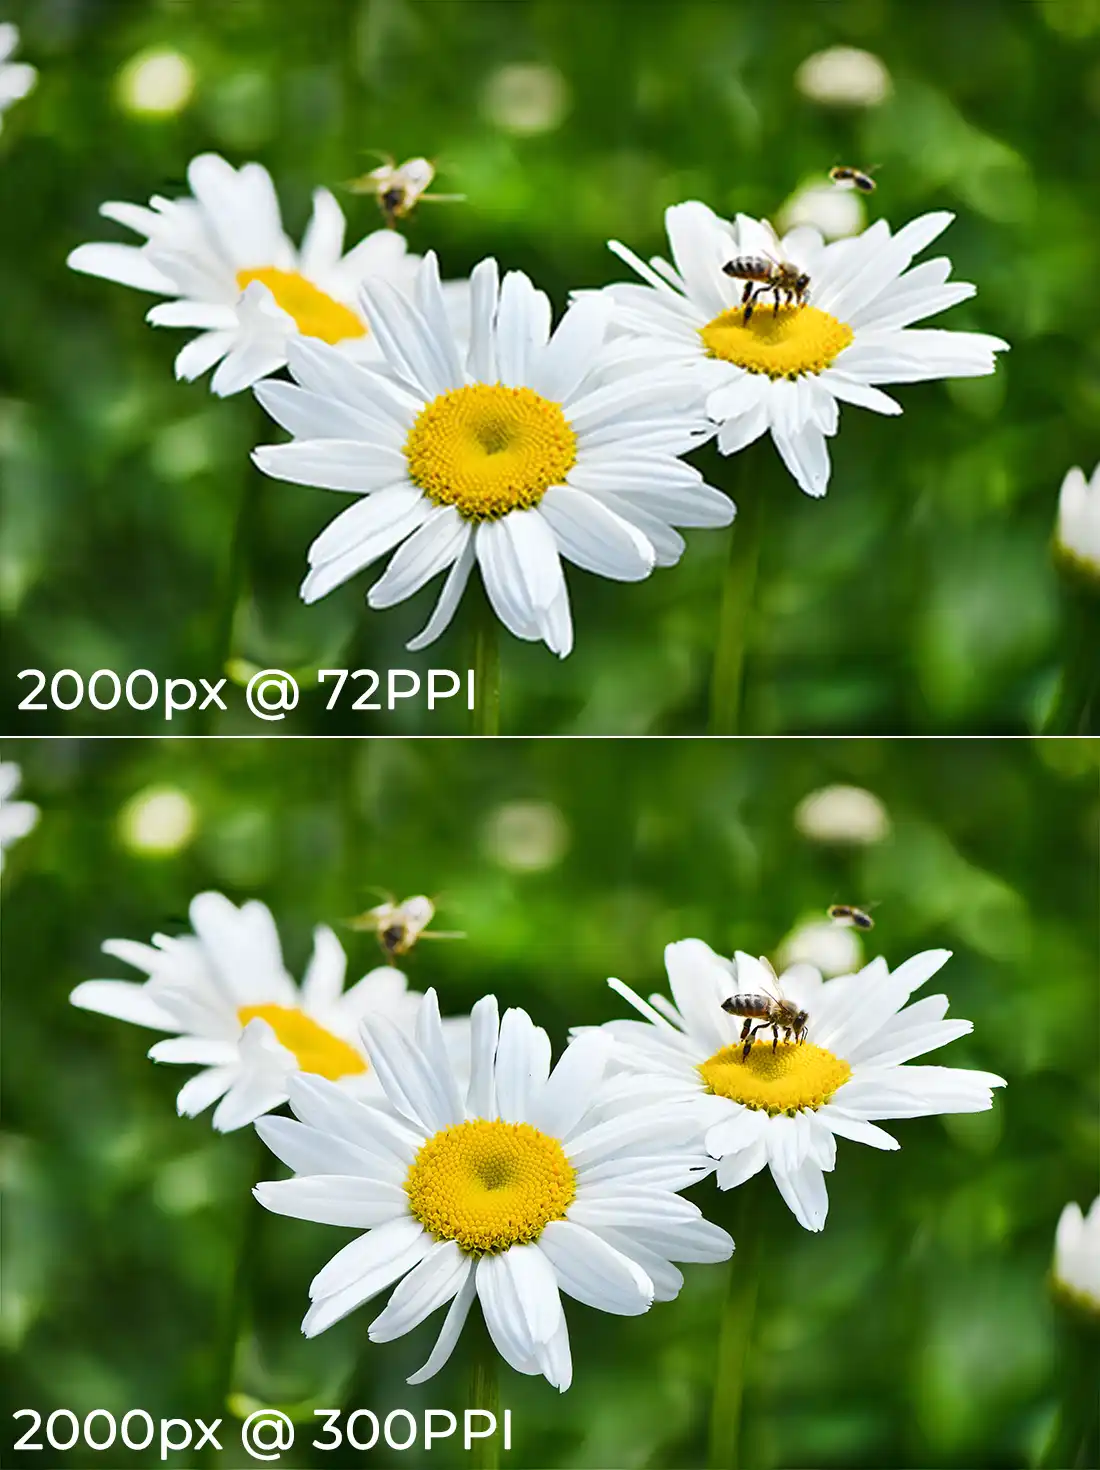
Low-resolution photographs have around 72 PPI. This makes them great for using online. With fewer pixels being used to create the photo the file size will be smaller, so they help websites load quickly. If you’re wanting to put your photos on your website consider lowering the resolution when editing.
Images that are low resolution though can display problems which affect the overall image quality and the viewer’s enjoyment of the image. When the dimensions of your photo is too small for the space it is being displayed (print/online) then it can look pixelated.
Pixelated is a term photographers use when you can begin to see the edges of the individual pixels that make up the photo. This stops colours and the outline of subjects from looking smooth. It has a ‘blocky’ appearance and is more reminiscent of 1980s video games.
If you want to avoid this issue then sizing your image adequately for its purpose is important.
Image: Move the slider and notice the difference in image quality (300ppi left; 72ppi right)
We’ve already talked about how the resolution is formulated but to go one step deeper, PPI (pixels per inch) directly refers to the number of pixels in an inch-long line of an image.
Depending on how you want to display your photos (in print or online) you’ll need to know the PPI for each situation to be able to prepare a photo that looks good for that environment – they are rarely the same PPI.
Common inkjet printer PPI values range from 250 to 600 but this can go much higher for premium-quality images and publications.
Let’s break this down. If you want to print a photo at 4 x 6 inches at 300 PPI, then you’ll need a photo that has at least 4 x 300 pixels (1200px) along one side and 6 x 300 pixels (1800px) on the other side. Therefore, the image size needs to be 1200 x 1800px to deliver the best print quality.
Always check your printer’s DPI resolution to prepare your image correctly.
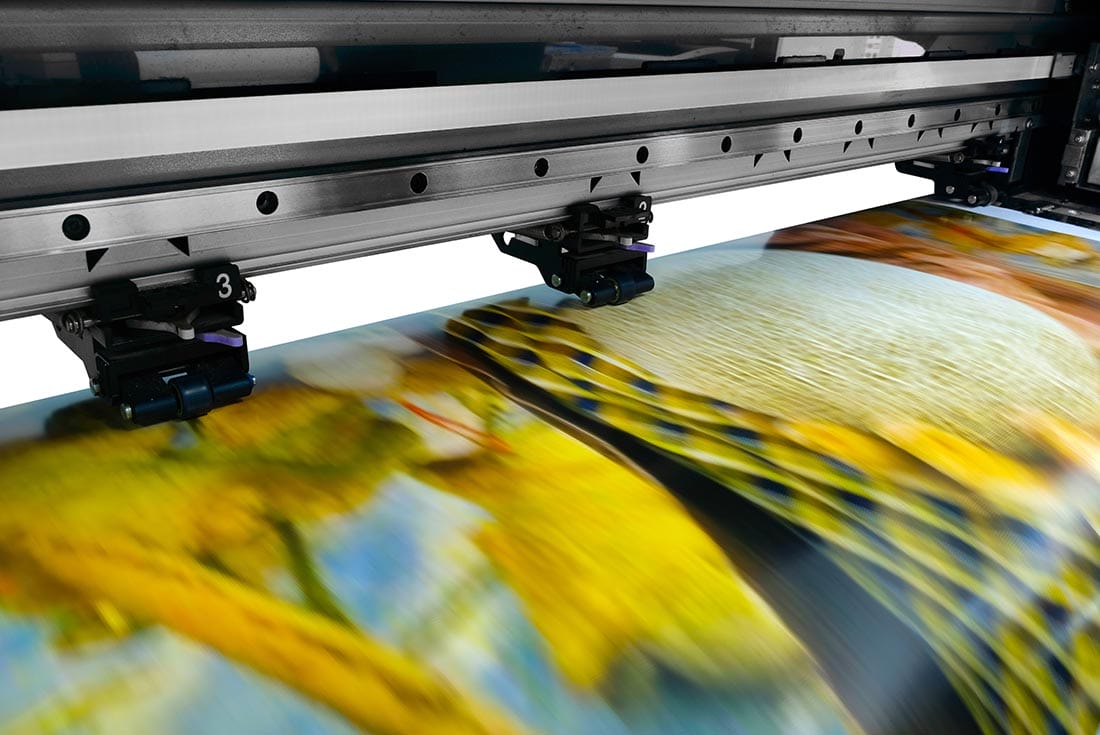
If you tend to upload your photos online then screen resolution is different. In truth screen resolution doesn’t hinge on PPI as much, its more about the image size.
Given that monitors (from small phones right up to large screens) are different sizes and ratios, preparing your image for online viewing isn’t an exact science because as you can’t control where the image will be viewed from.
Traditionally most screens run a HD display of 1920 x 1080 pixels but as technology improves 4K monitors have a display of 4,096 x 2,160 pixels – so what should you do?
There used to be standard pixel density of 72PPI for screens, but as technology improves this has seen it rise to over 100PPI. To future protect yourself it’s better to slightly over estimate your needs and save images for online at 150PPI or higher.
Digital sensors contain millions of photosites that capture light – they are then converted into pixels The bigger your camera’s sensor size, the bigger the photosites and therefore resulting in bigger megapixels, which means a higher resolution.
It is possible to get 2 cameras with the same resolution i.e. both produce a 6000x4000px file in RAW but if the sensor size on one is larger then this will mean a higher resolution image when it comes to printing most noticeably.
The best way to set yourself up for capturing the best possible quality image is to always shoot in RAW.
Shooting in JPG file formats delivers smaller resolutions, which have benefits as we’ve already outlined but limit your possibilities later on. Shooting RAW means no difference to your camera settings.
You’ll have to pay closer attention to your histogram and exposure as the camera will be doing less of the work for you – especially if you shoot in manual mode too.
Shoot to the native ratio of your camera sensor which is 3:2. You can take photos in 1:1 and 16:9 ratios in RAW but that means you’ll use fewer available pixels to capture the same image as the ratio doesn’t match the optimum sensor size.
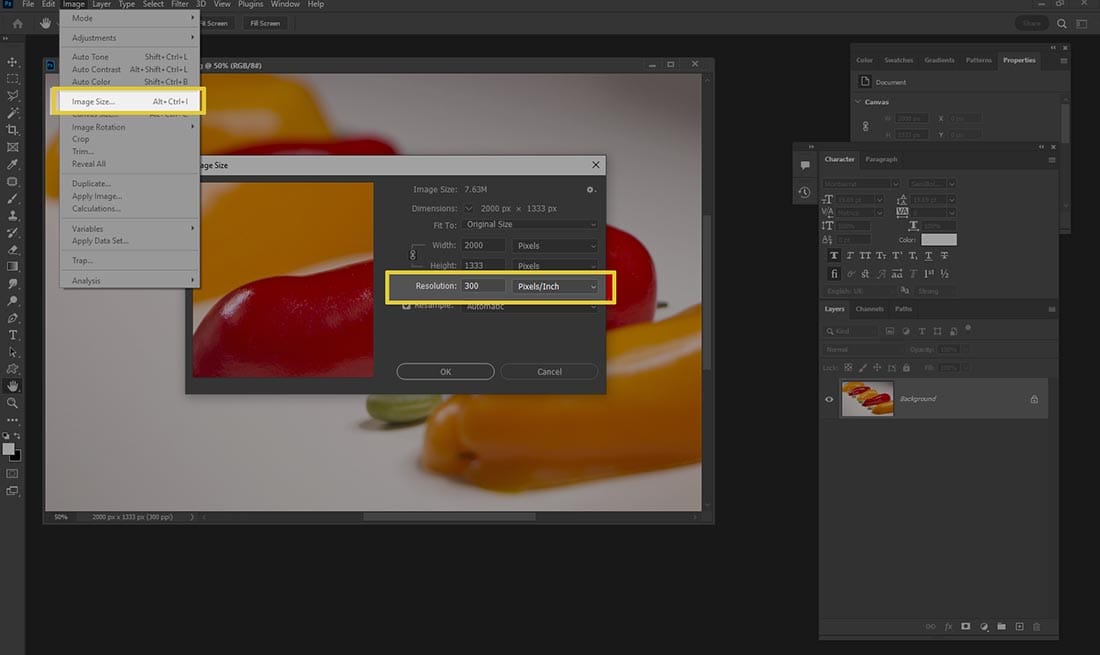
When you are editing your photos only change the image dimension and/or PPI when it would otherwise be too large for it’s purpose.
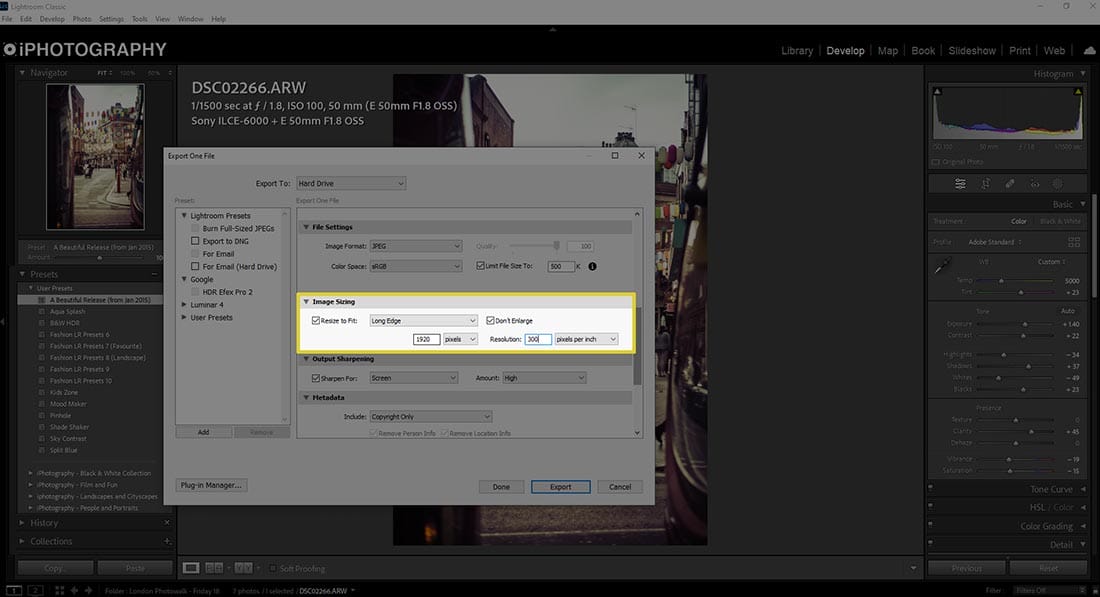
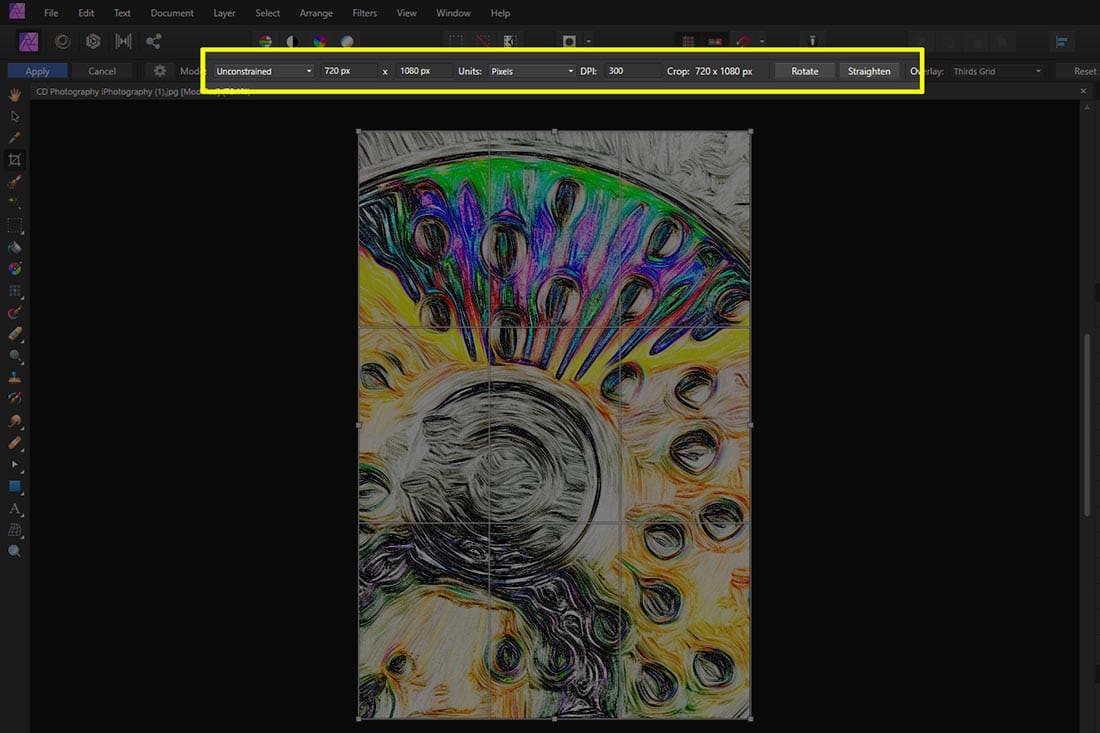
In Photoshop, Lightroom and Affinity Photo for example you can change the image size and PPI easily.
Photoshop – Image>Image Size
Lightroom – File > Export (and alter the image dimension fields)
Affinity Photo – Crop Tool > Sub Option Bar
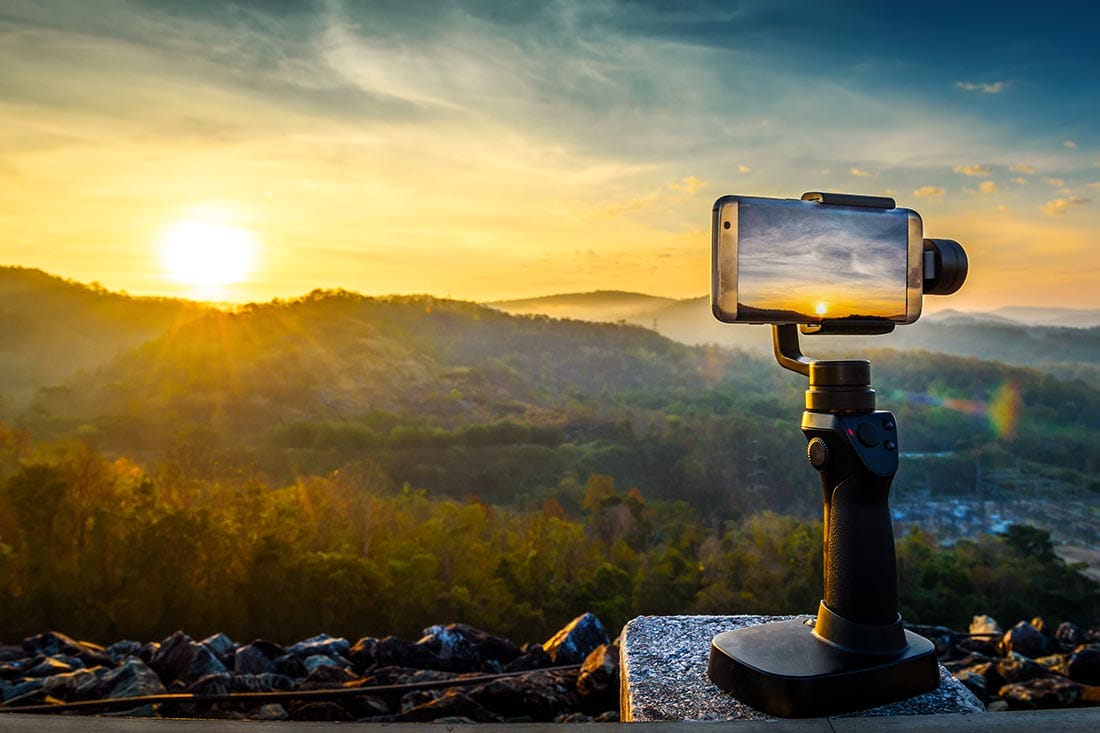
Given that the size of a camera’s sensor is directly related to the image quality, camera phones will produce lower-quality images when compared to a photo taken by a DSLR/Mirrorless camera at the same file size.
There are 6 situations and points to be aware of when taking photos on your phone that will lead to a lower image quality compared to a DSRL or Mirrorless camera.
While you may hear the next generation of smartphones can take pictures of upto 50mp which sounds higher (and possibly better) than a 24mp DSLR camera – don’t fully believe the hype.
The size of the sensor has a bearing as we know, 50mp in a smaller space than 24mp brings us back to the argument about the size of each pixel when being bigger, is better for resolution and image quality.
The lens that is in front of the sensor has a part to play. The better the quality of the glass in the lens helps with capturing a better photo. Camera phones don’t have as comparable quality to any DSLR or mirrorless camera in this area.
To help conserve space on your phone, your device will automatically compress the photos you take when saving. There may be apps or options to guard against this but if you’re a beginner photographer you may not already be aware.
Don’t take what you see on a 5-6 inch phone screen for granted. The rendering of photos on your phone look great but most photos will look good at a small size (providing the resolution isn’t tiny). It’s only when you see that same image on a larger screen is the resolution noticeably different. This is why when printing phone photos it’s best to keep it small.
And again, since the pixels are smaller camera phones will not be as good in low light situations as a DSLR or Mirrorless camera.
If you zoom in on the subject when shooting with an iPhone, for example, you are using fewer megapixels to capture the shot. The quality suffers, and the picture is noticeably grainy or pixelated. It is much better to take pictures from a distance, on a camera with a larger sensor (ie DSLR) or using an optical zoom instead.
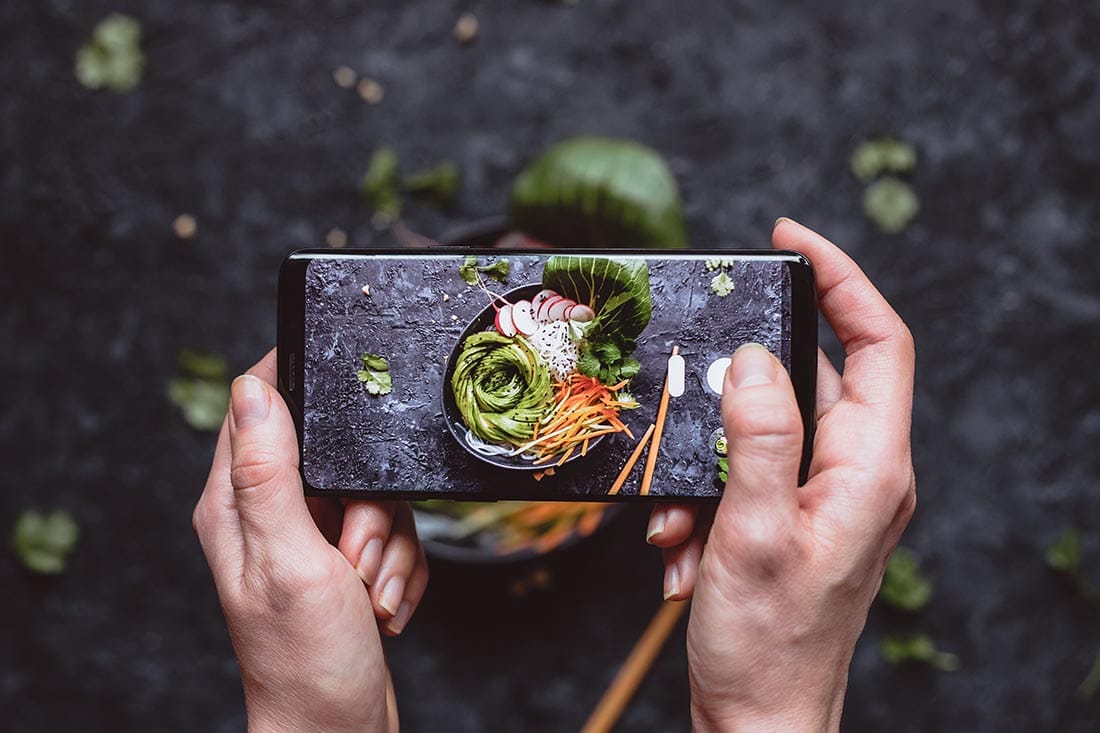
Photo resolution may seem a minefield of mathematics and science there is only a couple of things to keep in mind for photography.
● Shoot in RAW for the best possible image quality. But getting the focus and exposure right will help maximise the resolution. If you mess up, shooting in RAW will only expose any problems.
● Resize your photos for the situation you need them for. Save different-sized versions for different purposes, if needed.
● Keep the resolution of your images at 300PPI and alter the image dimensions instead if you need a smaller file size for uploading.
● Camera phones aren’t as comparable (despite the marketing) to a DSLR/Mirrorless camera when viewing two photos at the same size and resolution. If you want the best image quality consider investing in a camera with a larger sensor.
If you’ve enjoyed this guide check out our other articles below.
Discover the BEST way on how to clean a camera sensor using swaps, rocket blowers and pencil brushes to give your shots a dust-free finish!
Capture the magic of the night with our beginner’s guide to night photography. Learn tips and techniques for stunning results.
Master the art of solar eclipse photography with expert tips on equipment, settings, and precautions for stunning celestial images.
Learn the basics of photography – fast – with our FREE 60-Second Photographer online course. Each class is short and sharp with simple, actionable steps that give you immediate results.
x 30 lessons

© iPhotography™
Become a confident and competent photographer in less than 30 minutes!
Before you leave, make sure you’ve secured your FREE online photography course (worth £29.99)
Each class is just 60-seconds or less making it the fastest and easiest way to learn photography!