 Stephen Walton
Have you ever wanted to take better travel photography images? Or learn the best tips & tricks from experienced travel photographers to help capture these unforgettable moments from a once-in-a-lifetime trip across the world?
Well then, you need to check out this complete travel photography guide. I’ve packed it full of ideas on how to take stunning travel photography and create memorable images to fill your travel albums.
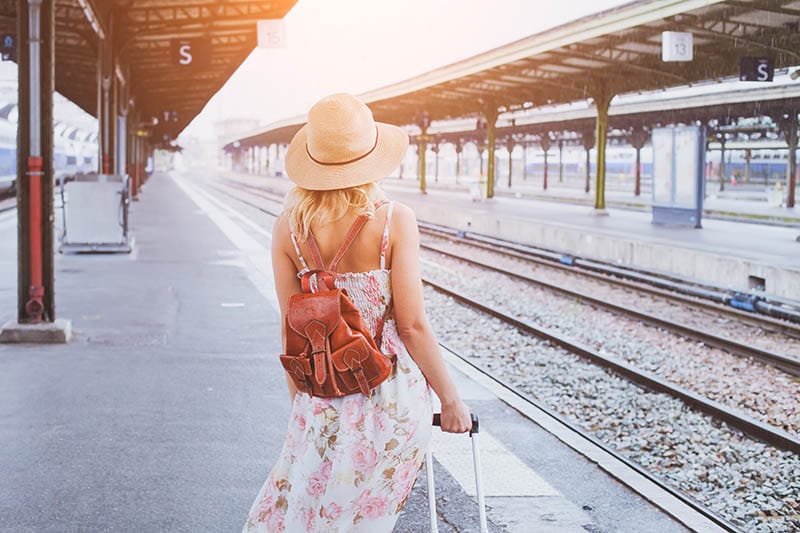
Who wouldn’t want to pack up their belongings and travel the world with their camera?
Whether it’s a long weekend, 2 weeks in the sun or a gap year that you’re planning then there’s always an opportunity to create some stunning and iconic photographs to add color to your travels.
We are going to look at how you and your trusty camera can return home with wondrous images that will make your friends and family green with jealousy.
If you’ve already chosen your destination then you need to know what’s on offer in terms of travel photography opportunities, so researching your trip is vital to do before you jet off. The internet is a fabulous source of information to be able to look up your destination and check out the monuments, landmarks and scenery that’s on offer.
Websites such as Google Earth, 500px and Flickr allow users to type in a specific location and it will display (hopefully) an array of images taken by other photographers in these locations to give you a sense of the atmosphere to expect.
Make a list of landmarks you’d love to visit but make sure it’s manageable to visit all of them during your trip – after all, it is supposed to be a vacation!
Keep that list in your camera bag so you’ll never forget it, it will come in use during your trip. But if you prefer the more rugged approach, then ditch the list and mark your landmarks on a local map instead to make the journey feel more like an exploration – you’ll feel like Indiana Jones on his next adventure!
If you’d rather let the landscape inspire you and you don’t want to be beholden to a list, then just keep your map nearby so you don’t get lost.
If you haven’t already got a suitable camera bag, then you’ll find the choice is between a backpack or messenger-style bag, it’s a personal preference at the end of the day but here’s a little comparison we created to give you a bit more insight;
| Backpack | Messenger |
|---|---|
| Comfortable on the back and doesn't unbalance your centre of gravity. | Allows quick access to your camera and lenses |
| Takes longer to access | If heavy, can shift your weight on to one shoulder, destabilising you whilst shooting. |
| Can carry more items | Can leave indents in your shoulders, if heavy |
| Ideal for longer trips | Better for shorter trips |
| Possible to attach tripod with external straps | Compact designs can stop you looking like a tourist, if you need to 'blend in'. |
But bear in mind you’ll already be packing clothes, footwear and other travel accessories for your trip, so you may have limited room for your camera kit which may force you to pack light. This isn’t a bad thing though, depending on your destination you don’t want to be carrying around 15lb of equipment in 30-degree heat.
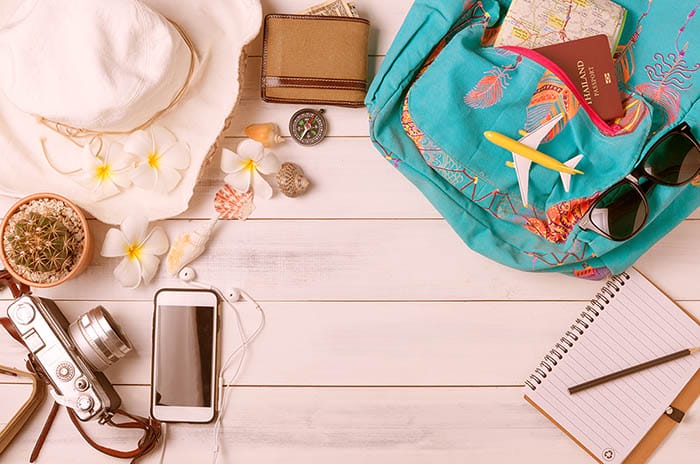
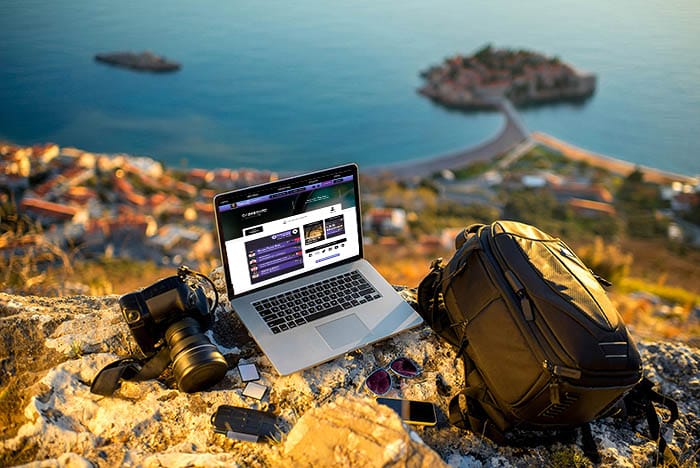
Let’s take a look at the obvious, and maybe not-so-obvious items, you could put in your travel photography bag.
• Camera – obviously. But what type? Any camera will do for travel photography; compacts, bridge, mirrorless or DSLRs are fine, as we believe a great photograph is made by a great photographer, not the camera.
• Lenses – another obvious one but if you have detachable lenses, then just pack a wide lens and a prime lens around 50mm if possible. These lenses will give you choices for what you include in your shots and they are also ideal for couple of different subject matters that we could encounter. If you’ve got a compact camera with a zoom lens that should do the job too.
• Lens Filters – All dependent on where you go, if the sun is a lot stronger and brighter than you’re used to then purchasing a simple ND (Neutral Density) filter will help you darken the daylight further when you’ve closed your aperture as much as possible.
• Extra Batteries & Memory Cards – Being away from home it’s important not to forget your charger too, and the correct AC adaptor if you’re in another country.
• Mini Tripod – In the interest of travelling light, we wouldn’t suggest packing a full-size tripod in your travel bag, but you can pick up smaller lightweight tripods which are great for dramatic low angles of landmarks and buildings.
Don’t go anywhere without insurance! Make sure your camera and lenses are covered for theft, loss and accidental damage wherever you go. Provide your insurers with your camera’s make, model and serial number in case you need to make a claim (fingers crossed you won’t have to but that’s what insurance is for).
During your journey, read a travel guide about your destination, it doesn’t just keep you excited but can also help you understand the local activities and what customs to expect. Learning to be a local at your destination will help you access some of the non-popular sites that other tourists won’t see.
Pick up a phrase book or download a translation app because learning the lingo is a great way in to finding these hidden gems. Memorize just a few simple phrases like ‘hello’, ‘have a nice day’, ‘thank you’ and just as importantly ‘would you mind if I take your picture?’ – this one will come in useful later on!
If you’ve got the budget, some exotic destinations have personal local guides to help you navigate your way around. Like the Sherpas of the Himalayas, they will show you the best routes to landmarks and tell you when the quiet times are to visit. It’s best to agree a price in advance to avoid the awkward haggling afterwards.
Find a good café or bar that the locals seem to populate if you want to find out more about the area. Bartenders and waiters are fountains of local information so slide them a generous tip for exchange of useful information.
It’s also a good idea to dress appropriately so you don’t look like an obvious tourist, the archetypal ‘I LOVE MIAMI’ or ‘AMSTERDAM 2024’ t-shirts are a sure sign you’re from abroad which could result in a number of things;
1. Hopefully this will never happen wherever you travel, but unfortunately, pickpockets exist, and they can operate in big cities and popular tourist destinations as they see tourists as easy prey. Keep valuable items close and backs zipped up when you aren’t using them. Money belts that are concealed under your clothing are great deterrents.
2. It’s not cheap to go too far off destinations. If you look like a tourist who’s spent a lot of money to get there, then you could potentially be a target for overcharging. Services like taxis, bars and cafes that don’t advertise prices have been known in some destinations to have a ‘local price’ and a ‘tourist price’ resulting in higher charges.
3. If you look like an ‘outsider’ then capturing regular candid photographers of locals going about their daily business could be a lot harder if their eyes are all fixed on the odd one out.
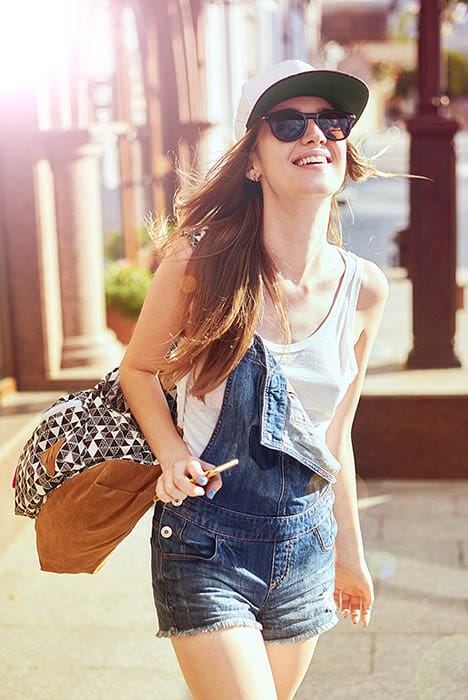
Going incognito and blending in with the local style is a good way to start. Don’t buy brand new vacation clothes for the occasion, the more worn and lived-in your travel wardrobe can be, the better. Use old hats and sunglasses to mask your appearance too.
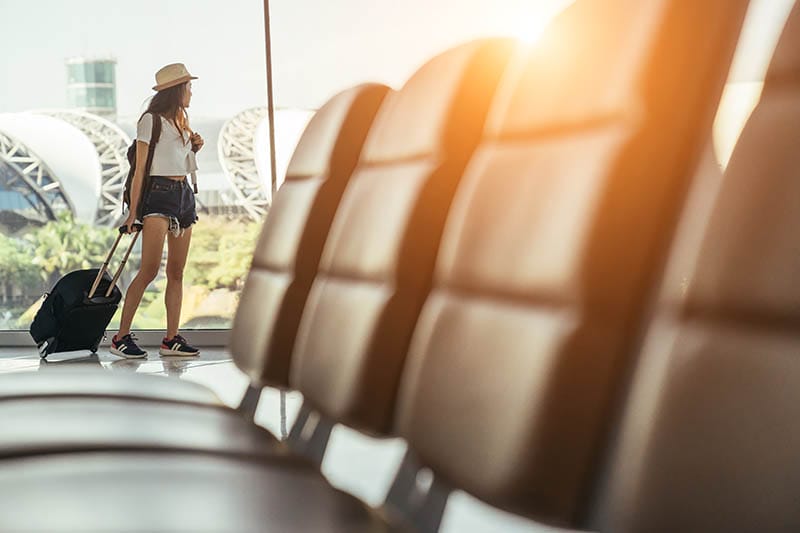
Only you will know how much time to dedicate to your travel photography while you are away, there’s no problem with snoozing in until noon and slowly enjoying the common tourist’s spots to see the local landmarks.
But if you are a photographer who really wants to use this trip to capture some unusual and beautiful travel photographs then you need to be prepared to force yourself against your natural will if you are on vacation.
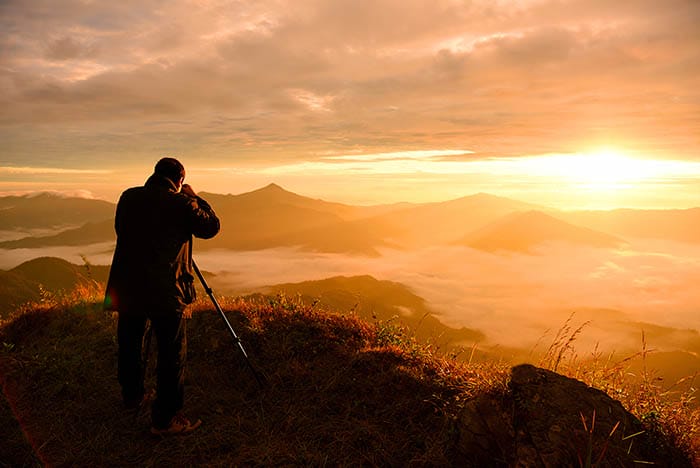
Learn what the local sunrise time is and put a reminder on your phone to give yourself enough time to get to a great vantage point overlooking a lake, beach or quaint village, these are the kind of shots that the common tourist will miss if they aren’t prepared to get up early.
Talking to the locals, in their own language, will make them appreciate your efforts to learn about them and their cultures. Building up this trust and appreciation can lead to finding great new areas to take photographs that aren’t on any map or tour guide.
It’s this extra motivation that will separate you from them and make your travel images more impressive and special. Unfortunately, we can’t provide you with the motivation itself, that part has to come from you, but trust us when we say, it’s worth it.
It’s easy to use the widest focal length you’ve got and squeeze in every little aspect into the shot but stop and think about your subject for a while. Think back to when you did your research.
• What did this landmark look like in the travel books?
• Was there a common spot that photographers used in your research?
• What angle was used most often?
If you really want to make some special travel photographs, then it’s going against the grain that is going to make your images unique. Knowing the typical approach prepares you to do something different.
The composition doesn’t have to be a straight-on wide frame photograph of the whole scene, get creative and use some Dutch tilts on your subject to present it in a more contemporary manner. Tilts are not everyone’s cup of tea, but they can make landmarks look more dramatic and different to the typical picture-postcard look.
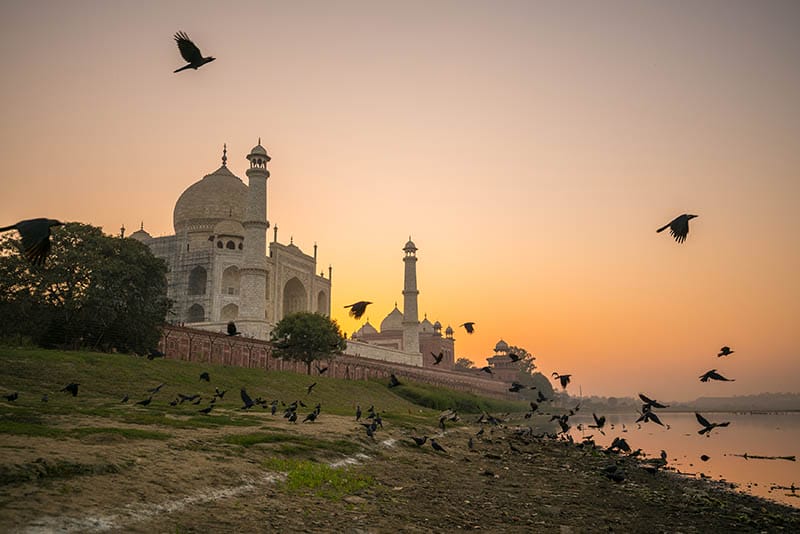
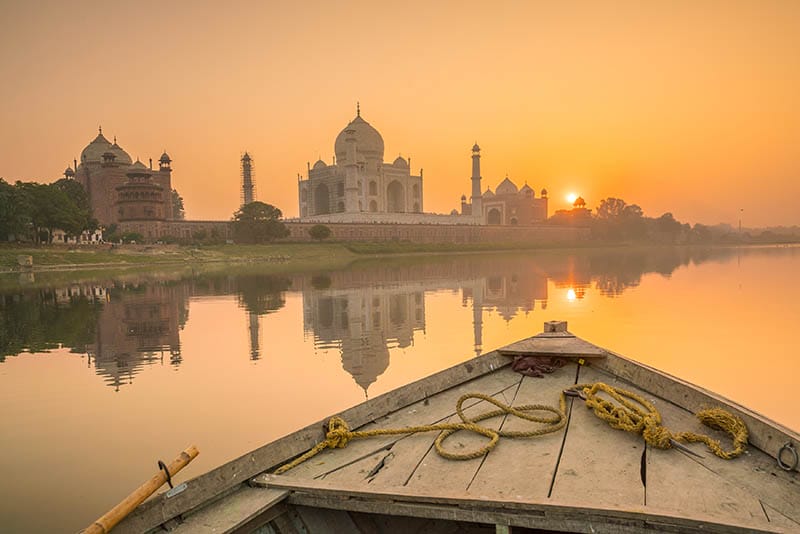
Look for opportunities to use refections to showcase iconic subjects. Water fountains and decorative ponds are great sources of reflection. Especially at night when it may be quieter and the water calm, so you can capture some abstract shapes.
If your destination sits on a river bank, then try travelling across to the other shore and photograph the whole landscape. It’s also a great time to try out some long exposure shots and transform that incoming tide to a serene and eerie silky surface in the foreground of your photograph.
Big glass windows and mirrored surfaces are also ideal ways of incorporating scenery in a non-direct way too, making you look less like a tourist, and more like an artist.
Don’t forget to rummage through your bag for that mini tripod and use it to get dramatic low angled perspectives on your subjects. They are normally only a few inches high, so it’ll look like you are shooting straight off the floor which isn’t a common perspective for anyone -except worms!

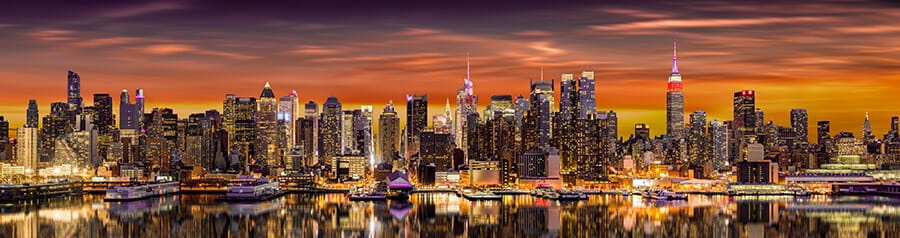
If you find yourself standing on the edge of a breath-taking landscape and you want to photograph everything you see but physically can’t (at least not in one shot) then try using a panorama mode on your camera. It works by constantly assessing the scene as you physically pan the camera across the landscape.
The camera creates a picture from the scene resulting in a very wide but narrow panoramic cropped landscape. On your camera’s LCD screen, it may be hard to appreciate but wait until you get it home and upload it to your computer, that’s when you’ll see the magic.
But fear not, if you don’t have a panorama mode then do it the old school way and turn your camera to portrait/vertical orientation and take several shots of the landscape as you pan across the landscape from your position. This builds up numerous shots of the landscape which you’ll need to composite together in post-production.
The trick to success is making sure you overlap part of one shot in the next, otherwise you’ll have bits of the landscape missing.
If you’re going away with friends or family then use them as points of interest in your composition too but make it fun and enjoyable – remember, they’ve come for a relaxing vacation, even if you haven’t!
If you don’t feel comfortable about talking to the locals or unsure on your language skills, then ask your fellow travelers to step into the frame to make your scene look more relatable. If they aren’t dressed like a tourist either, then it’ll make your shot look more organic. It’s good to use contrasting colors to the landscape so they do stand out visually at least.
Ask them to walk ahead of you and have a look around, hang back with your camera and capture them walking through archways, shop doors, alleyways or over bridges to create a story of the traveler. Having people in your shots makes your travel photographs more relatable and adds emotion to the scene.
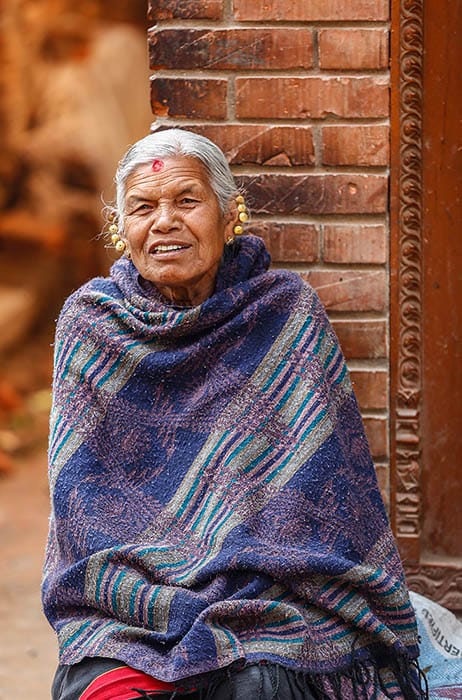
But if you feel a little more confident and comfortable with your surroundings, approaching some interesting local characters and individuals and asking to take their portrait is a fantastic way of building the story of your travel.
You’ll need to know the correct translation to ask firstly, and don’t be offended or pushy if they say no – put yourself in their shoes, they may be shy or busy.
Without causing offence and as a thank you for their time it could be a polite idea to pay your subject a nominal amount beforehand – you don’t end up haggling afterwards.
If they agree, then try to keep the shot simple, decide whether it’s a formal portrait of them looking at the camera or if you want them to carry on what they were doing so you make it look more natural and candid. You don’t want to be interrupting their day for too long, so you’ll need to work fast, so decide on what you want to shoot before you approach them.
Use natural lighting to keep the shot genuine and not too contrived, it’s also worthwhile including some of the surrounding backgrounds to add some flavour to the shot. Give an impression of the location by using a wider lens and a small aperture (start around F/11) to retain the detail and texture in the shot. The aim is to make it look as close to how you saw it through the viewfinder.
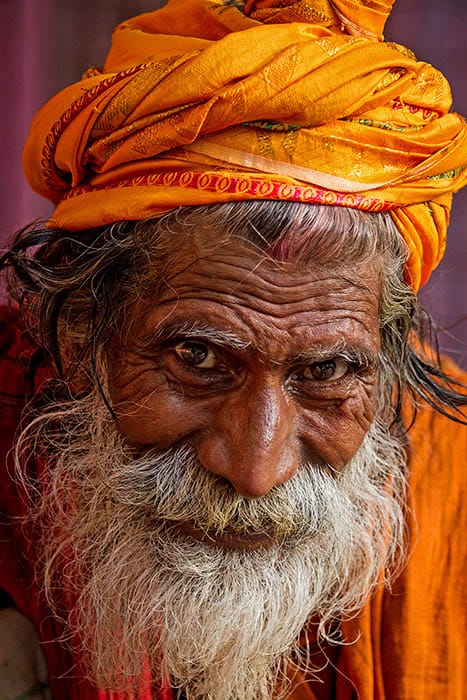
If you prefer to get a little closer to your subject and really capture those beautifully deep textured portraits that you may see in National Geographic magazines, then you’ll need a different lens. Ideally somewhere between 50-85mm will do the job as this won’t distort the shape of your subject’s face.
Keep the camera in vertical/portrait orientation to make it more of documentary style finish, and let them react how they want, directing their expression takes away from what you loved about their character originally, try to capture what drew you to them in the first place.
Once you’ve approached one stranger, you’ll find it easier to approach others and it starts to make you more experienced and confident in new places which is huge hurdle a lot of new travel photographers experience – a lot stick to the tourist’s routes to begin with – which isn’t a bad thing if you want to find your feet with travel photography.
If you meet a very friendly local, then there’s no rules against taking a cheeky selfie of you and them for your scrapbook memories.
Travelling to new destinations is not solely about the people that live there though. There are other ways to capture the charm, character and culture of different communities by taking detail photographs of items that explain their lives.
Using a longer lens or a macro (close up) mode will help you take photographs of shop trinkets, road signs, architecture, fauna, food, flags and other traditional delicacies.
These shots act as great fillers and help tell the story of your trip and give you talking points to friends and family when you show them your travel photography album.

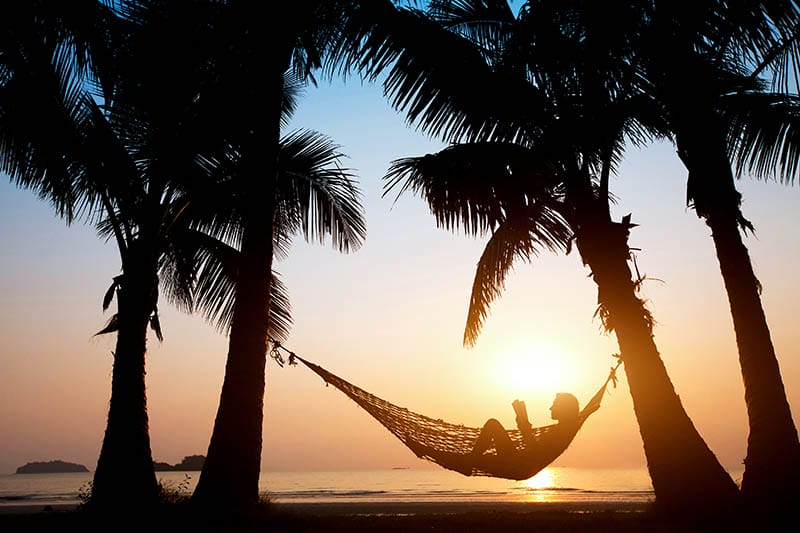
When the sun sets, and the ambient light becomes your only source of illumination, it is a great opportunity to capture a different side of your travels that others may not see if they are partying or enjoying the hotel entertainment.
Take with you that little tripod, as you’ll need to use a slower shutter speed to get the exposure spot on. Shoot from elevated points overlooking towns, villages, beachy coves and other landscapes to give a better sense of scale and drama.
If you are in more rural surroundings, then try to capture some of the starry night sky to act as a backdrop against your foreground scene. It will be harder to see the stars if you are in the middle of a city or large town so getting out into the countryside will give you the best travel photography opportunities.

GPS – If your camera has a GPS function then switch it on during your travels, that way, when you get home you can exactly pin-point the location of each of your shots. You can use this to mark on a ‘map of travels’ or better describe the location if you are sharing it among friends and family.
Talk to People – We’ve already discussed taking portraits of locals on your travels, but it’s polite to stop and talk further (provided you can follow the lingo) and find out about their community; what do they love? Where do all the locals go to relax? Are there any stories or tales about the community?
Don’t Obsess – Though patience can pay off, it’s not worth obsessing so much to get the ‘perfect shot‘ as it may never happen. Take the stress off your shoulders if you think you need to get the best shot of a landscape in a 2-hour window.
Keep it Clean – If you find yourself in coastal locations then it’s common for incoming winds to blow sand and debris inland which can play havoc with your lens. Keeping a little lint-free cloth in your pocket is a quick way to wipe any blemishes on the front of your lens.
Backup, Backup, Backup – If you’ve taken your laptop and storage drives with you then, of course, backup your photographs as often as possible while you are travelling. If not, then make sure one of your first jobs when arriving home is to transfer all of your photographs from your memory cards to your hard drives. Portable hard drives with USB 3.0 connections can handle faster file transfers than USB 2.0.
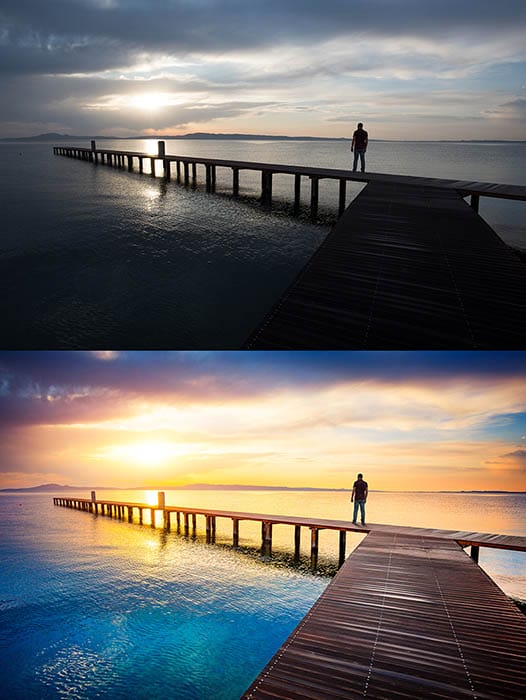
I’ve compiled a little list of areas you should consider when editing your travel photographs to help you along.
1. Contrast the Sky – It’s always a tricky aspect to get accurate, there can be lots of haze and glare around which can make a skyscape look muted and flat. You may need to increase the contrast of the sky to make it look more vivid and exciting.
2. Increase the Dynamic Range – Dramatic landscape shots can sometimes lose the detail and texture that you saw through the viewfinder. If you had to use wider apertures due to the light conditions increase the dynamic range. Use the clarity slider in Lightroom to add more detail to the scene.
3. Avoid Monochrome Overload – Don’t make all your portrait shots black and white just for dramatic effect, yes it may help concentrate your viewers on the emotion of the subject, but colours can do that too, if you pay attention. Happy and vibrant subjects in your photographs look more energized in colour and brightly colored traditional clothing can look very muted and suppressed in black and white. We’re not saying avoid monochrome entirely, but make sure you’re doing it for the right reasons.
4. Remove Distracting Elements – Using functions like Content-Aware and the Patch Tool in Photoshop to remove little items that distract your eye in the picture. It may be some pieces of rubbish or graffiti that take away from the atmosphere of your scene.
5. Level the Horizon – One of the biggest mistakes that amateur travel photographers make is not getting the horizon straight on a landscape. It’s not the end of the world if you don’t get it straight in-camera, as you can level it up afterwards.
6. Add Filters – This will give your photographs a definite style and feel, but that can be a good thing if you visited a very quaint Tuscan village in Italy and you want to keep the feel of its vintage looks and traditional culture. Opaque white colour filters over the top of your picture can make photos look retro but may be more in-keeping with the feel of the destination.
If you aren’t a professional travel photographer being paid to visit these destinations, then it’s most likely you are combining your photography with a vacation. It’s important to remember that it’s a vacation first and foremost away from your everyday life.
Especially if you are travelling with family then you don’t want to isolate your loved ones while you venture out with your camera. Discuss with them beforehand places you want to go and get them involved so you are still spending precious time with them.
Wherever you travel across the world I hope this guide has helped you understand how to make the most of your travel photography when you go on that long weekend or once in a lifetime holiday to distant shores.

Discover the BEST way on how to clean a camera sensor using swaps, rocket blowers and pencil brushes to give your shots a dust-free finish!

Capture the magic of the night with our beginner’s guide to night photography. Learn tips and techniques for stunning results.

Master the art of solar eclipse photography with expert tips on equipment, settings, and precautions for stunning celestial images.
Learn the basics of photography – fast – with our FREE 60-Second Photographer online course. Each class is short and sharp with simple, actionable steps that give you immediate results.
x 30 lessons

© iPhotography™
Become a confident and competent photographer in less than 30 minutes!
Before you leave, make sure you’ve secured your FREE online photography course (worth £29.99)
Each class is just 60-seconds or less making it the fastest and easiest way to learn photography!