If you enjoy taking your camera into the great outdoors then make sure you are preparing yourself correctly.
Watch our full webinar presented by landscape photographer Chris Sale detailing the 10 common mistakes of landscape photography or read this list below.
Without knowing your tools, you’ll never get far – the same goes for photographers. Knowing the functionality and capabilities of your DSLR not only allows you to choose the right settings for each moment, but it means you can adapt quickly when the conditions change.
Having custom buttons set up to let you quickly access your most commonly used/base settings means you don’t have to worry about what tools are activated and not.
Creating yourself a photography workflow, especially for landscapes, is an ideal way to make sure your don’t forget to check a setting before you start shooting.
While knowing what your camera can do is one thing, but it’s also important to know its limitations too.
● Whats the highest ISO level you can push it to before digital noise starts to appear?
● Whats the slowest shutter speed you can shoot at handheld before camera shake is noticeable?
● When you bracket shots which order are the shots taken and what is the EV gap between each shot?
Knowing the answers to questions like these will help when conditions change and you need to adapt but without compromising the image quality.
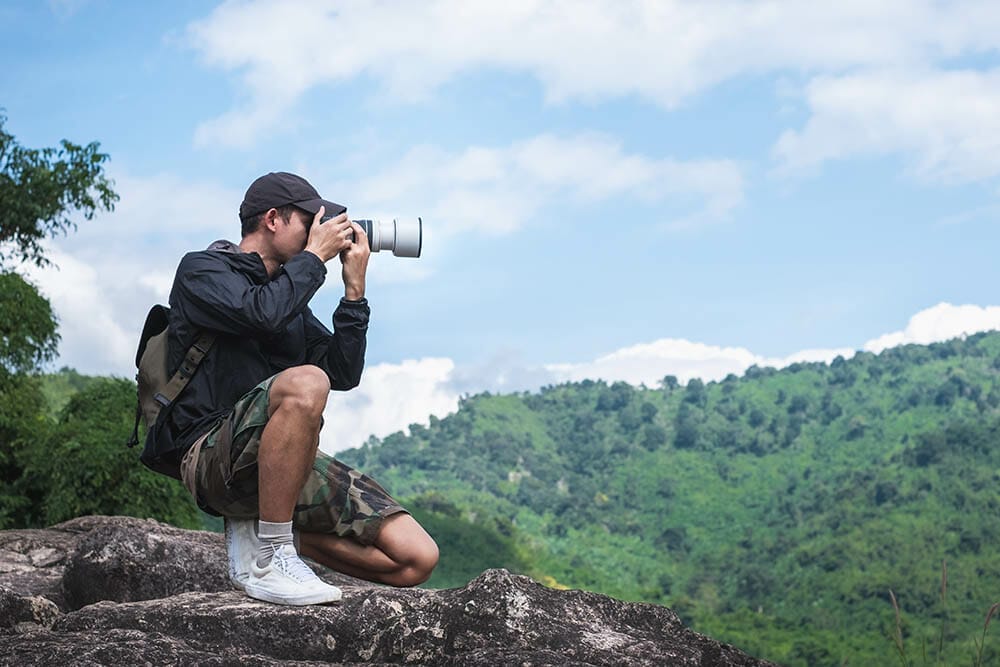
A landscape photographer should never be without their tripod – almost never. Having a compact, lightweight tripod should be a staple part of your landscape photography kit and always stowed on the side of your bag.
A tripod will allow you be more creative and give you confidence that your shots are sharp, level and not rushed. It’s far too easy to leave bigger items like tripods at home because of their size and weight but the advantages of having it with you when you’re out outweighs any drawbacks.
Tripods force photographers to be more considerate about their composition and camera settings. The few seconds it takes to setup your camera and tripod allows you think about the composition, the use of filters, where the best vantage point is and where the lighting is falling.
Watch a few landscape photography videos online and it’s rare you’ll see the photographer not using their tripod. Landscape photography is about patience, consistency and research. Quickly taking a shot handheld because you can’t be bothered to get the tripod out, or you’re cold etc is going to show in the overall quality of the final photo.
Are you in the right position for your shot? You’ll only know if you’re familiar with the location. Even if it’s a new location you’ve never been to before this doesn’t mean you can’t research it in advance.
Tools like the Photographer’s Emphemris, Photo Pills or Google Earth offer very detailed information about the lie of the land, terrain, views, gradients and where the sun will be at any time of day. Browse through Instagram and have a look at how other photographers have shot the same location. Take note of;
● Where the camera is position?
● Where is the sun relative to the camera position?
● What objects are included in the shot?
● How high off the ground is the camera?
● What does the terrain look like?
● How easy is the location to find?
● Is there a dedicated path?
● Are there any GPS coordinates to make your route easier?
Knowing your location means there should be less surprises you weren’t expecting and you can get straight down to shooting.
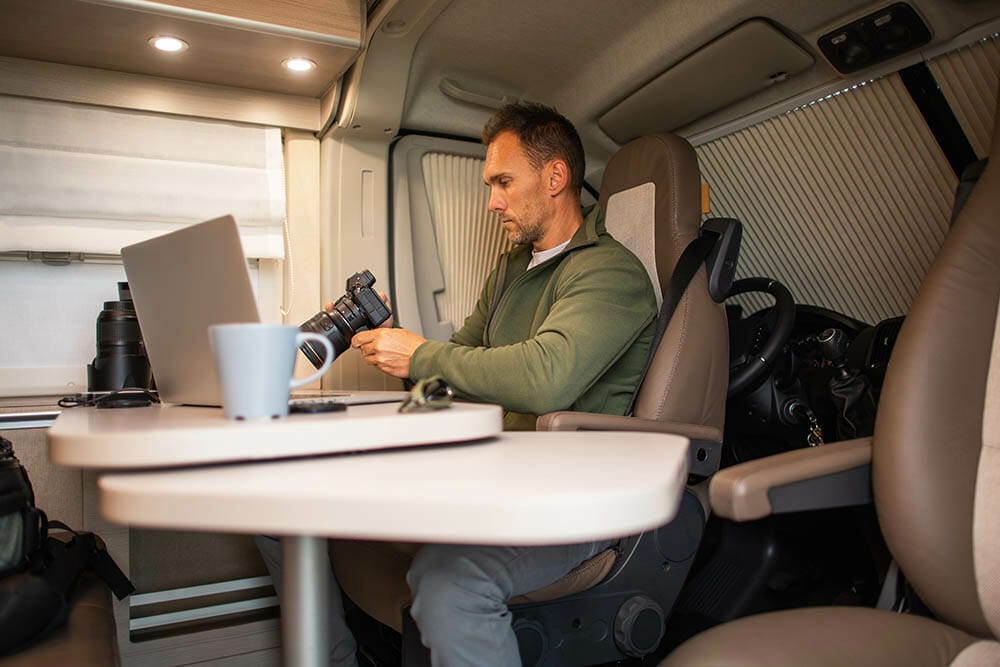
Research should also extend to knowing the weather and lighting conditions too. Taking a trip out with your camera at a random point throughout the day doesn’t necessarily mean you’ll be shooting under the best (or most interesting) light.
Instead, look at the weather in advance, take note of where the sun will be positioned in the sky and what that means for shadows and highlights being cast across the landscape.
Golden hour is a very popular time to shoot landscape photography because the light is warm in colour, low to the ground creating long shadows and depth to the shots. Getting up just before sunrise to go shooting or staying out late until just before sunset is where most landscape photographers tend to get their best shots.
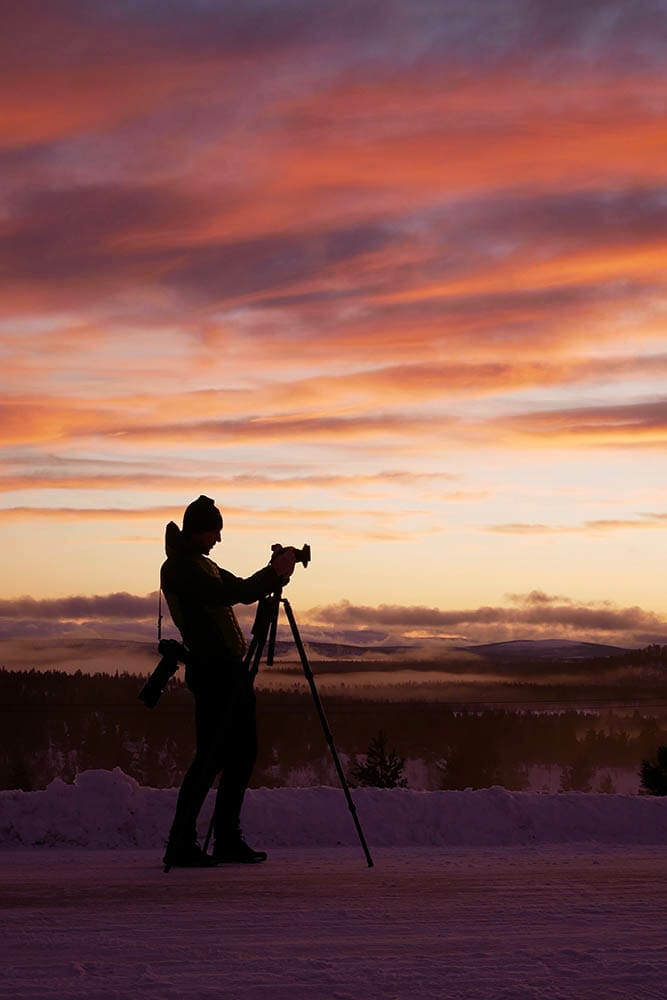
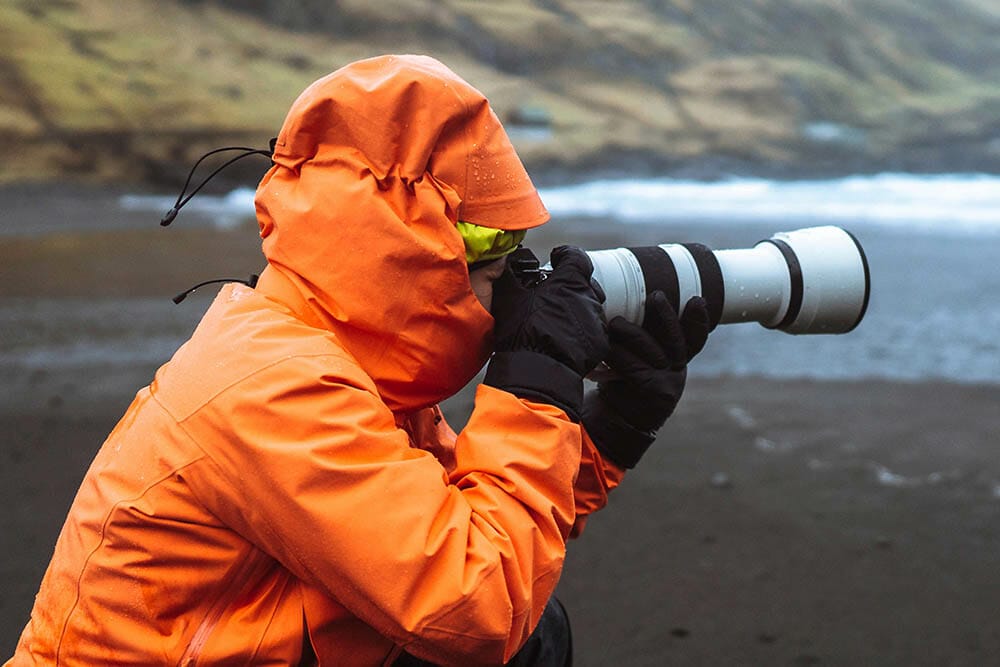
But it’s not a case that you should ONLY be taking photos during the golden hour. If you can only get outdoors during the day then still do it. Don’t be put off by inclement weather or dull skies.
Shooting in challenging conditions will teach you to be adaptive, creative and more determined as a photographer to get something great from the moment, if this is the only moment you have to shoot.
Don’t let rain dampen your motivation or windy weather keep you home.
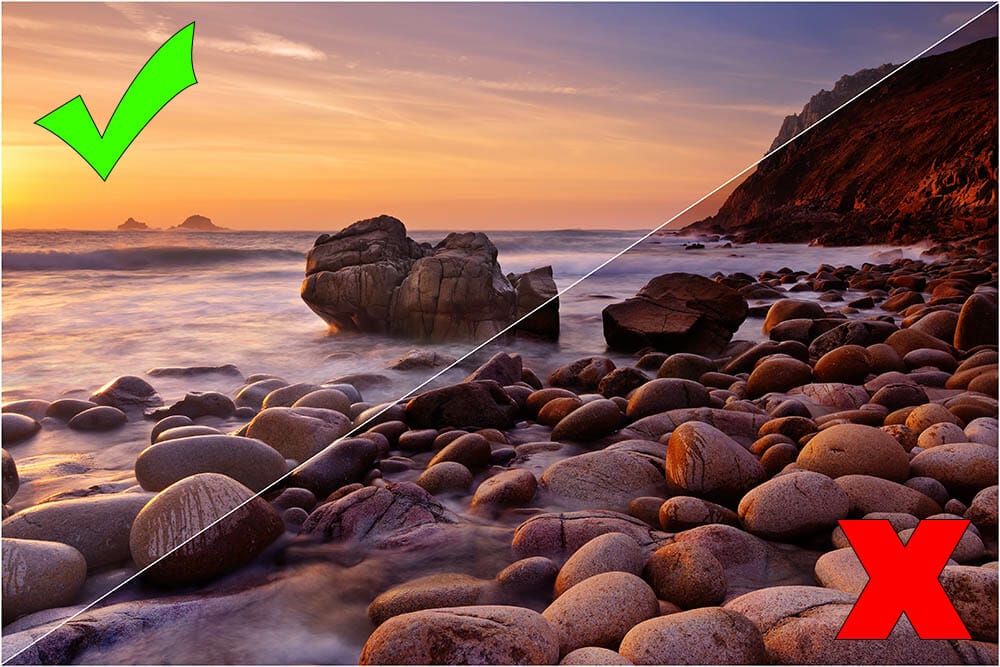
Far too often beginner landscape photographers concentrate all their attention on one particular aspect in their photo and forget to make sure the rest of the scene is evenly exposed as well. This results in highly contrasted shots where the primary subject is bright and the rest of the scene is very dark, which may not be accurate of the conditions.
Instead aim to create a wide dynamic range in your exposures which means the brightest parts of your shot aren’t too bright and the darker areas aren’t too dark.
There should be an evenness about your exposures which you can monitor by watching the histogram on the back of your camera. You can also bracket your exposure to capture a good dynamic range if the light is quite harsh.
‘What’s the point of this photo?’ you should say to yourself just before you click that shutter button. It’s not a question you should be justifying afterwards.
Your photograph should be easily understandable to a stranger as to what the moment is about. The easiest way to do that is by having a primary subject in your shot.
A primary subject can be anything from a rock in lake, to a house, a person, a tree or other objects. Either way, the purpose of a primary subject is to give a landing spot for your audience to concentrate on and base their feelings around. It’s effectively an anchor that keeps them interested in the photo and engaged.
Without a primary subject the eye tends to wander of the scene and nothing really pulls the audience in to want to know more.
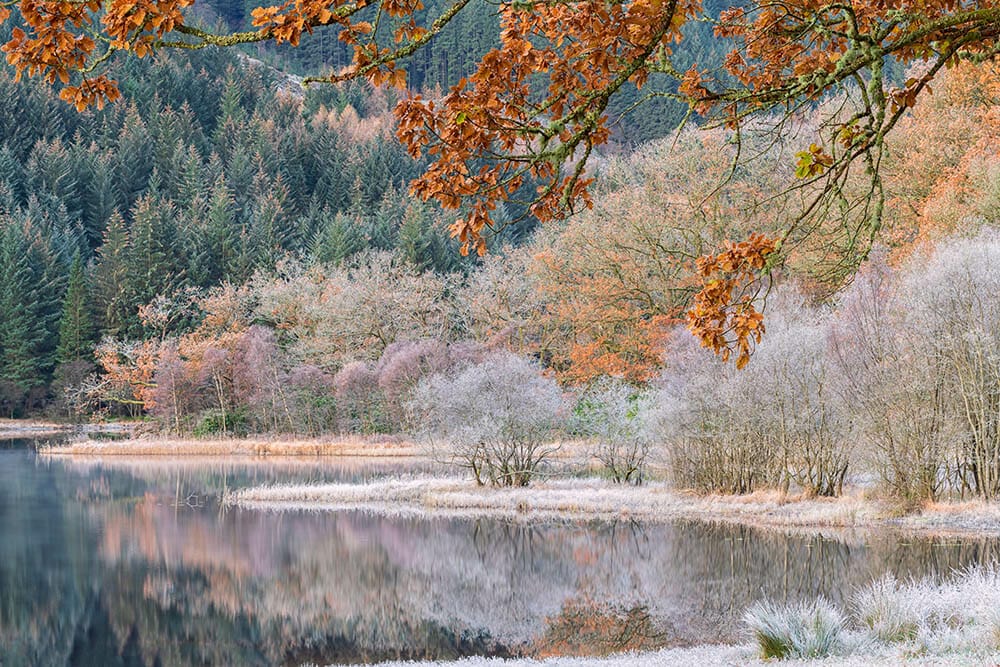
Continuing along the same branch as the previous point this next common mistake of landscape photography comes from photographers not clearly articulating what the shot is ultimately about in their composition.
If you find yourself shooting very wide and including everything you see in the hope that your audience will find something of interest in the shot eventually then you need to stop and be more precise.
Audiences don’t work that way. It’s the job of the photographer to tell the story of the moment through lighting, composition, toning, detail and cropping. Using techniques such as the rule of thirds, leading lines, symmetry and negative space offer balance, drama and visual points of interest to keep an audience engaged with your photo that looks purposeful and crafted.
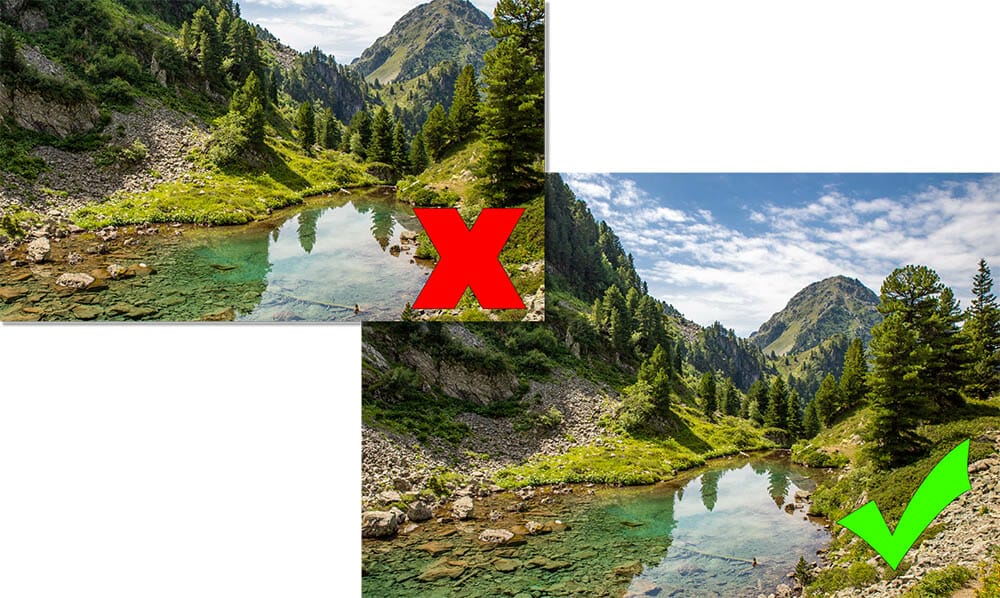
If a tripod is essential to landscape photography a polariser (CPL) filter is paramount. Given that you’ll be outdoors all the time, the sun and any reflections off the water could be giving you lens flares or glares that might look distracting – a CPL filter will deal with that.
A CPL filter cuts down on glare and flares from light bouncing off surfaces. It cuts through the glare and makes the water look matte rather than shiny and darker. Sharp highlights reflecting off water can be too bright and sharp on the eye. Use a CPL filter and twist it left and right to get the desired level of reflection.
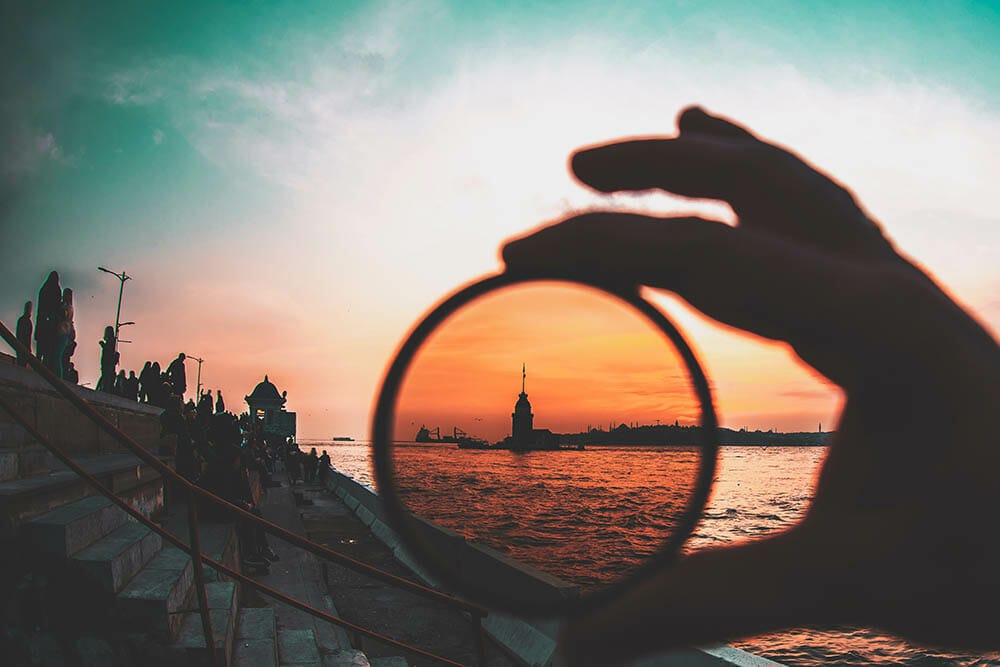
Once you’ve taken your shot do you consider the job done? Some do. Which, if everything is honestly perfect, then that’s fine. But in honesty, rarely is there ever improvements that can’t be made in post-production.
Post-production (or editing) has become more and more integrated into the photographer’s workflow these days and it is almost expected that images are edited afterwards to really enhance the final shot. This isn’t cheating or diluting photography – it’s been done for decades, every famous photographer has edited a photo in some way shape or form – it’s the norm.
Making sure you’re editing your landscape photos for the right reasons though is important to understand. It’s easy to kill a good RAW image if you over-edit. An edit is for enhancing what you’ve already captured rather than covering up mistakes or adding in something that you should have done in-camera.
Using Lightroom, Affinity, Luminar, Pixlr X or Photoshop are all great places for landscape photographers to edit photos.

Use these 10 common mistakes of landscape photography as a checklist of pitfalls to avoid the next time you’re out shooting. It will make you a more efficient, clinical and creative photographer in time.
Bookmark and save this article about the common mistakes of landscape photography so you can find it again in the future. If you’ve got any other questions about photography chances are you’ll find the answers in our other articles and tutorials below.
Discover the BEST way on how to clean a camera sensor using swaps, rocket blowers and pencil brushes to give your shots a dust-free finish!
Capture the magic of the night with our beginner’s guide to night photography. Learn tips and techniques for stunning results.
Master the art of solar eclipse photography with expert tips on equipment, settings, and precautions for stunning celestial images.
Learn the basics of photography – fast – with our FREE 60-Second Photographer online course. Each class is short and sharp with simple, actionable steps that give you immediate results.
x 30 lessons

© iPhotography™
Become a confident and competent photographer in less than 30 minutes!
Before you leave, make sure you’ve secured your FREE online photography course (worth £29.99)
Each class is just 60-seconds or less making it the fastest and easiest way to learn photography!