If the idea of using a camera flash seems a little overwhelming and ‘only for professionals’ then check out this beginner’s guide to using strobe flash heads.
I’ll walk you through how they look, what the buttons and dials do and how to connect them to your camera.
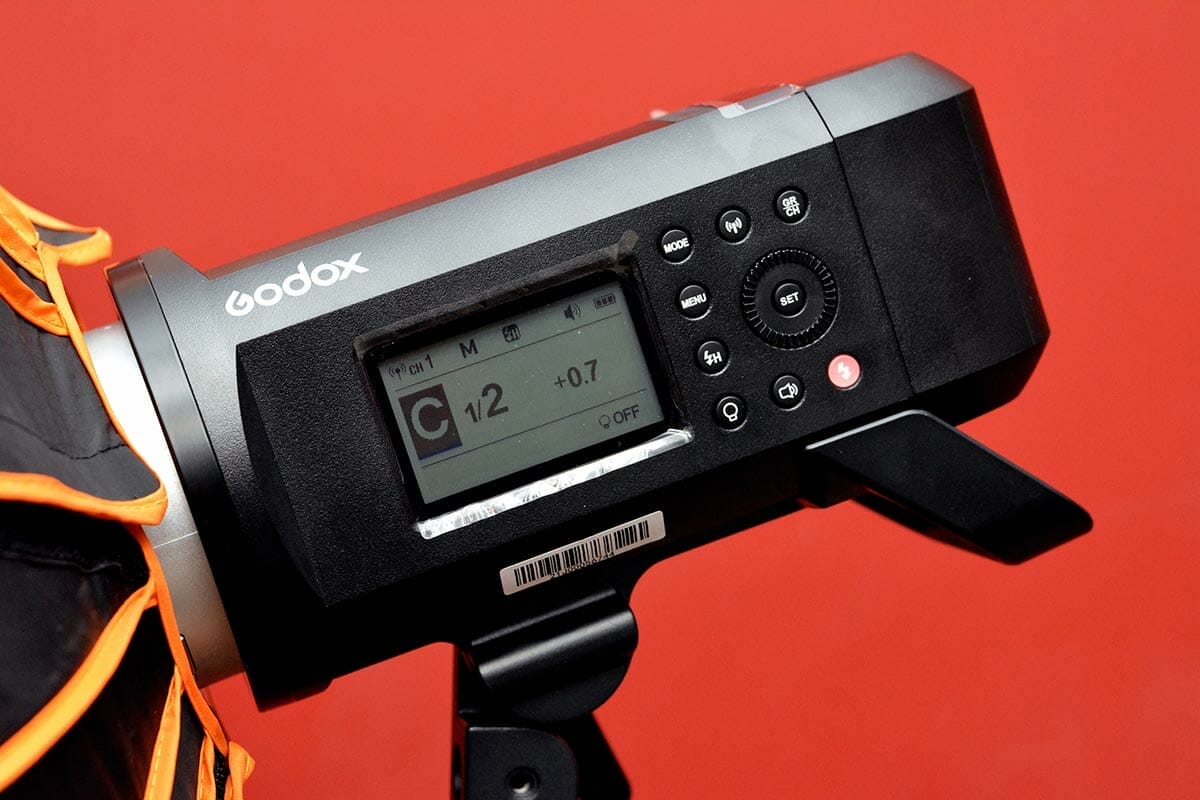
Chances are you’ve seen a picture of a strobe flash head being used in a photoshoot at some point – you may just not have known its name. They are predominantly used in photography studios but there are some that can be used outdoors too.
Imagine a strobe head being like a giant off-camera flash. It works in the same way as an OFC (off-camera flash) in the sense that it is wirelessly triggered to flash when you take a photo.
A strobe head is much more powerful, brighter and heavier than an OFC though. You’ll find that they have a greater power consumption and dedicated power packs to help with this power conversion.
Watch this introductory video to give you a clear understanding of how strobe heads work, or scroll through the rest of this guide.
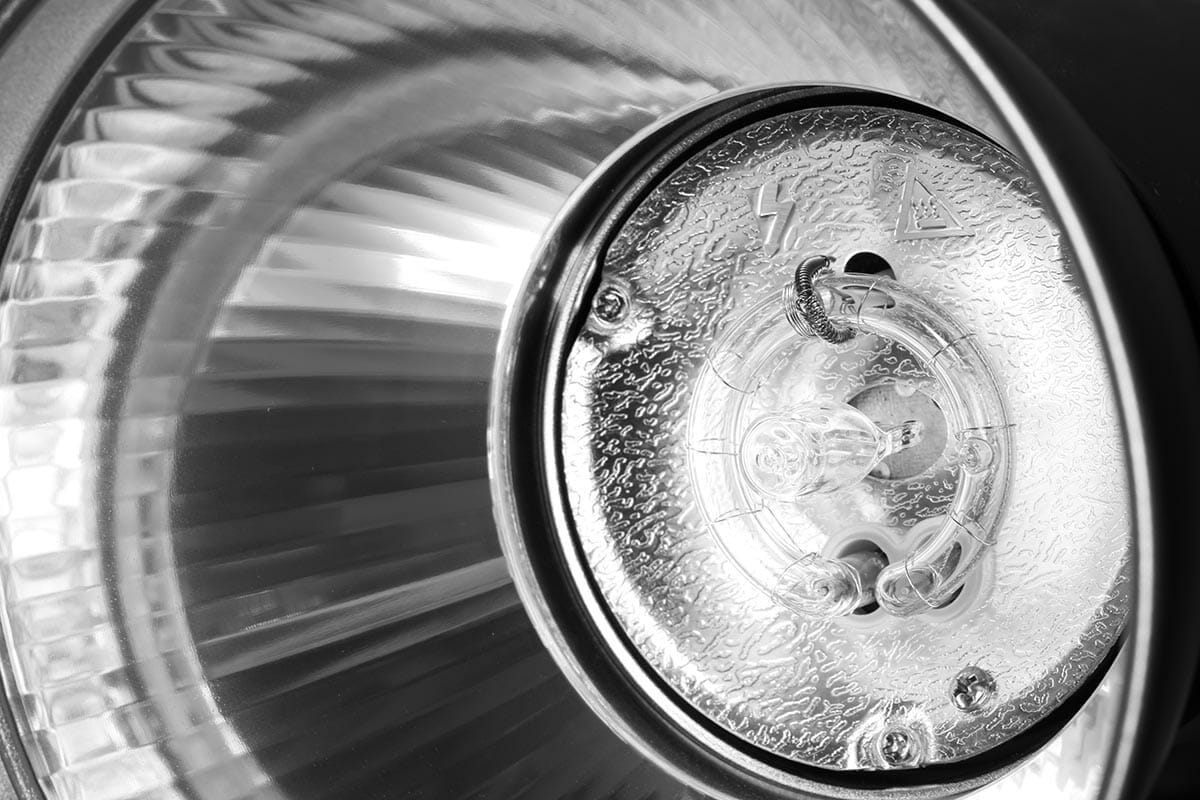
There are two lights you’ll see inside many strobe heads – not all, but most. The main flash that is triggered by the camera is powered by the flash ring. This is a circular bulb that runs around a smaller bulb in the centre called the modelling bulb (sometimes called the lamp).
Not all strobe heads have a modelling bulb, but they are very useful. Modelling bulbs are a constant light source which allow you see the direction of light and relative brightness. They are used when you’re shooting in very low light conditions, or using the strobe as your only light, to help you position the light correctly and achieve focus on the camera.
The flash ring is much more powerful than the modelling bulb but only fires when the shutter is released on the camera. When it does the modelling bulb dims slightly as to not affect the overall exposure.
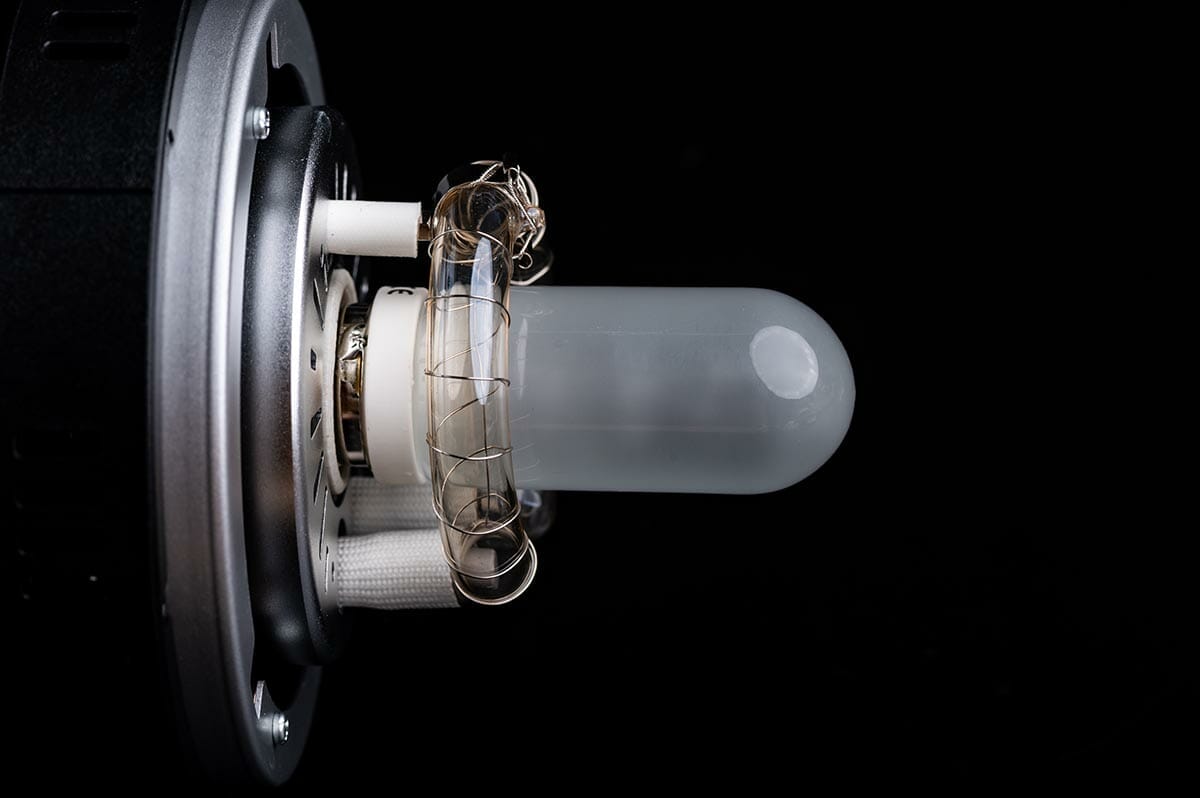
Image: The modelling bulb (lamp) protrudes through the middle of the flash ring.
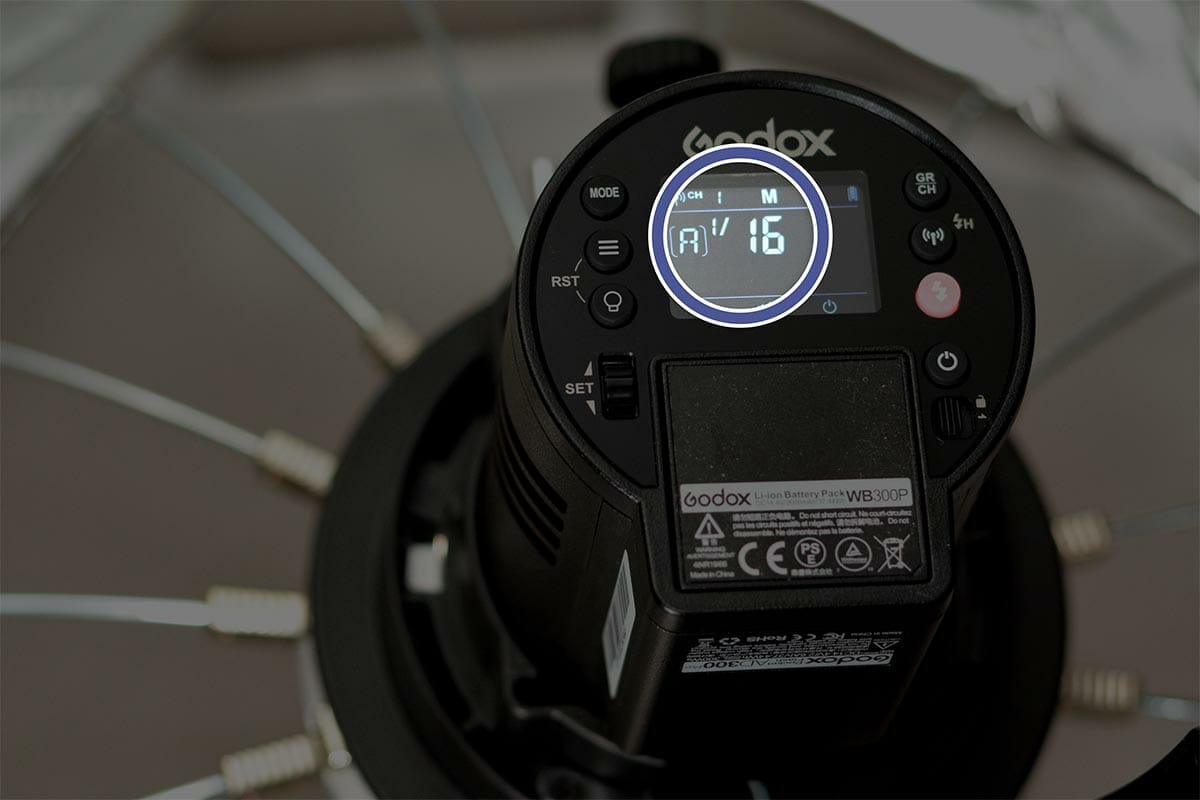
On the side of strobe flash heads will be 1, sometimes 2 dials. These are your power controls. One dial will control the power of the flash ring, the other determines how bright the modelling/lamp bulb is.
Choosing the right power settings for your flash may appear on a digital screen on the back of the strobe too, depending on the model you use. Power settings are expressed in the same way as OFCs.
This pattern continues down to fractions such as 1/64 (which is a very low power setting, meaning the flash won’t be as bright). Some photographers get confused with the expression of these power settings as they are expressed in fractions – similar to shutter speed.
Note: Power settings on a strobe head are not correlated or connected to your camera’s shutter speed.
Though you will only be able to use certain shutter speeds when shooting with a strobe flash (typically the fastest sync speed is around 1/200th), the shutter speed you choose doesn’t affect the brightness of the flash.
This is a rough guide to the type of flash head you might want to use depending upon your need and subject.
(W represents wattage power)
There will be a number of ports and buttons on the back of a strobe head. Some may have extra options than what I’ll outline, but these are the most common.
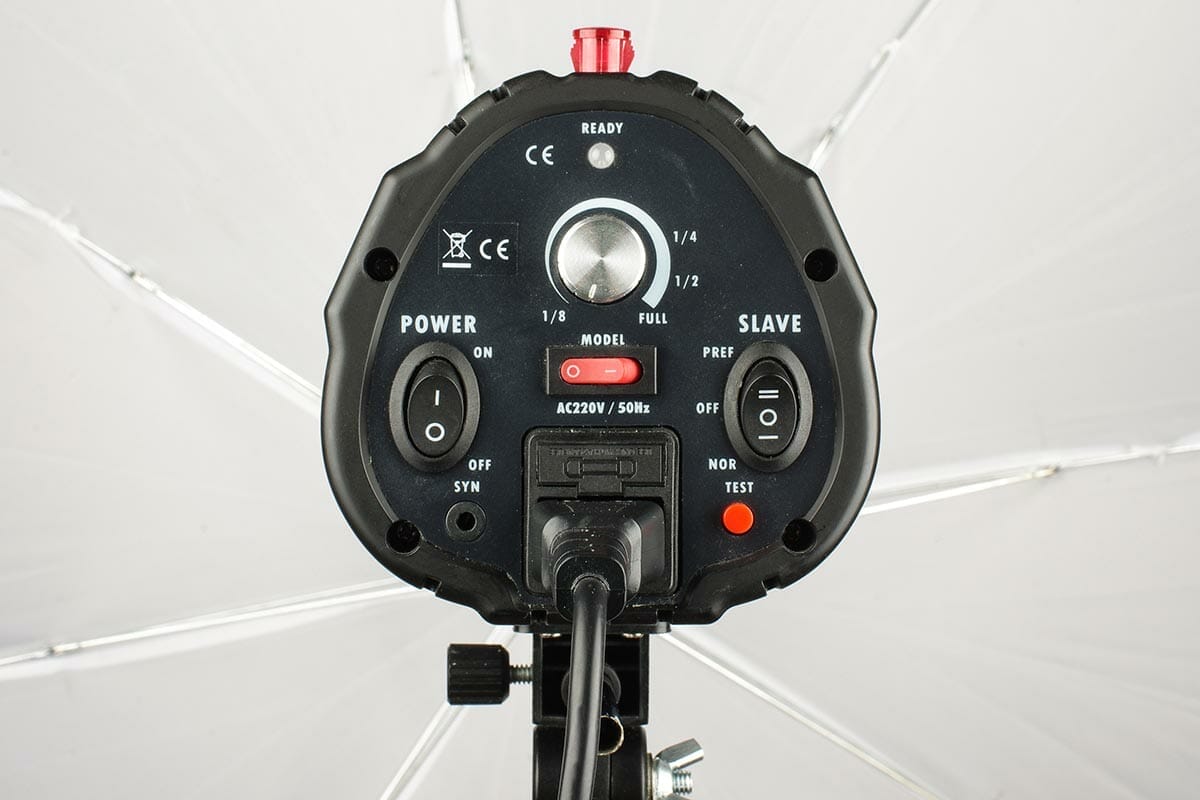
To hook up your camera to a strobe head you normally have two options.
1. Sync Cable Input – Most strobe heads come supplied with an appropriate cable that plugs in to the back of the unit and the other end plugs into the flash sync port on your camera (if you have one). It is like a hardwire connection between the two units but can limit how far you can move away from the light.
2. Wireless Trigger – Alternatively, if you don’t have a flash sync port on your camera then you can use wireless triggers to remotely set off the flash. Slide the transmitter onto your hot shoe and plug it into your camera. The receiver device plugs into the back of the flash. Make sure both parts are set to the same transmitting channel (1,2,3 or 4).
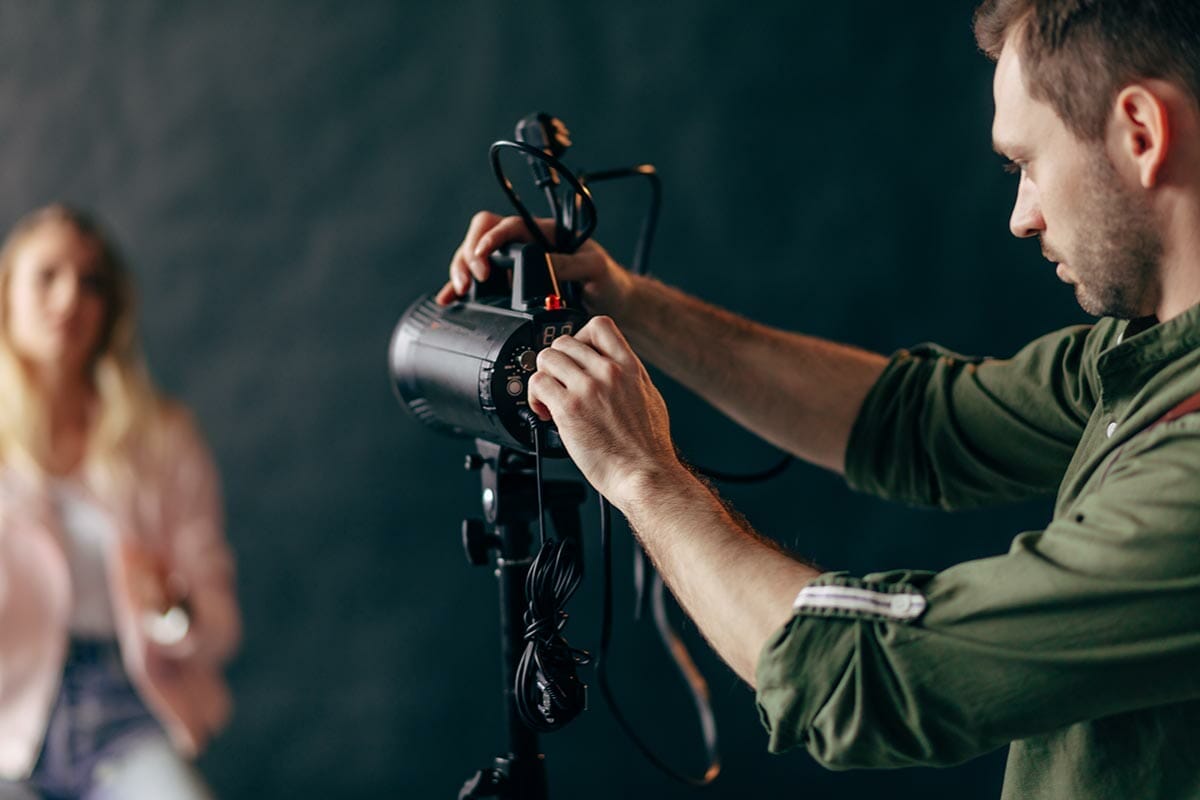
Much like an OFC you can purchase lighting modifiers that fit over the flash of a strobe head. This modifiers the light quality and can also change the shape and direction of the light too.
You might need an adaptor (sometimes called a speed ring) to allow you to fit some of these modifiers over the flash unit.
Check out our full article on photography lighting for beginners here to understand the differences between soft boxes, umbrellas, grids and barn doors.
If you’re looking to invest in a quality strobe lighting kit then check out some of our favourites from Wex Photo and Video.
Elinchrom ONE Off Camera Flash Kit
Strobe heads may look on overwhelming piece of photography equipment but in truth they aren’t any harder to use than a standard OFC. Though they are more expensive and heavier they are much more powerful and produce a better light quality.
Using a strobe head will come down to your needs as a photographer. Not all shooters will need to have one ‘just in case’ as they are a very specific-needs type of light.
Bookmark and save this article about strobe flash heads so you can find it again in the future. If you’ve got any other questions about photography chances are you’ll find the answers in our other articles and tutorials below.
Discover the BEST way on how to clean a camera sensor using swaps, rocket blowers and pencil brushes to give your shots a dust-free finish!
Capture the magic of the night with our beginner’s guide to night photography. Learn tips and techniques for stunning results.
Master the art of solar eclipse photography with expert tips on equipment, settings, and precautions for stunning celestial images.
Learn the basics of photography – fast – with our FREE 60-Second Photographer online course. Each class is short and sharp with simple, actionable steps that give you immediate results.
x 30 lessons

© iPhotography™
Become a confident and competent photographer in less than 30 minutes!
Before you leave, make sure you’ve secured your FREE online photography course (worth £29.99)
Each class is just 60-seconds or less making it the fastest and easiest way to learn photography!