 Stephen Walton
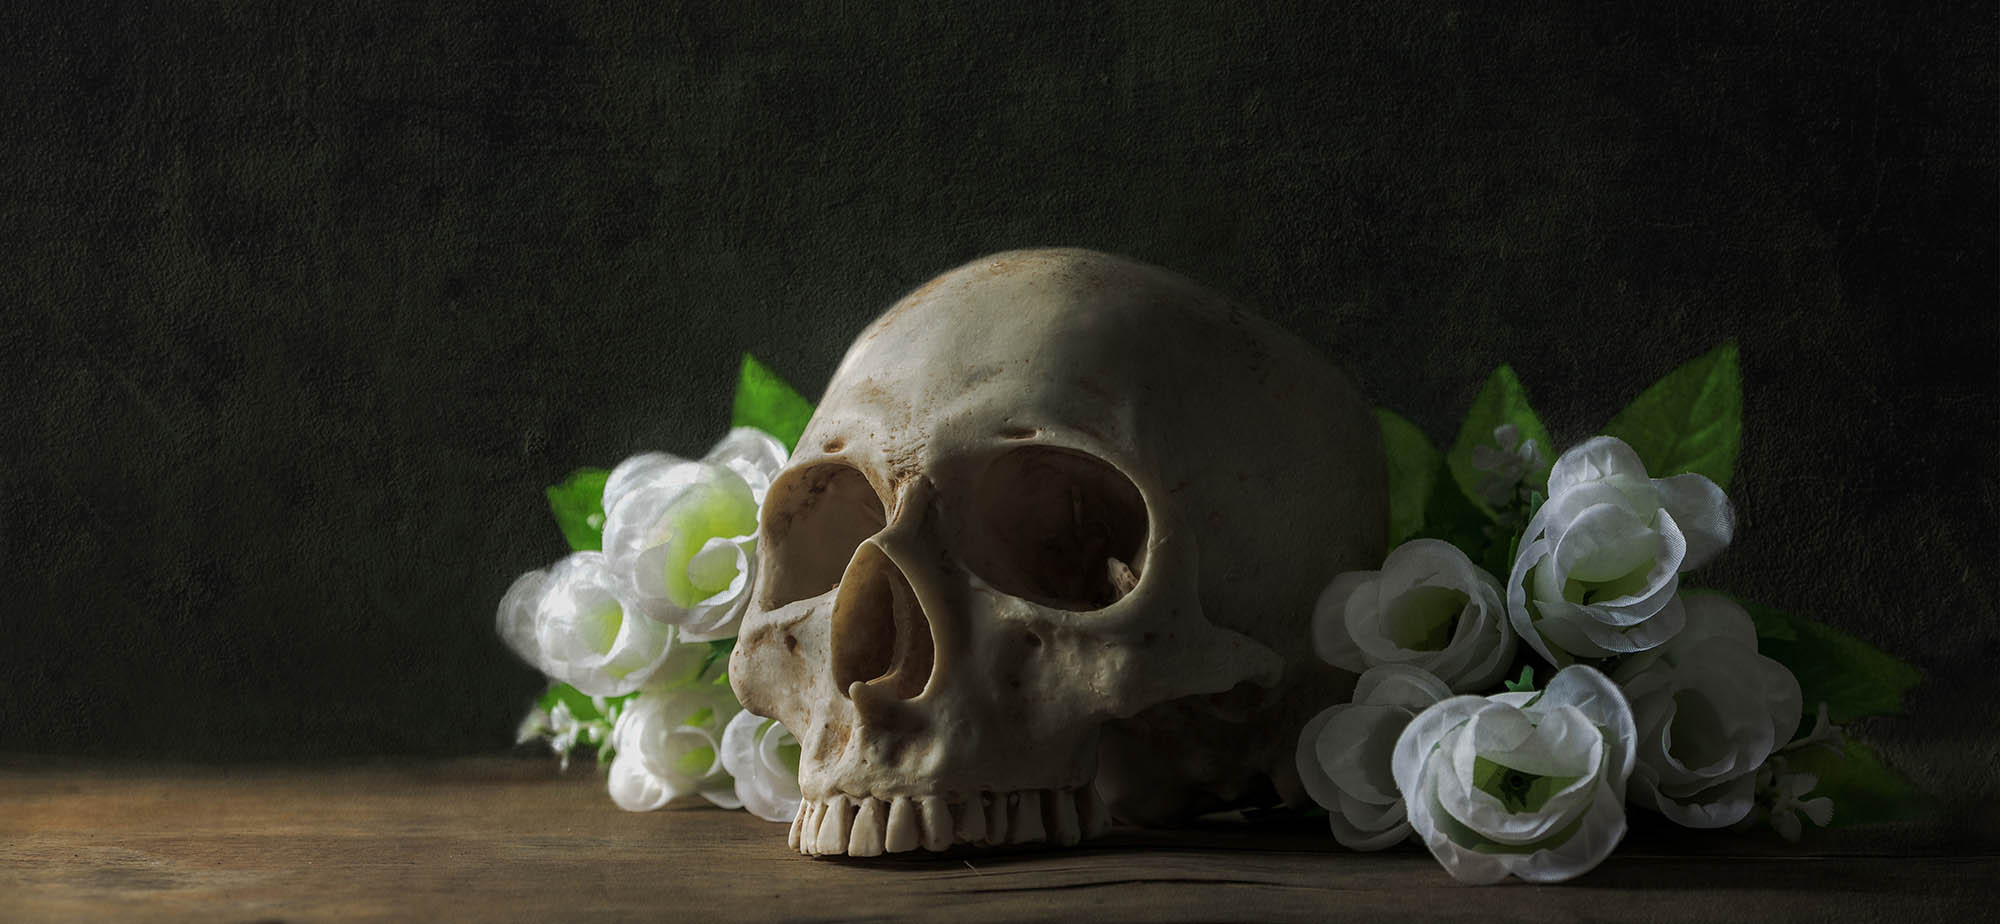
Still life photography is the pursuit of bringing interest, atmosphere and the all-important story to inanimate objects.
The challenge of bring life to these otherwise still subjects is what we are going to explore today.

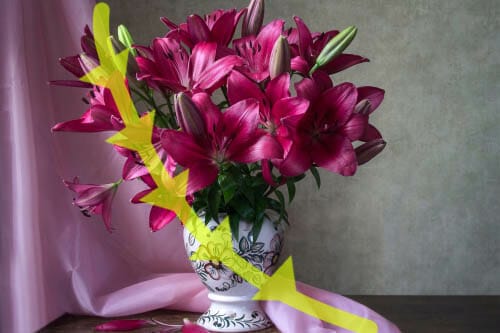
Look around the house to see if you can find something simple but interesting to start with. Don’t force yourself to go down the typical route of fruit or flowers. Find objects that are important to you:
• Jewellery
• Hats / Shoes
• Sewing equipment
• Stationary
• Soft Toys
• Perfume bottles
• Books
Avoid reflective materials such as glass and metal, as they will be extremely difficult with regard to lighting. Begin with just one object and once you feel more confident add in more.
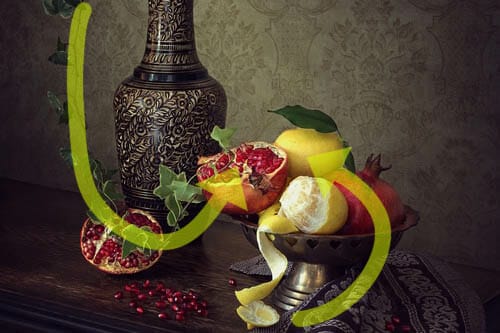
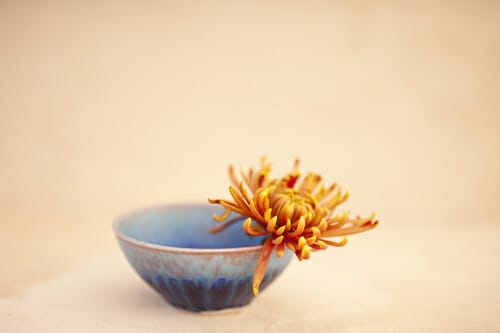
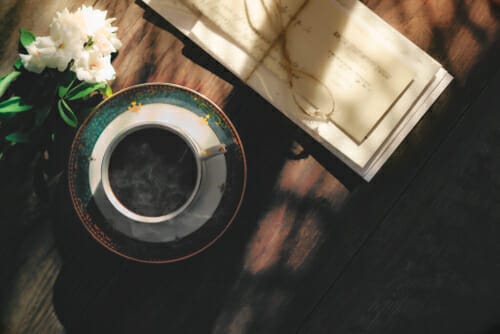
Combine objects of contrasting shapes, colours and textures. Think about props that would naturally be associated with each other.
Cutlery and food; jewellery and perfume; books and pens – the more context and depth you can add to your still life photograph the better.
In terms of colour, make sure that any additional colours, outside of your main object, isn’t brighter or more vivid. This can distract the eye away from the primary subject. If you are desperate to use a certain secondary prop and it is too colourful then you’ll have to desaturate it in editing, but that’s not hard.
Composing your still life photography is the most important part of ensuring that your work is engaging and unique.
Look at how the rule of thirds can and should be applied to give you a balanced composition. Clear and distracting objects that aren’t adding to your main subject’s story.
• Where does your arrangement lead the eye to?
• Do you want to use negative space or fill the frame?
• Are you showing off your subject’s defining features?
• Should you add further context with secondary objects, or does it work alone?
Keep moving your arrangement around and shooting different versions until you will find one that works. Don’t just settle on the first one you set up. Watch out for big empty gaps, or cluttered areas. Placing an item on an angle will lead the eye in that direction, but think:
• Does the item lead the eye nowhere?
• Out of the frame?
• Or subtly towards another part of the arrangement?
Change up your camera angle too by raising or lowering it on the tripod.

Picking the best backdrop for still life photography plays a crucial role in the overall success of your shots. It’s best to keep it nice and simple, so it doesn’t overpower or conflict with your subject. A plain painted wall or a large sheet of coloured paper is the most cost-effective choice.
But think about how the colour of your backdrop complements (or contrasts) with the subject. Muted and darker backgrounds work well for a traditional look and allow your foreground colour to pop. Whereas brighter backdrops make the shot look more modern
Black velvet and other dark colour materials look great for a vintage style. Check out your local haberdashery for offcuts.

Lighting for still life photography doesn’t have to be expensive or complicated.
Ultimate you’ll want to have control over where light falls on your subject so choose a space where you can block out any natural light by using shutters or curtains. Therefore, any light you add can be directed how you need it.
Table lamps are a good choice of the light source. Vary the position of your light. Try side, back, top, and front lighting. Raise and lower your light too. Watch carefully to see where the shadows fall, and which objects (if you’re using multiple) are being highlighted. Only illuminate what is important.
With all that said you can opt to use daylight instead. Simply pick a space close to a large window and use this to your advantage. Natural light from one side will comprehensively illuminate your subject and you can balance out shadows with a reflector on the opposite side.
To display the wonderful details in your still life arrangements then you’ll need to start in control of your aperture. Switch the Aperture Priority (A/Av) or Manual mode. Start off with your aperture at F/8 and adjust accordingly. Being on a tripod you can slow your shutter speed down if F/8 isn’t giving you the right exposure.
Use a spot focus method and train the camera to position the focus on your main subject. Cameras with touch screens make this really easy to do, especially if your subject isn’t in the middle of the frame.
We would suggest starting with a 50mm focal length and tweaking based on the size of your setup.
The scale is an important aspect of still life photography. Some objects can look a lot bigger or taller to the camera. Wider lenses will bring in more background, making your subject look smaller in comparison. A 50mm lens won’t give much distortion, especially on a full-frame camera so it’s an honest representation of your still life arrangement.
If you want to get close in, then try a macro setting or a dedicated 100mm macro lens. If find yourself wanting to get more serious about taking (and possibly selling) your still life photography, then you need sharp, high-resolution shots. This is where the more expensive lenses come in.
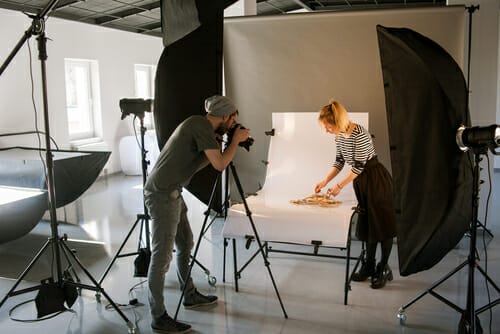
Using a tripod will make your still life project easier to concentrate on when arranging. It will allow the chance to use a slower shutter speed, than by going handheld, if you need a brighter exposure. It also allows you to close the aperture more to increase your depth of field and overall detail.
Depending upon your own style of photography you may not need or want to do any editing and that’s fine! But otherwise, there is a lot of choices and changes you can make to your still life photography. Think about:
• Desaturating the whole shot to make it look more vintage.
• Adding in a low opacity colour cast over your image to tie in mixed light sources (if you’ve used multiple)
• Crop the image to ensure the composition is balanced and bold.
• Select your main subject and raise the exposure slightly to make it pop.
• If there is a consistent colour across the whole frame, then use a selective saturation slider to make it stand out.
• Add a little overall sharpness before exporting (especially if you’re posting images online – websites love to compress photos these days which loses sharpness. Add about 20% extra sharpness to compensate).


It’s important not to get jaded and bored with your still life photography. Keep inspired and motivated by looking at renaissance still life, vintage homeware and modern product photography on places like Pinterest and Instagram.
Look at the arrangements and relationships – make notes or create a mood board to come back to.
Still life photography is not like a portrait session, where you have to react to a moving subject. Nor is it like a landscape shoot where light is rapidly changing. Use this time to take advantage of your photography. Consider what is working and what isn’t.
You may need to step away for a few minutes or hours and come back and see things with fresh eyes. Your arrangement isn’t going to move, you don’t need to worry about the light changing – just slow down and make these shots special.
If you’ve tried your hand at still life photography, then let us know.
Don’t forget to post your efforts to the iPhotography gallery, if you’re a member, for every to see and be amazed at how creative you are.
Alternatively, tag us in your shots on Facebook, Twitter and Instagram.

Discover the BEST way on how to clean a camera sensor using swaps, rocket blowers and pencil brushes to give your shots a dust-free finish!

Capture the magic of the night with our beginner’s guide to night photography. Learn tips and techniques for stunning results.

Master the art of solar eclipse photography with expert tips on equipment, settings, and precautions for stunning celestial images.
Learn the basics of photography – fast – with our FREE 60-Second Photographer online course. Each class is short and sharp with simple, actionable steps that give you immediate results.
x 30 lessons

© iPhotography™
Become a confident and competent photographer in less than 30 minutes!
Before you leave, make sure you’ve secured your FREE online photography course (worth £29.99)
Each class is just 60-seconds or less making it the fastest and easiest way to learn photography!