 Stephen Walton
As the winter breaks and the cold begins to thaw for warmer days it’s time to get your camera out and practise our spring photography tips.
Here are 5 spring photography tips for you to use when the snow starts to thaw.

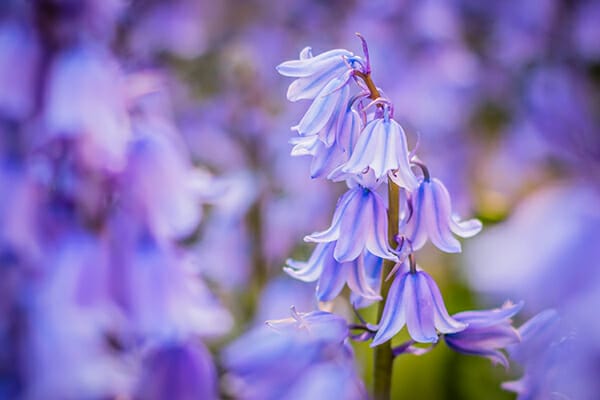
Macro photographers love spring! Flowers and insects start to rear their sleepy heads when the winter temperatures start to fade. Spring photography is a great time to get your macro lens out.
This will vary in different countries but typically bluebells are a common spring flower, alongside snow drops and dandelions.
Take time to look closely at these small objects as they are often overlooked by many photographers, but for a macro enthusiast they offer a host of opportunities.
Mount your camera on a tripod and using manual focusing. Use the focus peaking mode on your live view (if you have one) and zoom in to ensure perfect focus. Always consider your surroundings and angles. Be on the lookout for new angles and crops. Nothing ruins an image of a flower than a distracting (more colourful) background.
Read more about macro photography here.


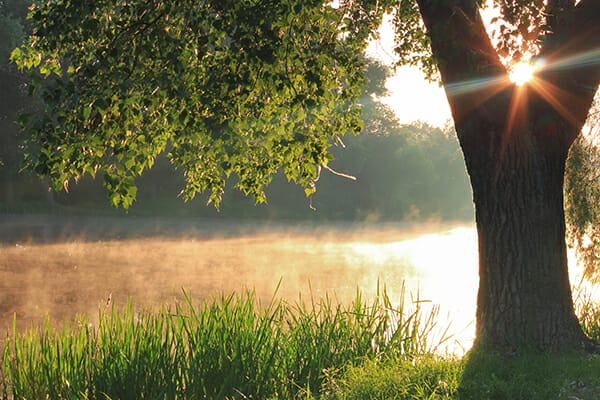
The unpredictable nature of the spring weather is a brilliant source of drama in your landscape’s sky.
Think about how strong sunlight tries to pierce the thick stormy looking clouds. Those heavenly rays of sun look amazing on land or seascape. These dramatic weather conditions really pay dividends for shots of lone walkers on the beach or far-off distant objects.

If you’re an early riser you want to mist the famed spring mist. It’s a wonderful natural feature to disguise distracting elements in a scene. It also sets the mood of a shot instantly. Getting up high and shooting from elevated positions gives you the chance to look across a wider plain and show off the size and breadth of the soft low-lying mist.
Check the weather the night before. Head out early after a clear, still night when the temperature has dropped a little.
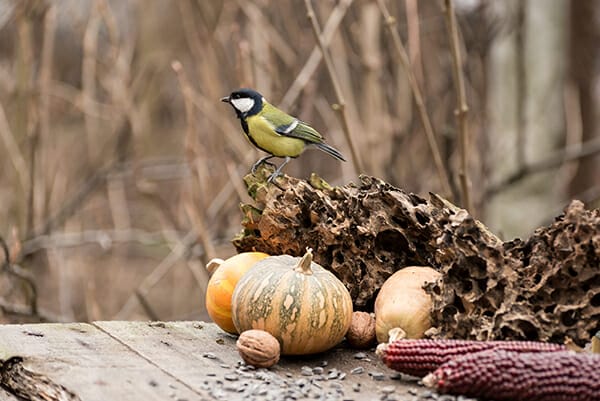
Is your garden or balcony ready for the return of the wildlife? It’s worth time preparing your space to make sure you’ve got the best angles and backgrounds for your bird photos.
Buy a bird table and blanket it with a piece of fake turf to give that natural look (and maybe some branches).
Even adding some trellis to the side of your shed or garage can mask unsightly garden buildings or furniture so they don’t distract in the background of your photos.
And if you’re feeling really creative how about making yourself a little pool for the birds to bathe. Pay attention to the path of the sun throughout the day so you’re setting up your ‘bird studio’ in the best light.
Read more about bird photography here.
It’s not all about the wildlife though – spend the springtime capturing some cute portraits of your friends and family.
Use a wider aperture and blur out the background. Lines of trees can add depth to a photo when a shallow depth of field is applied. Get the kids to pick some flowers to hunt for creepy crawlies.
Get more tips about photographing kids here.

If you’re like us and love a spring walk through local woodland, remember that the level of contrast is low as the light will struggle to penetrate the forest canopy. Because of this colour of the foliage will be more muted so you either saturate it further in editing – or use a polariser filter instead.
With that said the low contrast dappled woodland lighting looks attractive to the eye. But be aware because since it isn’t as powerful it can make pools of light harder to register on the sensor making it less interesting in the final image.
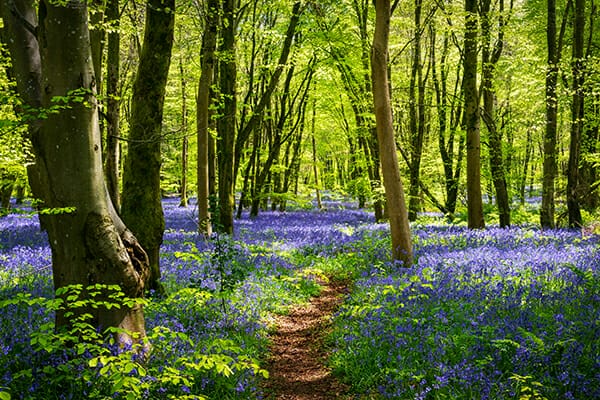
Going back to those wonderful spring flowers, it’s important to use the right lens to show off their fantastic wash of colour. Don’t assume you need a wide lens because of the breadth of the spread. Instead look at it more creatively – if it’s a field of bluebells, for example, one flower is will be similar to the next – so do we really need to photograph them all?
How about shooting from further back with a longer lens (a telephoto or long zoom), which will compress the gaps between flowers, if shot from a lower angle, and bluebells would look densely packed.
We hope you’ve enjoyed some of these tips for spring photography. Coming out of the winter months can be a tough stage for photographers to build up that motivation to get outdoors shooting (if you haven’t been already). But use these tips to get inspired and see what the spring weather brings!
If you’re an iPhotography member remember to post some of your spring shots into the feedback gallery for everyone to see!

Popular memory cards for photography – what’s the best SD card for your digital camera? Choose the right capacity and class speed in our guide

Discover the BEST way on how to clean a camera sensor using swaps, rocket blowers and pencil brushes to give your shots a dust-free finish!

Capture the magic of the night with our beginner’s guide to night photography. Learn tips and techniques for stunning results.
Learn the basics of photography – fast – with our FREE 60-Second Photographer online course. Each class is short and sharp with simple, actionable steps that give you immediate results.
x 30 lessons

© iPhotography™
Become a confident and competent photographer in less than 30 minutes!
Before you leave, make sure you’ve secured your FREE online photography course (worth £29.99)
Each class is just 60-seconds or less making it the fastest and easiest way to learn photography!