 Stephen Walton
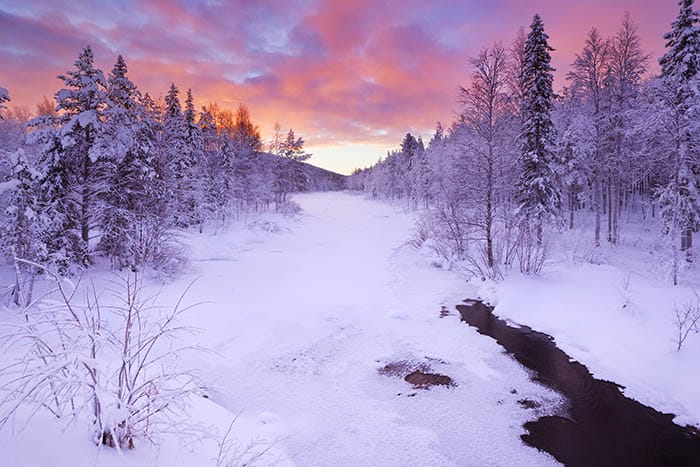
A beautiful crisp and untouched blanket of winter snow photography is something that can’t (and shouldn’t) be resisted by photographers. But shooting a monotone scene awash with white isn’t as straight-forward as it may seem.
I’ve got 11 snow photography tips which will teach you how to prepare your camera to capture falling snow, portraits, night time shots and lots of other techniques too.
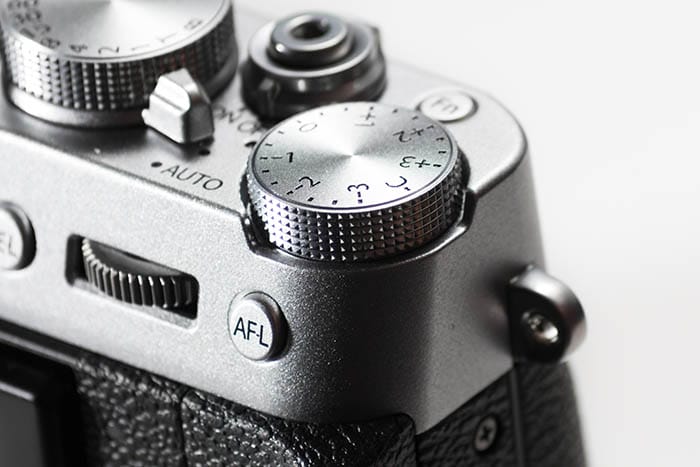
Firstly, if you’ve ever wondered what the exposure compensation tool is for on your camera here is the time to learn. Your camera bases its exposure on a reading from the built-in meter.
When photographing snow, the meter can be tricked into thinking the scene can’t be that white -there must be some problem! The light meter will shift to protect the exposure by darkening the highlights making snow appear grey.
Use the exposure compensation dial or button to re-compensate to get your snow looking white again. Depending upon how bright you want the shot, you’ll need to dial in +1 to +3 compensation.
You won’t be able to use exposure compensation when shooting in full manual mode.
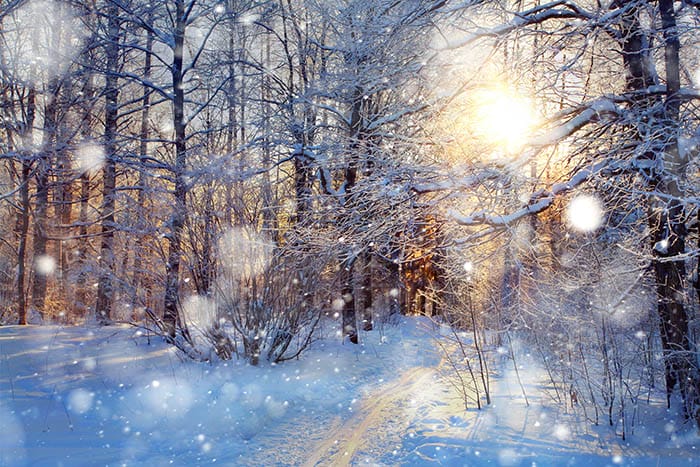
If you want to capture those beautiful snowflakes falling to the ground you need to act fast. Snow falls may not last long and are affected by the wind. The stronger a wind the quicker your shutter speed needs to be.
Start off by shooting at 1/1000th and check the shot by zooming in on the rear LCD screen to see if you can see detail in the flakes.
The biggest problem you’ll have with falling snow photography is where to focus. The size of snowflakes and the speed they move will make it very hard to get a crystal sharp shot of falling snow. Instead, looking for a subject that the snow is falling on to focus on. This means that any snow falling onto that object will appear sharp as it’s in the same depth of field.
The best situation to look for when photographing snow is areas of strong contrast. Think of snow on a tree. The dark tree trunk acts as a contrast to the white tones of the snow. Look out for opportunities like this. It makes it easier for the camera to focus when there is evidence of high contrast.
But if you are wanting to photograph a scene with low contrast, such as a cream-coloured jumper lying on the snow switch your lens to manual focus (MF). Then slowly turn the focus ring until it’s crystal sharp.
To know it is sharp use your camera’s focus peaking tool on your LCD screen and zoom in as close as possible to ensure the outline of your subject is sharp.


There are a few essential settings for snow photography that will make it easier to get clear and well-balanced shots. But it’s not just about choosing the right digital camera settings for snow photography, it’s also about choosing the right kit.
When you’re outdoors in such harsh conditions we’d recommend using a weather-sealed camera. Nor do you want moisture in your lens either. Therefore, try to avoid switching lenses mid-shoot. Stick with one good zoom so you can cover a range of focal lengths.
Depending upon whether you’re a beginner who’s more comfortable with a semi-auto setting or an amateur who likes to use manual mode it’s important to be paying attention to your histogram.
The histogram is more reliable than judging your shot based off the rear camera screen. Especially when everything is white, detail will be hard to see. As long as your histogram isn’t clipping the far right of the graph then you’ll have detail to retrieve when it comes to editing your snow photography.
Most of the time auto white balance will probably do the best job of keeping your snow looking white. But depending upon the time of day you’re shooting it may need changing.
If you are shooting towards blur hour it’s possible that the snow may appear cooler and more blueish.
You can compensate for that by using a warmer white balance mode such as ‘sunny’ to make the shot more balanced. The opposite is done if you are shooting at golden hour, and you don’t want the snow looking too warm. Use a ‘shade’ or ‘tungsten’ mode to balance it out.
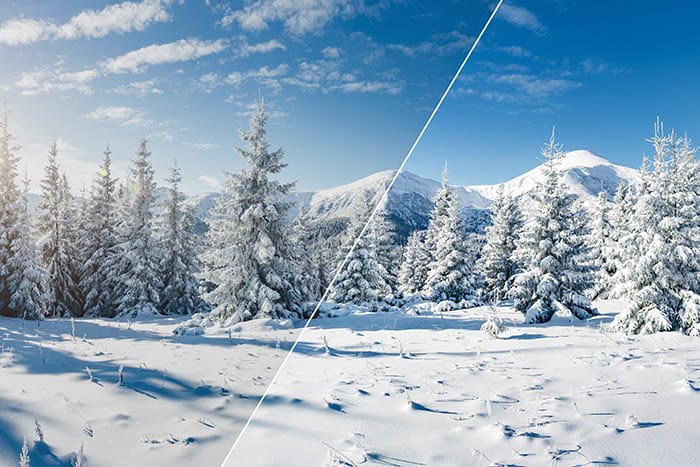
Image: Using AUTO white balance (left) changing to use Shade white balance (right).
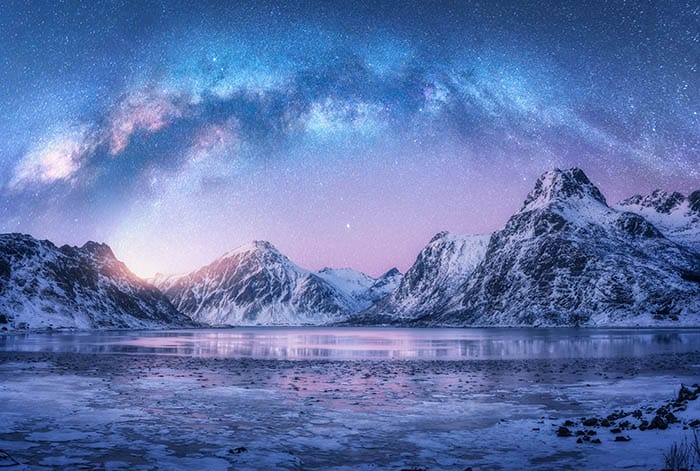
Taking photos of snow at night isn’t as tricky as it may seem. This is because (providing there is moonlight or ambient light) the snow will act as a giant reflector. Reflecting light off the snow will improve the amount of light in the scene – great news for shooting at night!
Continue to treat night snow photography like you would shooting any other subject in the dark. Low light photography may require you to shoot with a raised ISO level and a wider aperture.
Featuring the moon or streetlights in your shots will help to brighten surrounding subjects that you’re focusing upon. Watch out for where shadows are cast in the shot with light sources such as streetlights. You don’t want to end up with your own shadow in the shot if a light is behind you.
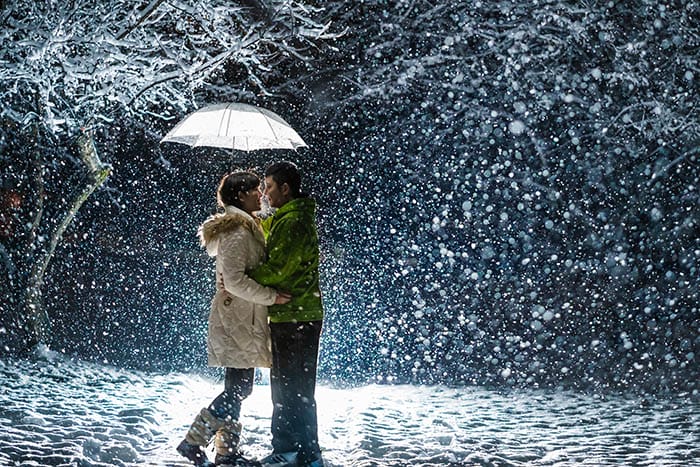
If you enjoy photography in the snow then while you’re shooting trees and houses, you should try some festive photos of people. Christmas themed snow portraits simply require a brave model!
To set the scene dress your model in suitable winter clothing. Chunky knit jumpers, hats, scarf and gloves all add to the brisk atmosphere.
Use a raised shutter speed of 1/400th or faster for action shots in the snow. Kids throwing snowballs may mean you need to go even faster. Keep watching your shots for changes in light position and therefore white balance to ensure that you’ve not got unbalanced snow portraits.
Keep the poses simple…
• A quaint wander through a local park with a brightly coloured umbrella.
• A close-up composition of your model’s eyes between a wool hat and scarf.
• Ask your model to lie down and make ‘snow angels’.
• Standing under the street lights in falling snow.

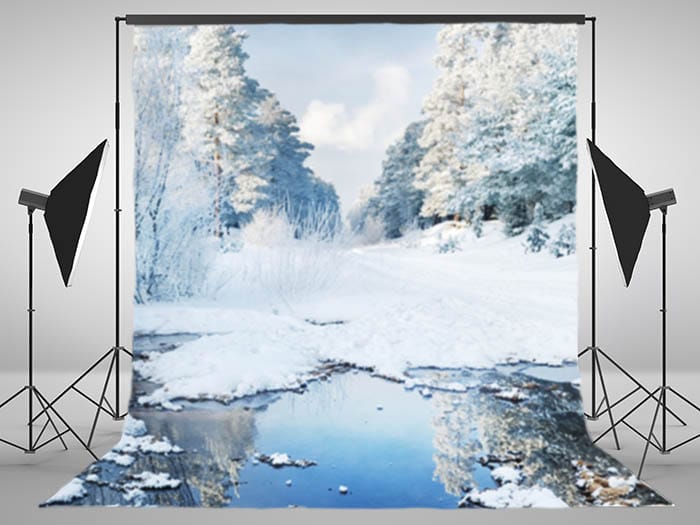
But if you don’t like the idea of venturing into the real outdoors, why not fake it, indoors? There are lots of snow scene backdrops that you can use to create portraits for festive photo shoots.
Given the quality of these backdrop prints generally expect the background to always look out of focus. Keep your focus on your portrait subject and fill the frame so you don’t see the edges of the backdrop.
If the backdrop is delivered on a roll, then use a steamer to remove all the creases before shooting. Weigh down the background to keep it taught and smooth.
Should you use flash photography when shooting snow? It depends on the type of effect you’re looking for.
Bear in mind what a flash will do to any photograph – brighten it. Do you need / want to brighten the appearance of white snow? Make sure it doesn’t take the exposure out of the range of detail according to your histogram.
If you are shooting snow portraits at night you could use the flash to light your subject and capture little flecks of snow at the same time.
It’s always better to diffuse a flash, especially if it’s a small flash source. This means the light can spread and leave fewer heavy shadows retaining that soft crisp look to the snow.
Another snow photography idea is to ensure you’ve got a UV or clear filter on your lens. This is not so much for effect when shooting snow, but simply for protection.
Placing a barrier in front of your lens reduces the effect of moisture from any falling snow.
Though to affect the appearance of glare bouncing off the snow place a polarising filter on your lens. A CPL (circular polariser) will help reduce the glare from ice and snow.
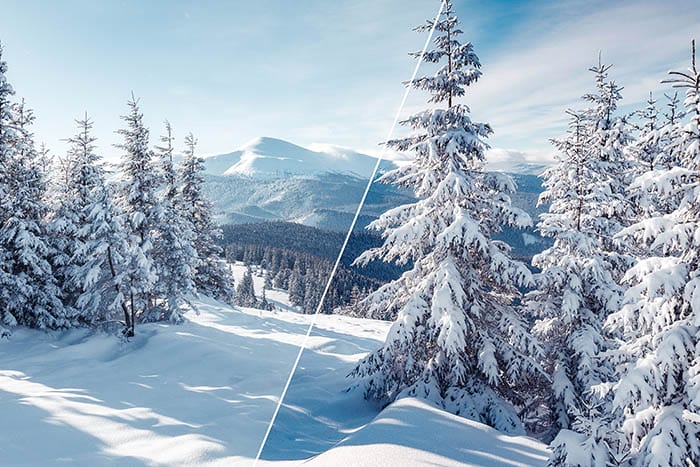
Image: Without filter (left) with a CPL filter (right).
Continuing our snow photography tips about protecting camera equipment we’ve got 2 things to think about.
Cold weather reduces camera battery life by up to 50%. Therefore pack a few batteries, but don’t keep them in your bag (unless it’s insulated).
When your battery runs low, replace it before it runs out. Put the battery in your pocket as you may be able to use it again once it warms up.
Condensation can seep into your camera and lens units if they are taken from cold to warm environments very quickly.
When you’ve been shooting in the snow for long periods, fill a ziplock bag with cold air and place your camera inside, and then into your camera bag. When you get home leave the bag to acclimatise for a few hours.
Only then should you remove the camera from the ziplock bag. Any condensation will have formed on the outside of the ziplock and fortunately not on your camera.


Popular memory cards for photography – what’s the best SD card for your digital camera? Choose the right capacity and class speed in our guide

Discover the BEST way on how to clean a camera sensor using swaps, rocket blowers and pencil brushes to give your shots a dust-free finish!

Capture the magic of the night with our beginner’s guide to night photography. Learn tips and techniques for stunning results.
Learn the basics of photography – fast – with our FREE 60-Second Photographer online course. Each class is short and sharp with simple, actionable steps that give you immediate results.
x 30 lessons

© iPhotography™
Become a confident and competent photographer in less than 30 minutes!
Before you leave, make sure you’ve secured your FREE online photography course (worth £29.99)
Each class is just 60-seconds or less making it the fastest and easiest way to learn photography!