 Stephen Walton
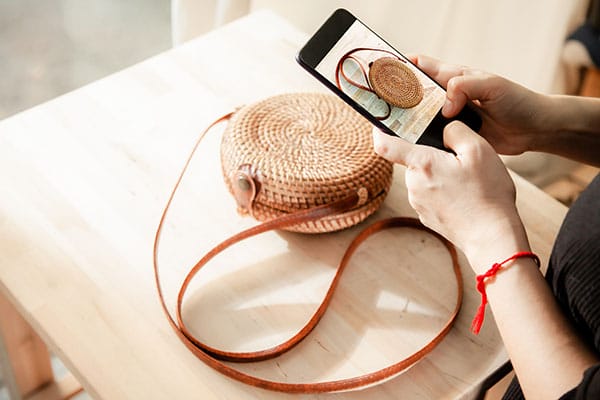
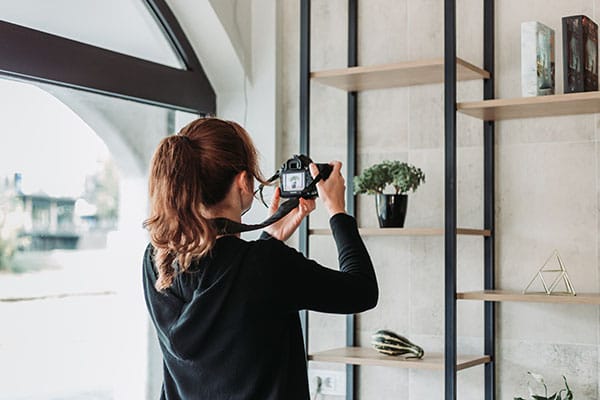
The world of product photography constantly grows larger as more and more companies and brands around the world need to show off their products.
Product photography is the art of taking photos for the primary purpose of promotion and advertising. This doesn’t mean you can’t be artistic with it, but that may come with guidance for the brand you are working for. But if you’re doing it for fun at home, no rules apply!
During this tutorial, we’ll cover all the product photography basics skills such as composition, shot building, intimate lighting and focussing. With our attention on beginner photographers, we’ll concentrate these ideas to be carried out in-home photo projects.
You don’t need to spend much on your product photography kit as you’ll see – we’ll always suggest cheaper alternatives where possible!
If you are a product photography beginner then you’ve got 2 options in how you go forward – build a home product photography studio or invest in a dedicated product light box (or light tent).
In truth neither are that expensive, but a bigger home studio will give you the flexibility to shoot products of different sizes whereas the light tents will limit you (though could make it easier to get consistent shots.
Either way a little product photography DIY is required to get yourself started. Find yourself a space at home where lots of natural light falls that you can potentially use. Place a table near a window and make sure you’ve got space 4 feet around to give you a choice of angles.
You’ll need to build up a little stock of product photography props. These can be items that you use as the main subject of your shots if you’re practising. Alternatively, these props could be accessories to dress your shots – which we’ll cover later in this product photography tutorial.
If you want more product photography tips and tutorials check out our iPhotography Home Projects course. With over 40 different photo projects to choose from products, food photography, creative tasks and more.


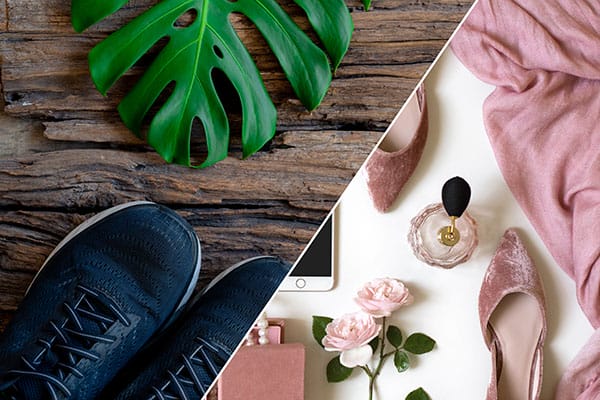
Your product photography setup is a personal choice. You can choose to use natural or artificial lighting for your shots. To help you make the decision for your product photography lighting easier all you need to do is consider your product. Items that look better under softer and wider-spread natural light could be;
● Jewellery
● Perfume
● Flowers
● Clothing
● Toys
Whereas items that require a more focused and harsher form of light may be;
● Technology
● Footwear
● Drinks
● Glassware
If you’re shooting products that look better outdoors then still consider the type of light (hard or soft) and therefore the best time of day to shoot.
Types of artificial light can vary from using the torch on your phone, household lamp or a dedicated LED panel – which we’d recommend. LED light panels can be picked up without great expense these days. Having a number of panels will allow you to control shadows too if your budget allows.
Look out for LED panels that have an RGB colour options too for when you really want to get creative with your product photography. Look for a ring light for product photography too, these can be great to get forward facing light without your camera getting in the way.
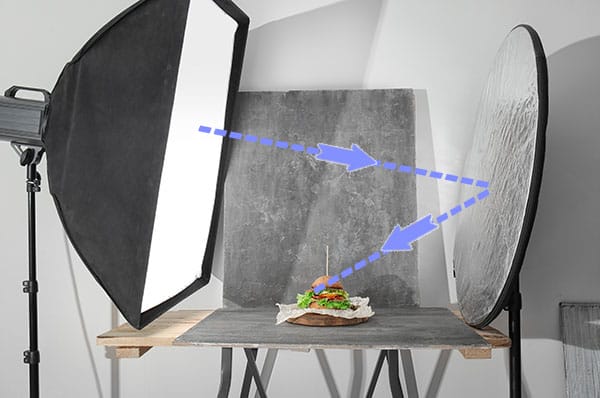
Knowing how to set up the lighting for your product photography is as important to the positioning of the subject itself. Depending upon your product the aim should generally be to soften the effect of shadows falling on to your item. You can do these 3 ways.
A fill light is a secondary light to your primary (or key) light. It is there to simply cast light on the shadows made by the key light. They should be positioned to oppose each other, either side of the camera. The fill light shouldn’t be as bright as the key.
If you’re using a flashgun (try to avoid using a pop-up flash, they’re very limiting and harsh) then swivel the flash head to point at a nearby white wall. This will spread (and therefore soften) the light creating less shadows.
Reflectors are also a great way to soften light. Silver and white sides reflectors will not colour-cast the light falling on it which keeps your product looking realistic.
But if you are stuck with using your pop-up camera flash for your product photography look online for a suitable bounce card. This card slips under your flash to redirect the light to bounce off a ceiling and soften. It’s not an ideal accessory to use, but if you’ve got no other means of lighting it’s better than not using one at all.
We’ve looked at what product photography equipment you’ll need to set up your scene and the lighting. Now it’s time to look at what is the best camera for product photography.
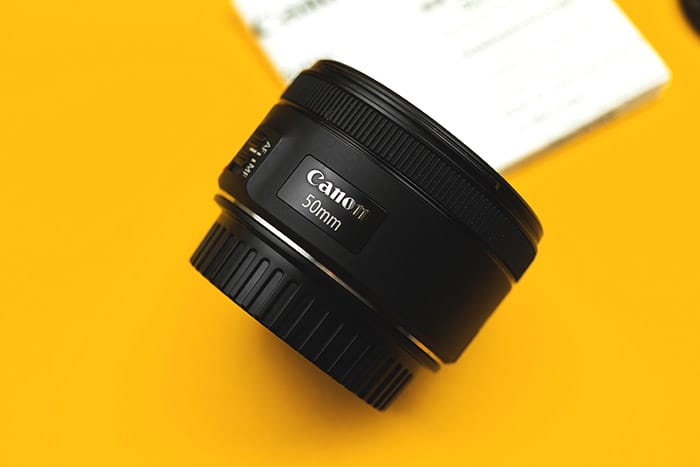
As the main idea is to make the product look as life-like and accurate as possible for starters, it’s best to use a focal length without distortion. Somewhere between 40-85mm would be ideal – with a 50mm lens being the most sensible choice for product photography.
You can of course get more creative with lens choices and use macro lenses to get extra close ups providing you’ve got your all-important main shots.
Wide lenses are also an interesting choice. Remember, shorter focal lengths (<30mm) can distort vertical lines. This can make products look taller or narrower than they actually are – you don’t want to mislead your audience.
Ultimately it depends on whether you’re doing it for fun, or being paid by a brand to do it.
As far as cameras go a standard DSLR or Mirrorless body will be suitable. As long as you have full manual controls and a tripod then you won’t go far wrong – as normal the lens is more important.
Given that your product won’t be running off or jumping around during your photos then your camera settings can be simple and consistent.
Aperture and ISO are the most important camera settings to get right with product photography. Since smaller apertures offer a greater depth of field (DoF) – which allows deeper sharpness and shape – then shooting at F/8-F/11 would be a good starting place.
Of course you can use a shallower DoF for macro shots to focus on smaller aspects of your product too.
When discussing ISO, it’s best to keep the setting as low as possible. High ISO levels incur digital noise in cameras which will distract from the product. Keep your ISO level below 200, unless it’s for a stylistic effect.
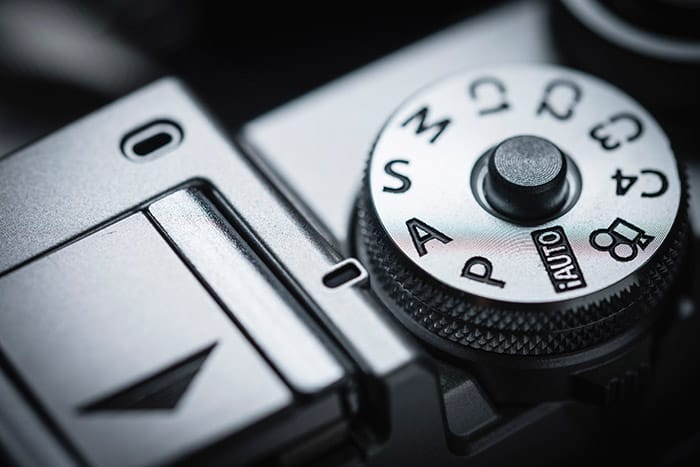
Shooting in Aperture Priority (A/Av) mode would be the most sensible approach if you’re not comfortable with Manual mode just yet.
A tripod is a must for product photography. It will allow you to concentrate on building the scene and making product/lighting adjustments without holding the camera.
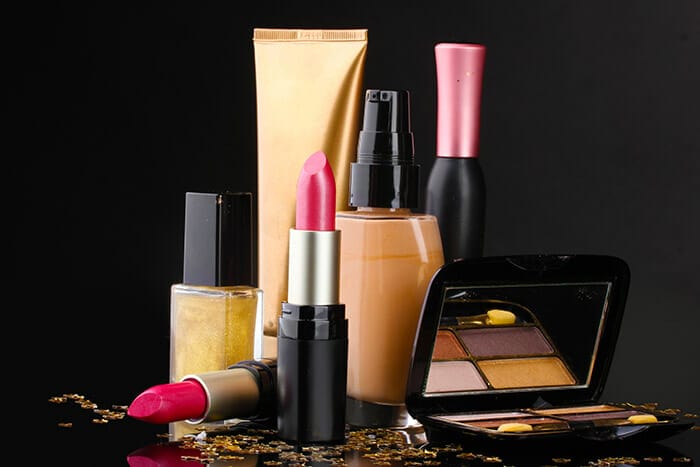
Firstly, it’s important to consider what colours will complement your product. To play it safe white and black surfaces and backgrounds are neutral and work with most items. If you want to get more creative, then consult a colour wheel and use your products complementing colour.
The surface and background to your product should enhance your product and not distract from it. Reflective surfaces like polished wall tiles, metal sheets, mirrors and coloured glass look amazing to add depth to a product by using reflections.
Avoid having a line between your background and surface. Either make the two out of the same product and prepare yourself to edit out that line later OR create an infinity curve/sweep.
To create a curve then purchase a large piece of card and pin it to a wall. Make sure it’s long enough to reach your surface and cover your product without showing the edges.
The long sweep of this background will remove any harsh lines and not trap light in the angles.
You don’t have to spend a lot of money when creating an infinity curve for product photography. By controlling your in-camera crop then it can look professional for only a few dollars.
Positioning your product is the fun part of product photography. Take loads of different shots in lots of different arrangements – but keep the product central.
Whether you’re using a light tent or not, keep your lighting even throughout your shots. Try turning your product on the angle so it creates depth and leading lines.
Don’t crop out any parts of your product, unless it’s an intentional macro shot. You can always crop in closer in editing if needed afterwards but don’t do it in camera. Leave yourself options to play around with later on.

Finally, once you’ve got the safe shots in the bag then play around further and switch up your backgrounds. You can do this while you shoot, or in editing.
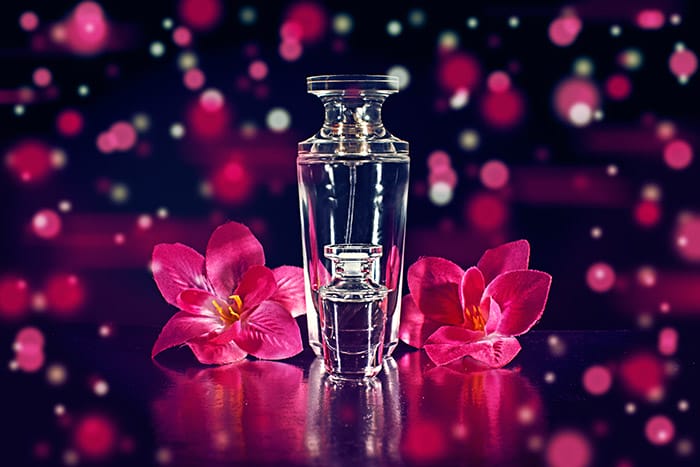
Pull out a laptop or tablet and fill the screen with bokeh-looking wallpaper and position it behind your product. Shoot a few frames, cleverly cropped, to make the background look more dynamic.
If you’re starting to feel more confident about product photography, then let’s add some creative flourishes.
How about dropping petals over your perfume or jewellery? (you’ll need to up your shutter speed to catch the movement). Or what about creating some light trails in the background of your technology shots? (you’ll need to slow down your shutter speed for this).
As long as the accessory to the shot doesn’t overstep the product itself and enhances the mood, story and colours already present then go wild!
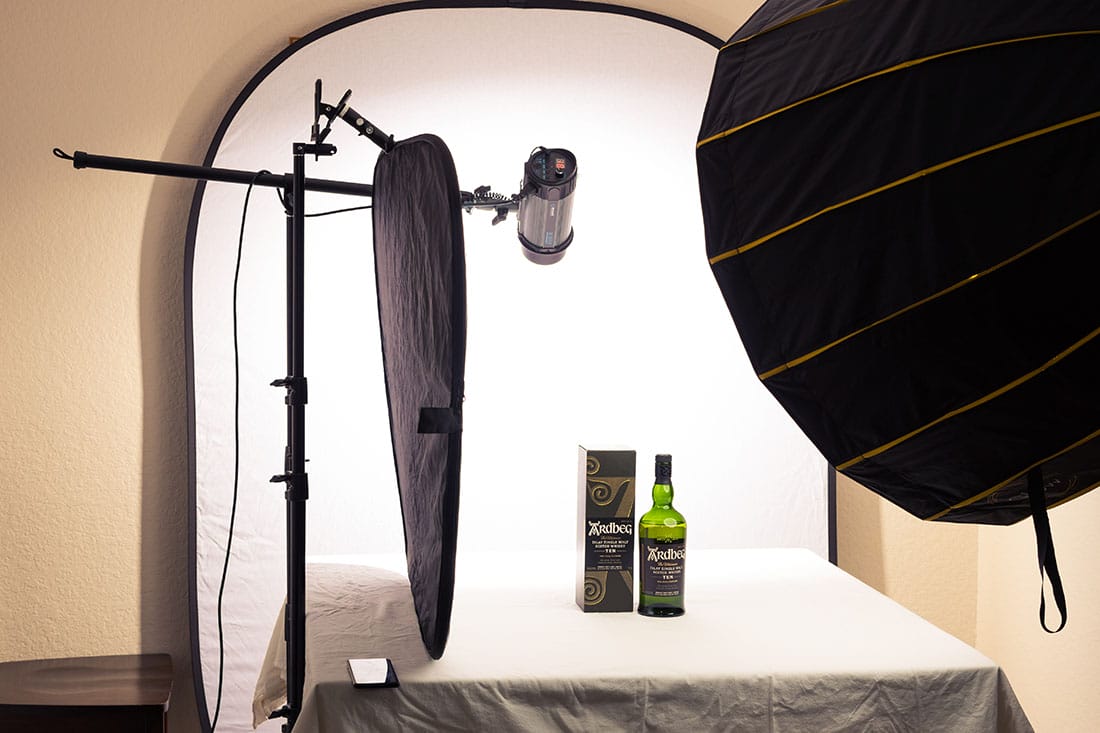
Using a light tent / light box for a standard white background to your product photography is a very popular technique, used most frequently in catalogues and online stores.
We’ll get into the emotion of outdoor product photography later on, but this technique first and foremost is about showing the product off as cleanly as you can.
You’ll need very pleasing, diffused, lighting, and the aim is to try and create as few shadows as possible. You could use daylight to achieve this on a sunny day, but using a light box/light tent for product photography will give you the most pleasing and controllable results — especially if you’re photographing a series of products.
White background product photography doesn’t have to be pricy to experiment with. You could buy some large white paper, white panel boards, or even a white pop-up photo booth. These come in all shapes and sizes and are very affordable.
This style of photography works very well on darker products, but can be quite tricky when shooting lighter products — especially when shooting glass or white items.
Often the best way to expose your image is NOT to have a perfectly white background in-camera. Aim for a neutral exposure, with nothing touching the far right or far left of your histogram, and brighten it up in editing. This way you don’t lose any detail in your product.
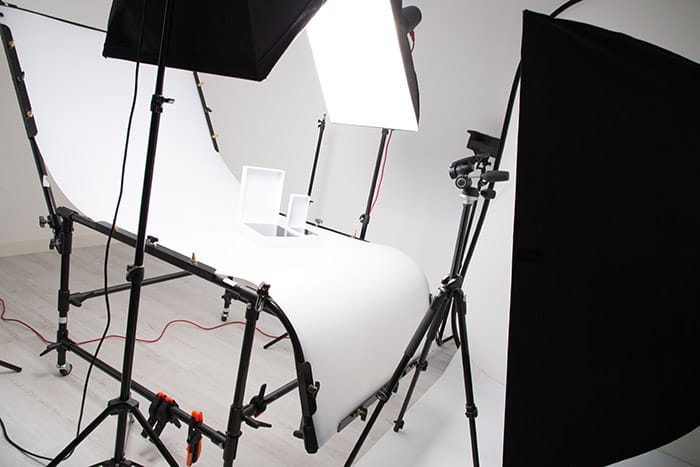
For lighting, you can use either one bright light, or have a two-light setup. If you have two lights, use one as your key light, and then use the second light to diffuse the shadows the key light creates. If you can remove the shadows while you’re shooting there will be much less work to do in editing.
Here is a video tutorial to explain the best way to edit your white product photography in Lightroom.
The industry in general is moving away from the lifeless white background photography, and more towards emotive (and outdoor) photography. It’s a different product photography technique as the key here is to tell a story, create an emotion, and get the viewer to have a positive response to the product.
Outdoor product photography can be shot with models or without, can be staged indoors, or outdoors. There are no rules so long as the product looks amazing and the scene shows the viewer what the product is all about.
Let’s look at some examples:-
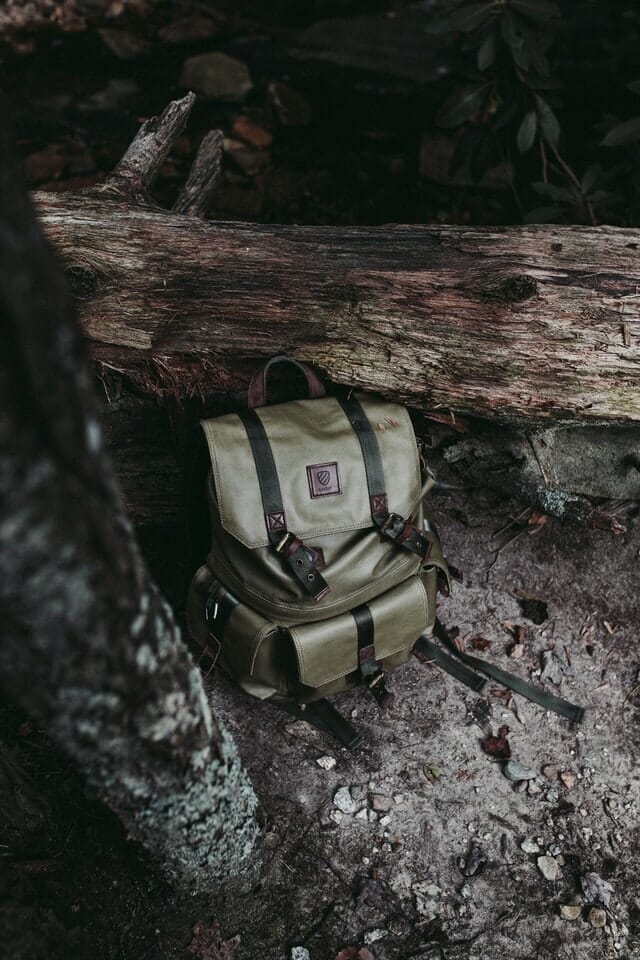
Here we see a camera bag in the wild! We as the viewer know straight away that this camera bag is rugged, great in all weather, and probably aimed at landscape photographers or travel photographers. What words come to mind when you see this scene? Tough? Outdoorsy? Stylish? Functional?
This is gives us so much more information, and more importantly, emotion than a simple white background product photo would.
How about this coat?
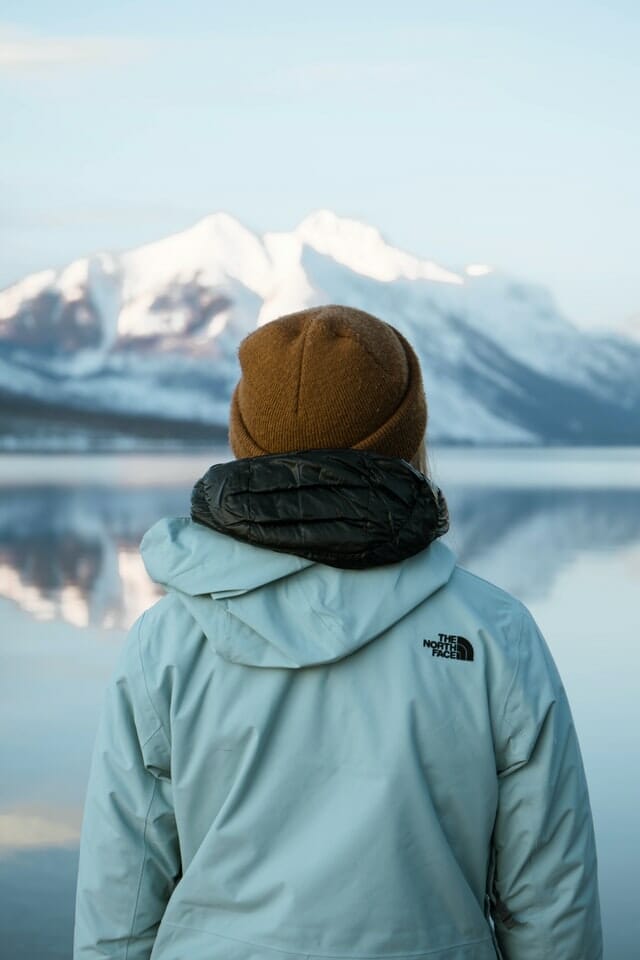
We see someone staring off into an epic view. We know that this coat is designed for outdoorsy people, people who want adventure, people who want to explore these wild and wonderful places.
How about these candles?
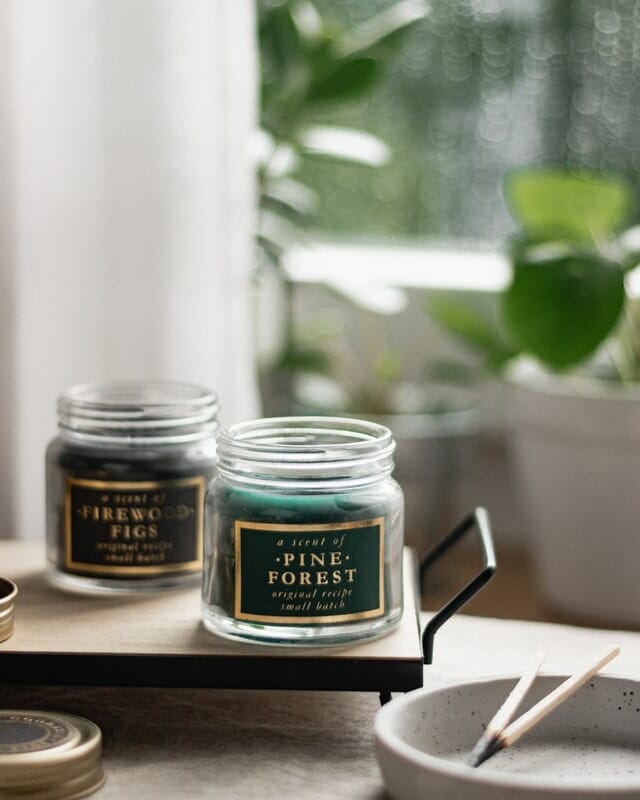
We have beautiful, fresh colours, lovely serene natural lighting, rustic furniture. What does this scene make you think and feel? Relaxing? A piece of nature indoors? Fresh? Homely?
If you have a product/item in mind, then make a list of what you associate with that product — or what the brand wants you to associate with it. Think about who it’s aimed at, and the things that would appeal to them. And try to craft a story around it with your photography.
It sounds simple but it can be really tricky to pull it off effectively! And remember, all the regular rules of photography apply: think about composition, colours, tones, balance within the image.
Emotive photography can be a brilliant skill to master. Emotion is a huge part of photography. We are, after all, storytellers. We capture the world around us in order to show others how we see it.
In summary, there are a number of things to remember to get your product photography techniques and final shots looking top-notch, let’s review them.
1. Use a focal length between 40-85mm (50mm is most ideal).
2. Controlling the aperture and ISO is most important.
3. Use two lights, where possible, to soften shadows.
4. Don’t crop off parts of your product.
5. Adjust the angles of the product to create leading lines.
6. Explore alternative angles, once you’ve got the safe shots.
7. Use complementing colours or neutrals as surfaces and backgrounds.

Discover the BEST way on how to clean a camera sensor using swaps, rocket blowers and pencil brushes to give your shots a dust-free finish!

Capture the magic of the night with our beginner’s guide to night photography. Learn tips and techniques for stunning results.

Master the art of solar eclipse photography with expert tips on equipment, settings, and precautions for stunning celestial images.
Learn the basics of photography – fast – with our FREE 60-Second Photographer online course. Each class is short and sharp with simple, actionable steps that give you immediate results.
x 30 lessons

© iPhotography™
Become a confident and competent photographer in less than 30 minutes!
Before you leave, make sure you’ve secured your FREE online photography course (worth £29.99)
Each class is just 60-seconds or less making it the fastest and easiest way to learn photography!