 Stephen Walton
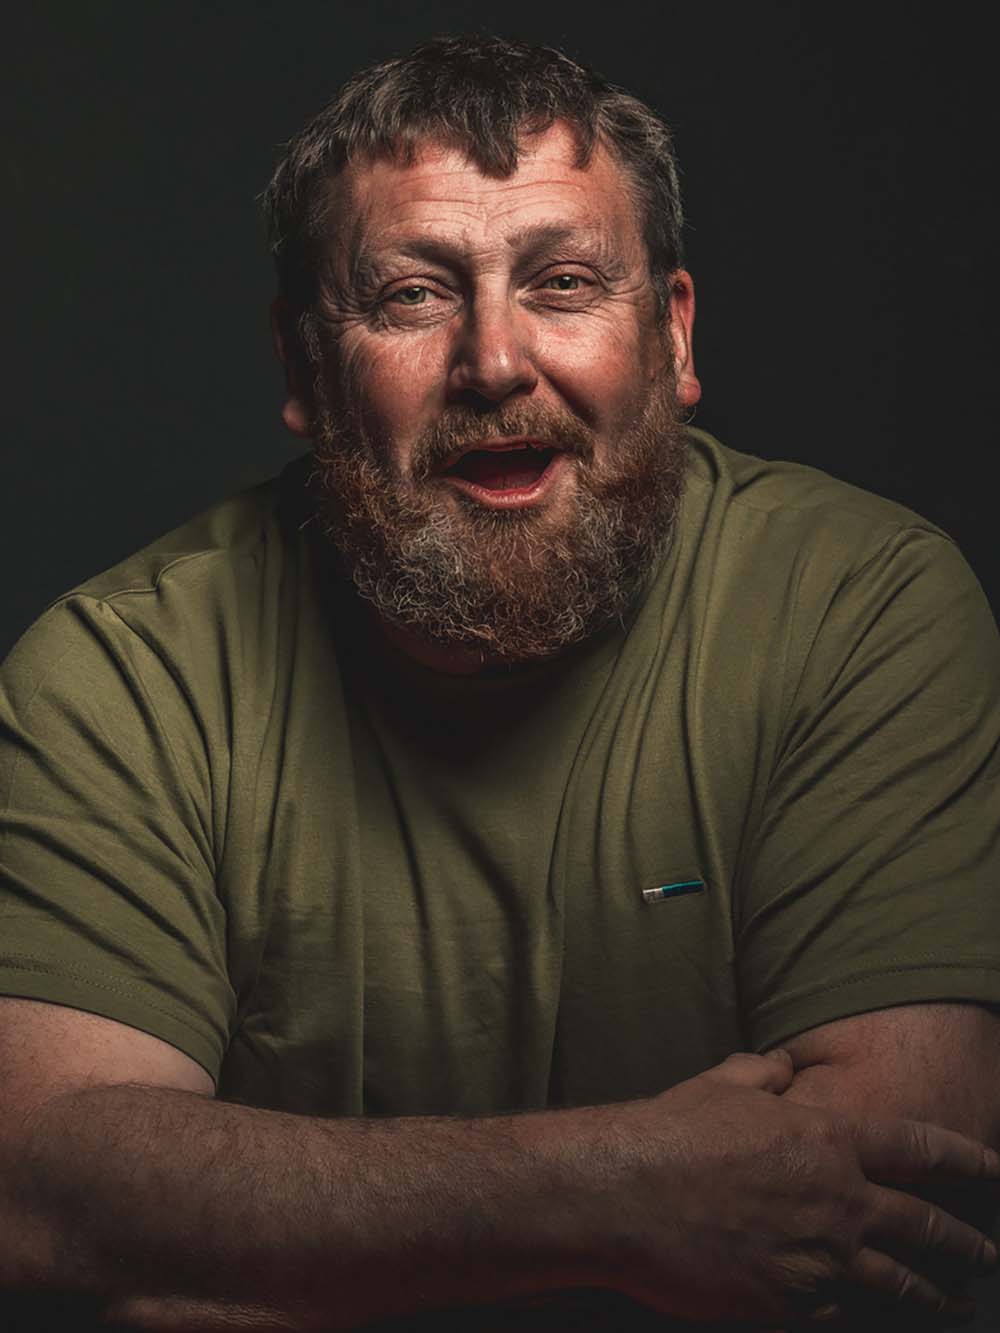
Have you ever wanted to take better pictures of your family or friends? Or just learn the best portrait photography tips from professional photographers to help capture these unforgettable candid moments in your life?
Then you’re in the right place, because this guide, is full of ideas on how to start your venture into portrait photography. It’s loaded with tips and tricks to improve your portraits for the more experienced photographer.
This portrait photography guide covers tips, tricks and ideas for photographing families, children, individuals, teenagers and couples.
The photographic portrait has been around almost since the birth of photography, as humans, we’re the easiest and most interesting subjects to photograph.
Let’s just rewind ourselves a little bit to learn a few fun facts on the timeline of portrait photography.

Coming back to the modern day now and we should explore what camera options are available to us to helps us create some amazing portraits. First and foremost, any camera can be used for portrait photography, but there will be features and functions specific to some camera types that makes your portraits that bit more dramatic.
It all depends on what kind of portrait you want to shoot but having the option to use wide apertures with your camera will introduce shallow depths of field and thus making your subject isolated from the background. Any aperture from f/4 and wider will give a beautiful depth of field providing you are close to your subject.
Lenses between 50-85mm are ideal for portrait photography as they cause very little distortion to the scene making the subject appear as natural as possible.
You will have to take into consideration the crop factor though if your camera has a cropped sensor as an 85mm lens on a 1.5x cropped sensor is more like a 127mm lens.

If you are shooting with just one subject, then turn your focus mode to Spot or One-Shot (or a similarly name variant). Use your spot to focus on your subject’s eyes for the most engaging portrait, but then reframe your composition after focusing as its unlikely your subject’s eyes are going to be in the dead centre of your picture anyway.
Don’t move your camera forwards or backwards after focusing your shot otherwise it will end up blurry. If you do move, refocus before taking the shot.
If you’ve got a larger group of people in front of you then use a Subject Tracking, AI Servo or Continuous focus method as your subjects may be more likely to move.
You may even find that your digital camera may currently carry a portrait mode that, when selected, changes the camera’s settings to be optimized for taking a portrait.
The camera will deal with the technicalities, and you can concentrate on being creative which can be useful for your first portrait shoots.
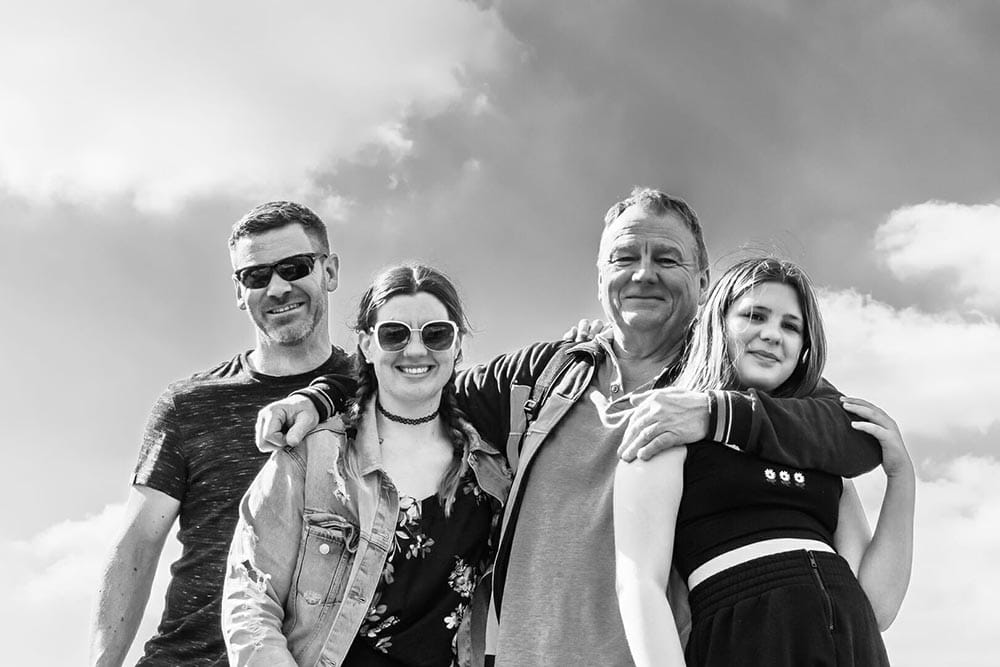
Out of all the shoots you could ever face as a portrait photographer, families are without doubt the most challenging, yet the most rewarding. Working with multiple subjects at the same time will test your awareness and timing.
You will need to make sure that all your subjects are ready at the exact same moment, which is not an easy task if children are involved.
If you are just starting out with photographing families and you aren’t ready to be too adventurous with your shots, then formal family portraits maybe a good place to start, but you’ll need to remember these helpful tips when posing family members.
• All members should be looking at the camera
• All expressions should match (i.e. everyone smiling)
• Hand positions mirror each other
• Hands positioned on laps or shoulders
• Co-ordinated / Matching clothing is used
• Shot on a prime lens, no wide angles or telephoto lenses
• Camera position at eye level
• Everyone remains static, no movement
If traditional family portrait poses aren’t for you then make it a little more fun and interactive by introducing some creative props. Try finding items that bring the family physically closer together such as a board game, they can be huddled around the board while you capture their reactions.
Or get everyone on their feet and moving by starting a pillow fight between the adults and kids – be aware you’ll need to make your shutter speed a little faster to stop the cushions looking blurred.
You will have to assess any prop based on the type of family you encounter, you need to pick items that are relevant and personal to that family. Ask them to pick out props of their own based on their hobbies or sporting interests.
It’s a good idea to talk to the family while you’re taking the shots to make them relaxed and distracted from the camera. It can be a nervous event to have your portrait taken so put yourself in their shoes and talk to them about their upcoming holidays, hobbies and family events.
Use a remote shutter cable if you want to talk to your subjects without being hidden behind the camera.

It’s going to be really important for you to know how to pose your subject in a portrait, so take some time to read our portrait posing guide which will take you through a range of tips and techniques for composing your subject.
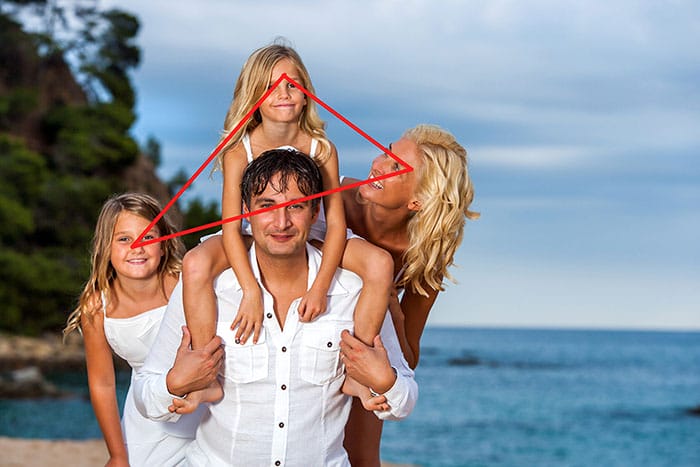
The number of people in your portrait will limit the range of posing. Formal family portrait poses are governed by several different posing shapes that help us create balanced and proportioned compositions.
These family posing shapes help photographers create poses knowing that the basic composition will form an aesthetically pleasing image.

A very simple position, a close-knit portrait. It requires the family to cuddle up close otherwise the circle becomes wider and ultimately an oval.
Taking the same close-knit approach as a circle but when you have more people involved then an oval is the best shape to create. It allows more width to the image but still keeps people close by.
Lines can be straight or tilted depending upon the height of individuals involved, which is handy when you have tall and short people mixed in one shoot. Lines are good to shoot with more traditional families as they don’t require individuals to cuddle up so closely.
Triangles don’t have to be closed at the top, they can be just two converging lines pointing up or down, but they direct the eye to the subject at the front and leads away which creates a powerful look, depending upon the angle.
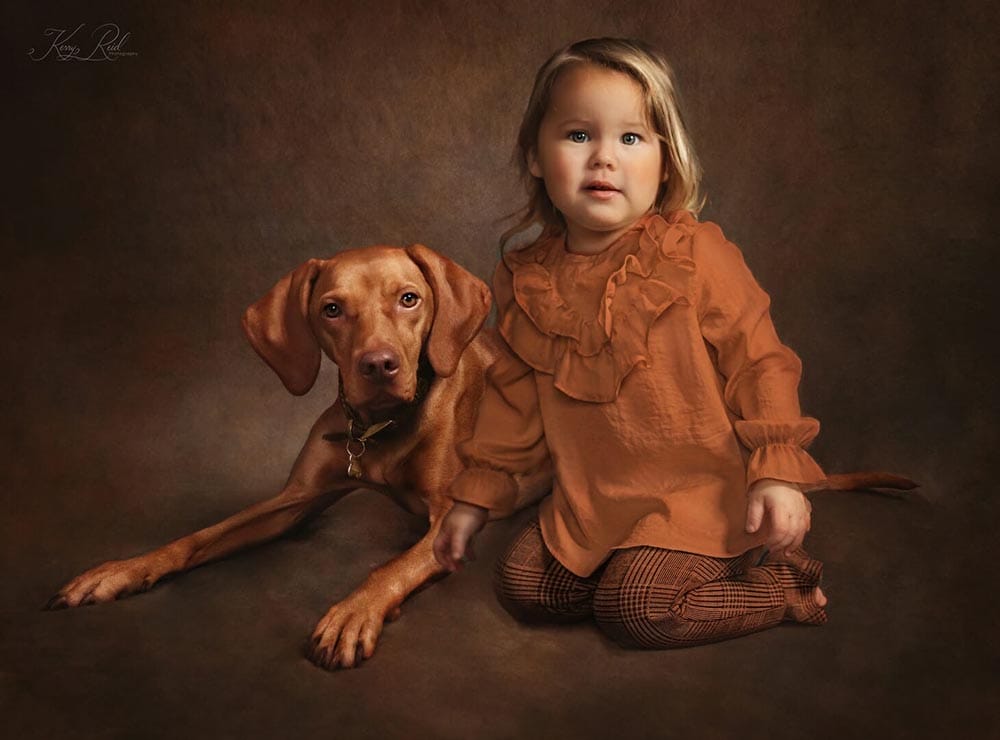
Children are not easy and can be a real challenge to photograph, so if you are planning on making small hobby out of children’s portrait photography then prepare yourself.
They’re physically, mentally, and emotionally different, and because of this, they’re often unpredictable and uncooperative as photographic subjects.
This means you’ll need to be understanding of their development and be able to relate and communicate appropriately. Photographing children isn’t for everybody but the tips here will help you.
It is important to have a few props to hand when working with young children, they will change their minds quickly as to what to play with, so you don’t want to run out of options and lose their attention.
You will find you can’t use props as a distraction or visual stimulus with toddlers, they will insist they hold and play with any new toy and instantly claim it as their own (so don’t give them anything expensive!).
Always remember to praise children too when they do what you want. Saying ‘Well done’ and ‘Good Boy/Girl’ is a good way to build a rapport and even ask for a high five to break down the barriers, the more they interact with you the better your images will be.
The older the child is then it’s worth pushing your creativity further and incorporating any hobbies and interests to add a theme or a style to their portraits. Dressing kids up in their favorite sports kits and recreating pictures of their sporting heroes is a great idea. Use low angles to make them look more dramatic and powerful.
Get creative with your composition and crop into your portrait closely and photograph only half of your subject’s face for an unusual approach. Make sure you line up the edge of the shot with the middle of your subject’s nose for the most even crop.
And if you want to do something completely unique then look at how this photographer has creatively used the background to enhance the environment of the portrait by adding some simple hand-drawn shapes and items.
This is easy to re-create by using a blank wall which you could paint a background on or stick some shapes to the wall or turn your hand to Photoshop and add those shapes in post-production.
When you are photographing children then posing is somewhat limited as they won’t be inclined to stand still for long periods but, keep it simple, as young children may not be able to understand poses.
Use different angles as well to maximize your posing options. High and overhead angles can make children lying or sat down look cute and innocent. Low angles make short subjects seem taller and more dominant which can be fun, particularly if they are pretending to be superheroes.
Posing children for a portrait may involve some coaxing and patience so don’t get disheartened if it doesn’t go perfectly straight away. However, make sure you have the camera ready just in case, because the unplanned candid portraits can be more revealing about a personality than the posed shots.
When working with individuals then a good tip to keep in mind is that you should try to rotate your subject roughly 45 degrees away from the camera so that their shoulder is the closest point to the camera.
This change in angle makes the body appear slimmer as the shoulders are the widest part of the body so disguising their width will keep the attention of the viewer on the subject’s face and not on their body.
But if you want to photograph teenagers then you’ll need to discard with the sweet talk and entertainment and become more communicative and engaging instead.
Teenagers are more emotionally charged and tend to be defensive from the outset, so you’ll need to find conversation connect over. Don’t be condescending or boring, use any knowledge of pop-culture to start a conversation, but don’t expect it to be easy straight away.
If you are struggling to get the expressions you want then let them be themselves, after all what is a portrait but a reflection of self? If they opt to shy away from the camera then let them as it may be a good opportunity to try out some creative cropping, quirky angles and detail shots.
Overall photographing children comes with different challenges depending on the actual age of the individual so try to be understanding to your subject and find ways of bringing out their personality.

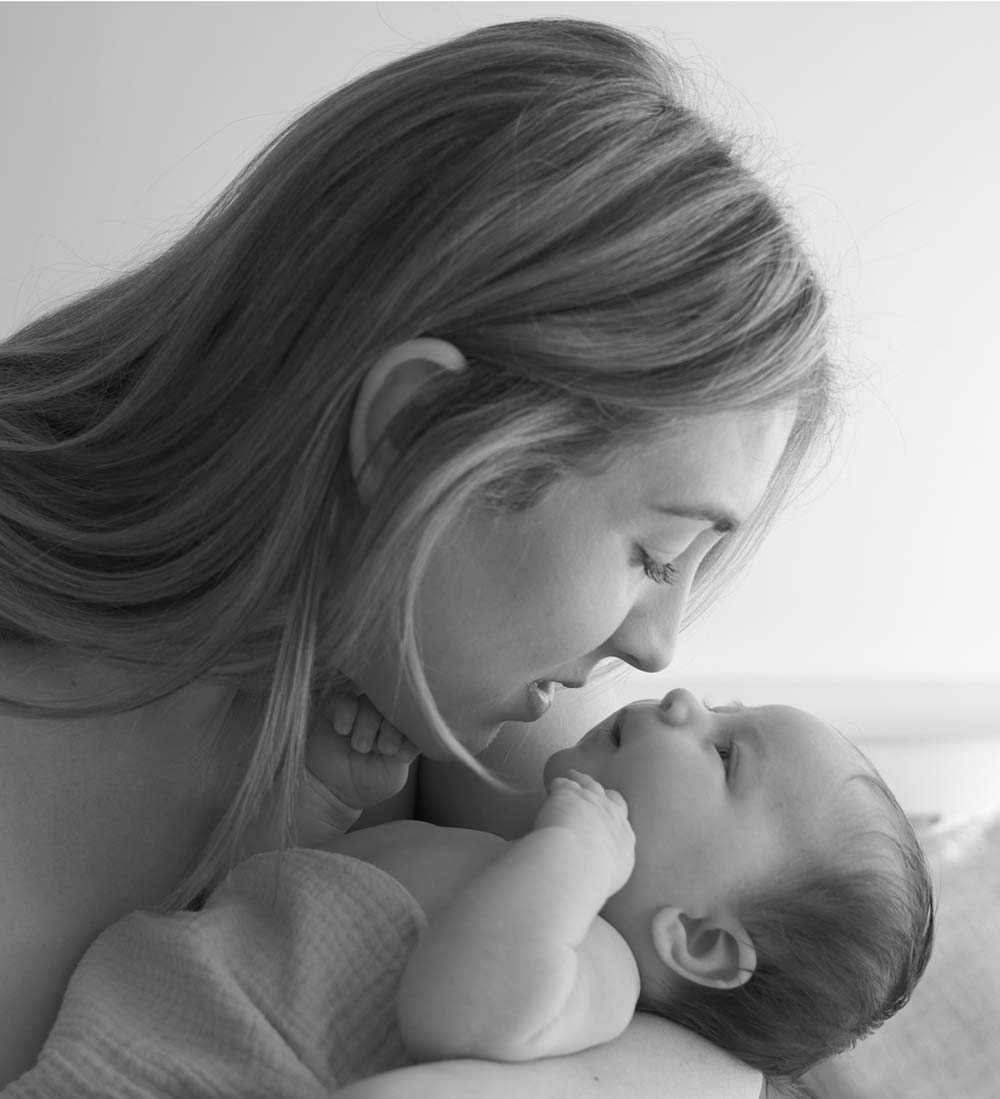
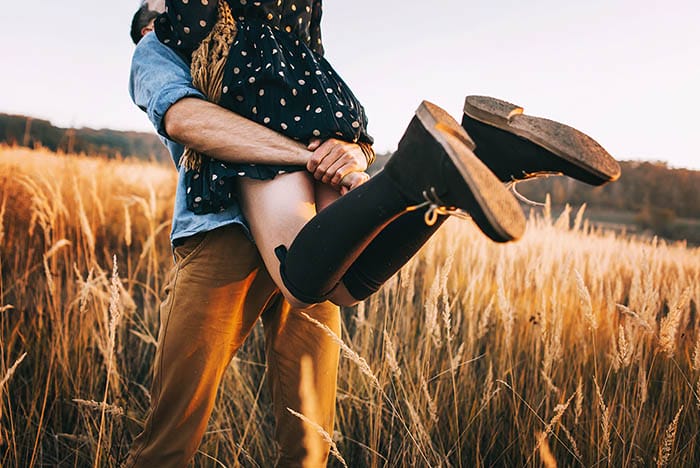
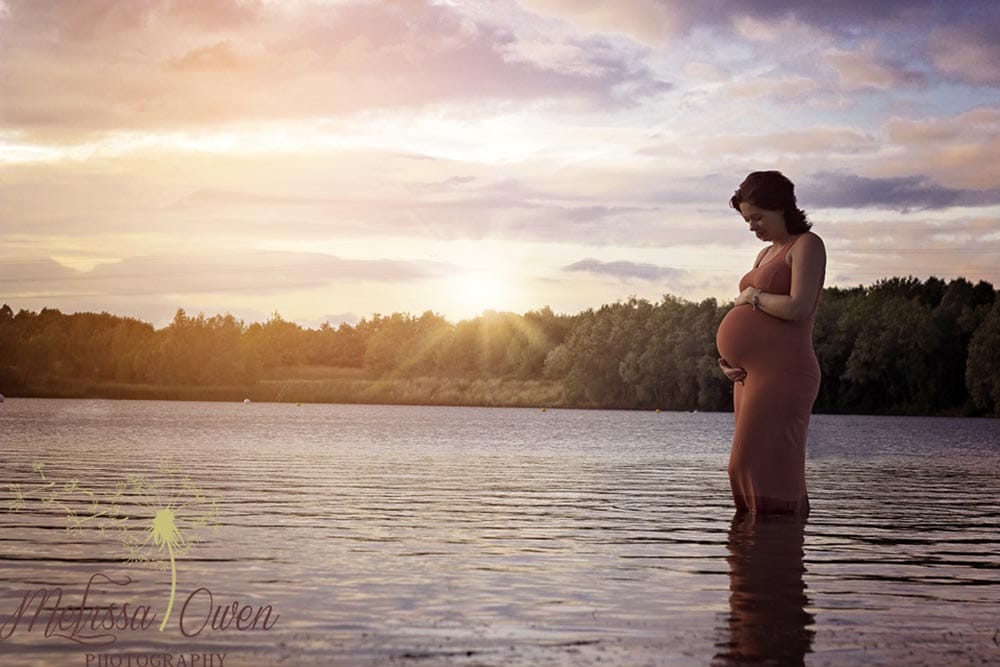
When photographing couples your portrait should aim to describe their relationship by using appropriate angles, lighting, props and poses. You can capture the romance, the humor, the rivalry’s, the arguments and the companionship of two people. It’s all about storytelling.
Talk to your couple first and find out why they are having their portrait taken – is it to capture a special proposal, celebrate an engagement, a wedding, an anniversary, a birth announcement, a pregnancy shoot or (as morbid as it may seem) for posterity purposes? It’s important to know the reason why as that becomes your ‘super-objective’ to your story’s narrative.
You can take a lot more time when working with adults and especially with nervous subjects. It’s good to spend time getting to know them before you break out the camera.
Explain to them clearly how you want to start the shoot, what outfits and props you want to use first and give them time to check themselves over, so they feel a bit more confident before going in front of the camera.
If working with studio lighting and flashguns isn’t your cup of tea, then you’ll need to understand how to use natural light to create dramatic portraits. There are two types of light that you’ll encounter when using sunshine as your light source – hard and soft.
Hard Light is found where the lighting is direct, non-diffused and is not bouncing or scattered by local objects or conditions. The built-in flash on your camera is a hard-light source. When direct and non-diffused by clouds, the sun is also a hard-light source. The transition from light to dark gets increasingly smaller as the light source gets harder.
Soft light effectively ‘wraps’ itself around a subject like a thin silk due its wide spread from the initial source. Soft light creates shadows with a gradual transition from light to dark. Soft light is found where the lighting is indirect or where it passes through a diffuser, clouds or some other translucent material.
It’s best to avoid the harsh light when the sun is high in the sky, as the heavy shadows it creates across the subject’s face won’t be flattering. Days where the light is subdued by cloudy weather are perfect conditions for natural light portraits as the clouds act as a huge diffuser, casting a soft light onto your subject’s skin.
1. Create the Best Composition
There are a number of compositional techniques that you could use when framing your portrait, but the rule of thirds is the one that will make your portrait proportionally balanced.
2. Build a Rapport with your Subject
It’s vital to talk to your subject throughout your shoot, new photographers are just as nervous as first-time models, remember they are human too and need to be reassured that they are doing everything correctly.
3. Get a Natural Expression
Of course, a smiling portrait is very engaging and heart-warming, especially if you’re taking pictures of young children, but don’t overlook the power of the sad, angry, puzzled and thoughtful expressions.
4. Zoom in Tight Shots
Don’t be scared to get close up to your subject, filling the whole frame with their face. It will make any portrait look powerful and distinctive, it forces any viewer to engage instantly due to the lack of distracting elements.
5. Always Add a Catchlight
To know that your light source is at the optimum angle then make sure the catch light (the reflections of light in your subject’s eyes) is at/between 10 o’clock and 2 o’clock positions.
6. Use the Right Angle for Your Subject
You can make little adjustments to your subject’s pose to avoid unflattering them. Asking them to lower their chin but keep their eyes focused on the camera will disguise their chin and neck areas which many people are conscious of.
7. Create a Shot List
Keep a little list of these posing shapes in your pocket so you can be more creative and make some really cool family portrait poses that conform to a strong composition but also look innovative and unique.

I hope you are ready for your fantastic adventure into the world of portrait photography. The portrait photography tips and techniques we have shared in this guide will certainly help you – but remember to start small and work upwards.
Try taking portraits of willing friends and family members to increase your skills and confidence before moving on to bigger things.
Join our online portrait photography course for beginners here.

Discover the BEST way on how to clean a camera sensor using swaps, rocket blowers and pencil brushes to give your shots a dust-free finish!

Capture the magic of the night with our beginner’s guide to night photography. Learn tips and techniques for stunning results.

Master the art of solar eclipse photography with expert tips on equipment, settings, and precautions for stunning celestial images.
Learn the basics of photography – fast – with our FREE 60-Second Photographer online course. Each class is short and sharp with simple, actionable steps that give you immediate results.
x 30 lessons

© iPhotography™
Become a confident and competent photographer in less than 30 minutes!
Before you leave, make sure you’ve secured your FREE online photography course (worth £29.99)
Each class is just 60-seconds or less making it the fastest and easiest way to learn photography!