 Stephen Walton
Knowing how to take cute pet photography is a great way to practice for better photography in general. You don’t always need backdrops or a pet photography studio to take perfect images. With our help you’ll be able to take professional pet photography without too much effort.
This will help you take photos that are filled with memorable poses, positions, expressions, and activities.
If you have a pet, you will know that it is like having another member of the family. Every pet has their own personality – be it a bit lazy or super energetic.
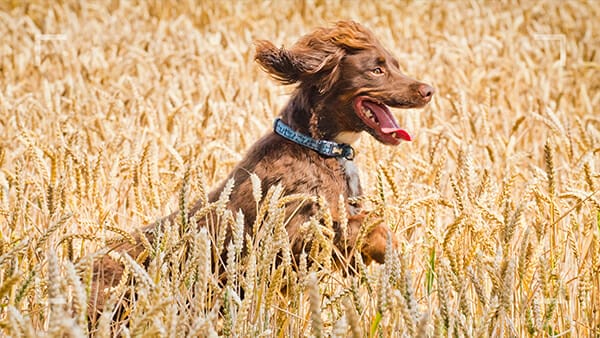
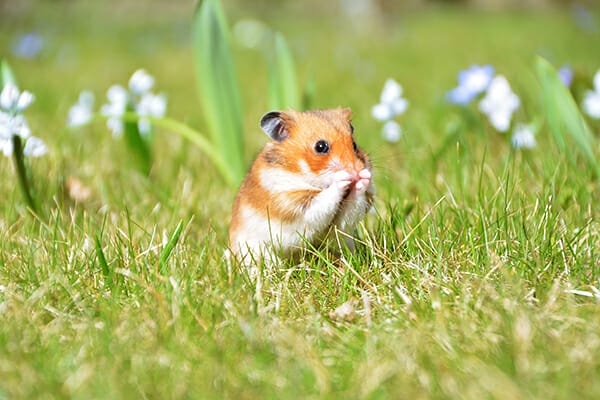
Sometimes those perfect pet portraits will come when you least expect it. Perhaps when they decide to fall asleep in what appears to be the most uncomfortable of positions. Or when they see their own shadow and begin to chase it.
We’ve got 15 tips on how to shoot capture those perfect pet portraits every time whether you’re indoors or outside.
Animal and pet photography is a growing genre of the hobby these days. Whether you’re capturing shots of your own cat or dog, we’ve got 15 brilliant tips on how to make your pet photography amazing.
Read on for all the tips and ideas a beginner pet photographer needs.
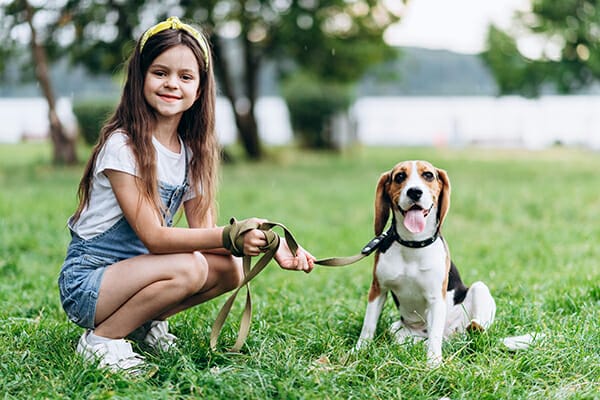
If the pet you’re photographing isn’t yours then you need to take some time to build trust and find out about their backgrounds.
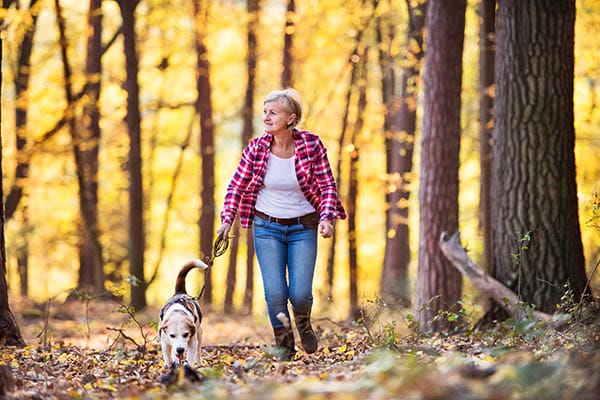
Firstly, choose a location that evokes a strong memory for you and your pet (or their owner). For example, you might have a place that you take your dog all the time. It will mean a lot in the future as you look back over the portraits.
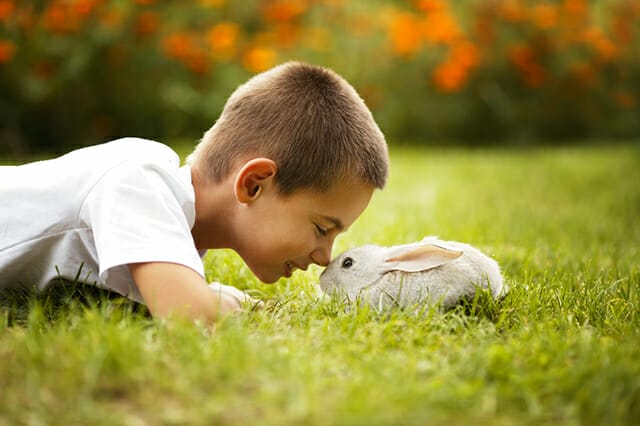
Before you even open your camera bag and start taking your photos, let the pet sniff you and lick your hands.
This will help the animal feel comfortable around you and trust you. If it is safe, play with them for a few minutes to show them you’re a friendly person.
Talk to the pet in a soft tone so it gets used to your voice. Observe the pet for a while and to see how it moves and interacts with its owner.
Take a seat on a sofa or even the floor and wait for the cat or dog to approach you. It may be friendly and sniff you and rub up against you or it may be wary and stay some distance away.
Don’t let this put you off just stay calm and relaxed. Ask the owner to shut all the doors and any other escape routes from the room you are in and then slowly get your camera out.
You may need to ask the owner to keep getting the pet out from behind the sofa but hopefully, it will stop hiding soon enough if you keep calm and talk to it in a very soft and low voice.
Pets don’t always stay in the same position for a long time, therefore a quick shooting camera is ideal. A digital camera’s burst mode for a pet photographer needs to be at least 9 FPS (frames per second) in RAW format. This will allow you to take 9 photos instantaneously to ensure you get the perfect moment in a split second.
The best lens for pet portraits is also a fast one. A lens that stops up to F/1.8 or F/1.6 will help create a shallower depth of field. This is good not only to blur distracting backgrounds (as pets my not always be in the best position), but also to help separate black cats or dogs from a black background slightly.
You may not find using a tripod useful for pet portraits as you need flexibility to move and react quickly. Cat portraits for example are best shot handheld as cats can be timid than dogs.
Camera settings for pet photography should be based on the character of the pet you are shooting.
Dogs and cats can be both excitable and timid, so you’ll need to react appropriately.
Firstly, we’d recommend shooting in shutter priority (S/Tv) mode. This will give you scope to quickly change settings depending upon the pet’s reaction.
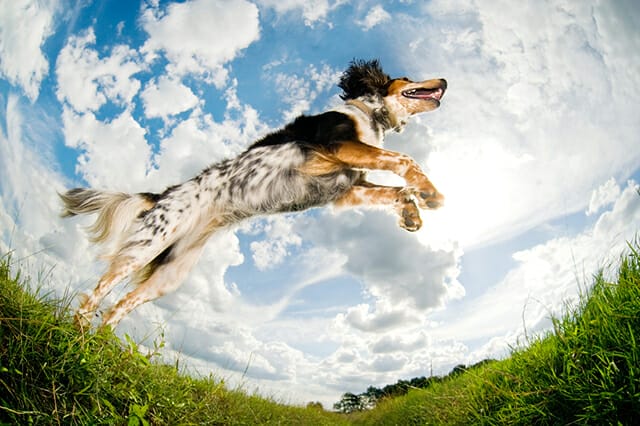
If they are quite active, stop any motion blur occurring by using a fast shutter speed i.e., 1/400th or faster (depending upon the action).
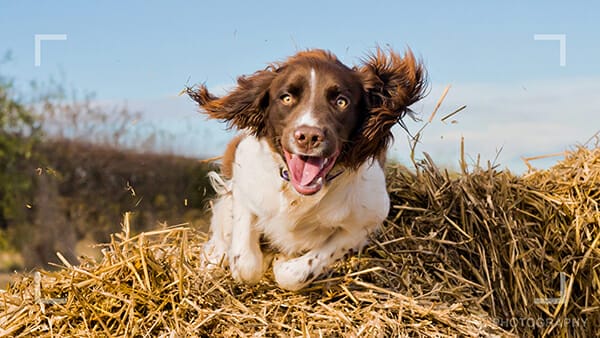
Pet photography action shots are not easy to capture at high speed. Use a focus mode that is available on all modern DSLRs called “Continuous/AF-C” (on a Nikon) or “AI Servo” (on a Canon).
This mode is used for tracking moving subjects and it is a must for shooting cats and dogs. Continuous focus mode will automatically readjust the focus if you or your pet moves.
Activate your camera’s burst mode too. While we all want to take creative pet photography, it will take more than one shot. A burst mode means the camera will take multiple shots of the evolving action for as long as you keep your finger pressed down on the shutter button.
Cameras with a higher FPS (frames per second) burst are better for pet photography. But this isn’t to say you can’t take pet photos on any camera – you may just need more attempts.
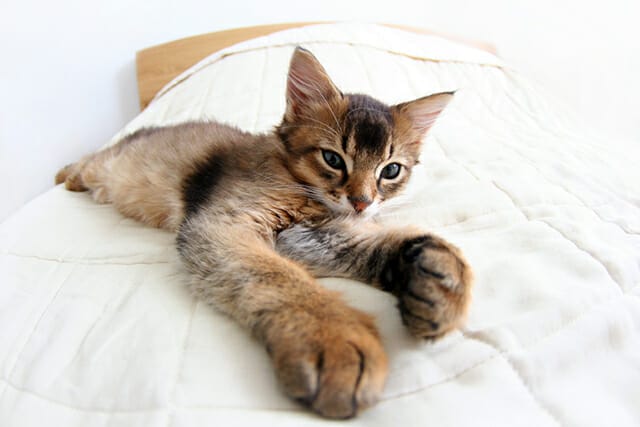
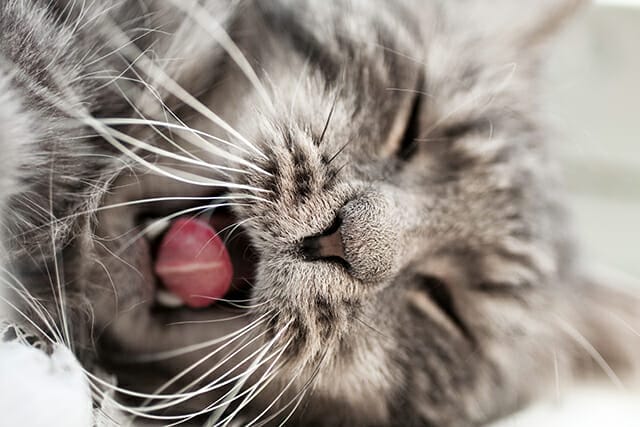
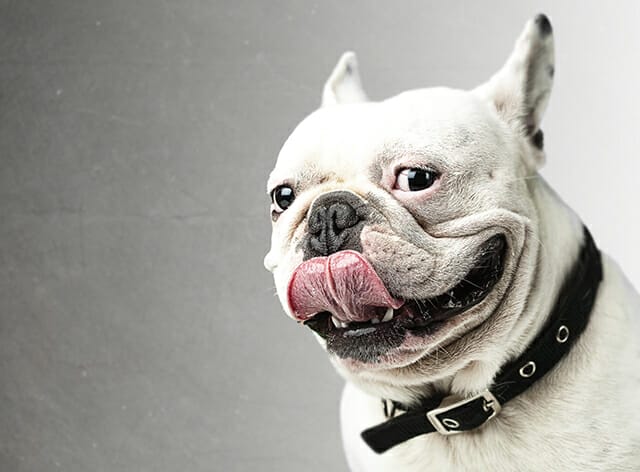
Like any type of portrait photography, the key to an engaging and powerful image is the eyes, it is no different for capturing perfect pet portraits.
The eyes are one of the best ways to capture emotion, for a pet portrait it’s often also the way they express themselves.
Getting the eyes nice and sharp is really key to getting that perfect pet portrait. Use a small spot focus method to do this.
Position the focus spot in the centre of the frame. Shift the camera to get the pet’s eye on the focus spot, half-press the shutter button to lock focus and then recompose and take the shot quicky.
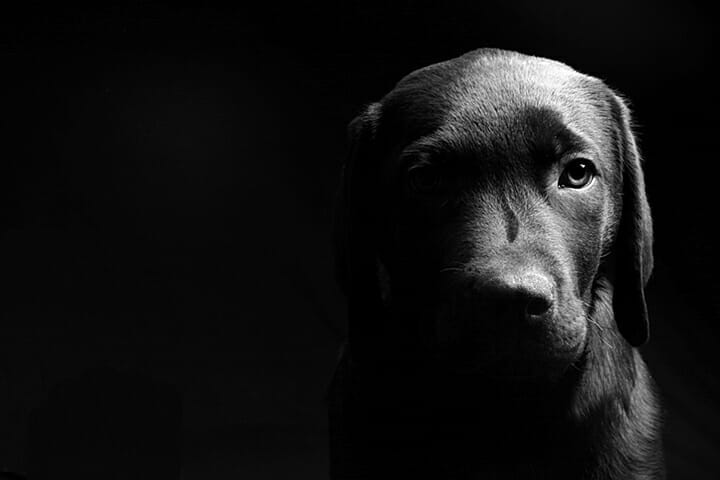
Photographing dark pets against a dark backdrop makes it hard for outlines to be seen.
Use a wide aperture to blur the background and make the pet really stand out. To help further with separating the subject and backdrop use a second light positioned behind them.
This light could be pointed back towards them as a hair light or on the background creating a hotspot.
If you are photographing a black cat for example, try spot metering so the camera takes its exposure reading from the black fur rather than the whole scene.
It is best to look for a background that contrasts against the colour and lightness of the pet’s fur. If you only have one light source, then shoot white fur against dark backgrounds and vis versa.
When it comes to pet photography lighting setup, use natural light rather than flash.
People don’t like camera flashes going off in our face – and we understand it. So, imagine how a pet feels.
Try to avoid flash photography during pet photo shoots. This is not natural for them opt for natural light where possible.
Look for locations that are open where the light floods in. Maybe a window bay, the back yard, a secure garden, or a local park.
If you see a nice bit of framing with some trees or branches position the pet to face the sun so it is lit evenly.
For indoor pet photography you may find you’re battling with low light. If this is the case turn on all the lights and lamps and then use your white balance to control the colour cast.
Aim to position the pet or yourself so the light is falling on their face and a large proportion of their body.
You may need to become an amateur contortionist to get on the floor in the right position and keep enough distance so as not to scare the pet! Your efforts will pay off with better shots though.
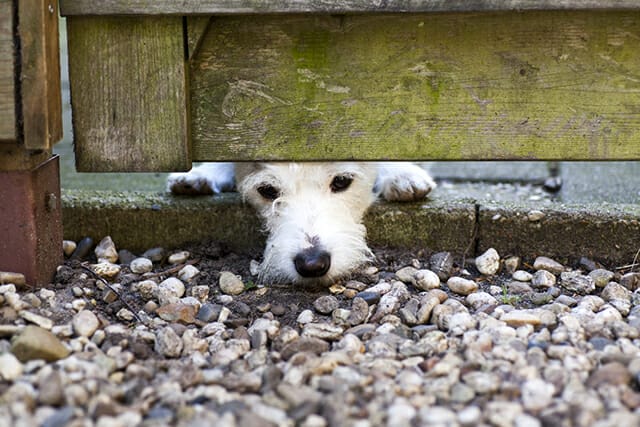
The one common mistake made by beginner pet photographers is that they photograph pets from a standing position.
This rarely works well. Photos of cats and dogs taken on their own level tend to have more impact and show the animal’s personality better, from the perspective of an equal.
This may mean you need to quickly scout out the area for 5 mins before asking the dog to sit somewhere. Look out for litter, protruding branches, and tall grass before lying or crouching down.
Anything that can distract from a beautiful shot should be moved, if possible, to save you time when editing. Use the flip screen on your camera to get the best perspective on your pet photography composition.
It’s also a good idea to think about the horizon line. Make sure it doesn’t cut through the pet’s head. The horizon line should ideally be above their head or further down their body to stop the composition looking split in important places.
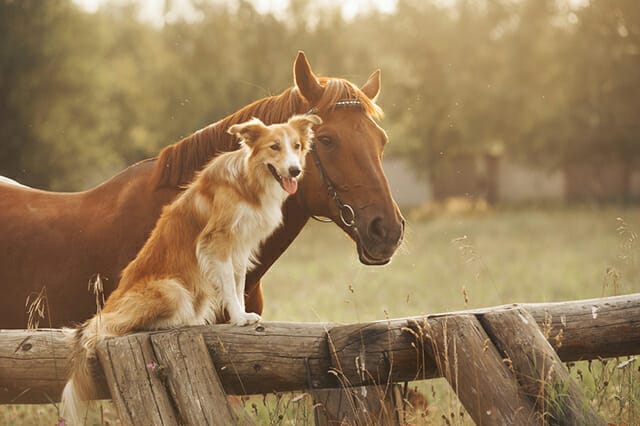
You want to carefully consider your composition when capturing your pet’s portrait.
One of the most important things to remember when shooting pet portrait photography is to avoid the obvious angle.
If this means getting on your belly then so be it, one must suffer for their art on occasion. But this way you will have a better view of your pet. Don’t shoot everything from a standing position as you’ll miss many of their features. Get down on the floor and shoot at their eye level.
Treat your portrait the same as photographing people. Take headshots, full-length images and creative crops.
If it’s your first-time taking pet portraits start off with full-length shots and gradually get closer to do close-ups. This allows your cat or dog to get familiar with you holding the camera in front of your face from distance.
Don’t crop out the ears unless your composition is meant to be creative.
Think about the rule of thirds and try offsetting the pet to the left or right of the shot. The negative space is useful if the pet is looking towards that area.
If your pet isn’t cooperating you may need something more interesting than treats.
When using props in your pet photos consider how photogenic they are. Ragged toys may distract from your overall shot. Use new and unscathed props where possible, to save you time in editing.
Only bring out props when you really need to. If the pet loves the toy they may never let go and all your shots will look the same. Use the prop as bait to get them positioned where you want. And then take a few shots before you give it to them.
Think about having a bag with squeaky toys, bones, balls, soft toys and frisbees (or even a bit of food).
If you want to use a backdrop for your cat portraits or dog photos, it’s best to choose one that is a different colour to your pet. Photographing black dogs against a black background is notoriously hard.
Pick an opposing background (to your pet’s fur colour) to make it easier to focus. If you want your pet to look a little more feminine or masculine, consider buying a coloured backdrop of pinks or blues.
You can purchase small backdrops on Amazon. Ones that are reversible and collapsible give you a little more choice and easier for storage.
Yes, it is possible to pose your pet for their portrait – it may take a few attempts though! Use props and treats to reward and coax them into certain spots.
Once they are settled move their paws and body into the best spot for lighting. Give them lots of attention and strokes to keep them settled until you are ready to take the shot.
It’s best to have the camera set and ready to shoot before your cat or dog into the shot.
Choose your location wisely too. Even if you plan to do a close-up shot you still need to think about the environment in which you are taking your perfect pet portrait.
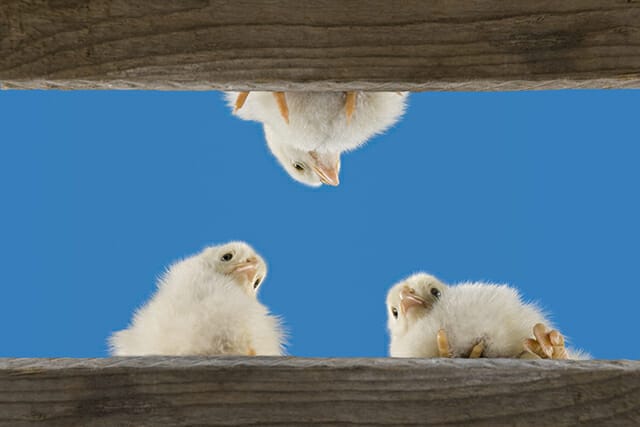
You also want the location to bring out their character. Do you have a dog that just loves people watching? If so, try shooting from outside looking through the window, or from behind casting them in a silhouette type portrait.
Your imagery will be far more interesting and effective if you add context and create a story within it.
To help with coaxing a pet into the right starting positions use some suitable treats.
Always check with the owner first regarding health and behavioural problems. Use treats as rewards. Only give them when the pet has done something correctly, otherwise, you’ll have a wet nose in your pocket for the rest of the photo shoot!
Use toys to get the pets moving and engaged. Speak in a high-pitched voice when praising them and make lots of fuss when you nail an amazing pet photo!

When it comes to editing your pet photos all your attention should be placed on the face. How clear and sharp is the pet looking?
If you’re editing action shots look at the legs and paws – are they sharp and clear as well? You may need to use a clone stamp and healing brush tools to remove bits of mud on fur.
You can treat pet photography editing much like general portrait photography. Even though there’s no skin to retouch, don’t crop at the joints of limbs; brighten the eyes a little; make sure the background isn’t distracting and that everything in the frame is intended.
To make detail in the fur stand out further use the texture and sharpening tools in Lightroom.
Finally, you’ll find that pet photography requires a lot of patience. Dogs, cats, and other animals can become excitable around a new person sometimes. But if you’re patient enough, they will end up relaxing and responding to your commands.
If they are bouncy to begin with then go with the flow and capture action shots. Then, as the pet starts to chill, you can capture the close-up poses to end up with a variety of shots demonstrating their personality.

Discover the BEST way on how to clean a camera sensor using swaps, rocket blowers and pencil brushes to give your shots a dust-free finish!

Capture the magic of the night with our beginner’s guide to night photography. Learn tips and techniques for stunning results.

Master the art of solar eclipse photography with expert tips on equipment, settings, and precautions for stunning celestial images.
Learn the basics of photography – fast – with our FREE 60-Second Photographer online course. Each class is short and sharp with simple, actionable steps that give you immediate results.
x 30 lessons

© iPhotography™
Become a confident and competent photographer in less than 30 minutes!
Before you leave, make sure you’ve secured your FREE online photography course (worth £29.99)
Each class is just 60-seconds or less making it the fastest and easiest way to learn photography!