Author Emily Lowrey
Paint powder photography is ridiculously good fun. It’s messy and colourful, and creative!
What’s not to love? There are a few things to keep in mind when using paint powder (or Holi powder as it’s also called) which we will cover in this article.
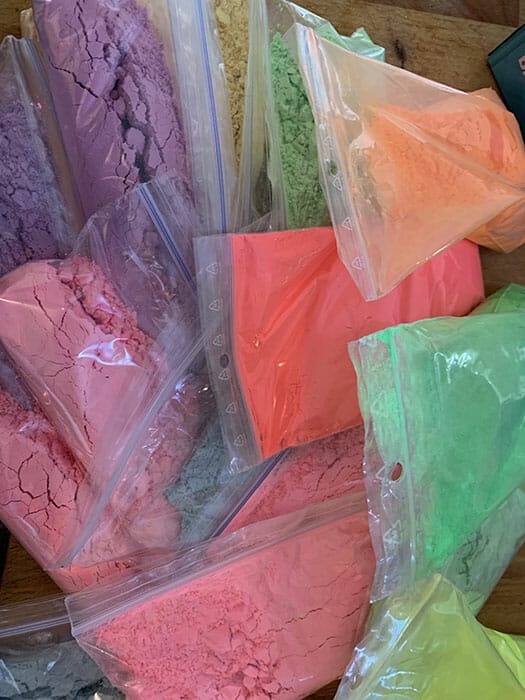
Sometimes paint powder is known as Holi powder. It is used at the Holi festival every year in India.
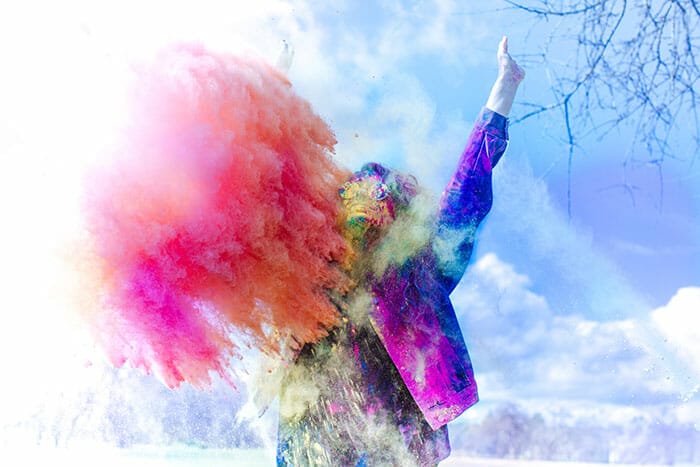
It should be easy to find and quite affordable. There are dedicated online stores that will sell it, as well as Amazon and eBay. Paint powder usually come in a selection of colours, and the powder is very concentrated and bright, like the first photo below.
You can use the powder like this, or you can add in your own flour to bulk it out and tone down the colour slightly. Just normal cooking flour will be fine, as Holi powder is essentially just flour and colouring.
It’s a good idea to have as much powder as possible. Having more powder will make for a more dramatic effect, and you can always add in more saturation back in editing if you wish.
You can also mix colours together to get different shades, such as mixing red and blue to get purple.
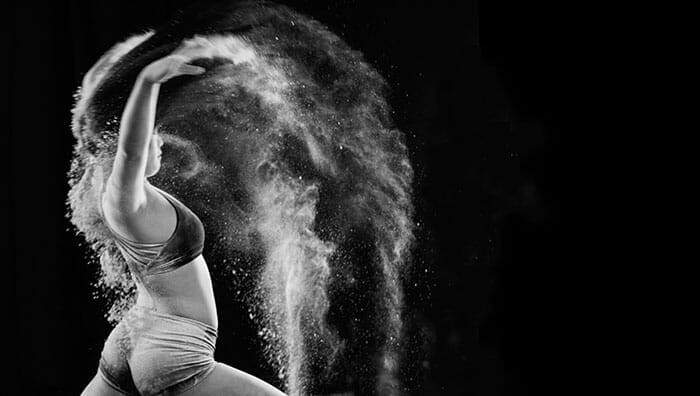
There are of course no rules! But generally speaking, two styles seem to work best for paint powder photography.
Peaceful vs. Chaos – Have a calm subject with a tranquil expression, and juxtaposing that with the chaos of the powder.
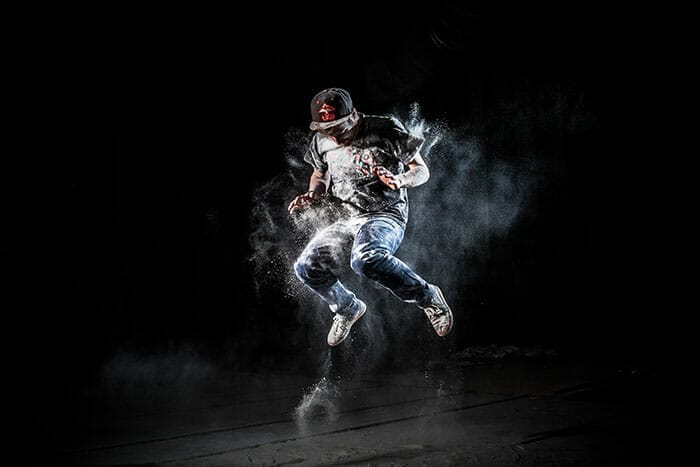
Freeze the Action – Paint powder is effective in high-energy poses, such as jumping, kicking, or clapping your hands together.
Whichever style you choose, a high shutter speed will be essential. We want to freeze the chaos in place and see every last grain of detail. For a high shutter speed, we will need plenty of natural light.
In a studio, you will have access to powerful lights that will help you to freeze the action in place. You’ll have more creative control in how you want your subjects to be lit.
However, paint powder photography is very messy! You’ll need to cover up every surface and make sure that all your equipment is safe.
It might also be wise to check that such a shoot is OK to do inside a studio. You might need to rent extra time for preparation and cleaning.
You will have enough light even on a cloudy day to shoot with paint powder. There will be much less preparation involved, but we must make sure we are respectful of the location we choose.
A secluded part of a beach would be ideal, or part of a woodland area that has lots of space. Holi powder is just flour and colouring, so it will biodegrade just fine on its own. However if it gets wet it can stain clothes.
You should also take care not to use paint powder anywhere near houses. Washing lines full of wet clothes could spell disaster if the wind blows in their direction!
You don’t want to be swapping lenses at all during this shoot. If any dust gets into your camera it can be very hard to fix. Choose your focal length carefully before beginning, and if you have two cameras use both so you have a selection of lenses to use.
Paint powder photography gets everywhere. We’re not joking! Even if you’re careful, it will still spread far and wide. Come prepared with a tarp, bin bags, duct tape, and anything else you can think of to cover anything expensive.
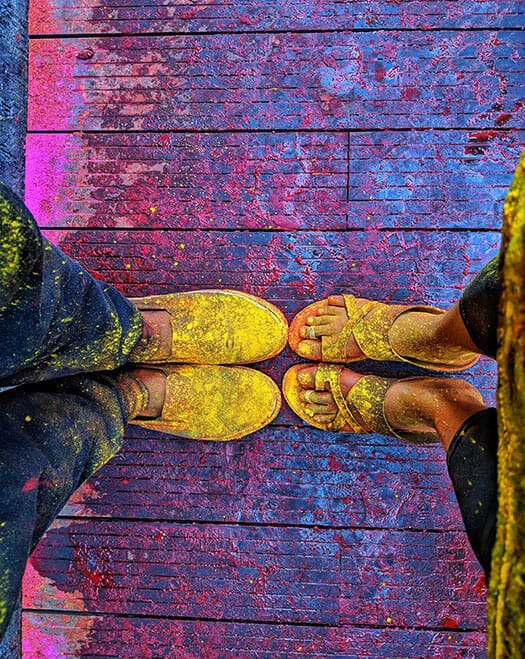
It goes without saying that everyone at the shoot should wear clothes that they won’t mind getting stained. This goes for shoes too!
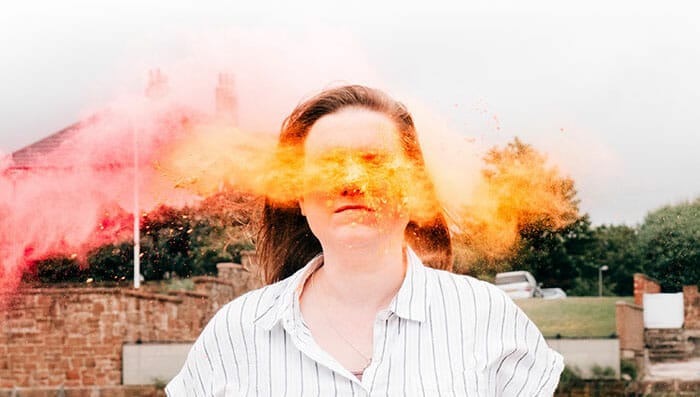
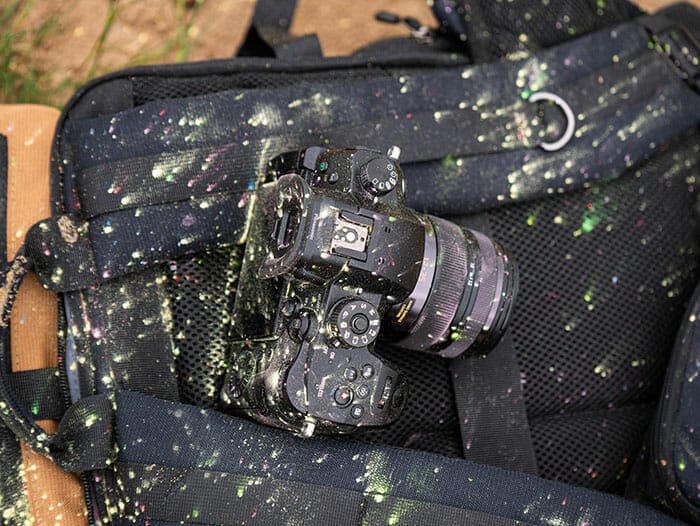
Holi powder can wash out of clothes, but lighter colours will still be susceptible to stains. Even outdoors, the wind can play havoc. Just like this image below from the photoshoot in the video at the end of this article.
If you’re using natural light for your paint powder photography, shutter speed priority mode will probably be your best option. This way you can set your shutter speed nice and high (at least 1/500th of a second, but faster if you have enough light!).
If you’re in a studio setting, using artificial lighting, then Manual settings are probably best. The good part about being completely in control of the lighting is that once you’ve nailed your settings, you can just leave them for the rest of the shoot as nothing will change.
If your camera has a burst mode, definitely utilise this. You can then keep your finger on the shutter and fire off several shots per second. You’ll have a much better chance of capturing the perfect photo this way.
Don’t be afraid to keep trying! There is a lot of chance involved in this style of photography even if you do everything right.
If you set your camera up on a tripod, you have a chance of merging several attempts into one photo. The video explains this in more detail.
During your shoot you might have to direct some assistants, or even have a go at throwing the Holi powder yourself. Here are some quick tips:-
Keep your hands in fists if there is a breeze. Use the wind to your advantage and position your subject down-wind.
Don’t throw the powder in front of the subject because you can hide their face. Behind them and onto their shoulders looks brilliant and then they won’t get it into their eyes.
Ear plugs might be a good idea if you can hide them with the subject’s hair. The powder really does get everywhere
Of course, never aim the powder directly down someone’s ear or directly into their eyes. Contrasting colours work best if you throw more than one handful at a time You can rest the powder on someone or something and then they’ll move and disrupt it.
You can get really creative with paint powder! If you combine paint powder with the action you can create beautiful chaos in your photographs. If you combine paint powder with tranquillity, you can create a compelling and contrasting image.
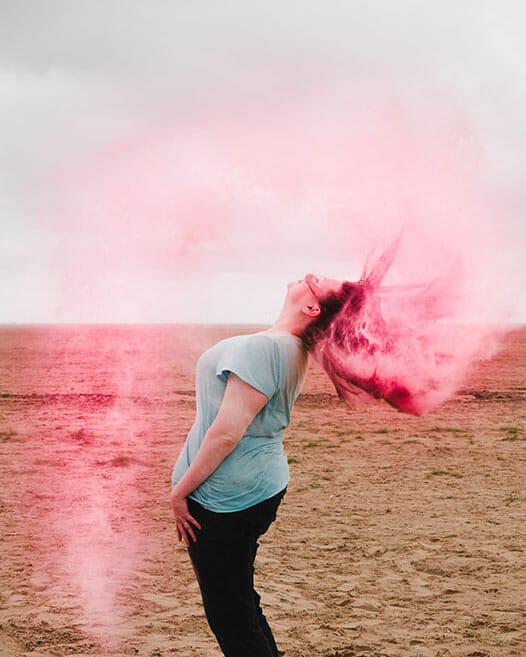
Have fun, think outside the box, and get experimenting! Remember to be respectful of your environment as well as your own equipment.
Watch the video as I go behind the scenes on the photoshoot and learn some further paint powder photography tips and tricks!
Shooting sunsets using amazing 5-in-1 magnetic lens filters from Kentfaith, the 1st choice for photo & video products.
Popular memory cards for photography – what’s the best SD card for your digital camera? Choose the right capacity and class speed in our guide
Discover the BEST way on how to clean a camera sensor using swaps, rocket blowers and pencil brushes to give your shots a dust-free finish!
Learn the basics of photography – fast – with our FREE 60-Second Photographer online course. Each class is short and sharp with simple, actionable steps that give you immediate results.
x 30 lessons

© iPhotography™
Become a confident and competent photographer in less than 30 minutes!
Before you leave, make sure you’ve secured your FREE online photography course (worth £29.99)
Each class is just 60-seconds or less making it the fastest and easiest way to learn photography!