There are 10 ways to light a portrait with just one light. Can you name them all? Do you know what they look like? Don’t worry we’re going to show everything you need to know in this one light portrait photography tutorial.
While this tutorial will show creative lighting setup for headshots you can apply most of these tricks and tips to almost any single object in photography.
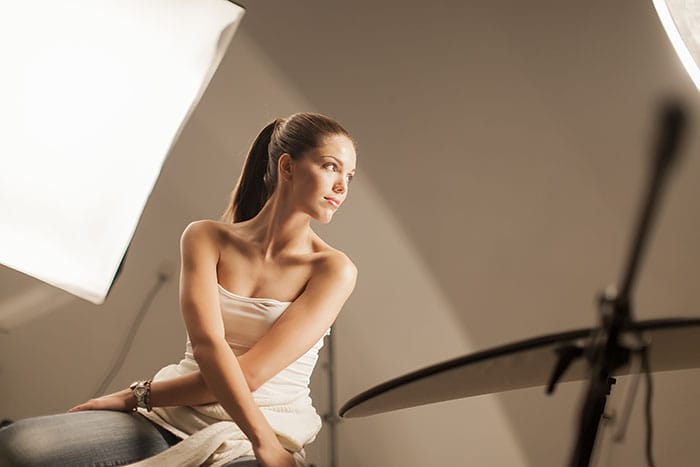
The direction and angles of lighting is vital to get right, regardless of whether you want to become a pro shooter or just better take family photos. Therefore, if you’re stuck just snapping away without any thought, then you need to learn these one light photography setups.
Single light portrait setups use one key light (or main light as sometimes called).
Each lighting pattern that we’ll demonstrate will show you where to place the light in relation to the subject. Don’t forget that distance is an important part of where you position the light too.
Without getting technical and telling you all about the inverse square law basically the closer the light is to the subject the softer it’ll appear. Conversely, the further the light is away from your subject the harsher the light will be.
Setting your light at the right height is also important when placing the light source. Most of the time you’ll need to place your one light slightly above eye level when shooting portraits.
During this one light photography tutorial we’ll show you the basic positions on where to place your light to achieve certain patterns. You can add in lighting modifiers over your one light to alter the quality and intensity to your liking.
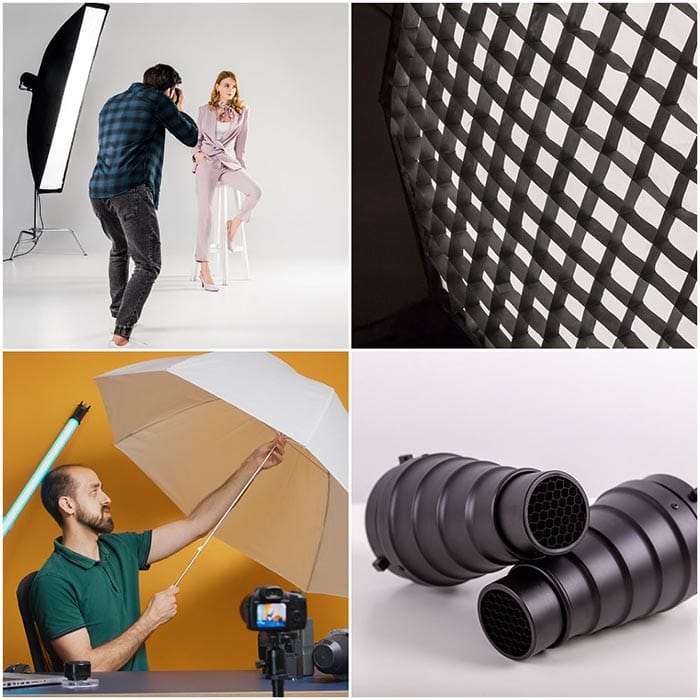
In portrait photography, you can add in reflectors, umbrellas, snoots, scrims, grids or honeycomb lighting modifiers to alter the spread, quality and shape of the light. We’ll look at these closer later in this tutorial.
Keep this in mind when shooting portraits if you want to make your one light setup for headshots a little more refined and stylised.
Read more about photography lighting in this full guide.
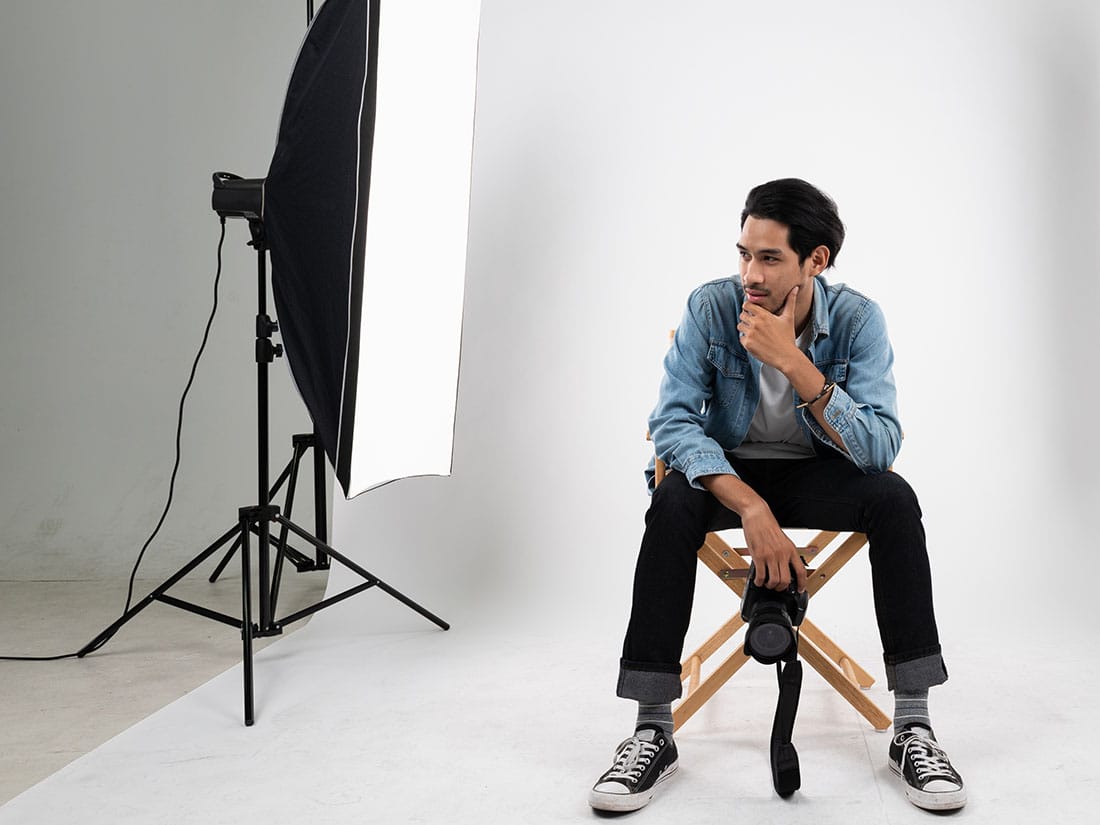
There is no agreed standard of what the ‘one light’ needs to be. It all depends on what you’ve got access to right now or what your budget will allow. If you want to just test your arm at one light photo then use the light on your camera phone. Otherwise, raid the draws for a torch (flashlight).
If you want to get a little more creative though then a basic off-camera flash or studio-grade strobe head will give you a better quality finish.
The beauty of only using one light is that you won’t end up with mixed colour temperature issues from multiple lights, so just keep your camera on Auto WB (white balance).
Technically it’s not another light source so it’s not cheating to use a reflector to help you in your one light photos.
Reflectors are a great way of softening shadows and filling in details in areas that would otherwise be too dark. This can be important for product photography as well as fashion portraits, where details are important.
Reflectors come in a range of finishes;
● White – this doesn’t reflect colour so keeps the lighting looking neutral
● Silver – better for adding a cooler finish in terms of colour tones.
● Gold – ideal for sun-kissed portraits and warming the look of skin.
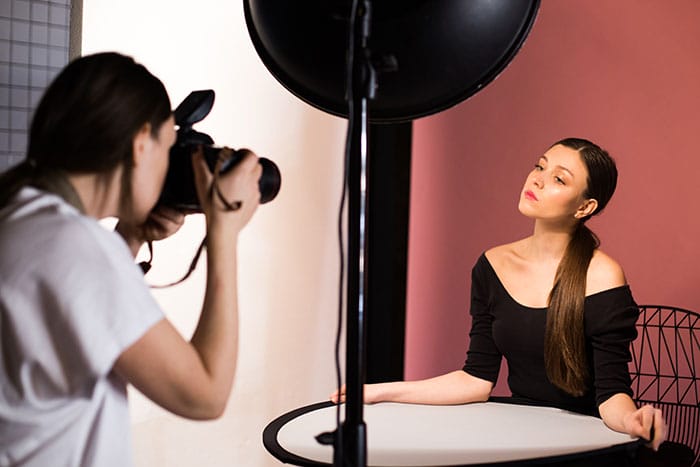
One by one we’ll show 10 dramatic one light portrait setups you can try at home on yourself or a buddy. Remember some of the principles of these techniques can also be applied to a product and still life photography too.
Firstly, pose your subject so that their body is side on to the camera and turn their head to face the lens. Direct a single light towards the nearest (broad) side of their face, keeping the rest in shadow.
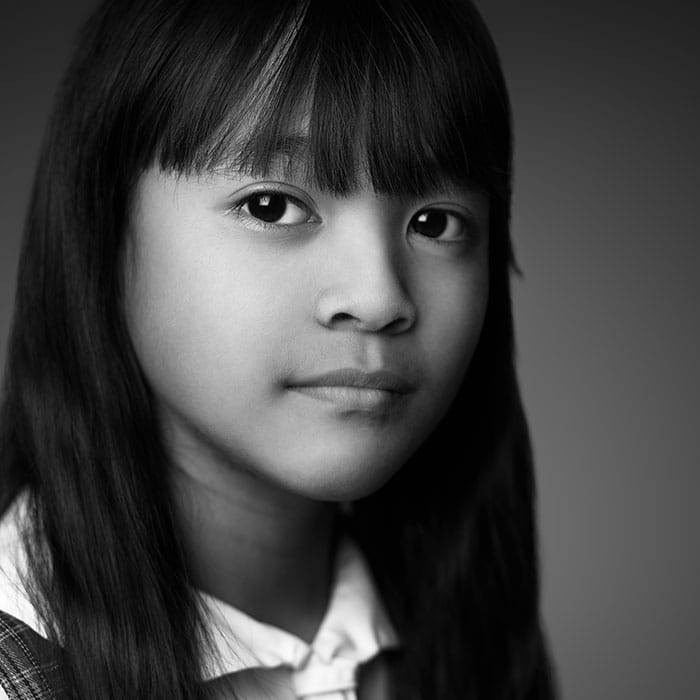
Secondly, follow the same directions as in Broad lighting. But this time move your light to only light the far (narrow) side of their face. This will cast the near (broad) side of the face in shadow making your portrait look mysterious.
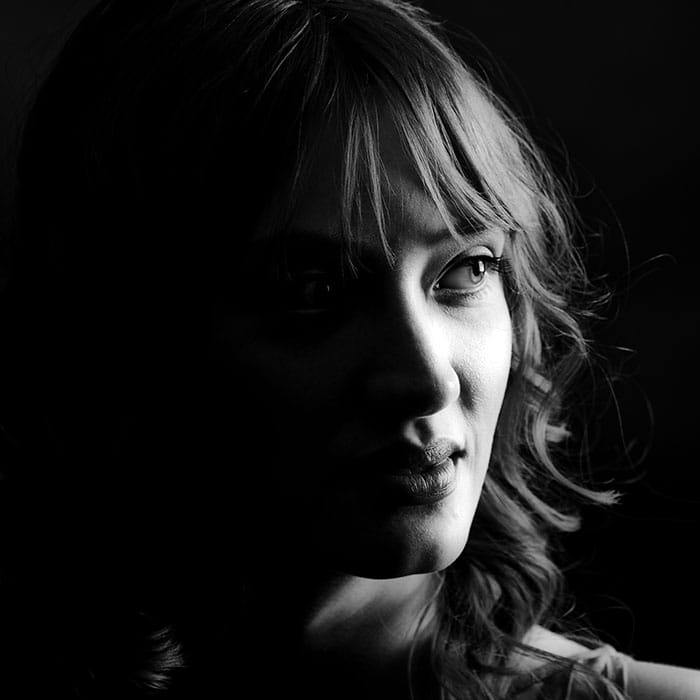
Thirdly, this one light photography setup is taken from the Dutch artist, Rembrandt. Rembrandt lighting is signified by an inverted triangle underneath the subject’s furthest eye. Follow the setup of narrow lighting but bring your light further around the front of your subject.
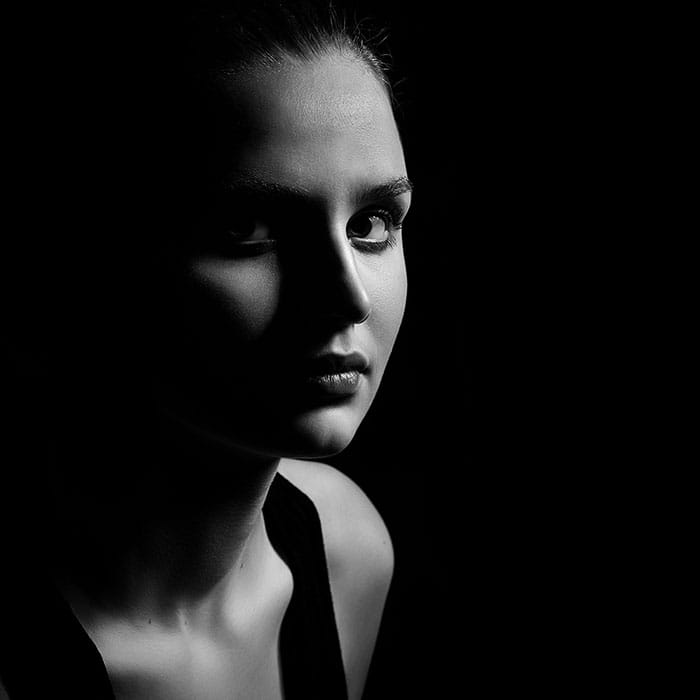
Next up, following on from Rembrandt lighting is Loop. Bring the light source closer to the camera position.
Maintain the height of the light and shine more light on the cheeks. Aim to keep a gap between shadows beneath the nose and the cheeks.
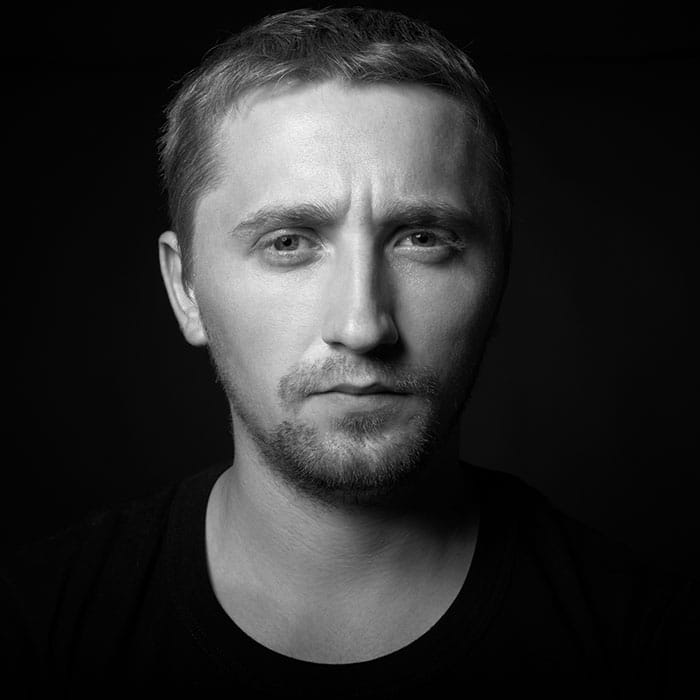
Butterfly lighting is more commonly applied to female models, as it is designed to emphasise cheeks, and disguise the neck area. It is a favourite amongst many portrait photographers. Raise the light directly behind the camera position and tilt downwards at 45 degrees.
Only aim to create 2 shadows. One underneath the nose, and the other under the chin.
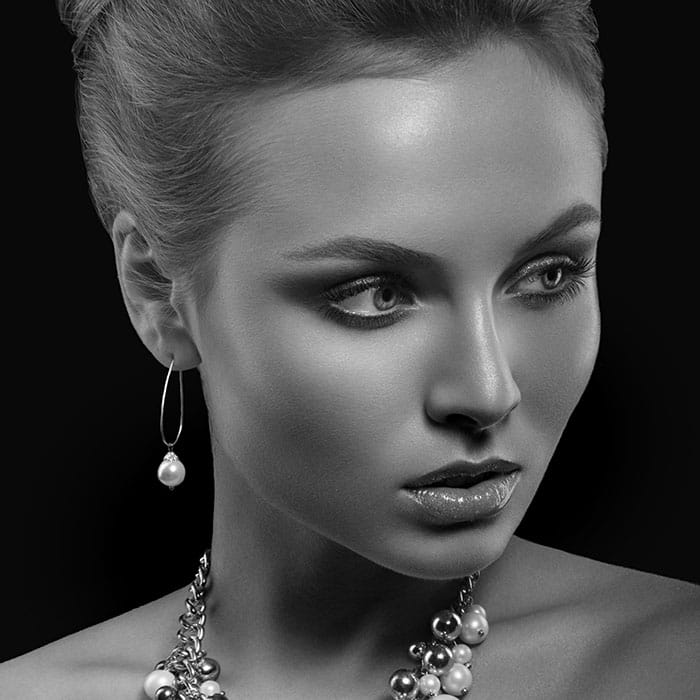
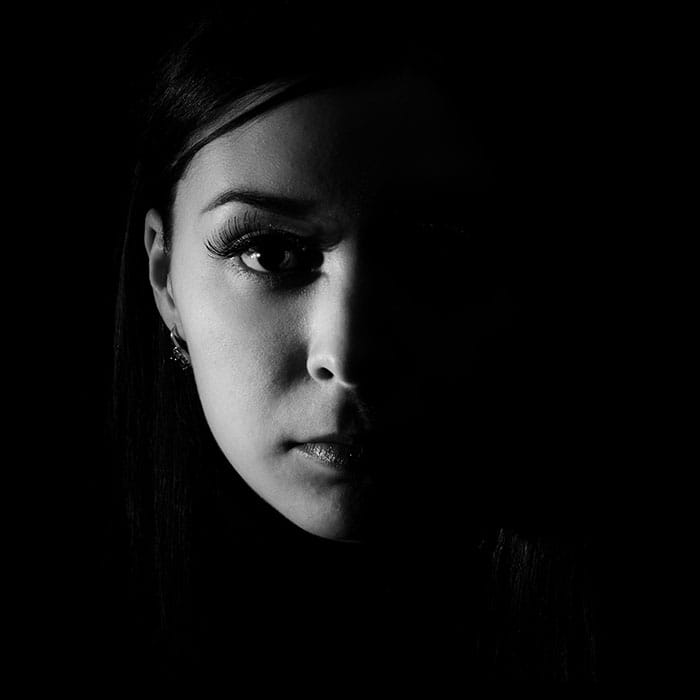
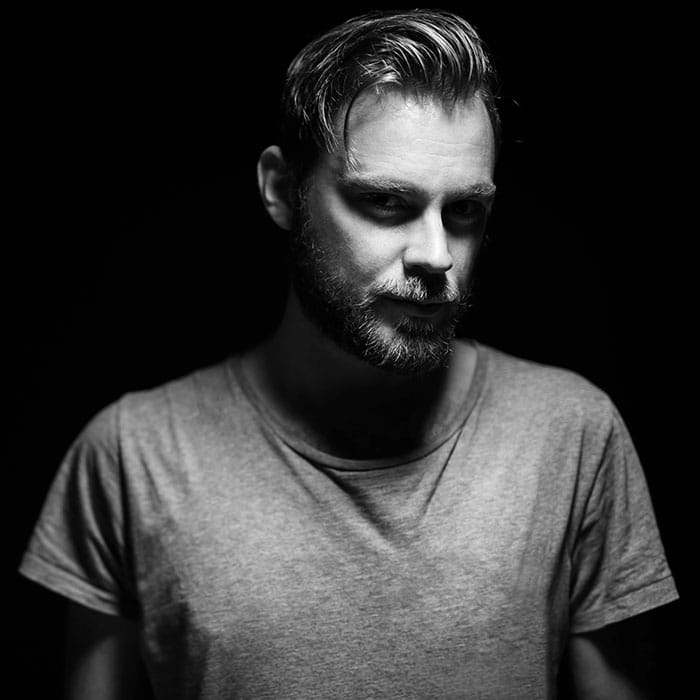
Split lighting is incredibly easy as a one light technique. Start by facing your subject towards the camera and position a light source 90 degrees to their body. It will ‘split’ the face in half light and shadow. Perfect for telling a dark or sinister story.
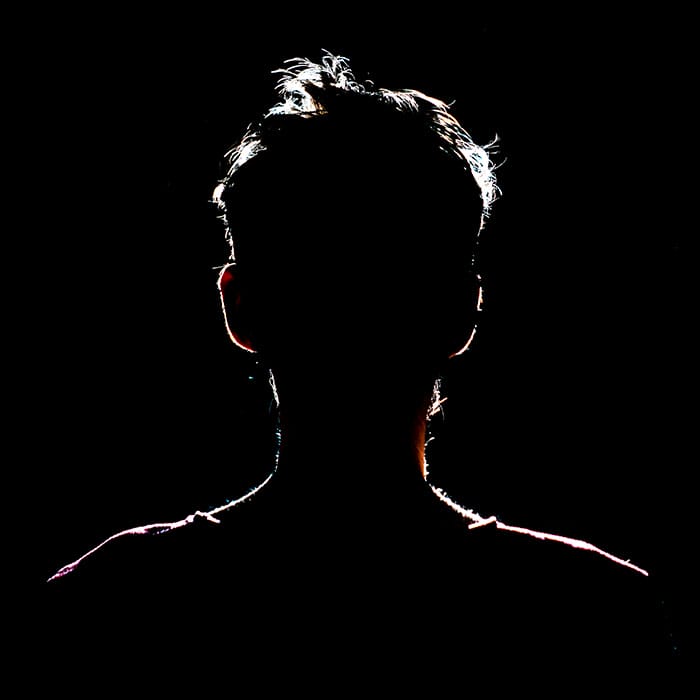
Place your light behind your subject shrouding their face in shadow. Using soft lights will cause ‘spill’ and features on the broad side may be visible to the camera. Harder lights will give you a cut-out silhouette effect.
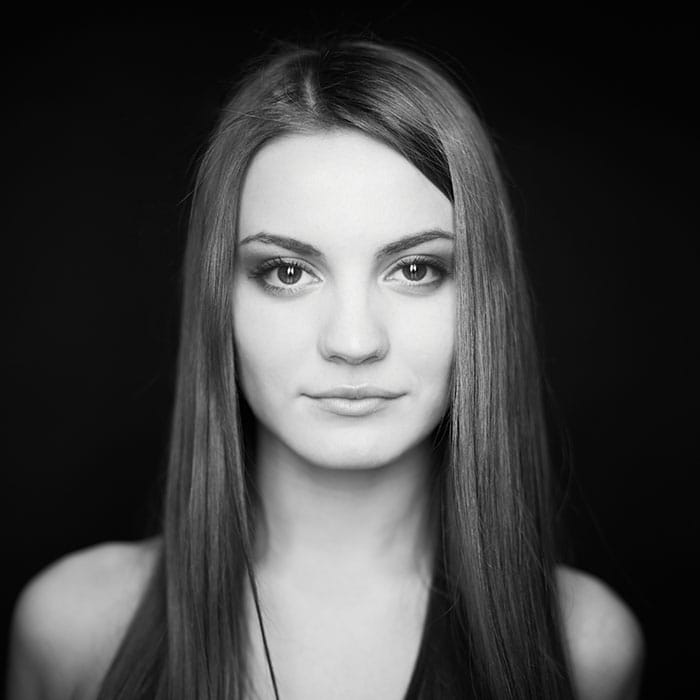
This portrait light photography pattern uses a light that falls on the subject from above. But you’ll need a reflector under their chin to fill in the shadows for a softer light. The look is characterised by 2 catchlights in each eye and a soft shadow below the subject’s chin. When done correctly it’ll exaggerate the cheekbones and jawline.
Set up a butterfly lighting technique with the light above and behind the camera, but angled down about 45 degrees. Ask your subject to hold a white reflector down by their waist. The reflector will bounce some light back up as a fill.
The resulting soft shadows on the cheekbones can slim the face and define the jawline. It’s like a giant one softbox lighting setup.
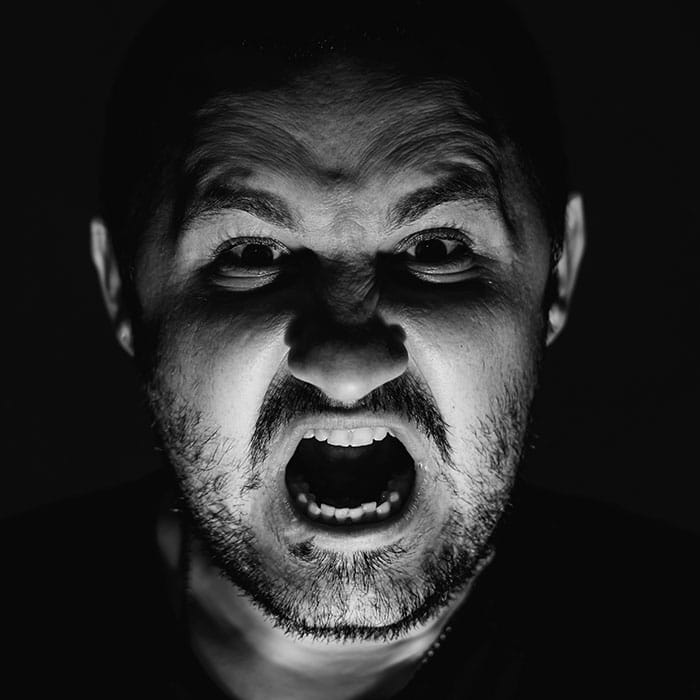
While you may not see floor lighting as flattering it can be used in portrait photography as a creative way of adding mood, drama and atmosphere in a low key setting.
We’ve all done it with a torch in hand pretending to be Dracula. Position your one light underneath your subject’s chin and let the light highlight the eyebrows, tip of the nose and across the cheekbones. The eye sockets will look dark and ominous – but this is intentional to the setup.
Using a harsh light source such as a torch will better define the edges of where the one light falls. Soft light may spread too much for this effect. This is a fun one light portrait setup to try with kids.
Early we mentioned it is possible to modify some light sources to shape the output for different effects. Here’s a brief overview of 4 ways to modify an off camera flash or strobe head for portrait photography
There we go, all 10 complete. Which one did you like? Which one’s haven’t you seen before? Let us know if they’ve helped you out a bit.
See if you can put them to good use when you take your next portrait, or just try it on yourself and send us the results.
You’ll find us on Facebook, Twitter, Instagram and Pinterest as usual. Just search for iPhotography and tag us in your shots.
Discover the BEST way on how to clean a camera sensor using swaps, rocket blowers and pencil brushes to give your shots a dust-free finish!
Capture the magic of the night with our beginner’s guide to night photography. Learn tips and techniques for stunning results.
Master the art of solar eclipse photography with expert tips on equipment, settings, and precautions for stunning celestial images.
Learn the basics of photography – fast – with our FREE 60-Second Photographer online course. Each class is short and sharp with simple, actionable steps that give you immediate results.
x 30 lessons

© iPhotography™
Become a confident and competent photographer in less than 30 minutes!
Before you leave, make sure you’ve secured your FREE online photography course (worth £29.99)
Each class is just 60-seconds or less making it the fastest and easiest way to learn photography!