 Stephen Walton
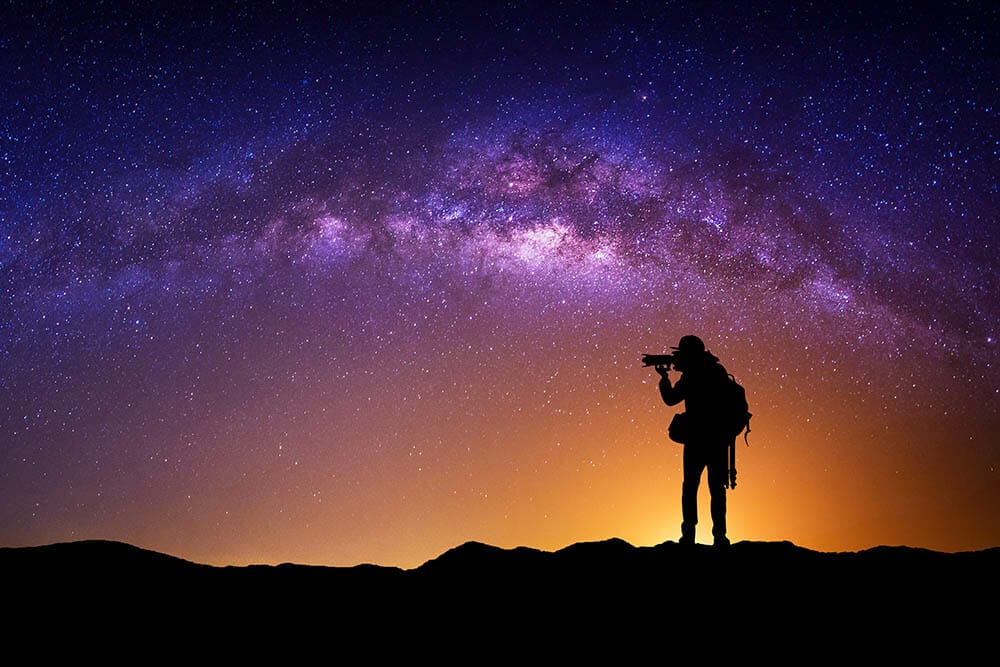
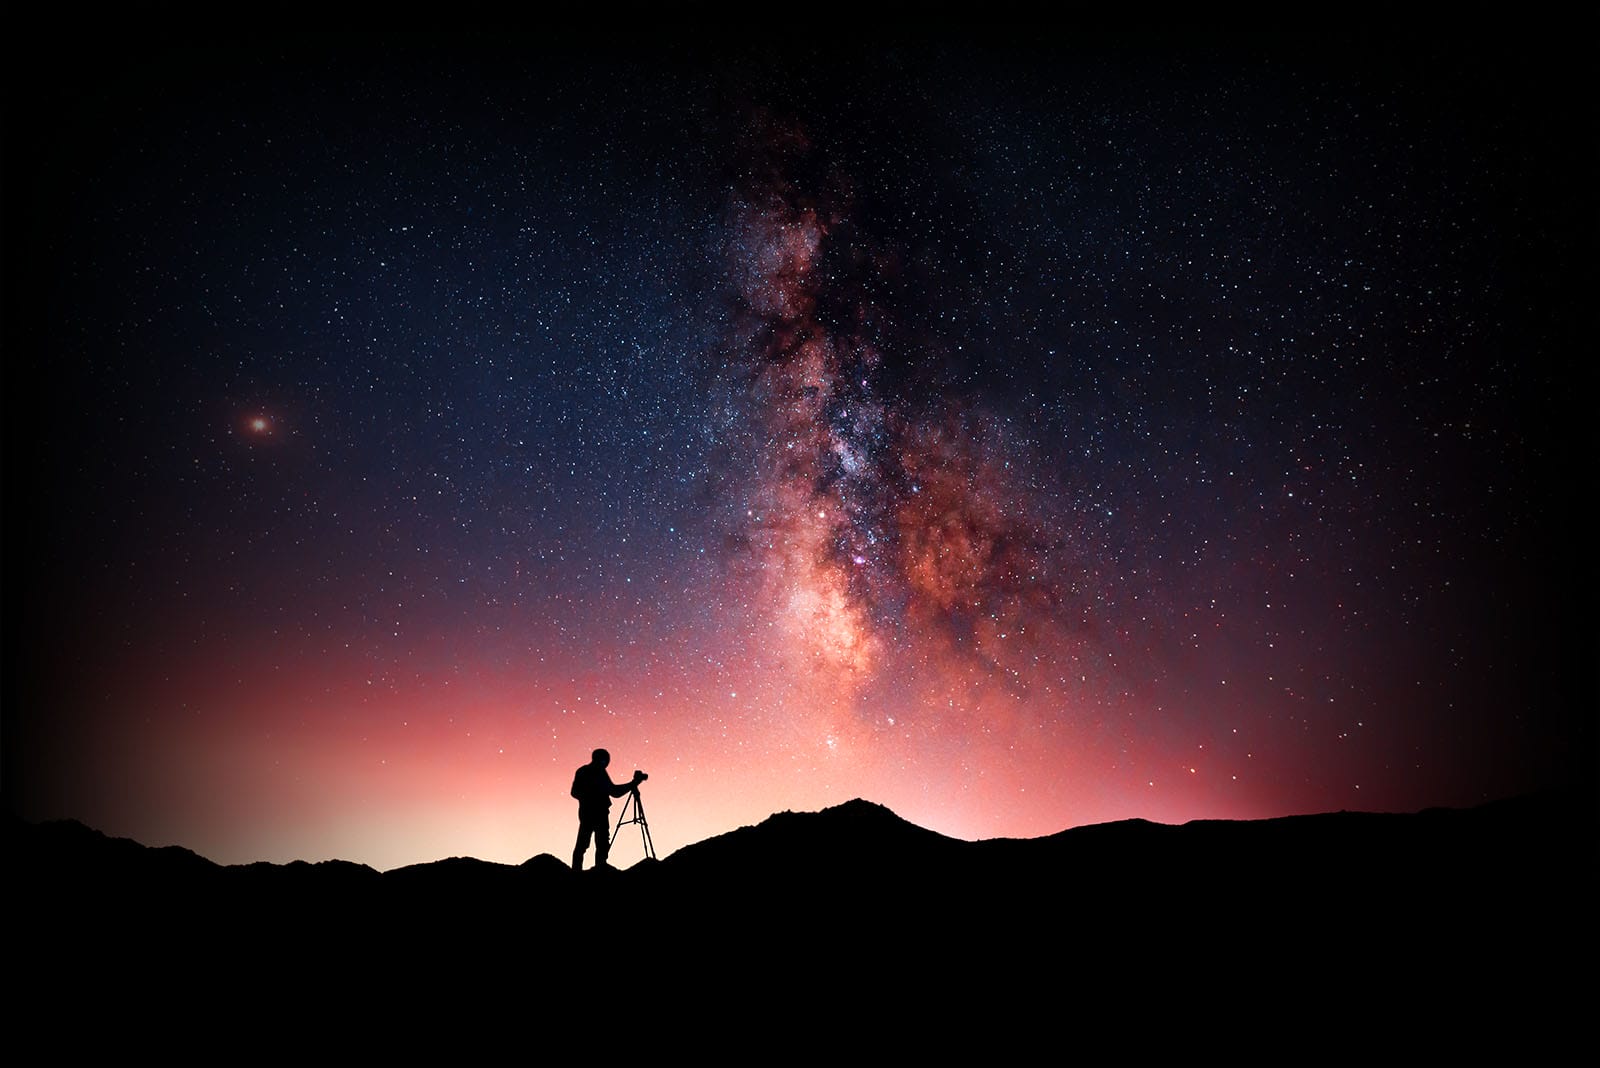
We all love a bit of stargazing when the conditions are right, so how about capturing those views in a brilliant night sky photography tutorial? Well, let’s walk you through this beginner’s guide on how to get started on photographing the night sky.
While night sky photography can get detailed when you want to get more advanced, in truth, when starting out you don’t really need anything else besides these pieces of equipment.
Any DSLR or Mirrorless camera that offers you fully manual controls will be perfect. You’ll need to have complete control over setting the ISO, Shutter Speed and Aperture for night sky photography.
While you can shoot using a cropped sensor camera (APS-C / APS-H / Micro Four Thirds), you’ll find that a full frame camera works better in low light situations. They also deal with digital noise better if you have to use a high ISO setting.
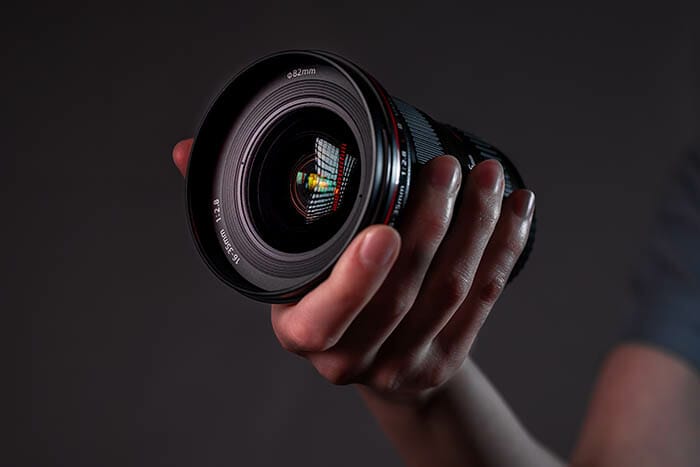
We’ll back up the reasoning later but using a fast (one with a wide aperture i.e F/1.4-F/2) wide angle lens would be a great choice for night sky photography. It doesn’t really matter which brand of lens you go for as long as it has a short focal length (under 25mm full-frame equivalent) and can go as wide as F/1.4-F/2.
If you’ve only got your kit lens to use with your camera you may find that the aperture doesn’t go wide enough so to compensate you’ll need to raise your ISO instead – which can give you problems with digital noise.
If you are serious about capturing stunning night sky shots consider renting a suitable lens for a weekend to try out – much cheaper than buying.
Given that you’re exposed to the elements with night sky photography it’s worth investing in a decent tripod. A ball-head mount on your tripod is much easier to use in the dark. Sturdy doesn’t mean heavy though. Look out for tripods that have a wide leg spread to balance the weight.
OK it’s pretty obvious where the stars are – look up! But knowing what you’re looking at requires a little assistance. This is why we recommend downloading a good night sky app such as Night Sky, Star Walk or Photo Pills.
They will all help you understand what planet or constellation you may be gazing at. And if you want to capture a specific aspect in the sky they’ll show where it is in real time.
You don’t have to directly touch the camera to take a photo purchasing a shutter release cable is a good idea though not essential. It will help minimise any potential camera shake and enable you to shoot exposures longer than 30 seconds.
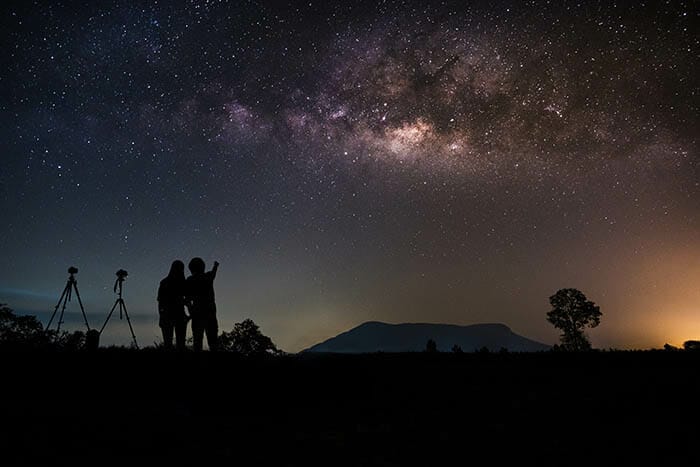
While you can sometimes spot stars, planets and constellations from your back garden it doesn’t mean they’ll translate into the best locations for your night sky photography.
Due to urban light pollution, you’ll end up capturing the ambient light from street lights, houses etc during your exposure. This will colour cast your night sky shot with orange glows making the image look tinted.
Ideally, you need to immerse yourself in utter darkness, and that means getting out of town. If you hop online and look at Dark Sky Park you’ll find a global map of locations that have been deemed perfect for watching the night sky in all its beauty.
Those locations may not be on your doorstep though. Instead, look for remote local areas away from towns and villages and somewhere higher up so you’ll be less affected by light pollution.
Given that you’re shooting at night and the light source you’re aiming to capture is thousands / millions of miles away you’ll need as much time and help as possible to capture that light on your sensor.
This means using the widest aperture available on your lens as we mentioned earlier. Wider apertures, such as F/1.4 give you the widest opening to let light through, but it’s not all about wide apertures – that’s just one part of the puzzle you need.
The second part is to limit the ISO where possible. Ideally start with around 800-1600 but you’ll need to adjust this based on your first few shots.
You can set your ISO to AUTO but limit the top end so it doesn’t exceed 1600 or 3200 for example but it’s better to be in full control of it in the first place. While you can reduce the appearance of noise in your night sky photos in editing it’s best to not get too much of it in there in the first place.
Thirdly, set the white balance on tungsten or even the daylight preset to keep the white stars looking white.
Finally, shoot in RAW. You’ll need all the help you can when editing later on and RAW files contain more image data than JPGs.
But what about the shutter speed we hear you say? Well the shutter speed needs some special attention as it can’t be left to chance. It needs some math applied to it to make sure you don’t get blurry stars – as we are on a rotating planet after all looking at a fixed point in the sky.
This may be the most frustrating part of night sky photography – the rotation of the Earth. Without considering this, every photo of the night sky you take will have issues.
Since the Earth is moving your exposure has to be limited to a certain amount of time based on your focal length. This is called the 500 Rule.
The 500 Rule is a simple calculation to tell you how long your maximum shutter speed can be based on your focal length. It’s really easy to work out but there are apps out there to also help you with that. Start off with the focal length you’re shooting;
500 (divided by the focal length you’re using) 100mm = 5 seconds. So the longest shutter speed you can use with a 100mm lens is 5 seconds – not very long for light to enter the lens in the dark.
Let’s try a shorter focal length…
You can see now why a wide angle lens is better for night sky photography than longer lenses.
Make sure you account for your camera’s crop factor if you’re on an APS-C / Micro Four Thirds body. Multiply your focal length by the crop factor BEFORE calculating the 500 Rule into the equation.
While the 500 Rule is a good guide – it is just that, a guide. You will have a slight bit of latitude with the shutter speeds by a few seconds either side so you’ll need to experiment.
In summary, you’ll need a collection of settings similar to below, in order to capture enough light for a good night sky shot.
ISO: 800 – 6400
Aperture: F/1.4-F/2.8
White Balance: (Daylight / Tungsten) 4000 – 5500K
Shutter Speed: 15 – 30 seconds
Focus Mode: Manual
Focal Length: <25mm
Given that you’re shooting in the dark using your camera’s AF (auto focus) is going to be mostly pointless. With your light source being that small and distant it’s unlikely your camera’s contrast/phase-detection AF modes will pick it up. Instead, you’ll need to take control and use Manual Focus (MF).
On the side of most DSLR lenses, there’ll be a switch to turn on MF if you can’t do it in-camera. From there you’ll need to use your live view screen and twist the focus ring on the end of the lens to infinity.
If you have a focus peaking mode on your camera then turn it on. As you twist the focus ring you should get a little red or blue (camera specific) outline to whatever is in focus at that point. Look to focus on the brightest object in the sky to start – something like a full moon would be ideal. Once that object looks like it has a clean, sharp outline on the back of your camera you’re ready to start shooting.
To double-check that you’ve got the focus right then just zoom in on your live view screen to look for that clear edge. It’s easier to do this when you’re shooting something relatively larger like the moon rather than a star, but do the best you can.
One thing many astrophotographers do just before taking their night sky shots is to cover the viewfinder with a cloth. This is to stop any ambient light coming from other directions affecting the exposure. It’s not vital that you do this, but if you see it in practise, that’s what’s going on.
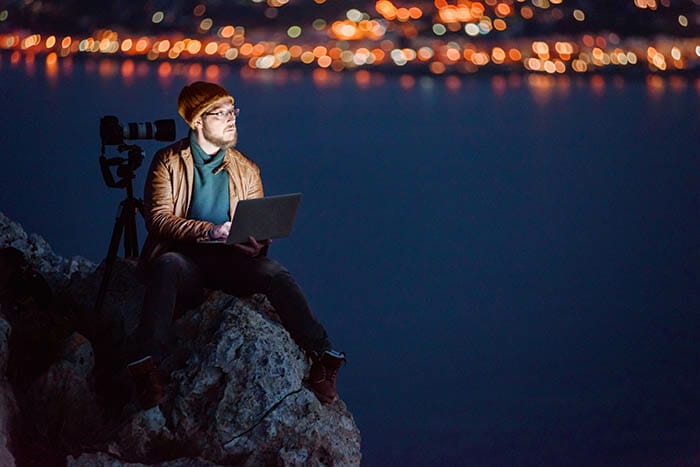
Once you’ve taken your night sky photographs you’ll no doubt want to see them on the big screen, so let’s talk about how to edit night sky photography. If you’re a Lightroom or Luminar user then look to make these basic adjustments;
Slightly boost the exposure of the stars by using an adjustment brush over the sky area only. If you’ve got a foreground you’re including edit that separately.
If you haven’t done so in-camera then change your colour temperature to make the stars look white. If you have any light pollution affecting your image they may appear off-white.
Again if light pollution has been an issue pushing the contrast slider to the right a little will darken the black sky and hide some ambient tones in the black.
We know focussing in the dark is tricky so hype the sharpening slider up a bit to make those outlines appear crisper – but don’t go crazy as it’ll look obviously edited and fake.
When you reduce the noise in your night sky photo it’s also good to move the colour noise reduction slider too. When you decrease noise it increases colour noise to compensate, so move the two at the same pace. But again don’t go to +100. Just zoom and take the worst of it off.
There are 3rd party plugins available on some software and other standalone noise reduction editors that could do a better job if you’re really into your night sky photography.
If you’re a Photoshop user then we’d recommend using all the same tools as we’ve mentioned adjusting in Lightroom, but with one added extra – luminosity masking.
In Photoshop it allows you to pick out a specific range of light within an image. Through this, you can isolate the brightness of the stars or moon while not affecting other light levels. This means in practice you can brighten your main subject(s) and the black sky remains the same making the stars appear brighter.
Luminosity Masking is a more advanced technique that requires time and patience as it has a lot of further benefits. One of them being is that they can be used to reduce noise in specific areas of an image much like an adjustment brush in Lightroom.
We’ve covered all the essential tools and techniques to get started in night sky photography, but the opportunities don’t stop there. If you’ve enjoyed photographing the night sky and want to push further, then there’s a lot more to be unlocked.
While we won’t cover them in this beginners night sky photography tutorial we’ll certainly cover them more in other articles.
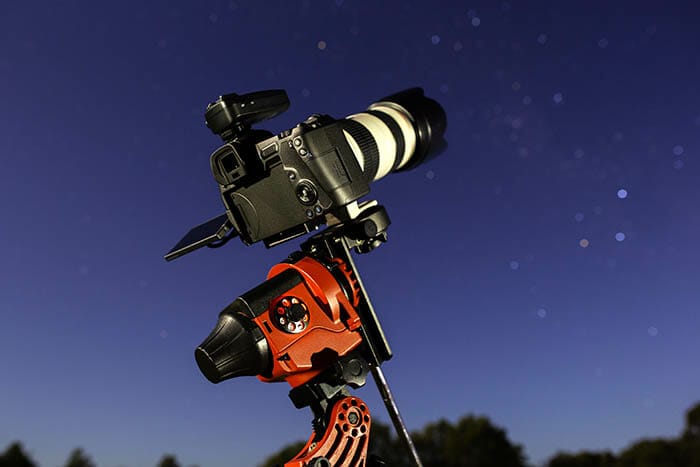
A star tracker is a motorised mount that fits on top of a tripod. It allows a camera to follow a specific object in the sky meaning that you don’t need to be limited so much by the issue of Earth’s rotation and your shutter speed.
Focus stacking isn’t exclusive to night sky photography but it is very beneficial to learn. By taking a number of photos with different areas in focus they can be merged together to create an image with a wider range of focus including foreground and distant objects. Given that the moon, stars and planets are all at different distances to the Earth this is a great advanced technique to learn.

In much the same way as focus stacking is about improving front to back sharpness, image stacking works the same way to hype brightness and detail. Taking a series of images at slightly different exposures can then be blended to get a great dynamic range.
Image averaging is the process of taking lots of matching photos and averaging them all together to reduce digital noise. You’ll need specific software that aligns the stars before blending the images together.
As a little recap we’ve got 5 top tips to remember for night sky photography that’ll help you on your first astral adventure.
1. Look for a dark sky location. Light pollution in towns, villages and cities makes it very hard to get clear shots of stars, planets and galaxies.
2. Invest in a suitable fast, wide-angle for night sky photography. A lens that stops open to F/1.4-F/1.8 would be ideal.
3. Use the 500 rule to guide you on your maximum shutter speed time. Compensate for your sensor’s crop factor before calculating.
4. Manual focus will be much easier than AF. Don’t expect great results if you’re not prepared to go fully manual on night sky shots.
5. Given how bright and close the Moon is to Earth it means that photographing stars when the Moon is visible makes it harder due to its spread of light. If you just want star shoots you’ll need to wait for the night of a New Moon, which is when no Moon will be present.

Discover the BEST way on how to clean a camera sensor using swaps, rocket blowers and pencil brushes to give your shots a dust-free finish!

Capture the magic of the night with our beginner’s guide to night photography. Learn tips and techniques for stunning results.

Master the art of solar eclipse photography with expert tips on equipment, settings, and precautions for stunning celestial images.
Learn the basics of photography – fast – with our FREE 60-Second Photographer online course. Each class is short and sharp with simple, actionable steps that give you immediate results.
x 30 lessons

© iPhotography™
Become a confident and competent photographer in less than 30 minutes!
Before you leave, make sure you’ve secured your FREE online photography course (worth £29.99)
Each class is just 60-seconds or less making it the fastest and easiest way to learn photography!